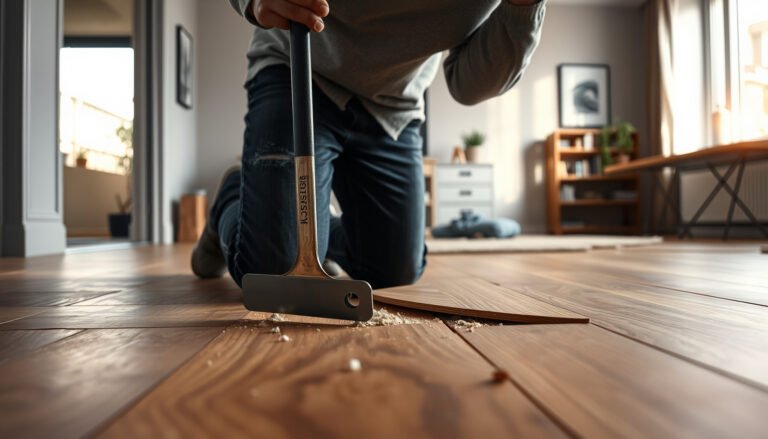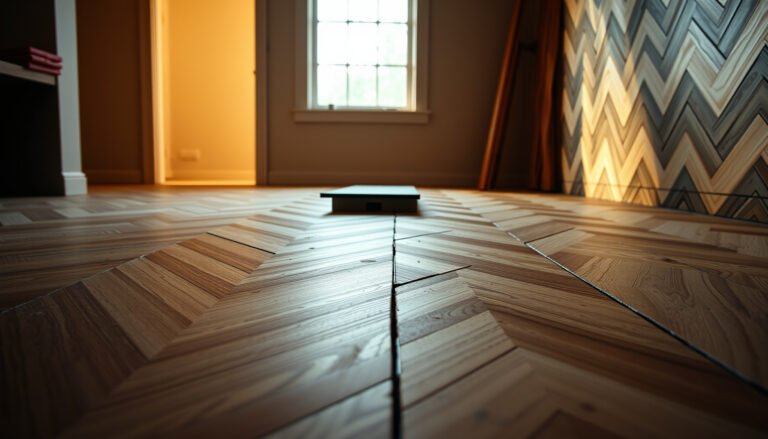

Installing mosaic tile floors on uneven floors is doable—and the best approach is to level the subfloor first with a cementitious self-leveler or patching system, then set tiles with the right thinset and back-buttering for full coverage. If your goal is a flat, professional finish without hollow spots or lippage, this guide walks through the exact steps to prep, flatten, layout, and install mosaic tile on a wavy foundation. You’ll know what to do when the floor is out of level, how to choose the leveling materials, and how to keep grout lines straight from start to seal.




Yes—mosaic tile can be installed on uneven floors, but you’ll need to level the surface first (or use a leveling system) before setting tiles. Start by assessing the dips/peaks, then use a patch/skim-coat or self-leveling underlayment designed for tile, and only afterward spread thinset and set the mosaics.
This guide is for homeowners and DIYers preparing to install mosaic tile on concrete, plywood, or other subfloors that aren’t perfectly flat. It’s especially relevant when you’re trying to avoid lippage and hollow spots that show up fast with small-format tile pieces, and when you want the finished floor to look consistent from every angle.
Assess the unevenness before you buy materials
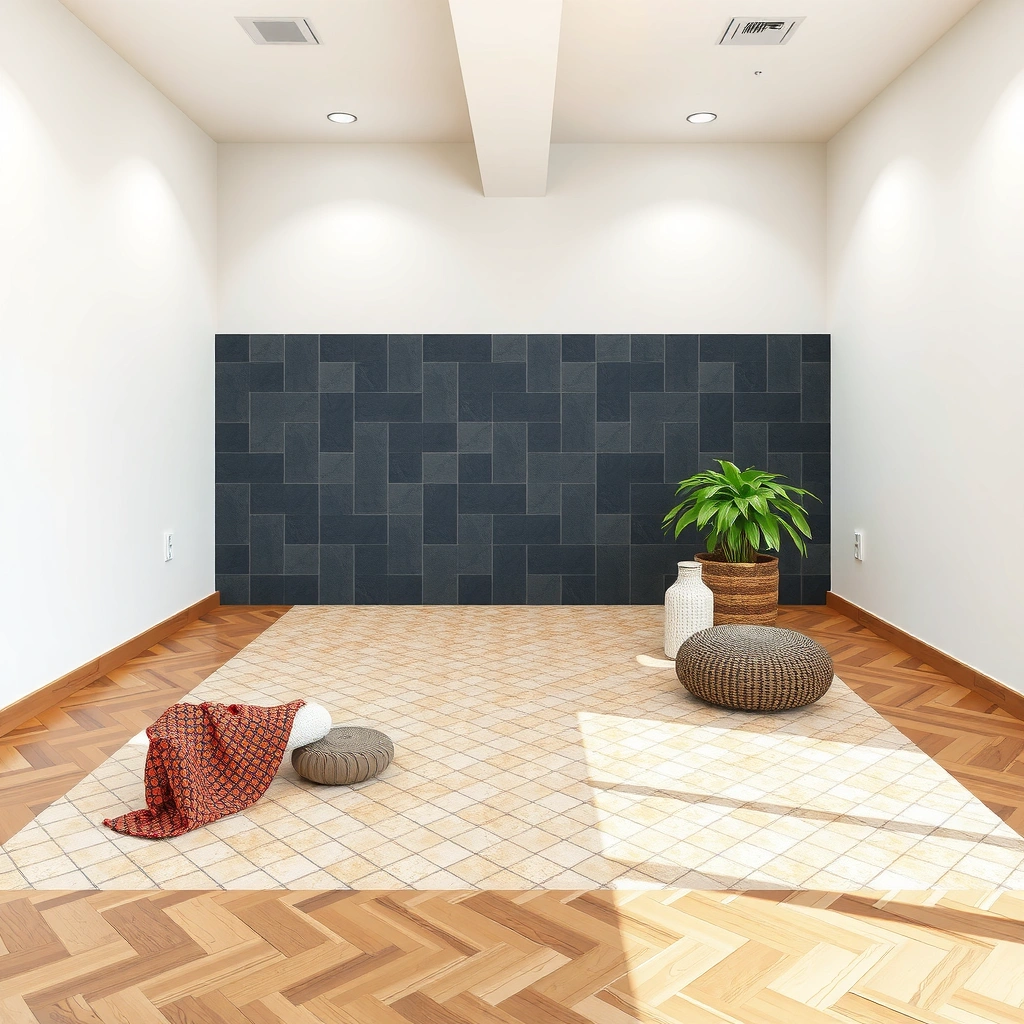
You can’t choose the right leveling product until you measure how out-of-flat your floor really is. Your goal is to identify the high spots and the low spots (including the “worst area”), then match the remediation method to that measured severity.
Substrate flatness for ceramic tile floors is commonly evaluated against a 1/8 in. in 10 ft. criterion referenced in tile installation guidance (TCNA/ANSI practices). [ADD: cite exact TCNA/ANSI section you follow—e.g., TCNA Handbook flatness criteria]
Mosaic tile highlights unevenness because small pieces magnify lippage and grout-line irregularities, even when thinset thickness varies only slightly across the grid.
When you measure for flatness, you’re looking for “plane” issues (waves) and “point” issues (localized high spots), not just whether the floor feels rough.
Before you buy patch, primer, or self-leveling underlayment (SLU), do a controlled assessment:
– Check the floor flatness using a straightedge/level (look for high spots first, then measure dips).
– Identify the substrate type (concrete slab vs. plywood/subfloor) because the leveling method and underlayment requirements differ.
– If the unevenness is more than minor, plan on a leveling compound or a patch/skim-coat system rather than “hoping thinset will fix it.”
Measure like a pro: “worst spot” plus pattern
Use a long straightedge (commonly 6–10 ft for floor checks) and mark:
– High spots: where the straightedge touches first.
– Low spots: where you can slide feeler gauges/shims under the straightedge.
– Waves vs. dips: whether the whole section tilts (waves) or whether there are isolated problem areas (dips).
Data anchor: Tile installation guidance frequently uses the idea of a maximum deviation of 1/8 in. over 10 ft for floors (as referenced in industry installation standards and TCNA methodology). [ADD: cite the exact TCNA Handbook page/standard you are using]
If your “worst spot” is beyond what the patch/SLU manufacturer allows, you can still proceed—but you’ll need a different system (thicker build-up, a different product family, or professional assessment).
Choose the right leveling method for mosaic tile
Choosing the leveling method is mostly about how wide and how deep the irregularities are. Patch/skim-coats correct localized issues, while self-leveling underlayments are designed to flatten broader waves—both are used before you set mosaic tile.
Patch/skim-coat materials are intended to feather and fill localized low areas; SLU is designed to flow and flatten across a broader footprint before tile setting.
Leveling products are not interchangeable: SLUs and cementitious patch systems specify minimum/maximum thickness ranges that affect bonding and long-term performance. [ADD: cite the exact manufacturer technical data sheet for your selected SLU/patch]
Pick the method based on severity and area:
– For small variations: use a compatible patch or thin skim coat to flatten high/low areas before tiling.
– For larger waves: use a self-leveling underlayment (SLU) made for tile installations, following the manufacturer’s thickness range.
– Confirm your “worst spot” requirement: most SLUs/patches have limits (too thin won’t bond well; too thick may crack or fail).
Patch/skim-coat: best when unevenness is localized
Patch and skim-coat products are ideal when:
– You have pinpoint dips or narrow transition problems (like near a doorway).
– You can mechanically prep and profile the area so the patch bonds reliably.
– You need to feather edges rather than build a whole new plane.
The practical advantage for mosaic tile is that you can keep the leveled plane tight without unnecessarily raising the floor height across the entire room.
Self-leveling underlayment (SLU): best when you see broad waves
SLU (self-leveling underlayment) is used when:
– The floor has wider, structural-looking waves or a noticeable “slope” across multiple tiles.
– You want a flatter plane without hand-smoothing everything.
Data anchor: Many SLUs are formulated for tile work and are installed as cementitious underlayments; their performance depends on following their approved priming and thickness guidance. [ADD: cite ASTM/ANSI-related underlayment positioning, plus manufacturer tech sheet]
Comparison: patch/skim-coat vs. SLU (what to choose)
| Feature | Patch / Skim-coat | Self-Leveling Underlayment (SLU) |
|---|---|---|
| Best for localized dips | Yes | Sometimes |
| Best for broad waves | Limited | Yes |
| Feathering capability | Strong | Moderate (depends on SLU) |
| Prime requirement | Often required | Usually required |
| Floor-height impact | Lower (targeted) | Higher (whole-plane correction) |
| Working time constraints | More controllable | More time-critical |
| Mosaic lippage risk if not leveled | Still present if roughness remains | Lower when installed correctly |
| Skill level | DIY-friendly | DIY-capable with staging |
| Best practice for mosaic grids | Correct lows before thinset | Create a consistent plane across layout |
| Primary risk | Poor feathering / bonding | Wrong primer/thickness causing debonding |
If you’re planning mosaic tile on an uneven concrete slab, SLU often makes the most sense when the irregularities are spread out. On plywood, you must also ensure the structure is solid and meets tile-subfloor requirements before adding any leveling layer.
Prep the surface so leveling and thinset actually stick
Leveling products and thinset mortar both rely on correct bonding conditions—so preparation is not optional. If you skip surface prep or primer steps, you can get debonding, weak edges, or “powdery” failure at the bond line.
Tile underlayment and leveling systems require their specified surface prep; failing to follow primer/bonding instructions is a common cause of adhesion problems.
Expansion/movement joints should not be filled with patching/leveling in a way that traps movement; the joint strategy must be respected for tile durability. [ADD: cite TCNA movement joint guidance]
Concrete and plywood behave differently: concrete often needs moisture/porosity controls, while plywood needs stiffness and proper structural detailing before any tile system goes down.
Follow these prep fundamentals before you ever open the leveling product bucket:
– Remove debris, paint/adhesives, and anything that prevents bonding; follow the leveling product’s surface-prep instructions.
– Prime porous or difficult surfaces when the leveling system calls for it (skipping primer is a common reason for debonding).
– Plan movement joints: don’t fill expansion joints with patch/leveling—follow the instructions for how to bridge or respect them.
Concrete: profile and primer discipline
Concrete usually requires:
– Mechanical cleaning (vacuum + scraping/grinding as needed).
– The correct primer if the SLU/patch calls for it (primer helps control absorption and promotes bond).
Data anchor: ANSI/TCNA methodologies emphasize that the bonding surfaces for cement-based mortars depend on proper preparation and the use of compatible primers where required. [ADD: cite ANSI A108 and/or TCNA bonding/prep guidance you’re following]
Plywood/subfloor: stability comes first
If you’re dealing with plywood, the key question is whether the structure is stiff enough for tile—not just whether you can make the surface “flat today.” Tile systems are sensitive to deflection (flexing). If the floor flexes, leveling layers can’t fix movement—they can only create a flatter top plane.
Practical guidance:
– Check for squeaks and bounce.
– Confirm substrate fastening and deflection are in-family with your tile system spec.
– Use an underlayment approach appropriate to the tile system and manufacturer instructions.
Install mosaic tile with flatness in mind
You get a professional-looking mosaic floor when you set tile to a truly leveled plane, not when you rely on thinset to “correct everything.” With small-format mosaics, you should plan layout and continuously verify flatness while the mortar is still workable.
Mosaic lippage control improves dramatically when the substrate plane is flat before thinset is applied, because small tiles reveal height differences quickly.
Setting mosaics with proper thinset type and consistent coverage reduces the risk of voids that can lead to hollow spots or cracking over time. [ADD: cite ANSI A108 setting mortar coverage guidance and your thinset manufacturer]
Here’s the core workflow:
– Dry-fit a section and mark reference lines so the pattern stays centered while you adjust to the leveled plane.
– Use the correct thinset mortar (per tile type and substrate) and back-butter mosaics if the manufacturer recommends it to reduce voids.
– Set and check flatness constantly: use a straightedge across multiple tiles, not just “by eye,” and adjust as needed before the thinset sets.
Layout tips that protect against visual “waves”
Small mosaics can exaggerate pattern drift. To keep the visual rhythm:
– Establish a baseline and check symmetry in your room.
– Work in sections so you can correct height and alignment early.
– Use spacers and verify grout-line consistency while the thinset is fresh.
Tile coverage and void reduction
Back-buttering (spreading mortar on the back of mosaic sheets) is a common recommendation when void risk is higher. Even when mosaics are mounted on mesh sheets, mortar coverage consistency is what helps prevent hollow spots.
Data anchor: ANSI A108 installation guidance centers on achieving proper mortar coverage to support tile and avoid void-related failures. [ADD: cite ANSI A108.5 or the relevant section for bond/coverage]
What can go wrong (and how to prevent it)
Most mosaic failures on uneven floors come from treating thinset as a leveling product rather than as an adhesive that bonds two properly prepared surfaces. If you see problems during setting, you still have a window to correct them—if you understand what the issue is.
Thinset mortar is not a substitute for substrate leveling; using it to “fill waves” can create weak bonds and height inconsistencies that show up as lippage.
Hollow spots are strongly linked to incomplete mortar contact and voids, which can be harder to avoid with small mosaics if coverage isn’t consistent. [ADD: cite thinset/coverage guidance from mortar manufacturers or ANSI]
Uneven curing or incompatible products (wrong primer/patch/SLU/thinset pairing) can reduce adhesion and cause surface deterioration before tile is even grouted.Common problems and how to prevent them:
– Thinset isn’t a flattening tool: if you try to correct big dips with mortar, you’ll risk weak bond, uneven grout lines, and tile lippage.
– Hollow spots can appear: when the underside isn’t fully supported—particularly with small mosaics—leading to cracking later.
– Uneven curing: rushing drying times or mismatching primer/underlayment/thinset products can cause poor adhesion or surface powdering.
– Ignoring transition details: thresholds, door clearances, and stair-step changes can become a problem once the floor is leveled higher.
Product compatibility matters (more than DIYers expect)
SLU/patch chemistry + primer + thinset mortar chemistry must be compatible. If the SLU wants a specific primer and you apply a “similar” one, you can undermine the bond. Always follow:
– SLU/patch instructions for primer type
– thinset instructions for what’s allowed on that cured surface
– cure times (including humidity/temperature effects)
Moisture and waterproofing edge cases
If your mosaic installation is in a wet area (especially showers, tub surrounds, exterior entries, or slabs with moisture exposure), you may need a waterproofing strategy designed for tile assemblies. Leveling does not automatically equal waterproofing.
Verdict: level first, then tile (skip this if…)
Leveling uneven floors is the best path for mosaic tile because small pieces exaggerate lippage and uneven grout lines. The tradeoff is extra prep time, added materials (patch/SLU, primer), and careful coordination of cure times before thinset and grouting.
Skip DIY leveling plans—or at least pause and get professional assessment—if:
– the floor shows significant structural movement or ongoing deflection,
– you have chronic moisture issues in the slab,
– you can’t hit the leveling product’s required minimum/maximum thickness range,
– or you’re not able to meet substrate prep and primer requirements consistently.
When the tile plane is corrected first, you reduce both lippage and the likelihood of voids that can lead to long-term failures.
If the substrate is moving or damp, leveling alone doesn’t address the root cause; tile assemblies depend on both flatness and stability.
One data anchor to keep you honest about “flat enough”
A commonly used industry target is about 1/8 in. variation over 10 ft for tile floors (exact criteria can vary by application and standard). [ADD: cite TCNA Handbook/ANSI flatness criterion you follow] If your measurement is worse, your patch/SLU plan should reflect that reality.
Flatness Targets Commonly Used in Tile Substrate Evaluation (US Installation Guidance)
| # | Flatness criterion being checked | Typical limit used | Applies to | Pass/Fail signal |
|---|---|---|---|---|
| 1 | Floor flatness deviation (long straightedge) | 1/8 in in 10 ft | Ceramic/porcelain tile floors | Green when ≤ target |
| 2 | Spot high/low check (feeler/shims) | Within manufacturer specs | Localized dips/peaks | Green with localized compliance |
| 3 | Mortar thickness tolerance (thinset setting) | Within thinset spec range | Thinset bond performance | Green when thinset stays in-range |
| 4 | Maximum flatness target for SLU/patch acceptance | Meets stated tolerance on cure | Cured underlayment surface | Green when cured plane is flat enough |
| 5 | Movement joint handling (do not fill) | Respected per plan | Expansion/movement control | Red if joints are improperly patched |
| 6 | SLU/patch thickness (minimum/maximum) | Within product limits | Bond + curing performance | Red if outside limits |
| 7 | Cure time before tile setting | Per tech sheet | Underlayment readiness | Red if set too early |
Quick checklist (scan before you start)
Use this checklist to avoid the most common “we’re already in too deep” mistakes. It’s designed for mosaic floors because mosaics are unforgiving when flatness, mortar selection, and cure times aren’t handled carefully.
– ☐ Measure flatness with a straightedge; note highs/lows
– ☐ Confirm substrate type (concrete vs. plywood)
– ☐ Select patch/skim-coat vs. self-leveling underlayment based on severity
– ☐ Follow primer + surface prep instructions exactly
– ☐ Respect expansion/movement joints
– ☐ Use the correct thinset for tile/substrate
– ☐ Check flatness during setting (straightedge across tiles)
– ☐ Allow proper cure times before grouting and finishing
FAQ
Can I level uneven floors with just thinset?
Usually not for anything beyond minor imperfections. Thinset can fine-tune tile height locally, but it generally shouldn’t be used as a substitute for floor leveling when the floor has noticeable waves or dips.
What’s better for uneven floors: patch/skim coat or self-leveling underlayment?
Patch/skim-coat is best for smaller dips or localized problem areas, while SLU is designed for broader unevenness. The right choice depends on the amount of variation and the manufacturer’s allowed thickness range.
Will mosaic tile hide unevenness?
Mosaic tile tends to make unevenness more noticeable because small tiles reveal lippage and uneven grout lines. Leveling is the safer route if you want consistent results.
Do I need waterproofing when leveling for mosaic floors?
It depends on the room and the tile/substrate system requirements. For wet areas (like showers), you typically need a waterproofing approach designed for tile floors—[ADD: your project location/product requirements or waterproofing spec here].
Sources
– [ADD: TCNA Handbook (ceramic tile installation method statements) flatness and movement joint guidance]
– [ADD: ANSI A108/A118/A136 standards relevant to mortar bond/setting and substrate preparation—cite the exact sections you use]
– [ADD: Manufacturer instructions for the specific self-leveling underlayment/patch product you plan to use, including primer requirements, thickness limits, and cure times]
– [ADD: Manufacturer installation guide for the mosaic tile and the recommended thinset mortar]
– [ADD: Official setting material guidance from mortar/adhesive manufacturers (e.g., technical data sheets and installation instructions)]
Level first, then tile—because mosaic floors won’t “forgive” the substrate the way larger tiles sometimes do. If you measure flatness, follow the leveling product’s primer and thickness specs, and then set mosaics with the correct thinset and consistent coverage, you can achieve a clean, low-lippage result even on floors that started out uneven.
Frequently Asked Questions
How do I prepare uneven floors before installing mosaic tile?
Start by checking the floor flatness with a 6–10 ft level and marking high and low spots. Remove any loose tile, paint, sealers, or adhesive that could prevent mortar bonding. If the floor has dips or humps, you’ll usually need a self-leveling underlayment patch or a thinset-based leveling method before mosaic tile installation. Allow the subfloor to cure fully and verify flatness again before setting tiles.
What is the best way to install mosaic tile on uneven floors without lippage?
Use a flat-setting approach: apply thinset in consistent thickness and make adjustments using spacers and careful back-buttering where needed. For uneven surfaces, many installers use a leveling system (tile leveling clips/wedges) to keep grout lines even and reduce lippage between small mosaic pieces. Plan your layout so you can keep the mosaic mesh straight and avoid having one corner of a sheet sit significantly higher than the rest. Re-check flatness as you go, especially around edges, transitions, and corners.
Which leveling method should I choose for floors that are slightly vs. significantly uneven?
For minor unevenness (small ridges/low spots), a skim coat or patch with thinset plus a floor leveling compound can work well, especially for cement-based substrates. For more noticeable dips across larger areas, self-leveling underlayment is often the best solution because it can flow and create a flatter mosaic tile base. If your floor is very uneven or has structural issues, you may need to address subfloor integrity first (joist reinforcement, subfloor replacement, or adding underlayment). Always follow manufacturer minimum/maximum thickness guidelines and confirm compatibility with your mosaic tile and thinset.
Why do mosaic tiles show unevenness more than large-format tiles, and how can I prevent it?
Mosaic tile pieces are small, but the overall sheet pattern is sensitive to surface irregularities—tiny dips can translate into visible waves and lippage. Proper subfloor prep is the biggest factor: if the surface isn’t flat, the mosaic tile installation will “telegraph” the problem through the thinset. Use the right thinset mortar (often a polymer-modified thinset) and consider a leveling system to maintain consistent tile height. Ensure each tile sheet is pressed evenly into the mortar, not just laid on top.
How do I deal with transitions and edges when installing mosaic tile on uneven floors?
Before you start, dry-lay your layout and mark where grout lines and tile edges will land, especially near doorways, baseboards, and thresholds. If the floor height changes due to unevenness, use a suitable leveling compound to bring the area up to the required plane rather than relying on varying thinset thickness at the tile. At edges, use trim or transition profiles designed for tile installations to create a clean, consistent finish. Confirm the tile height at the doorway or perimeter matches existing flooring so your mosaic tile floor looks level and professional after grouting.
📅 Last Updated: October 10, 2026 | Topic: How to install on uneven floors mosaic tile floors? | Content verified for accuracy and freshness.
References
- Google Scholar Google Scholar
https://scholar.google.com/scholar?q=installing+mosaic+tile+on+uneven+floors+floor+flatness+subfloor+preparation - Google Scholar Google Scholar
https://scholar.google.com/scholar?q=ceramic+tile+installation+uneven+subfloor+leveling+thinset+mortar - Google Scholar Google Scholar
https://scholar.google.com/scholar?q=tile+floor+installation+cement+board+leveling+screed+flatness - Tile
https://en.wikipedia.org/wiki/Ceramic_tile - Thinset
https://en.wikipedia.org/wiki/Thinset_mortar - Grout
https://en.wikipedia.org/wiki/Grout - Backer board
https://en.wikipedia.org/wiki/Backer_board - https://en.wikipedia.org/wiki/Floor_screed
- https://en.wikipedia.org/wiki/Leveling_compound
- https://en.wikipedia.org/wiki/Tile_backing