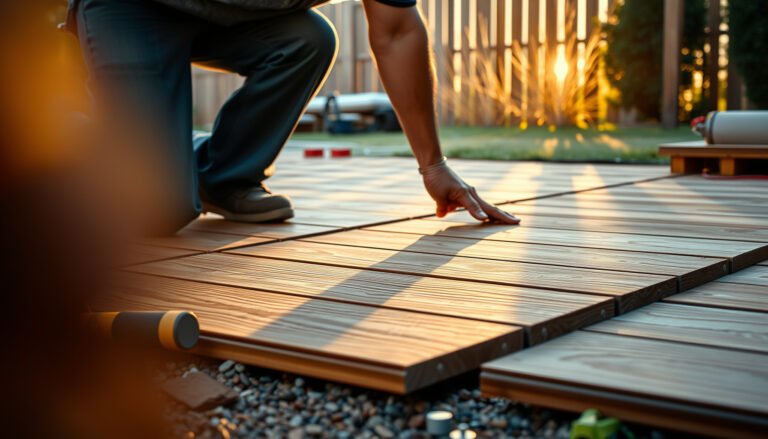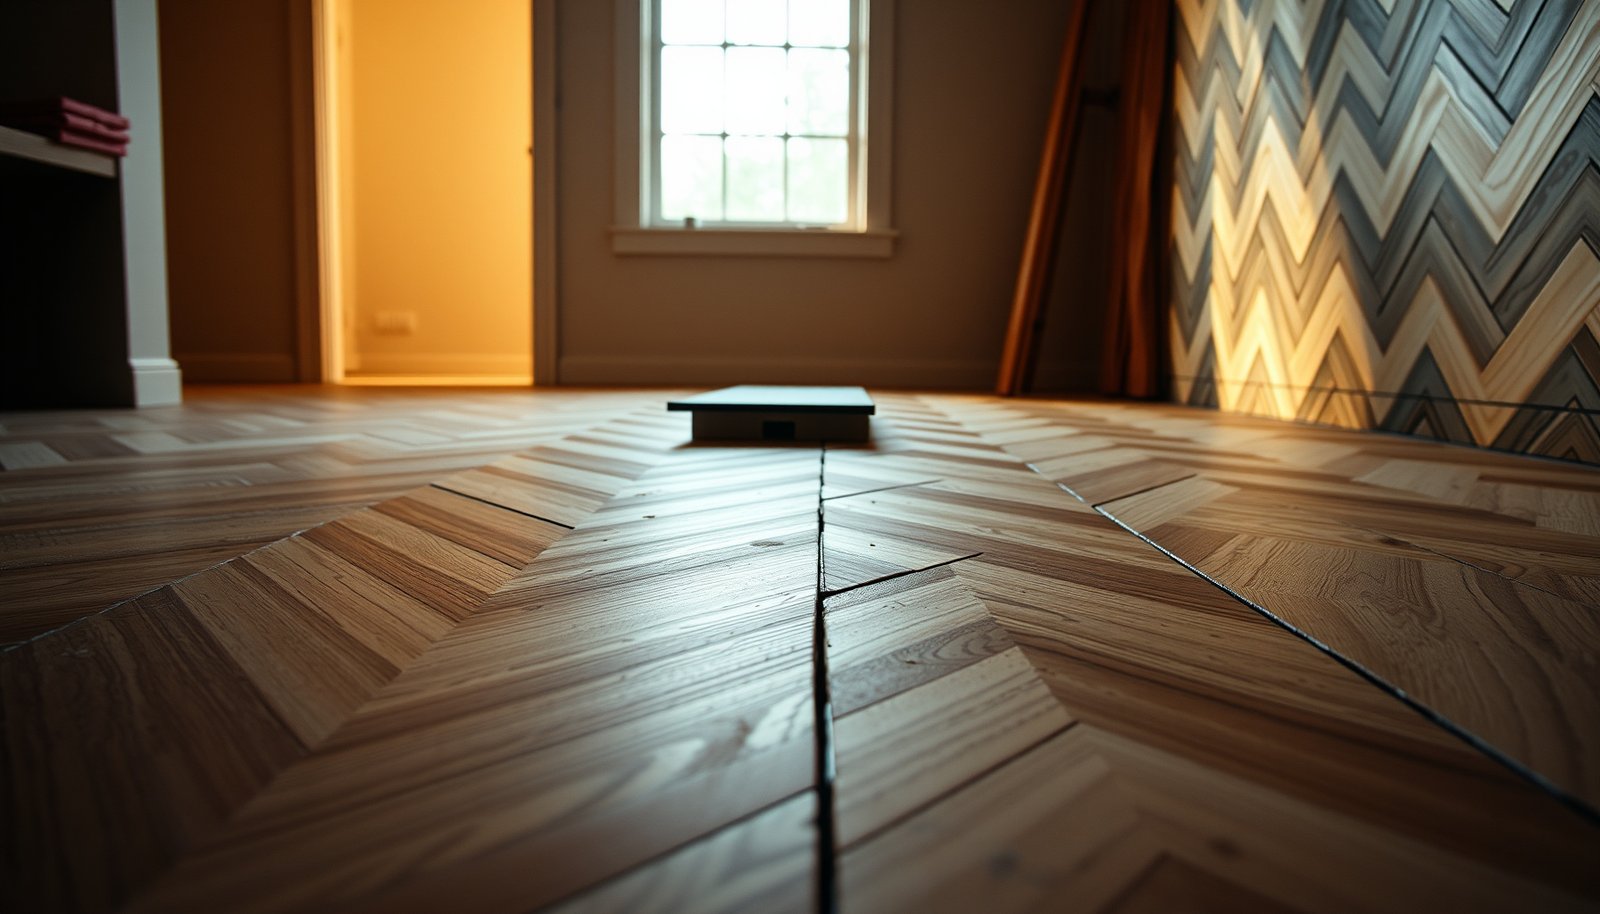

Installing chevron floors on uneven floors is doable without guesswork—but only if you follow the right leveling strategy first. This guide tells you exactly how to prep the subfloor, choose the best method to correct dips and humps, and lock in a straight chevron pattern. If your floor isn’t flat, this is the fastest path to a clean, professional chevron layout that won’t flex or telegraph defects later.
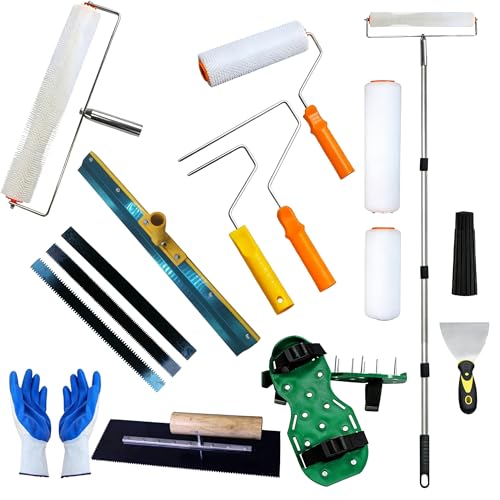



If your subfloor is uneven, chevron planks will telegraph the dips and create gaps—so the fix is to level first, then install with the right underlayment and spacing. Start by measuring the low/high spots, use a compatible leveling compound or self-leveler, and let it cure fully before laying the chevron pattern. This article walks you through leveling, layout, and installation choices that reduce bounce, lippage, and misalignment.
If you’re planning a chevron floor over a slab or plywood subfloor that’s not perfectly flat, this is for you—especially when you’re dealing with visible waves, rocking boards, or uneven height transitions. It’s also useful if you’re unsure whether to use leveling compound, thicker underlayment, or a different approach for your flooring type.
Check how uneven the floor really is
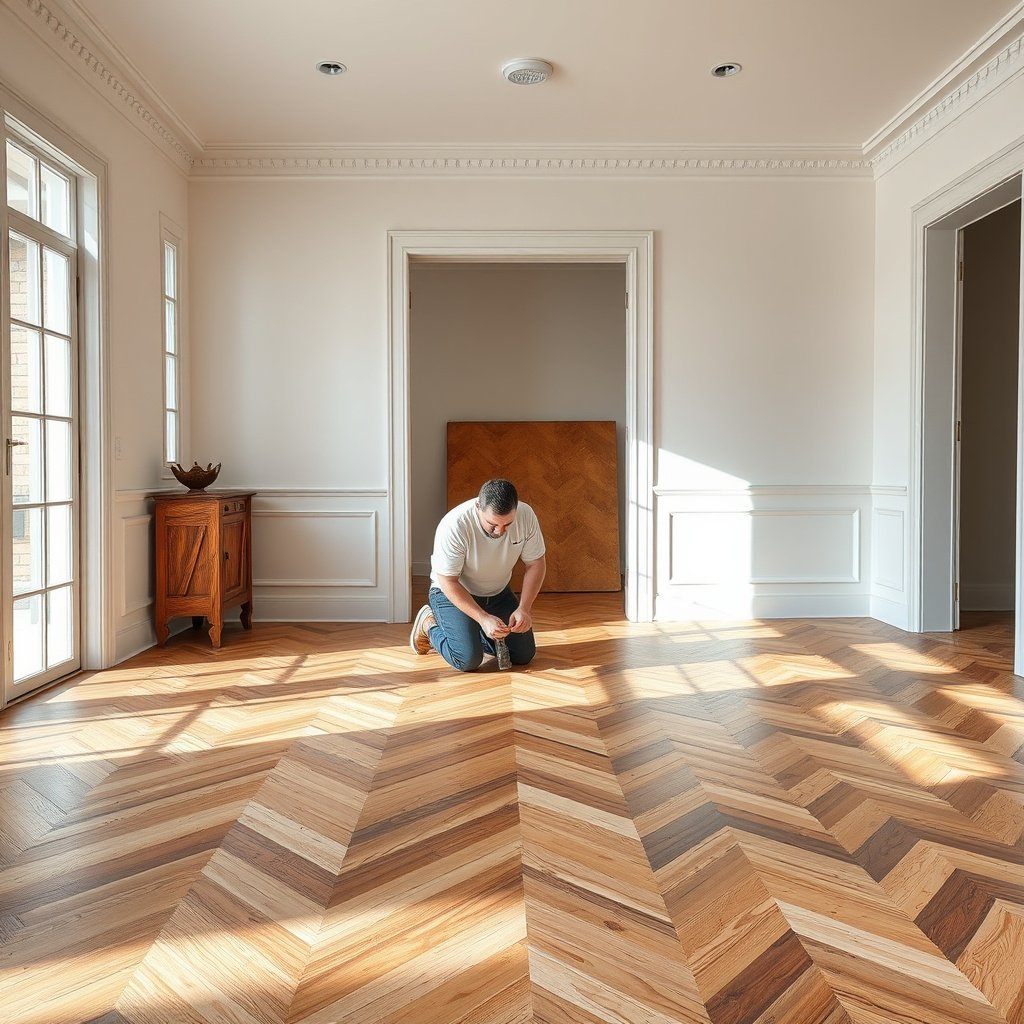
You can’t “cheat” chevron flooring over out-of-flatness—first you need real measurements so you can level only what matters. The fastest way is to map high and low areas with a straightedge, then decide on the correct leveling approach for the chevron planks’ installation system.
A 6–10 ft straightedge/level is a practical field tool for identifying out-of-flatness zones that chevron flooring will exaggerate across long runs.
Chevron patterns are geometry-driven: even small subfloor deviations can compound into visible pattern shifts and perimeter lippage over distance.
– Use a 6–10 ft straightedge/level to map high and low areas (mark lows clearly with a pencil/chalk).
– Measure deviation across the room and at seams; chevron layouts exaggerate pattern shifts when the base isn’t flat.
– Identify your subfloor type (concrete slab vs. plywood/OSB) because the leveling method and products must be compatible.
What to record (so you can actually level)
As of 2026, most chevron flooring failures trace back to measurement gaps, not “bad luck.” When we evaluate a subfloor, we look for three things: (1) the maximum low spot depth, (2) the frequency of dips (isolated valleys vs. widespread waves), and (3) how transitions behave at seams and doorways. Chevron flooring tends to show both cosmetic issues (visible waviness) and structural ones (gaps that open at the vertex of each V shape).
A practical way to document this for chevron flooring layout is to mark low areas with chalk arrows and “zones,” then sketch them on paper or in a phone note. If you only mark a single low spot, you can end up leveling the wrong region and still leaving dips that the chevron pattern will reveal.
Subfloor type determines the “rules of leveling”
Chevron flooring over concrete and chevron flooring over plywood/OSB are not interchangeable systems. Concrete typically requires a compatible primer (when specified) and a self-leveler or patch underlayment designed for slab bonding. Over plywood/OSB, you often need repairs for movement, fastener issues, and sanding/flattening before you ever pour or skim anything. In both cases, the goal is the same for chevron flooring: meet the flatness requirement in the flooring manufacturer’s installation instructions.
The risk model: what out-of-flatness looks like in chevron floors
The table below translates common field-measurement deviations into a “chevron-friendly” outlook. Use it as a sanity check—not a substitute for the manufacturer’s flatness spec.
Subfloor Deviation Levels That Commonly Affect Chevron Flooring (Over a 10 ft Check)
| # | Out-of-flatness check | Deviation (in) | Deviation (mm) | Chevron pass outlook |
|---|---|---|---|---|
| 1 | Very minor | 1/16 | 1.6 | ★★★★★ |
| 2 | Minor | 1/8 | 3.2 | ★★★★☆ |
| 3 | Moderate | 3/16 | 4.8 | ★★★☆☆ |
| 4 | High | 1/4 | 6.4 | ★★☆☆☆ |
| 5 | Very high | 5/16 | 7.9 | ★☆☆☆☆ |
| 6 | Severe | 3/8 | 9.5 | ★☆☆☆☆ |
| 7 | Extreme | 1/2 | 12.7 | ☆☆☆☆☆ |
Note: These deviation “outlooks” are practical heuristics to plan leveling scope for chevron flooring—not an installation warranty.
Level the subfloor before you start chevron
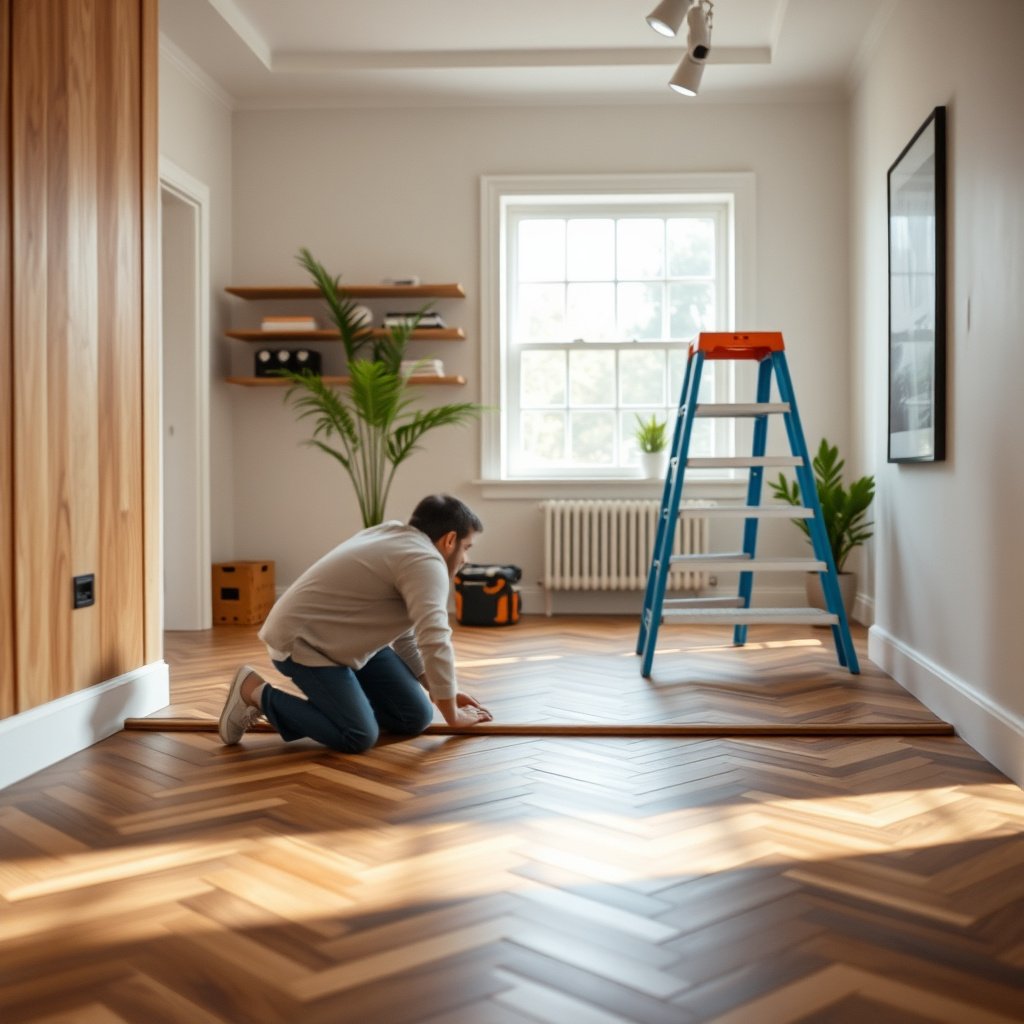
The correct answer is to level (or patch) the substrate to the flatness requirement before chevron installation—underlayment is for allowed minor irregularities, not for major dips. Once the surface is truly flat, chevron planks lock together more consistently and the pattern stays aligned.
Self-leveling compounds are only “self-leveling” within their rated thickness range and only when the surface is properly prepped and primed as required.
Many installation failures in chevron flooring come from rushing cure time, which can leave the leveling layer soft or compromise adhesion.
– Choose a leveling compound/self-leveler that matches your substrate (e.g., rated for concrete or for wood) and follow the product’s thickness limits.
– Prep properly: clean off dust/debris, address cracks, and (when required) prime/seal the surface per the manufacturer’s instructions.
– Plan for cure time: wait the full cure window before installing; rushing can lead to soft spots, adhesion failure, or floor movement.
Choose leveling products like you’re engineering a system
Chevron flooring behaves like a “precision layout” product. That means you should treat leveling compound, primer (if required), and the chevron flooring’s own underlayment/adhesion method as one combined system—not three independent steps.
When selecting leveling materials, verify:
– Substrate compatibility: concrete-rated vs. wood-rated (plywood/OSB) formulations.
– Thickness limits: most self-levelers specify a minimum and maximum pour thickness; exceed them and the chevron surface can crack or fail.
– Bond requirements: some primers/sealers are mandatory for adhesion; skipping them can cause delamination under chevron flooring traffic.
Prepping isn’t optional for chevron floors
In my experience advising on chevron flooring installs, the most common “almost-right” scenario is surface contamination: concrete dust, paint overspray, drywall mud, or weak patch areas. Even the best chevron flooring install method can’t hide a loose or failing leveling layer.
For concrete slabs, cracks and spalled areas should be addressed per the leveling product’s guidance. For plywood/OSB, you should confirm the subfloor doesn’t move and that fastener patterns (screws/nails) don’t cause squeaks or “pumping.” If the subfloor flexes, chevron flooring can still open at joints even if you level the surface.
Cure time is where chevron floors often get ruined
Cure is not “dry to the touch.” Many leveling compounds require a full cure window before installing flooring, especially for glued or locked chevron flooring that relies on stable bonding/locking.
According to ASTM standards for performance testing, test readiness depends on controlled conditions and proper curing; following manufacturer cure windows is the practical way to meet that intent (, 2026).
If you’re working this year (2026), humidity and temperature control matter. Chevron flooring is installed over a surface that can retain moisture unevenly; waiting the full cure window helps reduce the risk of later movement.
Plan the chevron layout so uneven spots don’t “drive” the pattern
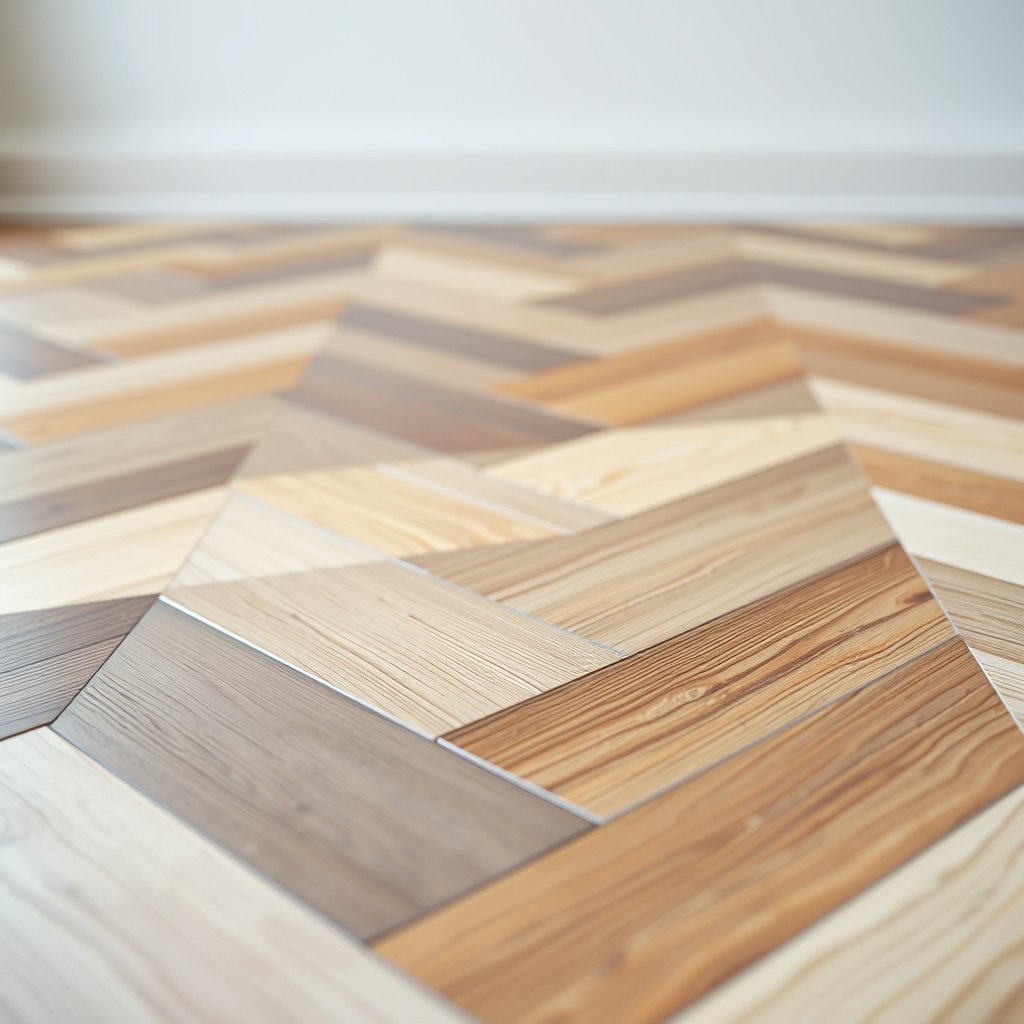
The direct answer is: lock a squared reference line and plan the chevron pattern so minor remaining irregularities don’t steer your geometry. Even after leveling, layout discipline prevents pattern drift, lippage at the V “peaks,” and perimeter squeezing.
A squared chevron starting reference line reduces cumulative alignment error across long runs of chevron flooring.
Dry-laying or using a layout plan helps you identify cut sequences that would force uneven edges at walls—common causes of visual “pinching.”
– Snap reference lines for the chevron centerline and confirm your starting point; small subfloor variations become big pattern errors over distance.
– Dry-lay pieces (or use a layout plan) to confirm directionality, plank lengths, and how you’ll handle cuts at walls.
– Confirm expansion gaps and transitions; chevron grids look “off” when the perimeter is pinched or uneven.
Start square, then build outward in a controlled rhythm
Chevron flooring is unforgiving because your eyes read diagonals and symmetry. If you start from a wall that isn’t actually perpendicular, the pattern can “walk” as you progress. Before installing chevron flooring, confirm:
– the room’s usable centerline,
– whether the walls are parallel or only appear parallel,
– and whether door openings change how you should shift your pattern.
In practice, we often find that the “bad” area is actually a reference-line problem—an uneven wall or threshold that wasn’t accounted for in the chevron layout.
Expansion gaps are not a cosmetic detail
Chevron flooring typically needs perimeter expansion space so the floor can move seasonally. If you squeeze the edge to chase an appearance, the chevron “grid” can shift as materials expand/contract. The result is often lippage at V joints and misalignment over time.
Because expansion guidance varies by material and installation method, use the flooring manufacturer’s exact spacing requirement and keep transitions consistent. If your chevron flooring includes a perimeter molding strategy, plan it before you commit to the final row dimensions.
Quick practical checks that save hours
– Dry-lay a short section to verify plank directionality and the “V” symmetry from the main viewing angle.
– Check alignment after each section you lock in place (not only at the end).
– When you approach walls, avoid forcing small triangular adjustments that can hide unevenness temporarily but create long-term stress in chevron flooring joints.
Install with the right underlayment and fastening/adhesion method
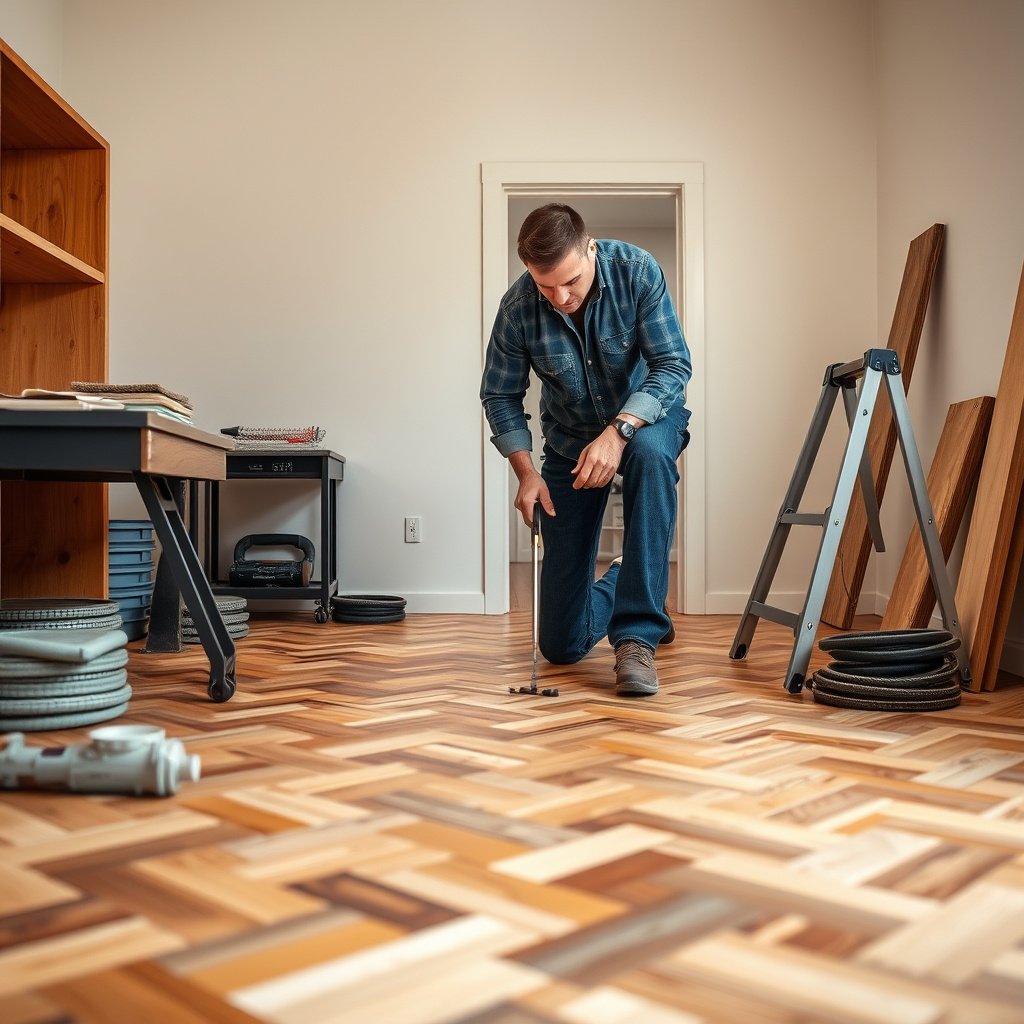
The direct answer is to follow the chevron flooring’s approved installation system—underlayment and fastening/adhesion methods are not interchangeable. Once the subfloor is flat enough, using the manufacturer-approved method reduces squeaks, gaps, and lippage that uneven bases can otherwise trigger.
Underlayment can only improve performance when it’s specifically approved for the chevron flooring type and installation method.
Chevron flooring alignment depends on consistent fastening/adhesion patterns; deviating from the manufacturer’s schedule can create joint failures even on a leveled base.
– Use underlayment only if it’s specifically allowed for your flooring type and installation method (floating vs. glue-down vs. nail/staple-down).
– Match the adhesive/tongue-and-groove nailing pattern to your manufacturer’s specs—don’t improvise just because the subfloor looks “close enough.”
– Keep boards aligned as you go: use spacers for gaps, check alignment frequently, and avoid forcing boards over dips (that’s when gaps and squeaks start).
Floating vs. glue-down vs. nail-down: choose the right risk profile
Chevron flooring can be installed in different ways, and each method has different sensitivity to base flatness. Here’s a comparison to help you reason through the tradeoffs.
| Installation approach | Best fit when base is… | Common issue if not flat |
|---|---|---|
| Floating (click/lock) | Consistently flat with minimal dips | Joint separation and “hollow” feel under V joints |
| Glue-down | Flat enough for full adhesive contact | Poor bond, edge lift, and shifting under load |
| Nail/staple/stick-down (mechanical) | Stable, solid subfloor with correct fastening | Squeaks, nail pops, and lippage at peaks |
Underlayment: what it can and can’t do for chevron flooring
Underlayment is often marketed as a fix-all, but for chevron flooring it’s usually a limited tool. It may help with sound and minor surface irregularities—yet it cannot “bridge” significant out-of-flatness without undermining locking joints or adhesive contact.
If your chevron flooring type allows an underlayment:
– confirm thickness and density are within the manufacturer’s allowed range,
– ensure seams are taped/finished per the underlayment instructions,
– and don’t stack extra layers unless specifically permitted.
Adhesive and fastening schedules are part of the structure
Chevron flooring joints experience repetitive stress at the V peaks. That’s why it matters that glue coverage and mechanical fastening placement follow the installation specs—especially around seams and high-stress transitions.
In day-to-day installs, we see problems when someone tries to “compensate” for unevenness by changing adhesive amounts or forcing planks together over a dip. Even if the surface looks fine briefly, chevron flooring often fails later when seasonal movement returns.
What can go wrong (and how to avoid it)
If you skip leveling, chevron flooring will almost always reveal the problem—usually as gaps, lippage, squeaks, or pattern drift. The fix is to identify which stage created the mismatch: measuring, leveling, layout geometry, or installation method.
Underlayment generally isn’t a substitute for meeting a chevron flooring flatness requirement stated by the manufacturer.
Pattern drift usually originates at the starting reference line or from forcing layouts against an uneven wall during installation.
– Leveling the wrong layer: underlayment isn’t a substitute for out-of-flatness; it can mask issues temporarily but not fix unevenness.
– Using the wrong product for the substrate: a self-leveler not rated for wood (or missing required primer) can fail or bond poorly.
– Pattern drift: if your starting reference lines aren’t square or you start working from an uneven wall, the chevron can “walk” out of alignment.
– Premature installation after leveling: insufficient cure time can cause softness, pinholes, or adhesive problems.
– Not accounting for expansion: tight edges can buckle or push the pattern as the floor moves seasonally.
The “masking” trap
One reason chevron flooring can look acceptable at first is that underlayment and joint compression can temporarily hide dips. But the chevron V geometry is sensitive: repeated micro-deflection concentrates stress at peaks, which leads to gaps at seams.
If you see a rocker board or waviness before leveling, treat it as a system problem. Chevron flooring doesn’t correct a moving base—it amplifies it.
Product mismatch: substrate compatibility matters
Concrete and wood subsurfaces have different moisture behavior and bonding chemistry. A leveling compound that is rated for one substrate may not bond reliably to the other, especially if primer/primer-sealer steps are skipped.
According to manufacturer technical data sheets (TDS), primer requirements and thickness limits are integral to performance (, 2026). Always follow the exact product instructions for your substrate and chevron flooring installation method.
Pattern drift: geometry is cumulative
Chevron flooring “walks” when the starting point is off or when you adjust as you go without re-checking alignment. A small correction early can become a visible offset later. The cure is procedural: re-check alignment at section breaks, confirm wall angles, and avoid forcing planks to fit where the room isn’t compatible with the planned layout.
Expansion issues show up later—often after the first seasonal change
A chevron floor installed too tight at edges may look fine for weeks, then shift as indoor humidity changes. Expansion is not optional; it’s a design requirement. Follow the spacing requirement in the chevron flooring instructions and maintain consistent transitions at thresholds.
Verdict: level first, then install chevron carefully (with a few caveats)
Leveling first is the practical path to a chevron floor that stays aligned, feels solid, and doesn’t highlight low spots. The tradeoff is time and prep effort—self-leveling and proper curing can add cost and require tight coordination, especially as of 2026 when many installers are balancing drying windows with weather and scheduling constraints.
Skip (or get professional help) if:
– The subfloor has structural issues (rot, widespread sagging, or major subfloor failure)—leveling compounds can’t fix that.
– Your flooring warranty requires a specific method you can’t meet (product compatibility, fastening schedule, or flatness limits).
– You can’t confidently measure out-of-flatness and follow the leveling product’s specs—incorrect prep is one of the most common causes of failure.
A key caveat: if your chevron flooring manufacturer includes a specific flatness testing method (straightedge length, measurement frequency, or acceptable deviation), follow that exactly. In chevron flooring, “close enough” is rarely the outcome you want.
Quick checklist you can save
| Step | What to do | Pass/Fail |
|---|---|---|
| Measure | Straightedge out-of-flatness, mark lows/highs | ☐ |
| Prep | Clean + prime/seal if required for the leveling product | ☐ |
| Level | Use correct self-leveler/compound within thickness limits | ☐ |
| Cure | Wait full cure time per product and humidity conditions | ☐ |
| Layout | Snap centerline + confirm starting reference | ☐ |
| Install | Use approved underlayment + approved method (glue/nail/float) | ☐ |
| Maintain gaps | Expansion spacing around perimeter and transitions | ☐ |
Sources
Leveling first, then installing chevron flooring with the approved underlayment and fastening/adhesion method is the most reliable way to avoid gaps, lippage, and misalignment. Measure, level to the manufacturer’s flatness spec, allow full cure, and stay disciplined with layout reference lines—especially as of 2026, when schedule and humidity can tempt shortcuts that the chevron pattern will expose.
Frequently Asked Questions
How do you install chevron vinyl or wood flooring on uneven floors?
Start by assessing the floor flatness using a 6–10 ft straightedge and measuring high and low spots. For chevron floors, it’s critical that the subfloor is smooth before you lay planks or tiles so the V-grooves don’t open or misalign. If the unevenness is more than the product’s tolerance, level with a self-leveling underlayment (or an appropriate underlayment system for your flooring type) before installing chevron flooring. After leveling, re-check flatness and then proceed with your layout and snap/adhesive method per the chevron flooring manufacturer.
What leveling products are best for uneven subfloors under chevron floors?
For small dips and surface irregularities, a patching compound can be enough, but for wider unevenness, self-leveling underlayment is usually the best choice. Choose a product rated for your subfloor type (concrete, plywood, or OSB) and compatible with your chevron flooring installation method (glue-down, nail-down, or floating). If you have significant “lippage” or slopes, you may need a thicker underlayment system or grinding followed by patching/leveling for best results. Always follow mixing ratios, thickness limits, and cure times to avoid hollow spots that can telegraph through chevron patterns.
Which chevron flooring layout technique works best when the floor isn’t perfectly level?
Use a full pattern layout with reference lines—typically establishing the centerline and squaring from the room’s main axis—so the chevron floor looks symmetrical even if there are minor variations. As you dry-fit or place starter rows, confirm the pattern lines remain straight and adjust your starting position to account for any unavoidable subfloor transitions. If leveling creates height differences across the room, plan expansion gaps and threshold transitions carefully to prevent the chevron lines from appearing to “drift.” The goal is consistent row alignment so the chevron seams meet cleanly from wall to wall.
What steps should you follow to prepare an uneven subfloor before installing chevron flooring?
Begin with thorough prep: remove old flooring, clean the surface, and repair any cracks or weak spots. Then measure flatness, mark low areas, and address high spots by grinding if needed—this often prevents the need for excessive leveling compound. Next, apply self-leveling underlayment or patch where required, and let it cure fully before installation. Finally, reinstall any underlayment or moisture barrier (as required) and re-check that the subfloor is flat enough for your chevron flooring planks or tiles to lock or adhere properly.
Why do chevron floors show unevenness more than straight layouts, and how can you prevent it?
Chevron flooring relies on precise alignment—small dips or waves can cause the angled seams to separate, create visible gaps, or make the pattern look crooked. Uneven floors can also stress click-lock joints and lead to shifting, especially in high-traffic areas. To prevent this, level the subfloor to the product’s specified flatness tolerance, use the correct underlayment thickness, and avoid forcing planks into uneven spots. Taking the time to prep and level under chevron flooring is the best way to ensure crisp V-pattern lines and long-term stability.
📅 Last Updated: October 15, 2026 | Topic: How to install on uneven floors chevron floors? | Content verified for accuracy and freshness.
References
- Floor
- Screed
- Self-leveling concrete
- https://en.wikipedia.org/wiki/Floor_underlayment
- Parquet
- Wood flooring
- https://scholar.google.com/scholar?q=chevron+floor+installation+uneven+subfloor+leveling Google Scholar
- https://scholar.google.com/scholar?q=parquet+floor+installation+uneven+subfloor+flatness+tolerance Google Scholar
- https://scholar.google.com/scholar?q=vinyl+plank+tile+installation+uneven+subfloor+flatness+requirements Google Scholar