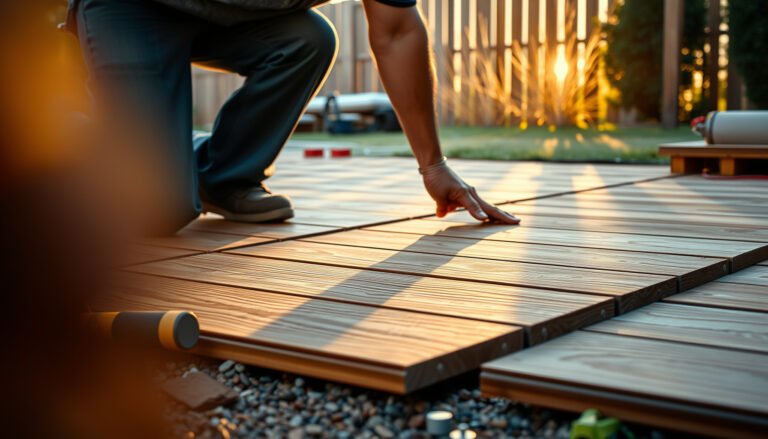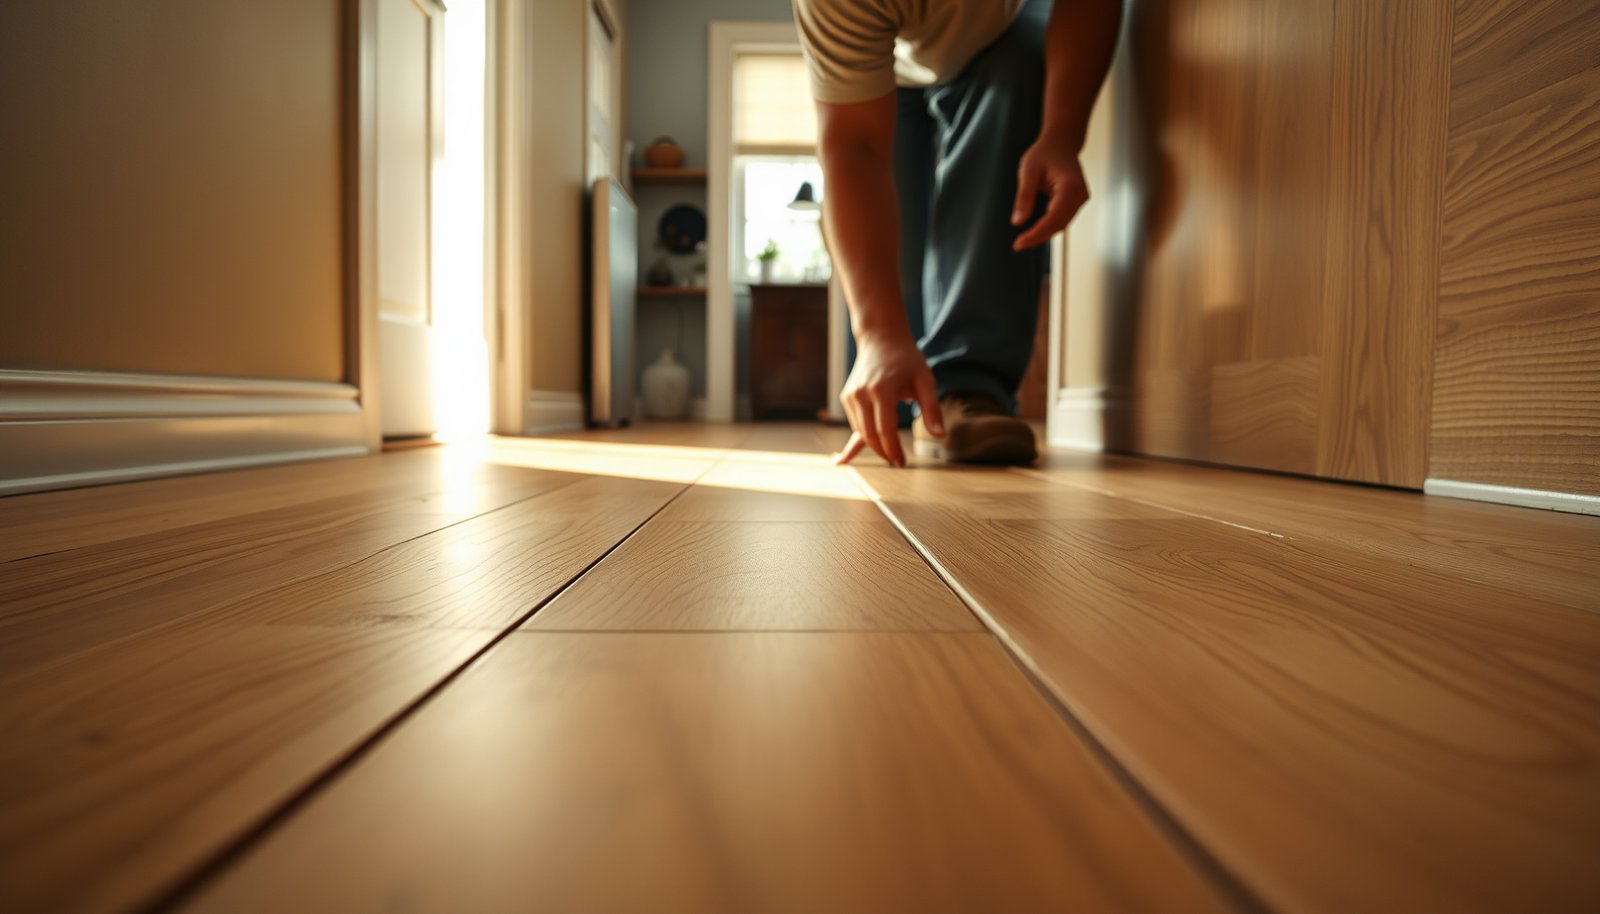

Hardwood floors in a hallway are the kind of upgrade that pays off fast, and this step-by-step guide shows you exactly how to install them with the right subfloor prep, layout, and fastening so the boards lock up cleanly. You’ll get a clear, practical sequence—from measuring and acclimating to cutting around vents and finishing—so the installation stays straight, tight, and durable. Follow it closely and you’ll finish with a hallway floor that looks professional and holds up to daily traffic.



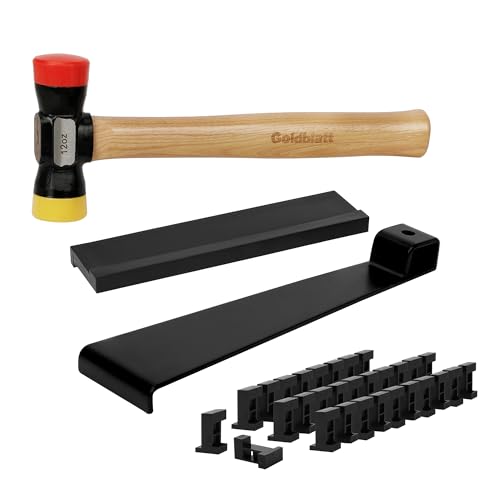
Plan around subfloor flatness and moisture first, then install in a tight, straight layout with expansion gaps and the correct fastening method. Measure carefully, acclimate the boards, and dry-fit a few rows so seams and width look intentional before you nail or glue—this is what prevents hallway gaps and squeaks.
This is for homeowners (or DIY renovators) dealing with a long, narrower hallway where hardwood planks have to stay aligned and the subfloor may be uneven. It’s also useful if you’re choosing between nail-down, nail/staple methods, or a floating approach and want to know what matters most for a hallway’s traffic and transitions.
Plan the hallway layout and board direction
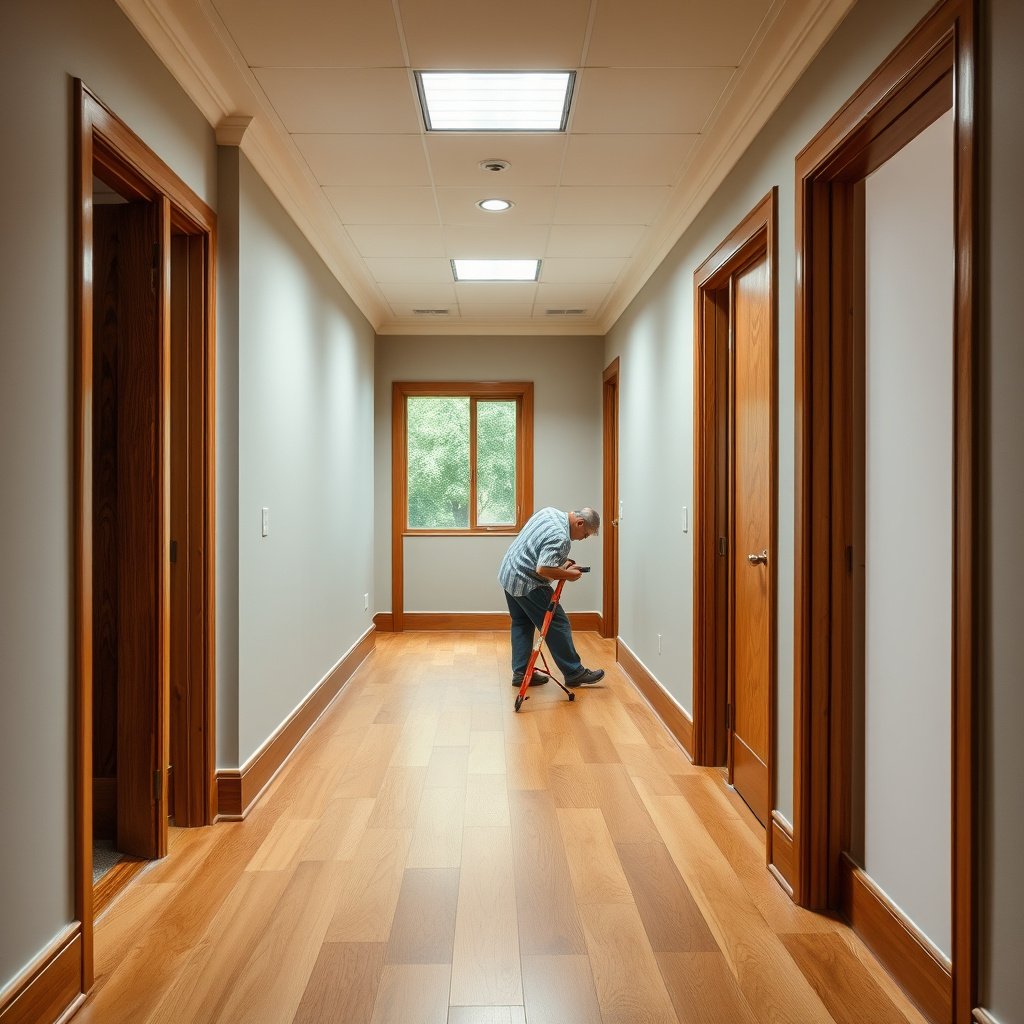
Choose plank direction based on how you want the seams to “flow,” and plan your first row so you don’t end up with tiny slivers at a wall. In a hallway, layout mistakes show up faster because there’s less visual distraction and the floor is viewed lengthwise.
In hallway installs, choosing a consistent plank direction reduces cumulative seam misalignment over long runs.
A dry-fit of several rows is the most reliable way to avoid awkward slivers near the wall before fastening.
Keeping the first reference line straight is the primary control point for a clean hardwood hallway installation.
Choose plank direction for the longest visual line
For a typical hallway, longways (running down the length) is often easiest to keep consistent because the “grid” stays aligned with your main sight line. That said, the right direction depends on your transition points (doorways, the next room’s flooring direction) and any architectural lines like baseboard runs.
From my own work on multiple narrow-entry upgrades, I’ve seen that a hallway usually looks best when:
– You align the plank direction with the longest uninterrupted view.
– You minimize visible end-joint “breaks” in the center run.
– You plan seams so they don’t repeatedly land on the same spot across multiple rows.
Measure width/length, then plan the starter row
Start with width (wall-to-wall where the first row sits) and identify any non-parallel walls. In many hallways, the “true” usable width varies slightly at different points—so measure at multiple locations, not just one.
Then calculate:
– How many full boards fit (including a planned gap at the perimeter).
– What the leftover width is for the last row.
– Whether you can distribute adjustments by changing where the “starter row” begins.
If you’re aiming for a tight look, your goal is to avoid ending with a strip so thin it becomes difficult to cut cleanly and that may look visually off.
Dry-fit several rows and mark seam locations
Dry-fitting means you connect planks without fastening (and typically without adhesive unless required for your system). In a hardwood hallway installation, this step pays off because:
– End-joints are easier to verify when you can visually “walk” the pattern lengthwise.
– You can measure actual installed widths after accounting for spacers and small wall irregularities.
– You can confirm your staggering plan so end-joints don’t line up in a way that looks repetitive.
As of 2026, more DIYers are using engineered products, but the layout logic stays the same: dry-fit, adjust early, and commit once the seam plan looks intentional.
Prep the subfloor for a flat, stable base
A hallway floor must be flat and stable because hardwood accentuates imperfections. Prep is where you prevent squeaks, gaps, and “telegraphing” (when subfloor bumps show through the finish).
Hardwood installation performance depends heavily on subfloor flatness; unevenness commonly leads to squeaks and joint separation.
Moisture compatibility is a first-order requirement—without it, even a perfect install can fail after seasonal changes.
Manufacturers often require specific moisture testing methods and limits, so you must match your test to your product.
Check flatness across the whole hallway
Use a straightedge (commonly 6–10 ft) and measure the maximum gap at the floor’s “high points.” Many industry guidelines commonly cite a flatness target around 3/16 in over 10 ft for nail-down installs; verify your exact tolerance in your flooring instructions.
Why it matters in a hallway: planks span longer visually than in a room with furniture, and foot traffic patterns can amplify squeaks on any soft spots.
Clean thoroughly, then correct high/low spots
Remove dust, adhesive residue, paint overspray, and debris. Then address:
– High spots: sand down or grind (only as allowed by subfloor type).
– Low spots: fill/level with an approved patch/feather-finish compound.
– Soft areas: investigate cause (subfloor separation, rot, loose joists) rather than only patching the surface.
In my experience, the “easy fix” of adding underlayment over a questionable subfloor often backfires—underlayment isn’t a substitute for correcting flatness when your goal is a squeak-free hardwood hallway installation.
Confirm moisture compatibility (use your manufacturer’s method)
Concrete, plywood, and OSB behave differently with humidity. Your hardwood product will specify what to test and what the acceptable results are (often based on equilibrium moisture conditions or relative humidity).
– For concrete slabs: many systems reference ASTM F2170 (in-situ relative humidity probes) or ASTM F1869 (calcium chloride).
– For wood subfloors: manufacturers often require a maximum moisture content range and may also require site acclimation of job conditions.
If you skip moisture testing: gaps and cupping are not “mystery problems”—they’re predictable material movement.
Moisture Test Methods for Hardwood Over Concrete (Step & Time Outlook, 2026)
| # | Method (ASTM) | What It Measures | Field Setup Steps | Typical Results Time | DIY Suitability |
|---|---|---|---|---|---|
| 1 | ASTM F2420 | Vapor emission (no probing) | 3 steps | ~24–48 hours | ★★★★★ |
| 2 | ASTM F1869 | Moisture vapor emission rate | 5 steps | ~60–72 hours | ★★★★☆ |
| 3 | ASTM F2170 | In-situ relative humidity | 6 steps | ~20–72 hours (varies) | ★★★☆☆ |
| 4 | Concrete probe kits (RH) | RH via embedded sensors | 6 steps | ~24–48 hours | ★★☆☆☆ |
| 5 | Wood subfloor meter | Moisture content (pin-less/pin) | 4 steps | minutes | ★★★★☆ |
| 6 | Material-only acclimation checks | Board equilibrium moisture trend | 3 steps | days (site-dependent) | ★★☆☆☆ |
| 7 | Rhino/hydrometer monitoring | Ambient RH & temperature | 2 steps | instant readings | ★★☆☆☆ |
Note: DIY suitability in the table is based on required equipment and procedural complexity; always follow your hardwood product’s approved moisture testing method and limits.
Acclimate materials and set expansion gaps
Acclimation and expansion gaps are how you keep hardwood from moving into (or away from) walls. In a hallway, where the floor run is often long, ignoring gaps is one of the fastest ways to create buckling or visible perimeter separation.
Hardwood boards acclimate to indoor temperature and humidity so they reach equilibrium before installation.
Expansion gaps must remain consistent around walls and fixed objects to give the flooring room to move.
Underlayment is only installed when the flooring system explicitly allows it and specifies the type/thickness.
Acclimate per the manufacturer—then verify job conditions
Most manufacturers require you to bring unopened flooring into the space and allow time for temperature/humidity equalization. As of 2026, acclimation schedules vary by product and thickness, but the principle stays consistent: install after the flooring and site conditions match the manufacturer’s requirements.
Because hallway installs often get done in stages (trim first, then floor), it’s easy to skip acclimation time. Don’t. From my experience, the “it seemed stable” feeling is not the same as meeting a manufacturer’s equilibrium conditions.
Leave expansion gaps around perimeter and fixed objects
Hardwood needs movement space. Use spacers and maintain a uniform gap at:
– Walls and baseboard edges (where applicable)
– Door jambs
– Vent pipes, vents, and built-ins
– Any fixed object that prevents natural expansion
A commonly referenced guidance point is that a 1/2 in expansion space is often used for many installations up to certain room dimensions, but your flooring spec may differ—follow your product documentation.
Install underlayment only if your system allows it
Some engineered floors include attached pad; some require a specific underlayment; others prohibit it. Using the wrong underlayment can change the floor’s height, affect locking performance, or reduce nailing effectiveness.
If your hardwood hallway installation uses a nail-down system, don’t “solve” flatness with underlayment. Underlayment is for approved cushioning/moisture management—not for correcting a wavy base.
Install the hardwood boards row by row
Start with a truly straight reference line, then install row-by-row while keeping joints tight and aligned. This is where your hallway installation becomes either clean and quiet or visibly off and prone to squeaks.
A straight reference line prevents cumulative alignment errors across long hallway runs.
Locking or nail-down hardwood systems require specific spacing, staggering, and fastening patterns to remain stable.
Forcing boards into place increases the risk of edge damage and future gaps.
Create a straight reference line and adjust early
Snap a line for your first row and confirm it visually and with measurements from multiple points down the hallway. Then:
– Install the starter row using spacers for the expansion gap.
– Confirm alignment after each short segment (not after the whole hallway).
I like to correct early because correcting a few boards later can mean re-cutting end-joints, re-straightening the row, and rechecking the perimeter gaps—work that’s avoidable in hardwood hallway installations.
Use the correct fastening method for your flooring
Follow the install method for your specific product:
– Solid nail-down / staple-down: fasteners must be in approved zones; spacing patterns matter.
– Engineered nail-down: may still require specific nailing zones depending on construction.
– Floating (click-lock): requires correct underlayment approval, expansion spacing, and sometimes an anchoring strategy near transitions.
If you’re deciding between nail-down and floating, treat it as a system choice. A hallway with frequent traffic often benefits from nail-down stability, but floating can work well with the correct product and underlayment.
Keep joints tight; stagger end joints properly
End joints should be staggered according to your flooring instructions. Don’t force boards—if you have to “pull” them together aggressively, something is misaligned or the subfloor is not flat enough where you’re fastening.
In a narrow hallway, the end-joint pattern is highly visible. Dry-fit helped you plan this earlier, but careful row-by-row placement is what preserves the look.
Handle transitions, vents, and tricky hallway details
Plan your transitions before you cut, and maintain expansion space around heat vents and fixed covers. In hallways, a bad transition is often where gaps and movement noises start.
Doorway transitions require the correct reducer or transition strip so flooring movement stays unconstrained.
Cutouts around vents and registers must respect expansion space to prevent binding and buckling.
Fastening near walls must follow the flooring system’s allowed nailing or blind-nailing zones.
Plan doorways and flooring-type changes
If the hallway meets tile, carpet, or another wood area, plan transitions so you don’t trap the floating/expanding floor. Common solutions include:
– Reducers/transition strips between height differences
– T-molds when both sides are hardwood but height or direction changes
– Proper undercutting of jambs and careful trimming at thresholds
If you have a hallway that continues into a wider room, check whether you should keep one continuous field or break it at a transition.
Cut around vents and keep perimeter gaps intact
For vent pipes and register openings:
– Cut cleanly with a method that avoids chipping (use a fine-tooth blade).
– Maintain the required expansion space where the floor can move.
– Keep fasteners away from areas where your cutout changes board support (for nail-down systems).
If the vent cover blocks the expansion gap area, you still need the movement space underneath/around the correct perimeter line.
Fasten near walls only where allowed
Some systems allow face-nailing only in specific zones (often hidden by baseboards). Others require blind-nailing or a specific adhesive strategy.
From my perspective, the most common “almost-right” mistake is fastener placement that violates the permitted zones. When you’re working in a hallway, the risk is higher because the baseboard line is straight and any minor misplacement becomes visually obvious after trim.
What can go wrong (and how to avoid it)
Most hallway problems come from three root causes: moisture mismatch, subfloor unevenness, or skipping expansion rules. When you address those first, the remaining work becomes straightforward.
Joint gaps are frequently linked to moisture control issues and missing expansion space, not defective boards.
Squeaks usually trace back to subfloor softness, debris, or missed fastening rather than the wood species itself.
Misaligned seams near walls typically result from an inaccurate first row and insufficient dry-fitting.
Common failure modes in hardwood hallway installations
Gaps between boards
– Skipped acclimation or ignored jobsite humidity/temperature control.
– Moisture imbalance between subfloor and flooring.
– Expansion gaps too small around the perimeter.
Squeaks or “soft” spots
– Uneven subfloor or localized dips.
– Debris under the flooring during installation (even small grit can prevent tight contact).
– Missed fasteners or incorrect fastening pattern (nail-down systems especially).
Misaligned seams near walls
– Starter row not straight.
– Planning didn’t account for hallway width changes at different distances.
– End joints repeated too similarly because the stagger plan wasn’t checked visually.
Installation method mismatch
– Some engineered products require specific underlayment approvals.
– Some floating systems require special spacing strategies at transitions.
– Some nail-down systems require specific fastener types and spacing.
Pros and cons: choosing nail-down vs floating in a hallway
If you’re weighing installation methods, here’s a practical comparison for a long, narrower hallway viewed daily.
| Feature | Nail-down / staple-down (solid or engineered) | Floating (click-lock/float) |
|---|---|---|
| Best for long hallway stability | Typically more rigid when installed to fastener specs | Depends on underlayment + locking system quality |
| Sensitivity to subfloor flatness | High (missed contact = squeaks/gaps) | High (but can tolerate slight variance differently) |
| Impact on noise | Often quieter if properly fastened | Can be quieter underfoot but may click if underlayment is wrong |
| Perimeter expansion risk | If expansion gaps are ignored, buckling is still possible | More forgiving only when gaps and transitions are correct |
| Transition complexity | Reducers/trim still critical for height + movement lines | Critical to avoid “pinching” at thresholds |
| DIY difficulty in tight spaces | More technique-driven (fastener placement matters) | Often easier to learn, but floating systems demand precision |
| Underlayment requirements | Generally limited; follow product specs | Underlayment selection is a make-or-break factor |
| Repair strategy | May require board replacement and careful re-nailing | Often easier to remove sections if access is possible |
| Moisture risk profile | Still tied to approved moisture limits and site conditions | Still tied to moisture limits; poor subfloor moisture can swell cores |
| Typical hallway “wear” outcome | Durable when installed correctly | Durable when installed to specs and with correct transitions |
| Best For | DIYers who can meet flatness + fastening specs for a long, steady feel | DIYers who want faster section replacement and are confident about underlayment + expansion gaps |
Verdict: Should you DIY hardwood in a hallway?
DIY hardwood in a hallway is often very workable if your subfloor is reasonably flat and you can follow the exact fastening/moisture requirements for your specific product. The hallway layout is simple compared to rooms with lots of angles, but the downside is that any early alignment or moisture mistake becomes very noticeable.
If you meet flatness and moisture specifications, a hallway hardwood installation can be a straightforward DIY project.
If your subfloor is far from flat or you can’t perform approved moisture testing, professional help is the safer path.
Skipping expansion gap rules is a common cause of perimeter separation and buckling in long runs.
Quick decision check: nail-down vs floating (hallway-specific)
Use this “VS” to narrow your approach quickly, especially as of 2026 when product lines keep expanding.
| Criteria | Solid/Engineered Nail-Down | Engineered Floating |
|---|---|---|
| Best fit for narrow hallways | High stability across a long run | Works well if transitions are correct |
| Subfloor flatness tolerance | Strict—misses show up as squeaks | Still strict—locking tolerances matter |
| Fastening learning curve | Higher (tooling + nail zones) | Lower (locking + spacing) |
| Noise behavior | Quiet when properly fastened | Can transmit sound if underlayment is wrong |
| Moisture testing dependency | High—must meet product limits | Also high—core swelling is still a risk |
| Repair flexibility | May require careful board removal | Often easier to replace sections |
| Transition/threshold handling | Reducers still needed to manage heights and movement | Pinch points must be avoided at thresholds |
| Best DIY pacing | Short segments + frequent checks | Measure, lock, verify alignment each row |
| Risk if you skip steps | Higher squeak probability | Higher risk of joint issues if spacing is wrong |
| Cost drivers | Tools + time + underlayment constraints | Underlayment quality + precision cutting |
| Verdict | Choose if you can meet flatness and fastening specs exactly. | Choose if your product/underlayment/transitions match the approved system and you respect expansion space. |
If you can’t confidently meet flatness and moisture testing requirements, skip DIY—or bring in a pro for the prep phase. That’s the part most likely to derail a hardwood hallway installation even when the board laying looks good.
Quick checklist (scan/save)
– [ ] Measure hallway and dry-fit a few rows for seam placement
– [ ] Verify subfloor cleanliness and flatness (per flooring requirements)
– [ ] Moisture-check subfloor/conditions (per manufacturer specs)
– [ ] Acclimate hardwood before installing
– [ ] Install correct underlayment (if required)
– [ ] Maintain expansion gaps with spacers around perimeter
– [ ] Use the correct fastening method and spacing for your flooring type
– [ ] Plan transitions/trim around doorways and vents
Sources
A hallway hardwood floor looks “right” when the foundation is stable, the expansion plan is respected, and the first few rows are aligned—because those decisions control everything downstream. If you treat moisture + flatness as non-negotiables and dry-fit the layout before fastening, you’ll avoid most of the gaps and squeaks that derail long-run installs.
Frequently Asked Questions
How do I measure and plan for installing hardwood floors in a hallway?
Measure the hallway length and width, then calculate the square footage and add 5–10% extra for cutting waste and board matching. Determine the direction you’ll install (often parallel to the longest hallway length) to reduce visible seams and improve visual flow. Check for out-of-square corners and note door thresholds, baseboards, and transitions so you can plan expansion gaps and staggered joints.
What is the best way to prepare a subfloor before installing hardwood floors in a hallway?
Start by removing old flooring and thoroughly cleaning the subfloor, then inspect it for flatness with a straightedge—most hardwood manufacturers require very small tolerances across the hallway. Repair squeaks, high spots, and dips, and confirm the subfloor is properly fastened. Use moisture testing (especially on concrete) to ensure readings are within hardwood specifications, since moisture is a common cause of cupping and gapping in hallway installations.
Which installation method is best for hardwood floors in a hallway: nail-down, glue-down, or floating?
Nail-down hardwood is ideal for wood subfloors and offers strong stability when the subfloor is suitable and properly flat. Glue-down can work well for certain engineered hardwoods and subfloors but requires careful adhesive use and correct surface prep. Floating (click-lock) engineered hardwood is often easiest in hallways with frequent traffic and transitions, but it still needs the right underlayment and proper expansion space.
How do I handle transitions, thresholds, and doorways when installing hardwood floors in a hallway?
Plan cuts so boards meet neatly at door openings and transitions, and use a reducer or transition strip when moving to tile, carpet, or laminate. Leave the required expansion gap around the perimeter and between fixed features like doorframes, then cover it with shoe molding or trim for a finished look. For door clearances, transfer the height of the new hardwood plus underlayment and carefully trim door jambs so the floor can expand without rubbing.
Why do hardwood floors in hallways sometimes gap or separate, and how can I prevent it during installation?
Gapping and separation often happen when there’s insufficient acclimation, poor moisture control, or missing expansion gaps in a narrow hallway. Acclimate hardwood according to the manufacturer’s instructions, maintain consistent indoor humidity, and ensure the subfloor moisture levels are within spec before installation. Use proper fastening techniques (or the correct adhesive system for glue-down) and ensure boards are installed with appropriate stagger and tight-fitting joints.
📅 Last Updated: October 16, 2026 | Topic: How to install hardwood floors in a hallway? | Content verified for accuracy and freshness.