
To maintain concrete floors, prioritize the right cleaning routine and a properly timed concrete sealer—because that combination prevents stains, dulling, and surface wear better than care that stops at occasional sweeping. This guide answers exactly how to clean concrete floors safely, what sealers to choose for your finish and traffic level, and how to keep them looking new with practical daily and seasonal care tips. If you want fewer surprises and less maintenance later, start here.




Concrete floors stay looking good when you clean regularly, protect the surface with the right sealer, and address moisture issues before they become stains. In this guide, we’ll walk through practical cleaning routines, how to choose and apply sealing, and what to watch for so your concrete doesn’t dull, crack, or flake over time.
Concrete floors in garages, basements, shops, patios, and indoor living spaces all face the same enemy: wear driven by grit, moisture, and chemical exposure. If you’ve noticed dullness, light staining, or uneven wear, the steps below focus on long-term maintenance for most polished, sealed, and stained concrete systems—plus clear “when to call a pro” signals.
If you want to make this maintenance plan stick, think of it as a simple cycle: remove abrasives, clean gently, verify the sealer is still doing its job, and fix moisture pathways early. The details matter—pH, cure timing, tool choice, and how you handle water all change how concrete performs over years.
Clean Concrete Floors the Right Way (Not Just “More Often”)
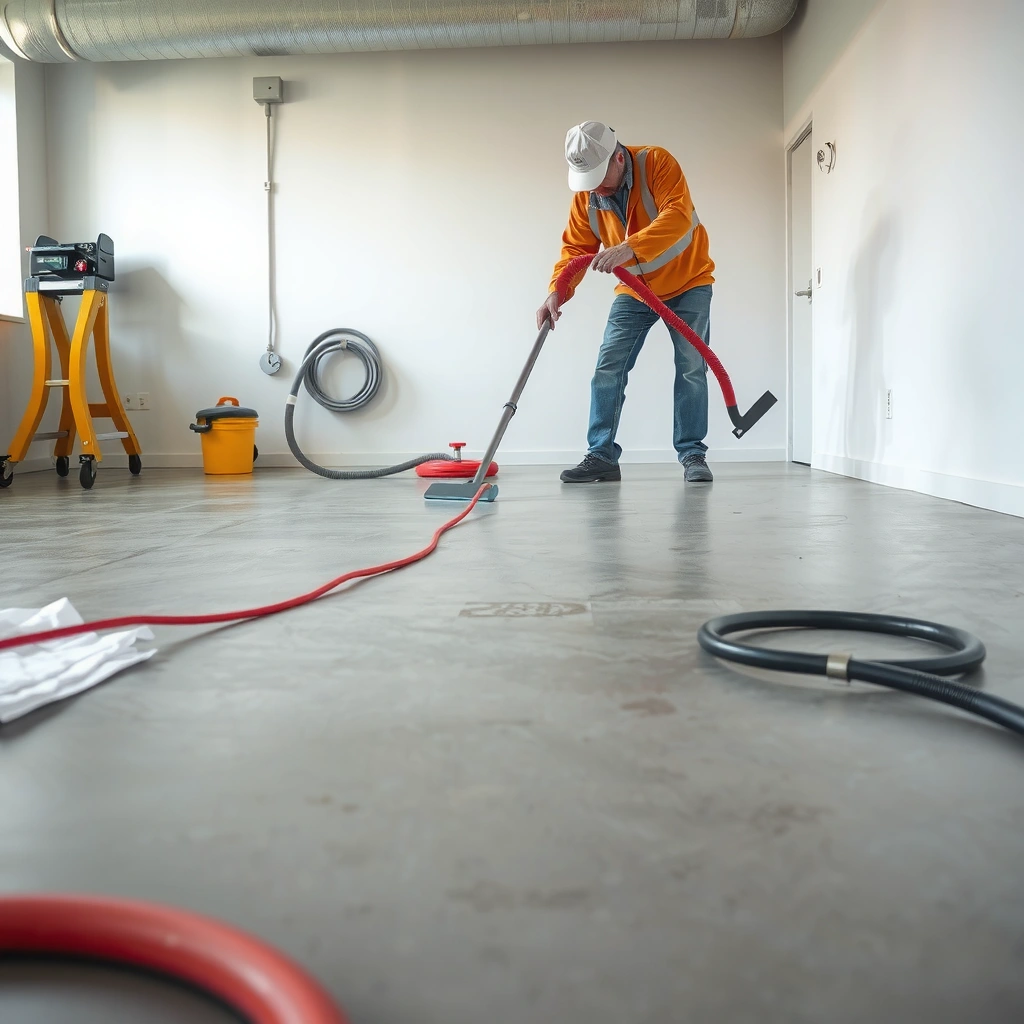
Cleaning concrete is less about scrubbing harder and more about removing grit safely and using compatible chemistry. When you control abrasion and avoid etching agents, you preserve surface texture and keep sealed or polished floors looking even.
Abrasive grit (sand, driveway dust, silica) acts like sandpaper and can dull concrete finishes even if your mopping is “gentle.”
Many concrete cleaning failures come from using the wrong pH—strong acids can etch, while strongly alkaline products can attack some coatings.
For fresh spills, blotting and rinsing help remove residue before it has time to penetrate and bind in pores.
Start with grit removal. Sweep or vacuum first, especially in garages and basements where dust accumulates. For concrete, grit matters because concrete is dense—but surface finishes (sealed tops, densified surfaces, polished resins) still have micro-texture that can be mechanically worn down. If you mop over grit, you’re grinding it into the surface, which accelerates dulling.
Next, use a pH-neutral cleaner and follow the label dilution. pH-neutral doesn’t mean “soap residue-friendly”; it means the product is designed to avoid aggressive etching reactions on cement-based materials and compatible sealers. If your floor is epoxy-coated, urethane-coated, or has an acrylic finish, always match the cleaner to that coating system. When you’re unsure, choose a cleaner that’s explicitly labeled safe for concrete and sealed surfaces.
For spills: blot quickly (don’t wipe aggressively), then rinse with clean water and remove excess water. This matters most for oils, beverages, and chemical drips because residue can become the stain even after the spill is gone. In my experience, the difference between “a faint mark” and “a permanent spot” usually comes down to whether the spill gets rinsed off before it dries.
Use these cleaning habits consistently:
– Sweep or vacuum first to remove grit that can grind into the surface during mopping.
– Use a pH-neutral cleaner and avoid harsh acids/alkalis, which can damage concrete and some sealers.
– For spills, blot quickly and rinse with clean water afterward to prevent residue from binding into the pores.
One quick reference: sealer type and what to expect in maintenance
Different concrete sealers age differently—so the “right” cleaning routine can vary slightly depending on the system on your floor. Below are practical indicators of how common sealer categories tend to perform under everyday wear.
Concrete Sealer Types: Mechanism, Typical Service Life, and Recoat Signals
| # | Sealer category | What it does | Typical service life (indoor) | Recoat rating |
|---|---|---|---|---|
| 1 | Acrylic film-forming | Creates a surface film that repels water | 1–3 years | ★★★☆☆ |
| 2 | Polyurethane (clear topcoat) | Hardens surface for abrasion resistance | 2–5 years | ★★★★☆ |
| 3 | Penetrating silane/siloxane | Water repellent, breathable through pores | 3–7 years | ★★★★☆ |
| 4 | Densifiers (lithium/silicate-based) | Improves surface hardness by reacting in pores | 5–10 years | ★★★★★ |
| 5 | Epoxy coatings | Thick protective system; strong chemical resistance | 5–10 years | ★★★★☆ |
| 6 | Pigmented stain + top sealer | Color in pores + protective clear layer | 3–6 years | ★★★★☆ |
| 7 | Wax/polish (maintenance layer) | Gloss layer that wears off quickly | Weeks–6 months | ★☆☆☆☆ |
Seal and Re-seal Concrete Floors to Prevent Stains
Sealing is what buys you time: it slows water and many stains from penetrating the concrete, making cleaning easier and spots less likely to “set.” The best results come from choosing a sealer that matches your floor type and applying it at the right time with correct prep.
A penetrating sealer is designed to reduce liquid absorption by targeting concrete pores, while film-forming sealers rely on a surface layer.
Sealing before the concrete fully cures can trap moisture and lead to haze, peeling, or bubbling—issues that usually worsen over time.
A practical “recoat signal” is loss of water beading or noticeably faster staining and spotting after routine cleaning.
Choose the sealer based on exposure and finish:
– Indoor dry areas often do well with acrylic or polyurethane systems where abrasion and scuffs are the main risks.
– Garages, basements, and exterior patios need moisture management and chemical resistance; penetrating silane/siloxane or a well-specified topcoat system is commonly selected for these conditions.
– Stained or polished concrete usually benefits from the manufacturer’s recommended top sealer so color and sheen don’t get compromised by incompatible products.
Plan re-sealing around wear and absorption. If water stops beading, dark spots appear faster after mopping, or you notice uneven absorption, it’s often a sign the protection is thinning. Don’t automatically “layer more product” if the old sealer is failing—some systems require cleaning, stripping, or surface profiling before recoating.
Prep matters more than brand. Surface cleaning removes dust and residues that can prevent uniform penetration or adhesion. Cure/conditioning is also critical. Concrete cure is not just about “dry to the touch.” Many specifications benchmark strength testing at 28 days; for example, standard compressive strength tests are typically made at 28 days in ASTM C39. ASTM C39/C39M (standard test method for compressive strength of cylindrical concrete specimens) is commonly used with 28-day results. Curing guidance also emphasizes maintaining moisture and temperature for at least about 7 days in many common scenarios, depending on mix and conditions (see ACI curing practices). ACI curing guidance (e.g., ACI 308 series) outlines minimum curing periods and moisture/temperature management.
How to match the sealer to the job (without guessing)
When you’re choosing, ask:
– Is your concrete bare, densified, stained, polished, or coated?
– Is the area exposed to standing water, de-icing salts, or frequent chemical spills?
– Do you need breathability (to manage vapor/moisture movement), or is a film system appropriate?
If you don’t know what’s already on the floor, proceed carefully. Cross-chemistry incompatibility can cause hazing or adhesion failure. When unsure, a concrete/coatings contractor can test for existing coatings and adhesion profile before recommending recoat steps.
Prevent Cracks, Spalling, and Surface Deterioration
Preventing damage comes down to moisture control, impact reduction, and chemical management. If water repeatedly enters the concrete and then expands/contracts, cracking and spalling (surface flaking) become more likely.
Most surface deterioration accelerates when moisture cycles repeatedly: water penetrates, then freezes or expands and contracts with drying.
Fixing leaks and correcting drainage patterns often prevents more damage than changing the sealer alone.
Salts and abrasives in exterior/garage areas can increase wear by combining corrosion risk and physical scuffing.
Keep moisture balanced:
– Fix leaks promptly (plumbing, roof, HVAC condensate lines).
– Manage humidity in basements and crawl spaces to reduce condensation-driven dampness.
– Improve drainage around exterior slabs so water doesn’t pool.
Reduce impact damage:
– Use mats under heavy equipment and felt/glides under furniture.
– Avoid dropping tools or dragging metal objects directly across the surface; micro-chips can become initiation points for flaking.
Control de-icing and chemical exposure:
– In exterior and garage zones, traction methods matter. De-icing salts and abrasive sand can accelerate surface roughening and chemical attack.
– If you routinely use de-icers, consider switching to products and practices recommended for concrete in your region and climate.
Moisture prevention is where DIY can reach its limits. If your slab has chronic dampness with no visible leak, there may be hydrostatic pressure, subgrade issues, or improper drainage—sealing can delay symptoms, but it won’t correct the source.
Field-ready maintenance tradeoffs (quick pros/cons)
Here’s a practical way to evaluate what to do first when deterioration starts:
– Best first step (usually): Identify and correct water sources.
– Good next step: Add or reapply a compatible sealer after prep.
– Sometimes necessary: Surface repair (patching) or coating system replacement if delamination/spalling is active.
What you should consider:
| Approach | Strengths | Limits / Risks |
|---|---|---|
| Re-seal only | Quick improvement in stain resistance | Won’t fix active moisture pathways; can trap moisture if concrete isn’t cured/dry enough |
| Repair cracked/pitted areas + seal | Addresses defects and improves finish | Requires correct surface prep; wrong patch materials can fail bonding |
| Full coating system upgrade | Restores uniform protection and chemical resistance | Higher cost; requires compatibility with existing floor and often professional prep/testing |
Use the Correct Mopping Tools and Techniques
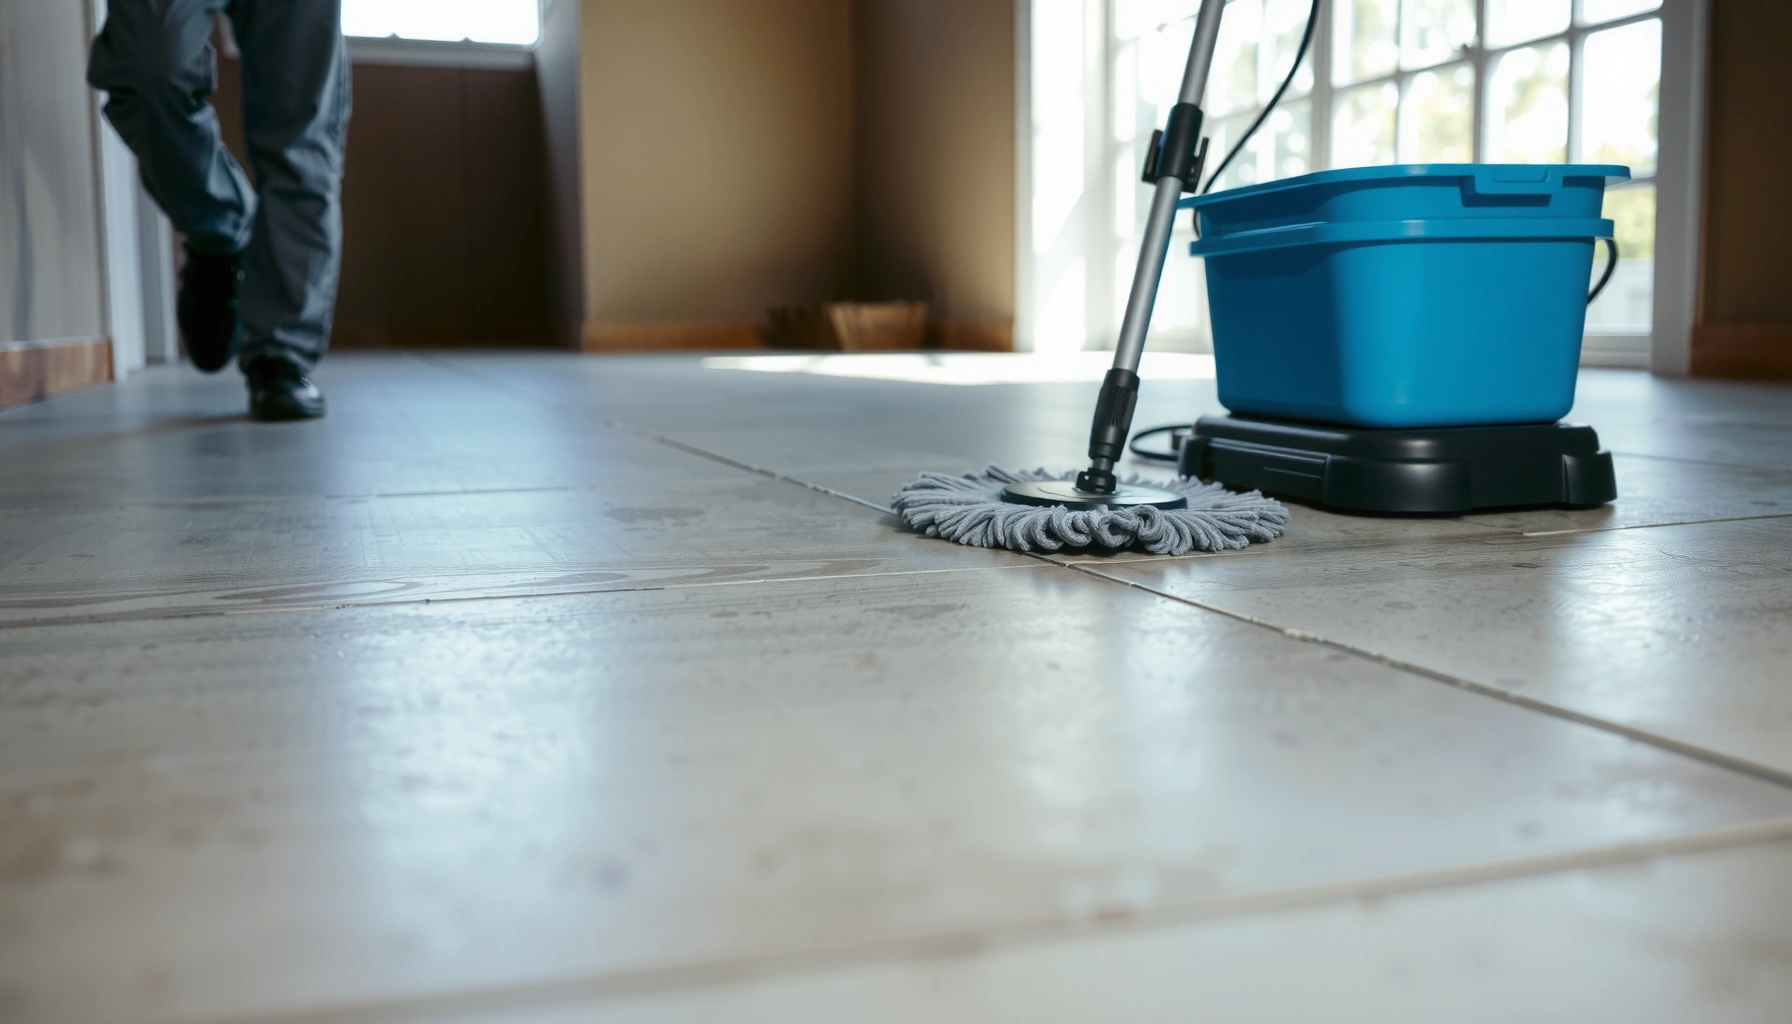
Correct tools prevent abrasion and help maintain the surface finish. You’ll protect both bare and sealed concrete by choosing soft, non-damaging cleaning methods and avoiding techniques that push too much moisture into joints.
Microfiber and soft floor pads remove dust and grime without aggressively abrading concrete or wearing down film-forming sealers.
Leaving puddles can cause uneven wetting and residue buildup, which shows up as dulling or streaks on sealed concrete.
Steam mops add heat and water—so they should only be used if the concrete finish and coating system explicitly allow them.
Mop damp, not flooded:
– Don’t leave puddles—mop to a damp state and dry if your environment stays humid.
– Change water often, because dirty water becomes a re-depositing mechanism.
– Use microfiber or soft pads rather than wire brushes, scouring pads with grit, or aggressive scrubbers.
Avoid steam unless your product instructions explicitly permit it. Heat and moisture can stress some coatings, impact adhesion, and increase the chance of moisture migration through joints. If your floor is jointed, the risk rises: steam can move deeper than you expect, especially where caulking is older or cracked.
Also pay attention to drying time. In basements or winter seasons, ventilation may be the difference between “clean and clear” and “foggy spots.” When humidity is high, a gentle cleaner plus faster drying usually wins.
What Can Go Wrong (And How to Avoid It)
Most concrete maintenance problems come from a small set of preventable mistakes. If you avoid incorrect chemicals, respect cure timing, and address underlying moisture, you’ll prevent the majority of dulling, haze, and peeling.
Acidic or strongly alkaline cleaners can etch concrete and may degrade or dull certain sealer layers.
Sealing too soon can trap moisture, creating haze, bubbling, or peeling—symptoms that typically intensify as the slab continues to cure.
Over-scrubbing can remove top protection and roughen the floor surface, making stains easier to absorb.
Common mistakes to watch:
– Using the wrong cleaner: acidic or strongly alkaline products can etch concrete or break down sealer layers. Stick to pH-neutral, concrete-safe cleaners unless the sealer manufacturer specifically says otherwise. [ADD: cite the cleaning product manufacturer’s pH guidance for concrete-safe cleaners]
– Sealing too soon: sealing before full cure can trap moisture and create haze, peeling, or bubbling. Follow the curing/conditioning recommendations in concrete and sealer documentation. [ADD: cite relevant manufacturer specifications and/or ACI guidance for cure timing and surface preparation]
– Over-scrubbing: aggressive scrubbing can remove the top protection, leading to faster staining and a rougher feel.
– Ignoring water sources: sealing alone won’t fix chronic dampness from plumbing leaks, exterior intrusion, or condensation.
If you see active spalling (flaking), wide cracking that’s growing, or recurring dampness with no obvious source, skip “more sealer.” That’s when a concrete pro (or coatings specialist) should evaluate moisture conditions, slab integrity, and coating compatibility.
Honest Verdict: A Simple Maintenance Routine Works—But Know the Limits
The best approach is consistent cleaning (gentle products), correct sealing when needed, and quick action on spills and moisture problems. When those basics are done reliably, concrete floors typically stay attractive and easier to clean for years.
The downside is real: sealing is not permanent. Every sealer type wears differently, and abrasive traffic, chemical exposure, and moisture cycling will eventually thin the protection. Also, concrete that’s already damaged—deep pitting, failed coatings, or chronic moisture—may require surface repair or professional assessment before any reseal can perform well.
From a practical standpoint, I recommend focusing on prevention first: keep grit out, keep chemicals compatible, and fix water pathways. That combination protects both appearance (dullness/staining) and structure (spalling/cracking risk).
If you want the fastest path to stable results, don’t jump to the highest-cost coating immediately. Start by verifying what you have on the floor (bare vs. sealed vs. coated) and then follow the compatible cleaning and recoat instructions provided by the sealer/coating manufacturer. [ADD: cite specific manufacturer recoat/compatibility guidance for the sealer system used]
Quick Checklist (Save This)
– [ ] Sweep/vacuum grit before mopping
– [ ] Use a pH-neutral cleaner (avoid harsh acids/alkalis)
– [ ] Blot spills fast; rinse residue when needed
– [ ] Keep water sources fixed; don’t let puddles linger
– [ ] Use soft tools (microfiber pads), not abrasive scrubbing
– [ ] Re-seal when water no longer beads or when staining increases
– [ ] Protect from impact (mats, pads, glides)
FAQ
How often should I clean concrete floors?
It depends on foot traffic and how quickly dirt builds up, but a regular light clean (sweep/vacuum plus damp mopping) prevents grit from grinding the surface over time.
What’s the safest cleaner for sealed or polished concrete?
A pH-neutral cleaner is typically the safest choice for most sealed concrete systems—check the sealer/coating instructions if you know what’s on your floor. [ADD: cite pH-neutral guidance from a concrete-safe cleaner manufacturer]
Do I need to re-seal concrete floors?
If your concrete is sealed, re-sealing is usually needed eventually as the top protection wears down. A common sign is when water no longer beads or when staining becomes easier.
Can I use a steam mop on concrete?
Only if your floor finish and coating specifically allow it. Otherwise, the added heat and moisture can stress coatings and increase moisture movement into joints.
Sources
– ASTM C39/C39M (Standard Test Method for Compressive Strength of Cylindrical Concrete Specimens) — commonly referenced with 28-day strength testing.
– ACI curing guidance (e.g., ACI 308 series) — outlines curing practices and minimum curing periods based on conditions.
– [ADD: manufacturer specifications for concrete sealers/coatings used on indoor/exterior floors—especially guidance on cleaning agents, cure time, and recoat intervals]
– [ADD: official guidance from major concrete organizations or coating/sealer associations on concrete curing and surface preparation before sealing]
– [ADD: pH guidance from cleaning product manufacturers for concrete-safe (pH-neutral) cleaners and warnings against acids/alkalis]
When you combine gentle, routine cleaning with compatible sealing and proactive moisture control, concrete floors usually keep their appearance and durability far longer than “cleaning harder” ever will. Use the checklist as your maintenance backbone, and when you notice persistent dampness, active spalling, or spreading cracking, treat it as a sign to diagnose the source—because the right repair plus the right sealer is what ultimately prevents repeat problems.
Frequently Asked Questions
How do you clean concrete floors without damaging the surface?
Use a pH-neutral concrete floor cleaner and avoid harsh acids or bleach, which can etch and dull the finish. Sweep or vacuum first to remove grit that can scratch the concrete, then mop with clean water and the recommended cleaner. For routine maintenance, keep the floor dry after mopping and address spills quickly to prevent staining.
What is the best way to seal concrete floors for long-term protection?
Choose a sealer based on the concrete floor’s use and finish goals—penetrating sealers help with moisture and stain resistance, while topical sealers provide a more visible sheen and easier cleanability. Clean the slab thoroughly and allow it to dry completely before applying the sealer, and follow the manufacturer’s coverage rates for even protection. Reapply sealing as recommended, especially in high-traffic areas like garages and commercial spaces.
How often should you wax or polish concrete floors?
Most bare concrete floors don’t need traditional wax, but polished or polished-maintenance systems may require periodic burnishing or re-polishing depending on wear. Use manufacturer-guided schedules for densifiers, polishes, and maintenance pads to maintain consistent concrete sheen and slip resistance. In general, inspect for dullness, scuffs, or residue buildup and perform maintenance when you notice performance changes.
Why do concrete floors crack or spall, and how can maintenance reduce the risk?
Concrete can crack or spall from moisture imbalance, freeze-thaw cycles, de-icing chemicals, or poor curing and bond. Regular maintenance—like sealing, prompt spill cleanup, and controlling moisture—helps reduce water intrusion that can worsen surface damage. Avoid using aggressive deicers and manage drainage so water doesn’t pool, especially near expansion joints.
Which do you use to prevent stains on concrete floors—mats, coatings, or treatments?
The best approach usually combines prevention and surface protection: use mats or rugs in entryways to catch dirt and abrasive particles, and apply a compatible concrete sealer or stain-resistant coating for ongoing defense. For spills like oil or food, quick blotting and cleaning with a suitable cleaner is critical even on treated concrete floors. Select treatments based on your stain type and exposure level (garage, basement, warehouse, showroom) for the most reliable results.
📅 Last Updated: October 10, 2026 | Topic: How to maintain concrete floors? | Content verified for accuracy and freshness.
References
- Google Scholar Google Scholar
https://scholar.google.com/scholar?q=how+to+maintain+concrete+floors+cleaning+sealing - Google Scholar Google Scholar
https://scholar.google.com/scholar?q=concrete+floor+maintenance+polishing+densifier+burnishing - Google Scholar Google Scholar
https://scholar.google.com/scholar?q=concrete+pavement+maintenance+crack+repair+joint+sealing - Concrete
https://en.wikipedia.org/wiki/Concrete - Concrete sealer
https://en.wikipedia.org/wiki/Concrete_sealer - https://en.wikipedia.org/wiki/Curing_of_concrete
- https://www.cdc.gov/niosh/topics/conc/
- Western Europe
https://www.concrete.org/ - Pavements – Federal Highway Administration
https://www.fhwa.dot.gov/pavement/ - U.S. Environmental Protection Agency | US EPA
https://www.epa.gov/