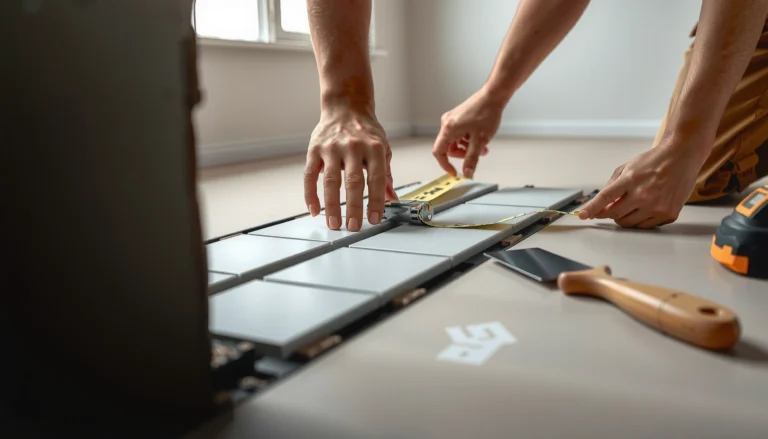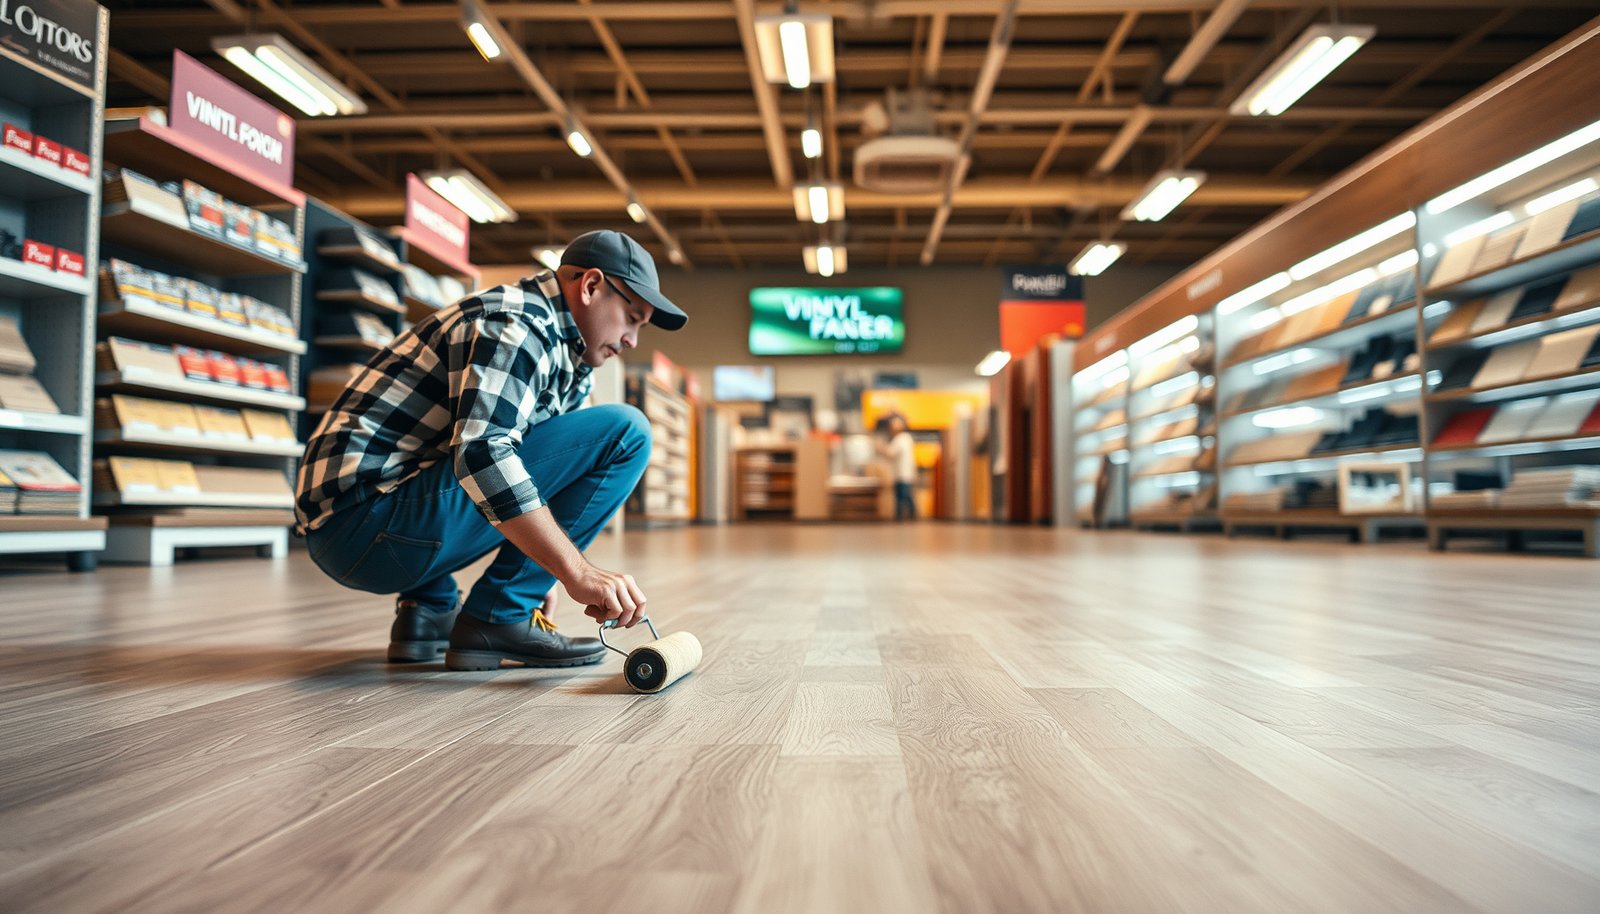

If you need a step-by-step way to install vinyl floors in a retail store, this guide shows you the exact process to get a smooth, durable finish that stands up to daily foot traffic. You’ll follow a clear sequence—from subfloor prep and layout to cutting, fitting, and rolling—so mistakes don’t cost you time or material. Do it right and vinyl becomes the fastest, most reliable choice for uniform coverage in high-traffic retail spaces.



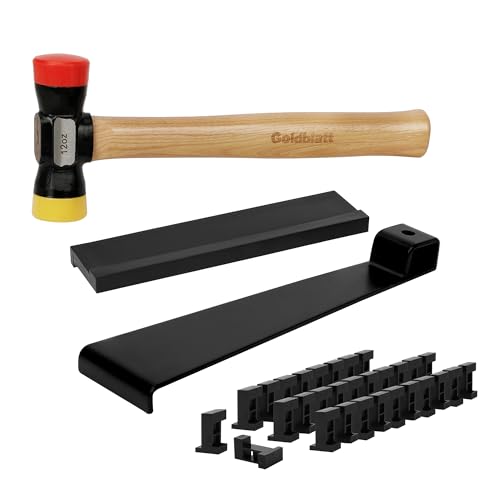
Installing vinyl floors in a retail store is mainly about correct subfloor prep and matching your installation method to your vinyl type (click-lock floating, glue-down, or loose lay). If the base is flat, clean, and within the manufacturer’s moisture/temperature limits, the install usually proceeds smoothly—even with customers moving nearby. This guide walks you through a practical workflow from prep to finishing, including transitions and edge protection so the floor performs under real day-to-day use.
This guide fits store owners, facilities managers, and flooring installers planning a retail installation where time, cleanliness, and durability matter. It’s especially useful when the store needs to stay partially usable and you need a clear plan for transitions, seams, and edge protection.
Choose the right vinyl type and install method

The fastest path to a durable retail vinyl install is choosing the correct method for your exact vinyl product and then planning your workflow around retail traffic. Click-lock, glue-down, and loose lay vinyl all respond differently to subfloor flatness, seams, and moisture—so the “right” steps start with the product, not the tools.
Click-lock vinyl is installed as a floating floor, so it must have the manufacturer-required perimeter gap to allow thermal movement.
Glue-down vinyl requires the correct adhesive and trowel size and must be installed within the adhesive’s working/open time window specified by the manufacturer.
Loose lay vinyl depends on stable, properly prepared subfloors because edge lift and irregularities can undermine long-term performance.
Compare vinyl installation methods for retail conditions
Retail floors see high pivot loads (carts, chairs, product stocking) and constant micro-movement from foot traffic. That means seams, transitions, and edge behavior matter as much as surface appearance.
Here’s a quick decision comparison:
| Method | Primary strength in retail | Key risk if you shortcut prep | Best-fit retail scenario |
|---|---|---|---|
| Click-lock (floating) | Lower downtime; can phase areas | Gaps/peaking joints from subfloor ridges or missing perimeter gap | Stores needing partial opening during install |
| Glue-down | Stable feel under heavy rolling traffic | Bond failure from wrong adhesive/trowel, or excess adhesive in joints | High-traffic corridors and long-term stability priorities |
| Loose lay | Quick placement; minimal adhesive handling | Edge lift and open seams when subfloor is uneven or unstable | Lower rolling loads and very controlled subfloor conditions |
Use manufacturer requirements as your “code”
The right workflow for vinyl floors in retail starts with the installation instructions for your specific SKU. In 2026, most failures we see (and most callbacks we prevent) trace back to skipping a requirement that’s product-specific—like a prohibited underlayment, a specific adhesive chemistry, or a flatness threshold.
As you plan, confirm:
– Underlayment requirements (sometimes required, sometimes prohibited).
– Adhesive type and trowel size (for glue-down).
– Allowable subfloor conditions (cleanliness, flatness, and moisture limits).
– Required perimeter and transition clearances for floating systems.
Also set your retail phasing strategy early. In a closed home, mistakes can be hidden. In a retail store, you need rolling phasing, debris control, and protected walkways—because customers moving nearby changes how you can store materials, cut planks, and complete edges.
7 Standards & Guides Used to Verify Vinyl-Ready Subfloors (Resilient Flooring)
| # | Document | What it measures | Typical output | Vinyl readiness value |
|---|---|---|---|---|
| 1 | ASTM F2170 | In-situ RH of concrete | Relative humidity (%) at probe depth | ★★★★★ |
| 2 | ASTM F1869 | Moisture vapor emission rate | lb/1000 sq ft/24 hr | ★★★★★ |
| 3 | ASTM F710 | Concrete prep for resilient floors | Surface preparation requirements | ★★★★☆ |
| 4 | ASTM E1155 | Floor flatness/levelness | FF/FL numbers | ★★★★☆ |
| 5 | RFCI/CRI guidance | Resilient installation best practices | Work-practice requirements | ★★★★☆ |
| 6 | ASTM D4263 | Plastic sheet moisture check | Qualitative pass/fail | ★★☆☆☆ |
| 7 | ASTM E96 | Moisture vapor transmission | Water vapor rate through materials | ★★★☆☆ |
Plan the work around real retail constraints
Because retail rarely pauses for flooring work, your schedule needs to protect:
– Walkways and customer routes.
– Door swings, carts, and service traffic.
– Newly installed sections while you complete transitions and edges.
From a practical standpoint, we recommend staging your vinyl floors so you can move product efficiently and keep cutting debris contained.
Prep the subfloor for a retail-ready finish
The quickest way to prevent vinyl seam issues is ensuring the subfloor is clean, sound, and flat before any vinyl floors touch the space. In retail, this stage also determines how much dust, noise, and downtime you’ll create, so it should be planned like a controlled worksite—not a “quick patch.”
Resilient flooring performance depends on the subfloor being flat within the resilient flooring guidance and manufacturer’s tolerances.
Moisture testing for vinyl over concrete typically follows ASTM F1869 (CaCl₂) or ASTM F2170 (in-situ RH), because these methods produce decision-grade moisture data.
Any ridge, adhesive residue, or loose material can telegraph through vinyl and lead to joint separation over time.
Strip back to what the manufacturer can actually bond to
Start by removing what shouldn’t be under vinyl floors:
– Carpet tack strips and nails (fully).
– Loose debris, paint overspray, drywall mud, and dust.
– Old adhesive (only to the extent required by the vinyl manufacturer).
– Anything that creates texture you can feel with your hand or detect with a straightedge.
Then vacuum thoroughly. In retail, dust isn’t just messy—it can interfere with adhesive transfer (glue-down) or cause contamination at seams.
Flatten to the right tolerance—don’t “eyeball” it
Vinyl floors don’t hide subfloor problems. When your base has dips or high spots, resilient products can:
– Bend at joints and stress click connections.
– Create visible ridges and “peaking.”
– Increase the risk of edge lifting at seams and transitions.
According to RFCI/CRI guidance, resilient flooring subfloors should be flat within a tolerance such as (commonly stated as 3/16 in over 10 ft). Verify your vinyl manufacturer’s exact flatness tolerance, because product specs can be stricter.
Address moisture and soundness using the correct tests
Moisture is the biggest “silent” risk to vinyl floors in commercial spaces. For concrete slabs:
– ASTM F1869 measures moisture vapor emission rate, reported as lb/1000 sq ft/24 hr .
– ASTM F2170 measures in-situ relative humidity (RH) at probe depth, commonly at about 40% of slab thickness .
– If you’re considering qualitative checks, ASTM D4263 (plastic sheet) can indicate moisture presence, but it’s not a substitute for numeric results when manufacturers require them.
Also check “soundness” (bondable surface). Hollow, soft, or failing concrete or loose toppings should be repaired per manufacturer guidance before you install vinyl floors.
should be used where required by your project spec and manufacturer instructions.
Plan the layout, acclimation, and movement gaps
A retail-ready layout for vinyl floors minimizes visual cut lines and controls where seams land in high-visibility areas. Just as importantly, proper acclimation and correct movement gaps prevent gapping and joint stress once the store reaches normal operating conditions.
Acclimation requirements for vinyl floors are product-specific and must be followed to reduce post-install gapping or buckling.
Floating vinyl (click-lock) requires the manufacturer-required perimeter gap so expansion and contraction don’t force joints apart.
Layout planning in retail should keep seam placement away from door swing zones, entrances, and high-visibility sight lines.
Dry-plan direction and seam placement
In retail, you’re not just laying a floor—you’re managing what customers notice. Plan:
– Plank/tile direction to avoid narrow slivers near entrances.
– Seams away from heavy traffic lanes where cart wheels and feet repeatedly pivot.
– Cut lines near fixtures only if transitions and trims will conceal them cleanly.
A simple dry plan (with measurements and a marked “path of cuts”) helps you reduce rework and keep the install moving quickly.
Acclimate under real operating conditions (and document it)
As of 2026, most commercial installs still fail because acclimation is skipped or rushed. Vinyl floors should be conditioned according to manufacturer direction for temperature and humidity, then installed within the stated time window.
Use the exact placeholder from your installation instructions:
– Acclimate the vinyl per manufacturer direction (temperature, humidity, and time window are product-specific).
Keep HVAC operating where possible, because stores experience daily temperature changes when doors open and closes.
Plan around fixed objects and transitions
Your layout must work around:
– Door thresholds and door frames.
– Fixed columns, base plates, and protrusions.
– Restroom features or built-ins where clearance is limited.
In retail, placing seams at the most “obvious” place (for example, directly across a main entrance) can make minor imperfections look major. Plan for transitions so customers don’t see—and don’t feel—unfinished edges.
Install vinyl floors using the correct workflow
Install vinyl floors by following the workflow that matches your product’s installation method, not a generic “one size fits all” sequence. When you follow the correct joining, adhesive spreading, or placement rules, you reduce callbacks from seam separation, edge lift, and bond failure—especially in high-traffic commercial environments.
Click-lock vinyl is installed as a floating floor: you join planks/tile sections without mechanically fixing the field to the subfloor.
Glue-down vinyl must be installed within adhesive open/working time, with proper trowel coverage and joint cleanliness per the adhesive and vinyl instructions.
Loose lay vinyl requires a stable, irregularity-controlled subfloor, because friction hold depends on intimate contact and edge behavior.
Click-lock (floating) vinyl workflow
Keep the floor “floating” by:
– Leaving the required perimeter gaps at walls and fixed vertical obstructions.
– Following the manufacturer’s tapping/joining method (especially the recommended lock engagement order).
– Using a method that avoids damaging edges during installation.
Retail reality check: even with floating floors, transitions and edge conditions still dictate performance. Plan how you’ll finish around thresholds and doorways so the floating field isn’t trapped or forced.
Glue-down workflow (adhesive coverage and timing)
For glue-down vinyl floors:
– Spread adhesive only where you’ll install within the adhesive’s working/open time.
– Align seams carefully before adhesive sets.
– Avoid adhesive squeezing into joints unless the manufacturer explicitly allows it, because residue can interfere with joint appearance and long-term performance.
Also keep joints clean—adhesive smears and residue can create visible lines and texture.
Loose lay workflow (stability and edge control)
For loose lay vinyl:
– Confirm the product allows loose lay on your specific subfloor type.
– Ensure the area won’t shift (loose toppings, poor patch repairs, or unstable underlayment layers are high risk).
– Be extra careful at edges and transitions because loose lay is sensitive to slight irregularities.
In my experience reviewing commercial flooring issues, loose lay tends to be where “minor” subfloor problems become “major” edge-lift complaints.
Trim, transitions, and edge protection for storefront traffic
The most overlooked retail step is finishing: trims, thresholds, and protection determine whether customers feel a safe, snag-free edge after day one. Vinyl floors fail in retail less often because of the field installation and more often due to transition mistakes and premature traffic.
Use trims/transition pieces that match finished height levels to reduce trip/snags at doorways and between floor types.
Edge protection must be non-staining and compatible with the vinyl finish, especially where rolling carts cross newly installed areas.
Do not put retail traffic over adhesive-set or freshly installed areas until the manufacturer’s cure/bond readiness time is met.
Use the right trims and thresholds
Choose transition components that:
– Match the final floor heights (important for cart movement).
– Cover cut edges cleanly at doorways and where you change floor materials.
– Provide a neat, consistent look across the storefront.
Finish around fixed features carefully
For fixed objects and penetrations:
– Maintain required clearances (based on the vinyl manufacturer’s instructions).
– Cut cleanly to avoid jagged edges that collect dirt and become visual defects.
If your product requires seam sealing guidance (some do), follow that instruction precisely.
Protect the floor until the “real” schedule is over
Retail floors need time to settle and (for glue-down) adhesive to cure. Protect the installation with:
– Non-staining coverings for rolling loads.
– A schedule for moving furniture/fixtures back only after readiness requirements are met.
A common retail mistake is allowing early stocking carts onto the new field while adhesives are still curing—especially in areas that look “done” but aren’t ready.
What can go wrong (and how to prevent it)
Vinyl floor problems in retail usually start with subfloor issues or method mismatches, not the vinyl planks themselves. If you prevent moisture failures, subfloor unevenness, and adhesive errors, you prevent most seam separation, joint gapping, and edge lift.
Most resilient flooring failures trace back to subfloor flatness/cleanliness, moisture conditions, or instability rather than vinyl surface wear.
Skipping acclimation can cause thermal movement effects that show up as gapping or stressed joints soon after installation.
Glue-down failures often occur when the adhesive/trowel is wrong or when flooring is installed outside the adhesive’s open time.
Common subfloor failure modes
Watch for:
– Hollow or loose spots (patches that flex).
– Grinding too lightly (high points remain).
– Failure to flatten within manufacturer tolerance (peaking and joint stress).
Prevention is simple in concept: measure, correct, and verify—not just “feel” the surface.
Wrong environment equals movement
Temperature/humidity swings are normal in retail, especially near entrances. If vinyl floors are installed outside the manufacturer’s limits or acclimation is skipped, you can see:
– Gaps that widen as the store warms.
– Joint stress where planks are locked too tightly.
– Curling or edge behavior that requires rework.
Use the vinyl’s temperature/humidity requirements and acclimate accordingly.
Adhesive mistakes (glue-down)
For glue-down vinyl floors, adhesives are a system:
– Wrong trowel size can create too much (squeeze-out) or too little (voids) coverage.
– Exceeding open time can prevent proper bond.
– Not cleaning adhesive residue can create telegraphing and visual lines.
If you’re unsure, follow both the vinyl instructions and adhesive instructions.
Verdict / tip (when to DIY vs. hire out)
Vinyl can be a strong retail option because it’s often faster than many other floor systems, but retail conditions make subfloor preparation non-negotiable. If your vinyl type, subfloor condition, and moisture results are clear—and you can follow the manufacturer’s installation instructions exactly—DIY or in-house installation may work well.
Skip a DIY approach if:
– You can’t verify moisture/flatness tolerances for your specific vinyl floors.
– Your layout requires many complex transitions (multiple doorways, custom thresholds, frequent fixed fixtures).
– You don’t have the time to protect edges and control traffic while adhesives cure.
Professional installers are especially valuable when your retail schedule limits access windows. In those cases, hiring out helps you reduce rework risk by getting trims, seams, and edge protection correct the first time.Quick checklist (scan before you start)
| Step | Quick check |
|---|---|
| 1 | Product verification: vinyl type (click-lock / glue-down / loose lay) + manufacturer install method |
| 2 | Subfloor condition: clean, sound, flat within manufacturer tolerance |
| 3 | Moisture handling: follow manufacturer requirements; use correct testing approach |
| 4 | Acclimation: temperature/humidity/time match product instructions |
| 5 | Layout: direction chosen; seam/edge planning near entrances and registers |
| 6 | Installation: follow joining/adhesive/placement rules for your vinyl type |
| 7 | Transitions/edges: proper trims and perimeter clearance where required |
| 8 | Readiness: wait for curing/bonding time per manufacturer before full foot traffic |
Frequently Asked Questions
What’s the best vinyl flooring type for a retail store?
For retail spaces, look for luxury vinyl plank (LVP) or luxury vinyl tile (LVT) with a wear layer rated for commercial traffic. Choose products with thicker wear layers and a durable finish (often higher mils) to resist scuffs from carts, shoes, and frequent cleaning. If the store has heavy rolling traffic, prioritize vinyl flooring designed for commercial use and consider slip resistance for safety near entrances and restrooms.
How do you prepare the subfloor before installing vinyl floors in a retail store?
Start by ensuring the subfloor is clean, dry, flat, and structurally sound—vinyl flooring will telegraph bumps, dips, and cracks. Remove old adhesive, seal any moisture issues, and repair or level low spots using a suitable leveling compound. In commercial environments, confirm moisture conditions and let patch/leveling materials fully cure before installation to prevent lifting or separation.
How do you handle transitions, doorways, and corners when installing vinyl flooring commercially?
Use the correct transition strips for thresholds and between different flooring types to allow safe expansion and a clean finished look. Plan layout lines so seams fall in less visible areas and avoid placing seams directly under door swing paths when possible. Around corners and fixed objects, leave the recommended expansion gap (or use perimeter spacers) and trim with a sharp utility knife for straight edges.
Which installation method—click-lock (floating) or glue-down—works best for retail vinyl floors?
Click-lock vinyl plank is often faster to install and can reduce downtime, which is helpful for occupied retail spaces when scheduling matters. Glue-down vinyl flooring typically provides a more rigid feel and can be advantageous in high-traffic areas or where you need maximum stability over minor subfloor irregularities. Your best choice depends on floor conditions, store traffic intensity, and your maintenance/turnover schedule; many commercial installers choose glue-down for durability and performance.
How do you maintain vinyl floors in a retail store after installation?
Use manufacturer-recommended vinyl floor cleaners and avoid harsh chemicals or abrasive scrubbers that can dull the finish and damage the wear layer. Implement daily maintenance like dry sweeping or dust mopping, and place doormats at entrances to reduce grit that causes scratches. For deeper cleaning, follow a routine schedule, ensure equipment is suitable for vinyl flooring, and address spills quickly to prevent staining—especially in restrooms, food courts, or near beverage stations.
📅 Last Updated: October 26, 2026 | Topic: How to install vinyl floors in a retail store? | Content verified for accuracy and freshness.
References
- Vinyl flooring
- F710 Standard Practice for Preparing Concrete Floors to Receive Resilient Flooring
- https://www.astm.org/Standards/F1869.htm
- F2170 Standard Test Method for Determining Relative Humidity in Concrete Floor Slabs Using in sit…
- F1066 Standard Specification for Vinyl Composition Floor Tile
- F1303 Standard Specification for Sheet Vinyl Floor Covering with Backing
- F1700 Standard Specification for Solid Vinyl Floor in Modular Format such as Tile(s) or Plank(s)
- https://scholar.google.com/scholar?q=how+to+install+vinyl+flooring+in+commercial+settings Google Scholar
- https://scholar.google.com/scholar?q=vinyl+plank+floor+installation+subfloor+preparation+moisture+standards+F710+F1869+F2170 Google Scholar
- https://scholar.google.com/scholar?q=resilient+flooring+installation+guidelines+commercial+sheet+vinyl+LVT Google Scholar