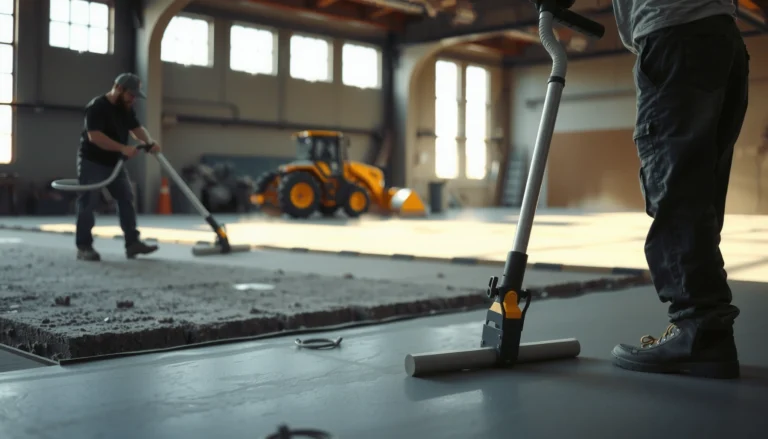
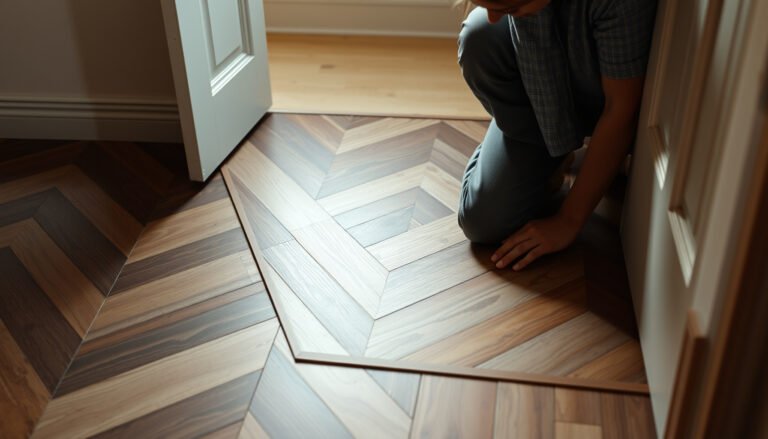
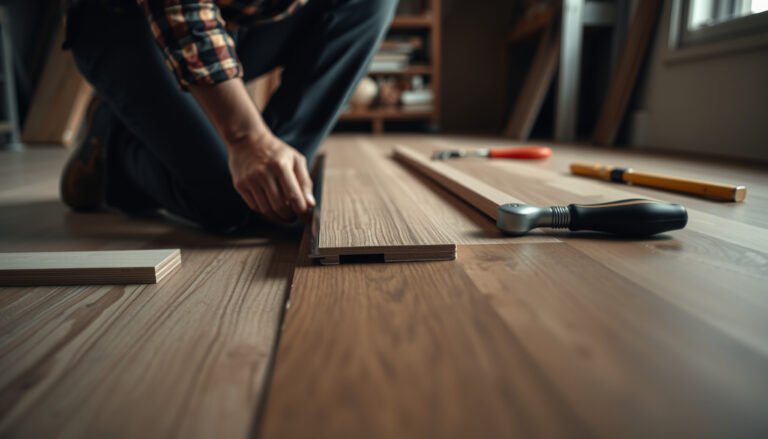
Learn how to level vinyl floors before installing a commercial office—quickly and correctly, so your new floor won’t telegraph bumps or crack at seams. The clear winner for most commercial jobs is a self-leveling underlayment system over properly prepared subfloors, because it creates a flat surface fast and handles common office-traffic requirements. We’ll walk you through what to check first, how to prep the existing vinyl, and which leveling approach to choose to meet commercial standards.




If your vinyl is going into a commercial office, the fastest path to preventing gaps, clicking, and premature wear is to level the subfloor first (not just patch low spots). In practice, “level” means achieving the manufacturer’s required flatness/variation limits across the room—checked with a straightedge—then correcting dips and humps using an approved leveling compound or self-leveling underlayment, with proper moisture and cure time. This guide walks through what “level” means in real job conditions and the steps to get there safely, even when you’re working over concrete, existing finishes, or a subfloor showing noticeable high/low areas where rolling loads and foot traffic are constant.
This is for facility managers, flooring installers, and contractors preparing commercial office spaces for vinyl (LVP/LVT, glue-down, or click/lock). It applies whether you’re leveling on concrete, over existing flooring, or on a subfloor that shows measurable high/low conditions—especially in corridors, conference suites, and office zones with daily traffic.
Measure flatness first (don’t guess)
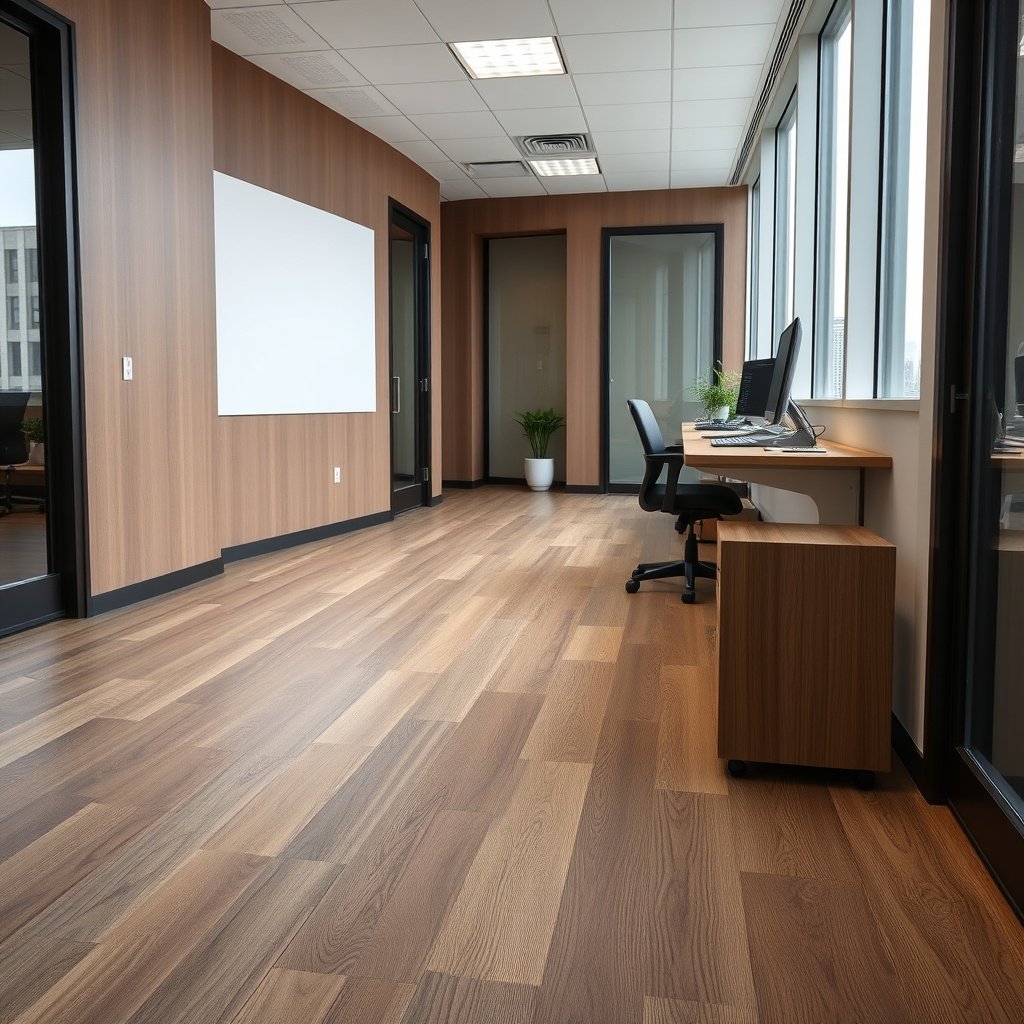
The best way to prevent vinyl installation failures is to measure flatness with a straightedge (or equivalent method) before you buy any leveling products. Here’s why: without mapping highs and lows, you can’t apply the right compound thickness, and you risk leaving ridges that later telegraph through vinyl seams and joints.
Flatness requirements for resilient/vinyl installations are defined as maximum variation over a specified distance, not as “it looks even.”
A straightedge survey (often with chalk lines) is the only reliable way to find dips and humps that can drive click-lock seam separation or glue-down bond failure.
Even “small” deviations can become visible or felt under rolling chairs and concentrated chair casters in commercial offices.
H3: Use a straightedge (or laser) to create a real map
Start by checking the floor with a long straightedge—typically the longest you can practically maneuver through the room. If you have a laser and a measuring method, that can work too, but you still need a traceable measurement plan. For commercial vinyl flooring, what matters is repeatable mapping: you mark high spots and low spots so leveling work targets the actual problem geometry, not your assumption of where the problem “feels” like it is.
As you scan, mark the worst areas clearly with chalk or marker. Record the distance/location and how far off the plane each spot is (for example, “worst dip near doorway threshold”). In 2026 office builds, we’re still seeing crews skip this step and then wonder why seams open after install—because the vinyl system is reacting to subfloor shape, not just cleanliness.
H3: Confirm the tolerance for your specific vinyl system
Before you select a leveling compound, confirm the vinyl manufacturer’s required flatness/leveling tolerance for your exact product line and installation type. Click/lock systems generally demand tighter flatness than installations that can tolerate more micro-variation. Glue-down vinyl may handle minor irregularities better, but it’s not a substitute for a flat substrate—especially in commercial office layouts where chairs and rolling carts create repeated stress.
H3: Anchor your expectations with standards guidance
According to ASTM E1155, flatness is evaluated by comparing the surface to a defined reference plane using specified measurement methods.
According to ASTM F710, preparing concrete floors for resilient flooring includes removing contaminants and correcting surface irregularities to meet installation requirements.
According to , resilient installations are commonly specified with a maximum floor variation target measured over a defined distance (commonly expressed in inches over 10 ft and converted to mm over 3 m).
Pros/cons to keep you from overcorrecting
| Approach | Pros | Cons | Best when |
|---|---|---|---|
| Straightedge map + targeted leveling | You match compound thickness to the actual lows and avoid unnecessary buildup | Takes time upfront; requires measurement discipline | Office rooms with known uneven zones (entries, corridors, old patch areas) |
| “Patch low spots” without full flatness verification | Faster first day | Leaves highs that telegraph and lows that compress under rolling loads | Only when the vinyl spec explicitly allows spot corrections |
| Grinding highs without measurement | Prevents “soft” buildup over humps | You can miss an adjacent dip and create a new problem | Only after confirming the overall flatness pattern |
In my work reviewing commercial flooring scopes, the most common failure mode is not using the “wrong” compound—it’s leveling decisions made from incomplete measurement.
Choose the right leveling method for your subfloor
The correct leveling method depends on how your substrate is behaving (localized dips vs. broad waves) and whether the subfloor is stable. The wrong method can leave you with cracked compound, weak surface layers, or vinyl that fails early—even if you followed the mixing instructions.
Self-leveling underlayment is intended to flow and level broader surface variations; it isn’t a substitute for addressing structural movement.
Feather-finish/patch products are generally used for localized low spots because they’re easier to control at thin edges.
Moisture and bond conditions matter: leveling compounds have documented substrates they can bond to successfully.
H3: Match product behavior to the flatness problem
For concrete with localized dips, installers often start with a patch or feather-finish product for shallow low areas, then refine the surface to meet the required flatness. For broader waves across an office bay, an approved self-leveling underlayment is typically the more practical solution because it distributes thickness across a larger footprint.
For wood subfloors (or any less rigid structure), the stability check comes first. Leveling compounds can’t “fix” movement. If the structure flexes or squeaks under load, leveling may crack and vinyl may lose support—especially in high-traffic areas like hallways and open-plan seating zones.
H3: Use a comparison decision rule
If you’re standing in the room deciding what to do next, here’s a practical rule of thumb:
– Localized low spots: choose a patch/feather product designed for thin corrections and controlled feather edges.
– Wide undulations: choose a self-leveling underlayment designed for flow-based leveling over a broader area.
– Any sign of movement: address structural stability before leveling.
H3: Don’t ignore system compatibility (glue-down vs. floating/click)
A leveling product that’s compatible with concrete might not be suitable over certain existing finishes or patch mixes. Also, match the leveling system to your vinyl installation type:
– Glue-down LVT/LVP: requires a surface that supports a proper adhesive bond and doesn’t break down at the top layer.
– Click/lock floating vinyl: demands consistent flatness to prevent joint stress and seam “clicking” issues.
For moisture conditions, confirm the bond and moisture requirements of both the leveling compound documentation and the vinyl flooring documentation. In commercial offices built around recent HVAC upgrades, moisture profiles can change quickly—so your selection in 2026 should still be based on current site testing, not last quarter’s assumptions.
Concrete vs. wood: what to fix first
– Concrete: address surface irregularities (highs/lows) and ensure proper cleaning/profiling per the compound spec and resilient flooring preparation standards.
– Wood: verify structural stability (fastening pattern, subfloor movement, isolated deflection). Leveling works best on a stable substrate, not a moving one.
Prep is everything: cleaning, profiling, and moisture checks
The leveling step succeeds or fails based on substrate prep—especially bonding. Before any leveling compound goes down, you must clean thoroughly, profile glossy surfaces when required, and complete moisture checks whenever the documentation calls for it.
Leveling compounds require a clean, sound substrate to bond; dust, paint overspray, and adhesive residue can prevent adhesion even if the floor is flat.
Moisture testing is not optional when either the vinyl flooring or the leveling underlayment documentation requires it for warranty compliance.
Cracks and voids should be filled and stabilized before you attempt whole-floor leveling so the compound doesn’t recreate weak spots.
H3: Clean like you’re preparing for adhesive, not just “repair”
Remove contaminants: drywall mud, paint overspray, curing compounds, oils, dust, and adhesive residue. For glossy concrete or sealed surfaces, mechanical profiling may be necessary so the leveling material can grip the substrate. Avoid guessing—use the leveling compound manufacturer’s substrate prep instructions.
In real office schedules, the prep phase gets squeezed. From my field observations, that’s when installers see pinholes, delamination patches, or inconsistent surface strength after cure. Commercial vinyl flooring failures later usually trace back to this “invisible” prep layer.
H3: Fix the cause of low areas, not just the symptom
If low areas keep returning or you find repeated dips near the same locations, investigate why:
– loose or moving subfloor elements
– settlement at joints or old patch transitions
– water intrusion sources (even minor recurring dampness)
Fill cracks/voids appropriately before leveling. If you skip this, the compound can flow into voids and create uneven thickness after cure.
H3: Moisture checks per documentation (and keep records)
For moisture testing, follow the method required by the vinyl flooring and leveling compound documentation (commonly including in-situ testing methods such as relative humidity measurements or other industry-standard procedures). Keep documentation in the job file—commercial teams frequently need it for warranty and compliance reviews.
According to ASTM F2170, relative humidity measurement is used to assess moisture conditions in concrete for floor covering installations where required.
According to ASTM F1869, calcium chloride testing is used as another method to evaluate moisture vapor emissions for flooring systems where required.
According to ASTM F710, preparation practices include addressing contaminants and surface conditions prior to resilient flooring installation.
Fill low areas and flatten high spots correctly
The most reliable leveling strategy is to reduce highs with grinding and build lows with the correct compound thickness—then re-check flatness after cure. This approach prevents “leveling over problems” that can create ridge marks, poor adhesion, or joint stress in commercial vinyl flooring.
Grinding high spots before leveling reduces the risk of leaving ridges that telegraph through LVP/LVT seams.
Leveling compounds have published minimum and maximum thickness ranges; exceeding them can cause shrinkage, cracking, or surface weakness.
If a room has multiple low zones, consistent thickness control (using gauges or a leveling plan) improves repeatability across the whole office bay.
H3: Start with the geometry—highs first, then lows
A common mistake is trying to “float” the whole floor upward. If you have significant high spots, grind them down rather than trying to correct them with compound. Grinding is usually more efficient and helps keep the leveling layer within the compound’s intended thickness performance range.
Once highs are corrected, focus on lows. Apply leveling compound according to the manufacturer’s specified mix ratio, pour/spread method, and working time. Many self-leveling products require attention to batch size to avoid premature set and inconsistent flow.
H3: Control thickness across the office footprint
For commercial offices with zoning (cubicles, conference areas, break rooms), you’ll often find multiple low areas. Use leveling gauges/spacers or a defined leveling approach so you don’t create uneven thickness that can later stress floating joints or compromise adhesive contact.
If the floor has dips at transitions (for example, at doorway thresholds), treat those transitions intentionally. Vinyl systems often expose seams most clearly in those traffic corridors.
H3: Re-check after the leveling layer cures
Before you move on to vinyl installation, verify flatness again using the same measurement approach you used initially. Clean the surface right before install—dust from grinding and debris can interfere with adhesive bond or underlayment performance depending on your system.
Protect the finish: cure time, temp/humidity, and verification
Your vinyl installation is only as good as the leveling cure. In commercial office environments, you must follow the leveling product’s cure timeline and maintain jobsite conditions to ensure the surface is hard, stable, and dimensionally ready for vinyl.
Installing vinyl before leveling compound fully cures can trap residual moisture or leave a weak surface layer that impacts bond and durability.
Jobsite temperature and humidity can change cure performance; leveling manufacturers specify acceptable ranges for a reason.
Verification doesn’t end at pour time—flatness should be re-confirmed after cure, then the surface cleaned before vinyl installation.
H3: Cure fully—then verify again
Follow the cure time stated by the leveling compound documentation. Don’t rely on “it feels dry.” Dry-to-touch does not always equal fully cured in commercial office conditions where HVAC cycling, occupancy schedules, and window exposure affect drying behavior.
Keep jobsite conditions within the recommended temperature/humidity ranges for the specific leveling material. In 2026, we’re seeing more flexible HVAC setpoints and faster turnovers between trades—so adhering to the specified ranges becomes even more important.
H3: Clean immediately before vinyl goes down
After cure and any required finishing, vacuum thoroughly and remove fine debris. If you grind anywhere late in the process, plan a final cleaning step right before installation of the commercial vinyl flooring system. This is one of the most overlooked steps in office buildouts.
What can go wrong (and how to avoid it)
Leveling mistakes typically show up as cracked compound, telegraphed ridges, seam separation in click-lock systems, or adhesive failures in glue-down installations. Most problems come from movement in the subfloor, incorrect thickness, moisture not addressed, or skipped flatness verification after cure.
If the subfloor moves or flexes, leveling compound may crack and vinyl will lose uniform support.
Ignoring min/max thickness limits for leveling compounds can lead to shrinkage cracking or weak top surfaces.
Moisture vapor issues can defeat the best leveling plan if the vinyl or underlayment documentation requires mitigation.
H3: The failure modes that matter in commercial office traffic
– Leveling over movement: If the substrate flexes, leveling may crack and vinyl can fail early—especially under rolling chair loads and concentrated foot traffic.
– Too-thin or too-thick pours: Exceeding a leveling compound’s thickness limits can cause shrinkage, delamination, or uneven curing.
– Moisture ignored: If moisture requirements exist in the documentation, “drying time” alone is not a substitute.
– Skipping verification: Even correctly applied materials can leave ridges or unevenness if they were not checked with a straightedge after cure.
– Using the wrong product type: Self-levelers generally don’t behave like feather-finish patches. Some patch products also aren’t designed to be skimmed like leveling underlayments.
H3: A quick “don’t get burned” comparison
| Problem you see later | Likely cause | What to do before install |
|---|---|---|
| Click-lock seams open | Flatness not within tolerance or highs remained | Straightedge map → grind highs → level lows → re-check flatness post-cure |
| Glue-down lifting spots | Weak/contaminated leveling surface or moisture mismatch | Confirm prep requirements, moisture documentation, and surface cleanliness |
| Ridges/telegraphing | Compound applied over highs or uneven thickness | Grind highs first; control thickness; verify after cure |
In my experience coordinating office turnarounds, the projects that go smoothly are the ones where leveling and verification are treated like part of the installation—not a separate “repair task.”
Flatness Tolerance Equivalents for Subfloor Preparation (Inches → Millimeters)
| # | Maximum variation target | Metric equivalent | Risk note for seams | Installer confidence rating |
|---|---|---|---|---|
| 1 | 1/32 in | 0.79 mm | Very low | ★★★★☆ |
| 2 | 1/16 in | 1.59 mm | Low | ★★★★☆ |
| 3 | 1/8 in | 3.18 mm | Moderate | ★★★☆☆ |
| 4 | 5/32 in | 3.97 mm | Moderate–High | ★★☆☆☆ |
| 5 | 3/16 in | 4.76 mm | High | ★☆☆☆☆ |
| 6 | 1/4 in | 6.35 mm | Very High | ☆☆☆☆☆ |
| 7 | 3/8 in | 9.53 mm | Extreme | ☆☆☆☆☆ |
Verdict / tip (when to DIY vs. when to hire)
Leveling before commercial office vinyl is usually the right move because most early vinyl problems trace back to subfloor flatness, bond readiness, and moisture compliance—not the vinyl product itself. However, it isn’t always a quick DIY task: if you suspect major settlement, structural movement, widespread wave conditions, or moisture that needs mitigation beyond leveling, you should pause and involve a flooring professional.
If the subfloor is moving, leveling alone will not solve the root cause of vinyl seam failure or adhesive breakdown.
When either the vinyl or underlayment documentation requires moisture testing/mitigation, skipping it can void warranty coverage.
For small corrections, the critical requirement is still verification: level and flatness must match the product’s stated tolerance.
If you can only afford small corrections, focus on identifying the exact high/low areas precisely, follow the leveling compound spec line-by-line, and confirm flatness again before installing commercial vinyl flooring. If you’re under a tight office turnover schedule, build time for measurement, prep, cure, and re-verification into the plan—those steps are what keep the project from becoming a callback cycle.
Quick checklist to save
– [ ] Measure flatness with a straightedge and mark lows/highs
– [ ] Verify the vinyl manufacturer’s flatness tolerance for your specific product
– [ ] Choose the correct leveling compound/underlayment (and confirm thickness limits)
– [ ] Prep properly: clean, profile as needed, and address cracks/voids
– [ ] Run moisture checks if required by product documentation
– [ ] Grind highs; fill lows within the compound’s specified range
– [ ] Cure fully, re-check flatness, then clean before vinyl install
Sources
– ASTM E1155, Determining Floor Flatness and Floor Levelness Using Inertial Profiling Devices
– ASTM F710, Standard Practice for Preparing Concrete Floors to Receive Resilient Flooring
– ASTM F2170, Determining Relative Humidity in Concrete Floor Slabs Using in situ Probes
– ASTM F1869, Measuring Moisture Vapor Emission Rate of Concrete Subfloor Using Anhydrous Calcium Chloride
Leveling a commercial office floor before installing vinyl isn’t just “prep work”—it’s the foundation for seam stability, adhesive performance, and long-term durability under daily traffic. Measure flatness, match the leveling method to the substrate and the scope of unevenness, prep for bond, and verify again after cure. When you treat leveling and flatness verification as part of the installation system (not a one-time repair), commercial vinyl flooring stays quieter, flatter, and far more reliable over time.
Frequently Asked Questions
What’s the best way to check if a subfloor is level before installing commercial vinyl flooring?
Start by measuring the subfloor with a 6–10 ft straightedge or a laser level and note any high spots, low areas, and deflection. For best results with vinyl, confirm your local/installation guidelines for maximum flatness tolerance, since sheet vinyl, LVT, and glue-down systems can differ. Also inspect for moisture issues, soft spots, and loose material because leveling won’t fix failing subfloor conditions.
How do you level an uneven concrete floor for office vinyl installation?
For concrete, the typical approach is grinding down high spots first, then filling low areas with a self-leveling underlayment or a patch/feather-finish compound designed for floors. Prime the surface if the manufacturer requires it to improve bonding and prevent pinholes. After leveling, allow full cure time, then sand any ridges and recheck flatness so the commercial vinyl won’t telegraph imperfections or buckle under rolling loads.
Why is leveling important before installing commercial office vinyl flooring?
Vinyl flooring in offices—especially where chairs roll, carts pass, and floors get frequent foot traffic—needs a consistently flat base to prevent hollow spots and premature wear. Uneven subfloors can cause joint separation, cracking in rigid products, or adhesive failure for glue-down vinyl. Proper leveling also helps maintain a clean, professional finish and can extend the service life of the installed vinyl.
Which leveling method is best for an office that needs minimal downtime?
If you need fast turnaround, consider a rapid-setting underlayment system or polymer-modified patching for smaller low areas to reduce cure time. For minor surface irregularities, grinding high spots plus feather-filling can be quicker than full-depth self-leveler. Always confirm the product’s recoat/cure schedule and flooring readiness time before you install the commercial vinyl, and plan for dust control and access restrictions in the office.
How thick can you make a leveling compound before installing commercial vinyl?
The maximum thickness depends on the specific patch or self-leveling underlayment product, so follow the manufacturer’s stated limits and do not exceed them. Many systems require layered applications to reach greater depths while maintaining strength and proper cure. If low areas are significant, it may be better to address them with grinding, partial removal, or a more suitable underlayment system rather than overbuilding with leveling compound.
📅 Last Updated: October 26, 2026 | Topic: How to level a vinyl floors before installing commercial office? | Content verified for accuracy and freshness.
References
- https://www.astm.org/f710.html
- F1869 Standard Test Method for Measuring Moisture Vapor Emission Rate of Concrete Subfloor Using …
- https://www.astm.org/f2170.html
- Vinyl flooring
- https://www.sciencedirect.com/search?qs=self-leveling%20underlayment%20resilient%20flooring%20preparation
- https://scholar.google.com/scholar?q=vinyl+flooring+subfloor+levelness+commercial+office+installation Google Scholar
- https://scholar.google.com/scholar?q=resilient+flooring+installation+subfloor+preparation+flatness+tolerances Google Scholar
- https://scholar.google.com/scholar?q=ASTM+F710+preparing+concrete+floors+for+resilient+flooring+leveling Google Scholar