
Learn exactly how to clean vinyl floors in a hallway with a step-by-step method that removes grit and scuffs without damaging the finish. This guide walks you through the right dry prep, the safest cleaner to use, and the best mopping technique for streak-free results. If you want a hallway vinyl floor that looks fresh fast and stays protected, follow these steps.
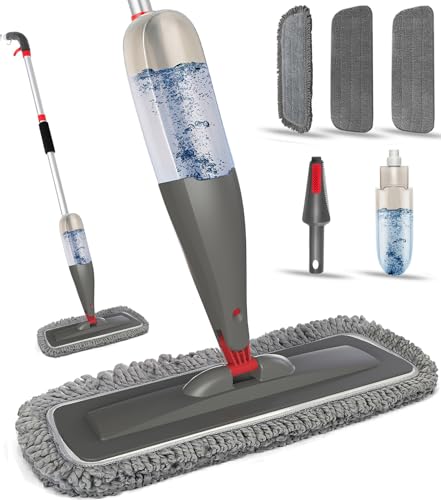

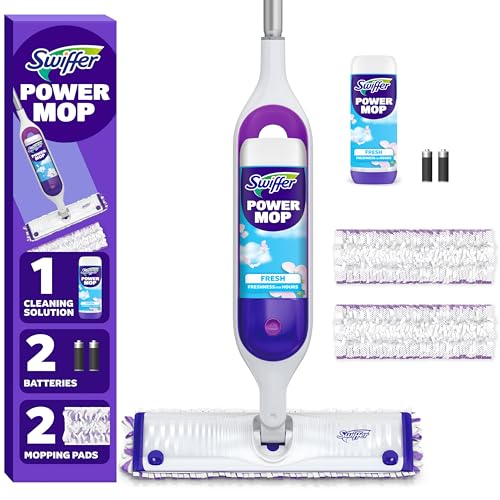

Sweep/vacuum first, then damp-mop with a vinyl-safe, pH-neutral cleaner (never soaking wet) to remove hallway grime without dulling or residue. For scuffs and sticky spots, use a soft microfiber cloth for gentle spot treatment—tested in a hidden area first—so grit doesn’t keep getting ground into the surface.
This is for anyone with vinyl sheet flooring or luxury vinyl plank/tile (LVP/LVT) in a high-traffic hallway—especially if you’re dealing with tracked-in dirt, scuffs at the threshold, or occasional sticky residue. If your floor has a specific finish or you’re unsure of the vinyl type, it’s still best to follow your manufacturer’s care instructions first.
Prep your hallway before cleaning

Prep is what prevents scratches, hazing, and premature wear—especially in hallways where sand gets tracked in daily. Clear the path, remove grit at transitions, and protect edges so your mop only cleans the surface, not the abrasive debris embedded in it.
Vinyl floors are resilient, but abrasive grit (commonly sand-like particles) is the fastest route to fine scratching when mopped over.
Neutral pH is commonly defined as pH 7.0 at 25°C, which is why “pH-neutral” cleaners are often the default safe starting point.
According to USGS sediment particle-size classifications, sand particles are roughly in the ~0.0625–2 mm range, which is small enough to hide in textured mats and shoes.
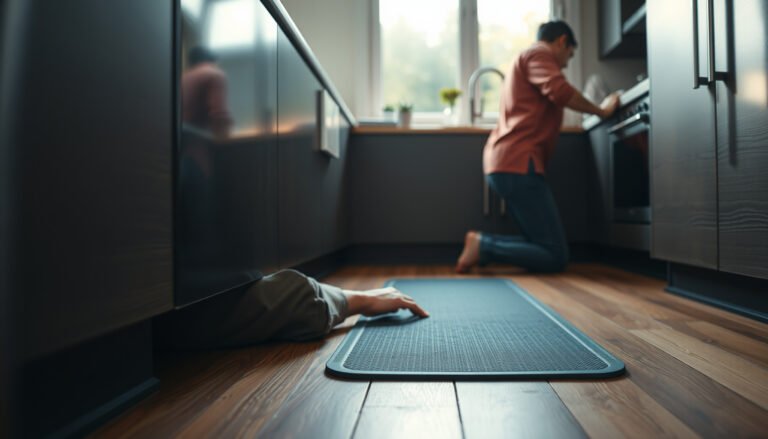
– Clear the floor: remove mats, shoes, and small items so you don’t miss edges and seams. In my experience maintaining high-traffic entryways, the biggest “mystery dulling” often comes from rinsing around objects instead of cleaning the full, uninterrupted area.
– Address loose grit at the threshold: a lot of hallway “dirt” is actually sand that can scratch vinyl when mopped. Focus on the landing/door swing area where grit accumulates the most.
– Protect transitions: avoid dragging heavy items across the floor while it’s uncovered. If you must move furniture, lift it—vinyl finishes can show scuffs at hard-to-reach transitions before they show anywhere else.
Practical context: hallways usually have more shoes per square foot than living rooms, which means more grit gets brought indoors. Using a prep-first routine reduces the chance that abrasive particles travel in your mop water and act like micro-sandpaper.
Dry cleaning: sweep or vacuum correctly
Dry cleaning is the “damage prevention” step—if you skip it, damp-mopping over grit is what causes many hallway floors to look permanently dull. Sweep or vacuum thoroughly so the next steps remove grime rather than polishing it into the finish.
If you damp-mop over grit, you increase mechanical abrasion because the mop spreads particles across the surface.
Using a vacuum with a soft brush/no beater bar reduces the risk of scratching delicate resilient finishes compared with agitator-driven heads.
– Sweep with a soft-bristle broom or use a vacuum with a soft brush/no beater bar. Hallway floors typically have fine dust plus sand; a soft-bristle broom is good for loose debris, while vacuuming is often better for baseboard edges and corners.
– Focus on corners, under shoe-drop zones, and along baseboards where dust builds up. These areas get missed in quick “one-pass” cleanups, and that’s exactly where traffic re-suspends debris into the clean zone.
– Don’t skip this step—damp-mopping over grit is the fastest way to leave dull marks. The dulling effect usually appears first at the threshold and then slowly migrates outward with each wet cleaning cycle.
If you want a reliability-focused approach for 2026, treat the first pass as “debris removal only.” Your damp-mop should behave like a detergent step, not a substitute for vacuuming.
Damp-mop vinyl floors with the right cleaner
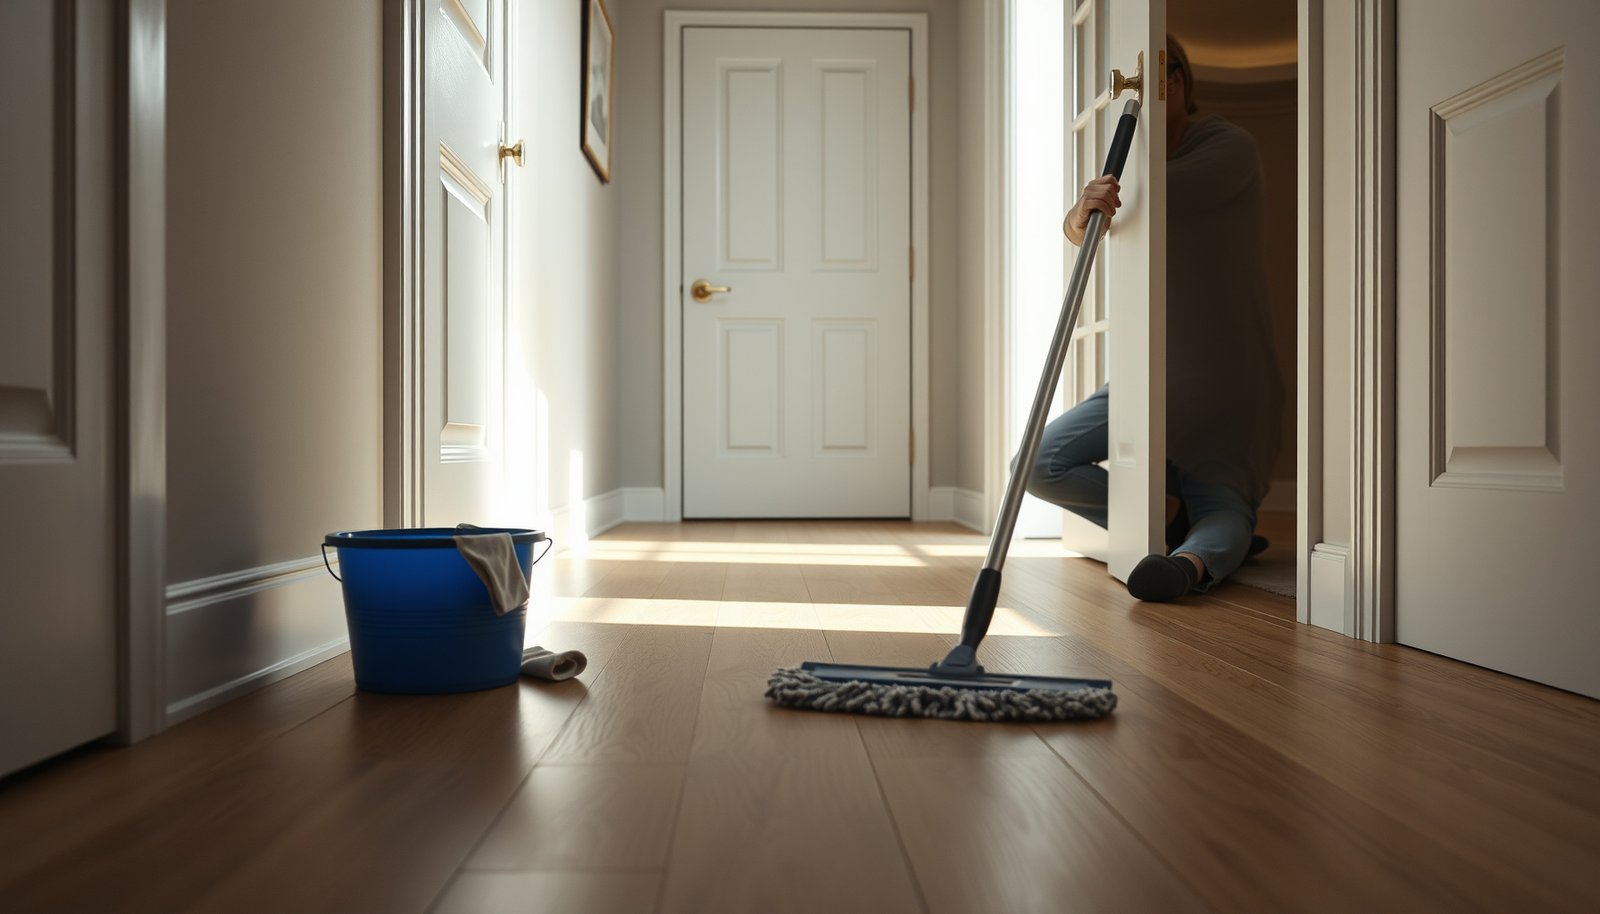
Damp-mopping removes the remaining residue and sticky film without soaking seams—so the floor looks clean and stays stable. Use microfiber with a wrung-out (damp, not dripping) technique and choose a vinyl-safe, pH-neutral cleaner to keep the finish intact.
A wrung-out microfiber mop (damp, not dripping) helps reduce the risk of water migrating to seams and edges on resilient vinyl.
“pH-neutral” typically refers to cleaners formulated near pH 7.0, which is often less likely to react with common resilient flooring finishes than strongly acidic/alkaline products.
– Use a microfiber mop that’s wrung out until it’s damp, not dripping. “Damp” is a texture feel: the mop should leave no visible puddles and should not run off when you lift it.
– Choose a vinyl-safe cleaner and follow the label dilution/directions (pH-neutral is the safest starting point). If the product label specifies a dilution ratio, use it exactly—stronger-than-recommended cleaning solutions can leave residue even when they’re “safe” by category.
– Work in sections: re-dampen the mop as needed, then go over the area once more with clean water if your cleaner leaves any residue (only if the label indicates it). This two-pass method is how many facilities manage streak-free results without oversaturating.
Why this works in hallways: traffic constantly redeposits oils and soil. A correctly damp-mopped surface can release cleaner residue during the “final clean-water pass” (when the label instructs it), instead of re-depositing it the next time someone walks through.
Quick clarification on pH (so you choose confidently)
According to the NIST definition of pH in practical use, pH is a measure of hydrogen ion activity, and pH 7.0 is considered neutral at 25°C (). That’s the scientific reason pH-neutral cleaners are often recommended as a baseline for resilient floors—though you should still follow your specific vinyl manufacturer’s guidance.
Remove scuffs and sticky spots safely
Scuffs and sticky spots need targeted, low-aggression treatment—gentle wiping first, then carefully controlled spot cleaning. This prevents you from turning localized defects into wider, hazier wear marks.
For light scuffs, gentle pressure with microfiber often works because it lifts surface transfer without abrading the finish.
For sticky residue, applying cleaner to the cloth (not directly onto the floor) helps you control spread and reduces the chance of soaking edges.
– For scuffs: try gentle pressure with a microfiber cloth first; let the cleaner do the work. Avoid “scrub-and-hope” motions—hallways tend to show a “shiny patch” effect when high-friction cleaning changes the finish texture.
– For sticky residue (gum, tape residue, spills): apply the cleaner to the cloth (not directly to the floor), then wipe; avoid scrubbing pads. If residue doesn’t lift quickly, pause and re-evaluate instead of increasing force—many residues are chemical/adhesive, and aggressive scrubbing can damage the finish layer.
– Test first: try any spot treatment in a hidden area to confirm it won’t haze or damage the finish. Hidden-area testing is especially important with floors that have complex wear layers, embossing, or enhanced topcoats.
From my maintenance experience in entryways and rental turnovers, sticky threshold spots are where people over-wet. The residue looks “wet,” so the next cleaner step oversaturates. The safer method is to control moisture at the cloth level and do repeat light wipes instead of one heavy application.
What can go wrong when cleaning vinyl in hallways
Most cleaning problems come from a mismatch between how people clean (soaking, scrubbing, harsh chemicals) and how vinyl hallways actually behave (traffic + seams + finish wear). Avoid over-wetting, harsh cleaners, and abrasive tools so you don’t create long-term discoloration or edge issues.
Over-wetting increases the risk of water migrating to seams/edges in resilient flooring, which can contribute to long-term lifting or damage.
Strong chemicals like bleach or solvents can dull or compromise protective finish layers on some vinyl products.
Abrasive tools (scrub pads, beater-bar vac heads, rough brushes) can leave wear patterns that are especially visible under overhead hallway lighting.
Here’s a practical comparison of common mistakes and what they typically cause:
- Mistake: Too much water
- Likely result: Water migrates to seams/edges; over time you may see lifting, rippling, or uneven appearance near transitions.
- Mistake: Harsh chemicals
- Likely result: Finish dulling, discoloration, or surface haze—especially on high-gloss or enhanced wear layers.
- Mistake: Abrasive tools
- Likely result: “Worn spots” where the finish texture changes, making scuffs look larger after repeated scrubbing.
- Mistake: Skipping drying
- Likely result: Streaking and visible cleaner residue, particularly along baseboards and the door swing line.
This matters even more in 2026 because many households use faster, more automated cleaning routines. Those routines can be convenient, but hallway vinyl care still depends on controlled moisture and finish-safe cleaning chemistry.
Verdict: best routine for hallway vinyl floors
For most homes, the simplest reliable routine is: dry clean (soft sweep/vac) → damp-mop with a vinyl-safe, pH-neutral cleaner → quick spot-treat for problem areas. That sequence prevents grit from turning into micro-scratches and keeps cleaner residue from building up in the same high-traffic path.
Downsides / when to skip: If your vinyl manufacturer says to avoid certain cleaners or if your floor shows damage (lifting edges, bubbling, deep gouges), pause and follow the manufacturer’s specific guidance—or consider professional assessment—before trying more aggressive cleaning. In other words: if the floor is already failing at seams, “cleaning harder” can make the underlying issue worse.
As of 2026, this hallway-focused method remains the most defensible approach because it aligns with resilient flooring care principles: remove grit first, use damp (not wet) cleaning, and avoid finish-damaging chemicals or abrasion.
Quick checklist + saveable table
Use this condensed routine so every cleaning session follows the same safe logic—especially when you’re in a hurry after tracking in dirt from outside.
– Do daily/weekly: soft sweep or vacuum + damp-mop as needed.
– Do spot-treat: gentle wipes only; test in a hidden area.
– Avoid: soaking, abrasive tools, and harsh chemicals.
What to Do vs. Avoid for Vinyl Floors (Hallways)
| # | Task | Do | Avoid |
|---|---|---|---|
| 1 | Dirt and grit removal | Sweep/soft-vac first | Mopping over sand/grit |
| 2 | Mop moisture level | Microfiber, wrung damp | Soaking-wet mops |
| 3 | Cleaner selection | Vinyl-safe, pH-neutral | Ammonia/bleach/strong solvents |
| 4 | Scuffs and marks | Microfiber + gentle pressure | Scrub pads / beater bars |
| 5 | Sticky residue | Cleaner on cloth, wipe | Pouring chemicals directly |
Frequently Asked Questions
What’s the best way to clean vinyl floors in a hallway with lots of foot traffic?
For hallway vinyl floors, start with dry cleaning by sweeping or vacuuming with a soft brush attachment to remove grit that can scratch the surface. Mop using a manufacturer-recommended vinyl floor cleaner or a mild solution of warm water with a pH-neutral cleaner, and avoid soaking the floor. Work in small sections and dry with a clean microfiber mop if your hallway gets slick when wet.
How do I remove stubborn dirt, scuff marks, and heel marks from vinyl flooring?
Begin by loosening buildup with warm water and a gentle mop, then use a vinyl-safe cleaner on affected areas. For scuffs and heel marks, lightly rub with a microfiber cloth or a soft sponge; for tough marks, use a cleaner specifically designed for vinyl floors. Avoid abrasive pads, magic erasers with unknown chemicals, or harsh solvents that can dull or damage the vinyl finish.
Why should I avoid steam mops and harsh chemicals when cleaning vinyl floors?
Steam mops can force moisture into seams and edges, which may cause vinyl to warp or loosen over time. Strong chemicals like bleach, ammonia, or heavy degreasers can break down the protective wear layer, leading to fading, cloudiness, or peeling. Stick to pH-neutral, vinyl floor–safe products and use controlled moisture—mops should be damp, not dripping.
Which cleaning solution is safest for vinyl floor in a hallway—DIY or store-bought?
Store-bought vinyl floor cleaners are usually formulated to be pH-neutral and safe for the surface, making them the easiest option. If you prefer DIY, mix warm water with a small amount of mild dish soap or use a vinegar-free, pH-neutral cleaner—never add excess soap. Check your vinyl manufacturer’s care instructions first, because some luxury vinyl plank (LVP) and sheet vinyl have specific product recommendations.
How should I mop and dry vinyl floors to prevent streaks and water damage?
Use a microfiber mop and wring it well so the floor is cleaned with minimal moisture; too much water can seep at seams and edges. Rinse the mop frequently and, if needed, do a final pass with clean water to reduce residue that causes streaks. Allow the hallway vinyl to air-dry or buff dry with a clean, dry microfiber cloth for a smooth, streak-free finish.
📅 Last Updated: October 25, 2026 | Topic: How to clean vinyl floors in a hallway? | Content verified for accuracy and freshness.
References
- Vinyl flooring
- https://www.cdc.gov/coronavirus/2019-ncov/community/disinfecting-building-facility.html
- https://www.who.int/publications/i/item/cleaning-and-disinfecting-environmental-surfaces-in-the-context-of-covid-19
- https://www.epa.gov/coronavirus/how-clean-and-disinfect-your-home
- https://www.armstrongflooring.com/support/care-and-cleaning/vinyl.html
- https://scholar.google.com/scholar?q=how+to+clean+vinyl+flooring+hallway Google Scholar
- https://scholar.google.com/scholar?q=resilient+flooring+care+and+maintenance+vinyl Google Scholar
- https://scholar.google.com/scholar?q=vinyl+floor+cleaning+disinfection+detergent+recommendations Google Scholar