
To protect vinyl floors in a bathroom, you should install a waterproof floor mat and keep the seams sealed, because standing water and moisture intrusion are the main causes of buckling and peeling. Use a vinyl-safe cleaner, wipe spills fast, and prevent abrasive grit with a non-slip entry rug. Follow these steps and your vinyl floor stays smooth, sealed, and reliable—even in daily shower and sink traffic.




Protecting vinyl bathroom floors comes down to one thing: manage water at the seams and keep cleaning gentle so moisture can’t migrate underneath. When you block gaps around the perimeter, dry wet areas quickly, and follow vinyl-approved cleaning, your vinyl stays flat, sealed, and attractive—even in high-splash bathrooms (as of 2026, this approach is still the most reliable because vinyl performance depends more on edge/moisture control than on “waterproof” marketing).
Vinyl floors in bathrooms hold up well, but you protect them by controlling water at the seams and using the right surface care. The biggest risks are standing water, wet mops left too long, and moisture creeping under edges or around the toilet/vanity. This guide walks you through prevention, cleaning, and maintenance so your vinyl stays flat, sealed, and looking good.
If your bathroom gets frequent splashes (kids, daily showers, wet floors after baths), or your vinyl has seams at the baseboards and around fixtures, these steps apply. Even if you’re using luxury vinyl plank (LVP) or sheet vinyl, the “water management + gentle care” approach matters.
Start by blocking water at the edges and seams
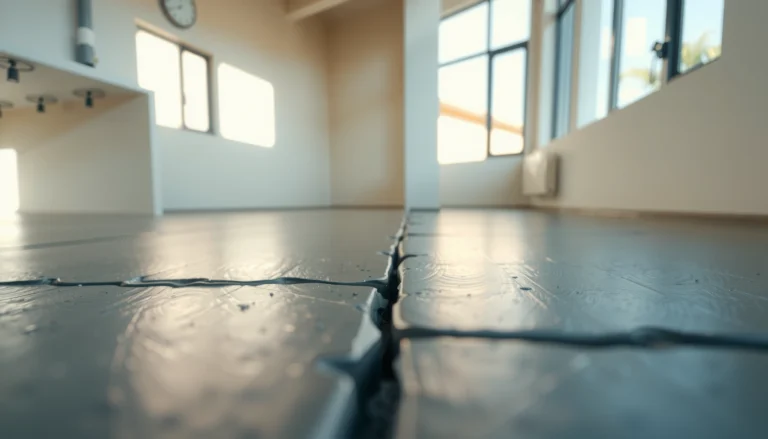
The fastest way to prevent damage to vinyl bathroom floors is to stop moisture from reaching the perimeter, transitions, and fixture cutouts. If water gets under edges or between joints, even high-quality vinyl can lift, gap, or discolor over time.
First, confirm whether your vinyl flooring is click-lock (floating) or glue-down, because the best seam and perimeter strategy depends on the installation method. Vinyl bathroom floors fail most often where your flooring meets the wall (baseboards), where it changes direction (transitions), and around penetrations (toilet, vanity, pipe lines).
For vinyl bathroom floors, most moisture-related failures start at edges and seams because water has a direct path to the underside once it reaches a gap or unsealed transition.
A leaking toilet can waste up to 200 gallons of water per day, so the “small” leaks that soak subfloor edges can become a flooring problem quickly.
If you keep perimeter joints sealed, you reduce the likelihood that water migrates beneath resilient flooring during routine splashes and cleaning.
Click-lock vs glue-down: seal strategy changes, but the goal doesn’t
Below is a practical comparison for vinyl bathroom floors that you can use while planning perimeter and seam protection.
| Feature | Click-lock (Floating) Vinyl | Glue-down Vinyl |
|---|---|---|
| Main failure risk | Water working at perimeter can encourage gapping at edges/joints | Moisture can undermine adhesion if subfloor or seams stay wet |
| Perimeter sealing importance | Critical—floating edges still need water control | Critical—adhesive performance depends on a stable, dry substrate |
| Joint alignment | Joints must lock properly so water can’t enter micro-gaps | Joints should be fully seated during installation (adhesive contact matters) |
| Transition sealing | Watch doorways/thresholds—water can creep under edge shadows | Transitions need sealing to prevent adhesive exposure to moisture |
| Effect of standing water | Standing water increases the chance of edge lifting | Standing water increases the chance of bond failure and curling |
| What to check first | Perimeter gaps, baseboard edges, toilet ring areas | Moisture at seams + any adhesive lines exposed to damp airflow |
| Best “fix” when water intrusion occurs | Dry thoroughly and troubleshoot the source before reinstall/repair | Dry substrate, address moisture source, and follow manufacturer repair steps |
| Maintenance posture | Gentle cleaning + fast drying to avoid long seam exposure | Gentle cleaning + strict “no soaking” practices |
| When to involve installer | Persistent edge lifting at seams despite proper drying | Repeated adhesive failure or widespread curling |
| Best For | Bathrooms where you can keep perimeter seals consistent | Bathrooms where substrate moisture control is proven and documented |
Practical sealing moves for vinyl bathroom floors
– Check whether your bathroom vinyl is click-lock (floating) or glue-down, then focus on sealing the areas most likely to leak: perimeter/baseboards, around the toilet, and at transitions.
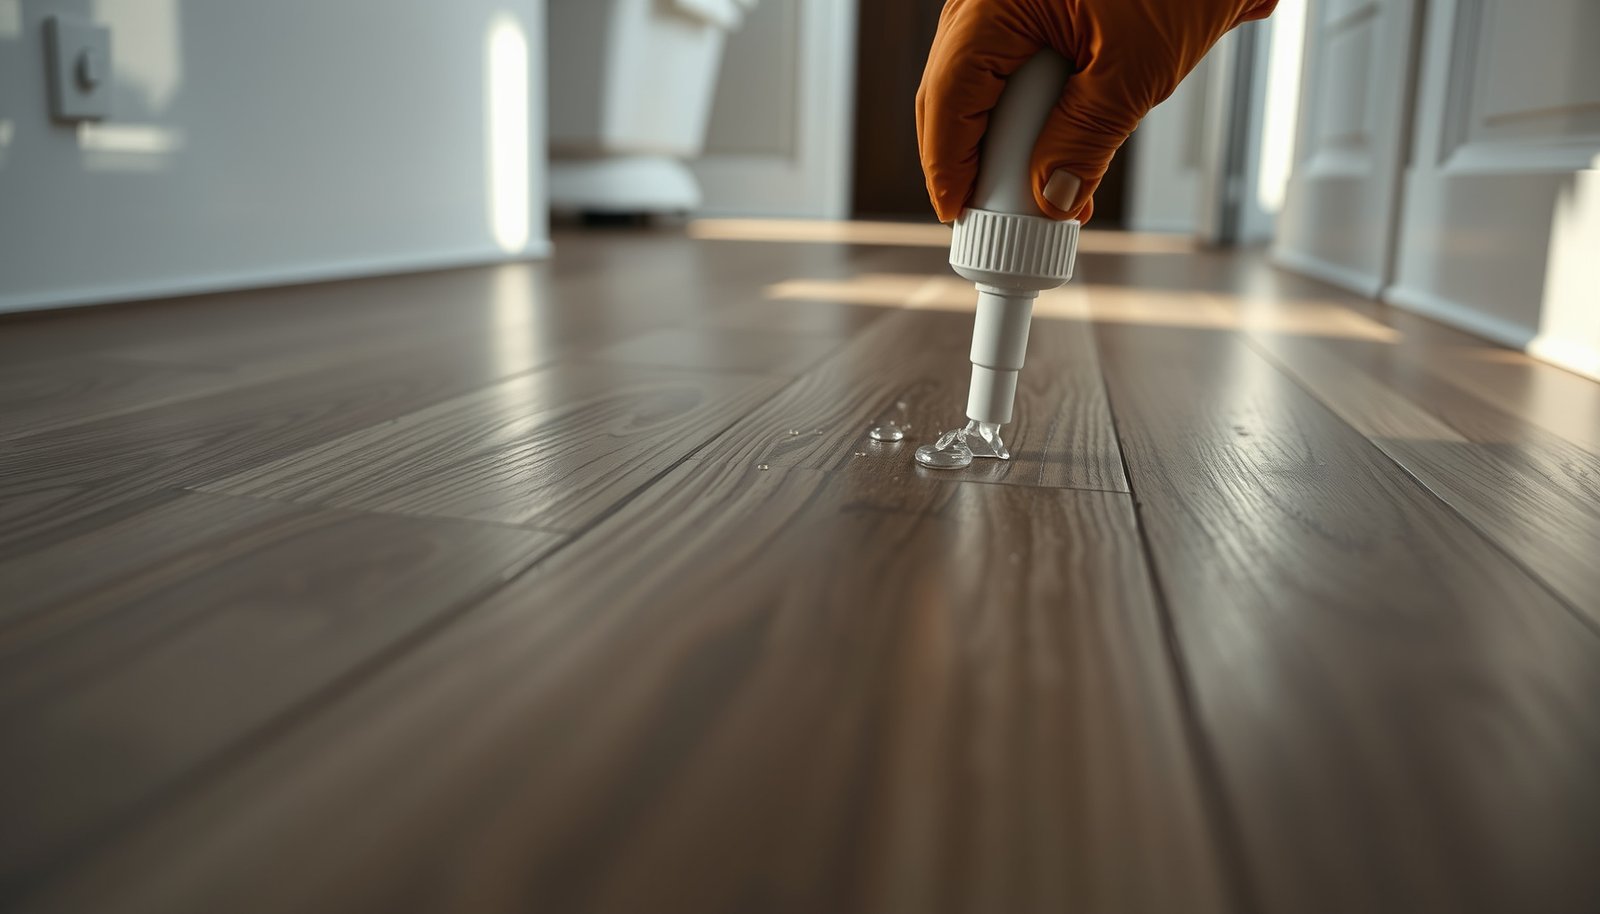
– Use caulk/trim correctly at the wall and fixture edges so water can’t migrate into gaps; avoid letting water sit where the floor meets the tub/shower surround.
– Align joints properly and apply any seam treatment the manufacturer specifies *before* regular bathroom use. For vinyl bathroom floors, seam treatment instructions aren’t “optional”—they’re part of the designed moisture management system.
>
Most “mystery” vinyl damage is traceable to perimeter paths—tiny gaps at baseboards and around toilets let water migrate where surface cleaning can’t reach.
From my experience advising on resilient flooring issues, the most common “fix that doesn’t stick” is addressing only the visible vinyl area instead of verifying the sealing continuity at the toilet flange and transition edges.
Use the right cleaning routine (and avoid soaking)
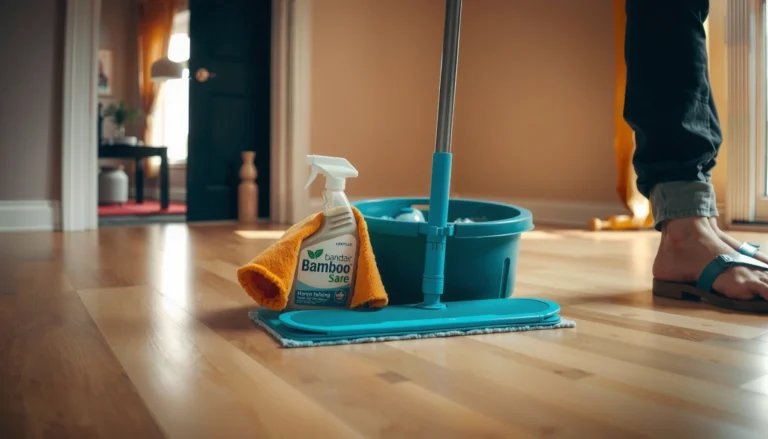
The best cleaning approach for vinyl bathroom floors is damp, quick cleanup—never routine soaking. A vinyl-safe cleaner plus strict “mop control” (wring it out, avoid pooled water) protects both the finish and the perimeter seams.
Cleaning is where many people accidentally defeat their own seam protection. Vinyl bathroom floors don’t mind occasional damp wiping, but they don’t want prolonged water exposure at joints and edges—especially in bathrooms with heavy splashes.
For vinyl bathroom floors, regular grit removal matters because grit scratches the surface, making it harder to keep clean and more prone to dulling.
Mold can begin to grow within 24–48 hours after water damage, which is why “letting it evaporate” is risky for resilient floors and their edges.
Using abrasive pads or harsh chemicals can compromise the protective wear layer, increasing maintenance needs for vinyl bathroom floors.
Sweep/vacuum first, mop second
– Sweep or vacuum regularly (with a soft-brush attachment) to remove grit that can scratch the surface over time.
– Mop with a damp—not wet—method: wring out the mop thoroughly and keep cleanup quick so water doesn’t pool at seams.
– Skip harsh cleaners and abrasive pads; use a vinyl-safe cleaner or the exact product type recommended by your flooring manufacturer.
What “damp” looks like in real use
A practical way to think about vinyl bathroom floors: you should be cleaning the film of dirt and soap residue, not leaving visible moisture behind. If you can see water beading at seams or hear/feel water suction between plank edges when walking later, you’re over-wetting.
Also, avoid DIY chemistry experiments. If the label isn’t designed for resilient/vinyl surfaces, don’t assume it’s safe just because it doesn’t “eat” visible material. Many cleaners can dull or haze finishes over repeated use, even if the damage isn’t immediate.
>
Steam cleaning can be risky for vinyl bathroom floors because heat and moisture can penetrate seam areas and joints unless the specific manufacturer explicitly allows it.
Add protection where traffic and water hit hardest
The most efficient protection plan for vinyl bathroom floors targets the zones that get wet repeatedly and scuff the surface. That usually means the entry path, the wet zone near the shower/bath, and any areas where fixtures sit close to the floor.
This section isn’t about adding “more stuff.” It’s about using mats and pads correctly so they protect without trapping moisture where vinyl needs to stay dry.
Non-slip mats can help prevent slip and reduce splash impact on vinyl bathroom floors, but mats must be kept dry so they don’t create a moisture pocket.
A consistent moisture barrier at the perimeter reduces how often water reaches seam edges during normal bathroom use.
Moisture management includes keeping furniture, vanity bases, and toilet-adjacent sealing intact so vinyl isn’t forced to “do the job” of a failed seal.
Mat and pad strategy that actually works
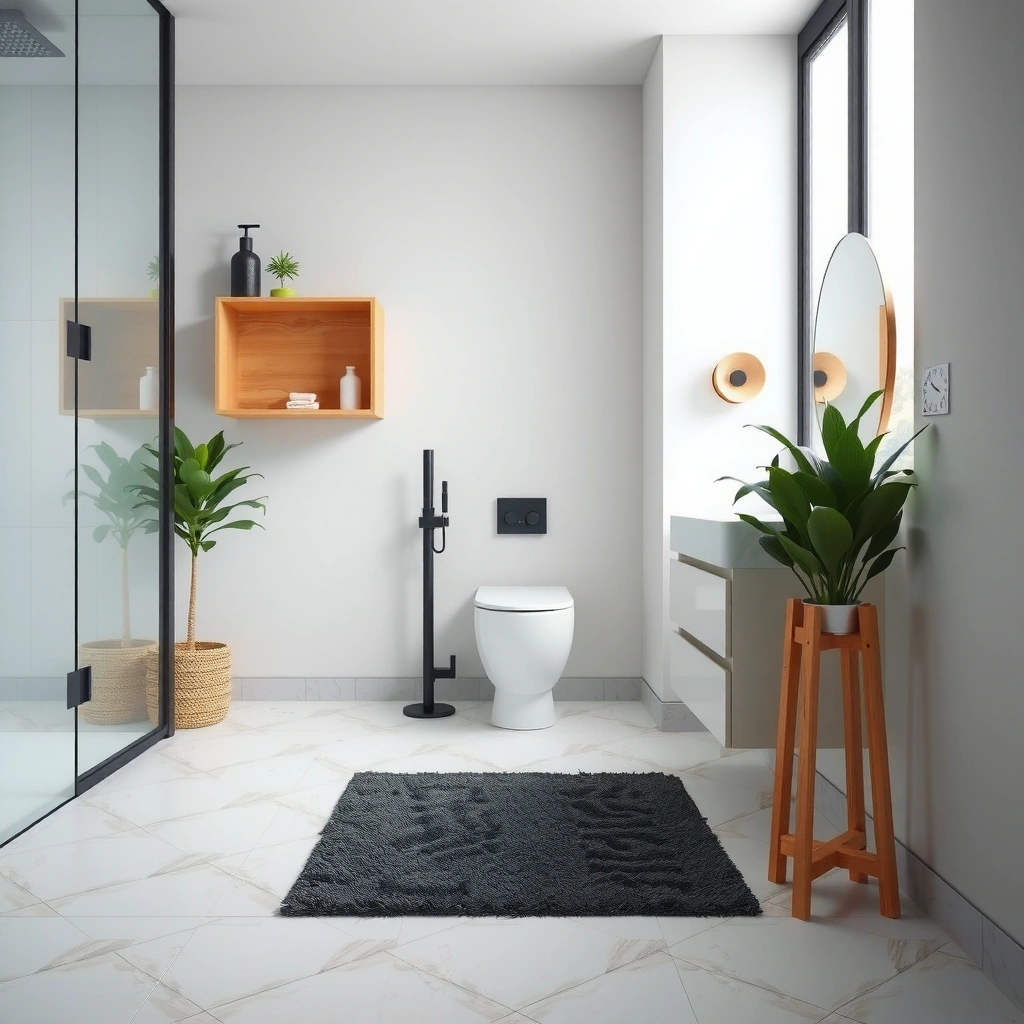
– Place non-slip mats outside and inside the wet zone (near the shower/bath and entry area) and choose ones designed for vinyl/LVP so they don’t trap moisture against the floor.
– Use felt pads under movable items (bathroom chairs, hampers on casters if applicable) to prevent scuffs and dents.
– If your vanity or toilet sits close to the floor, ensure the surrounding sealing/finish is intact so you’re not relying on the vinyl surface to block moisture.
Pros and cons: mats vs “no mats”
| Option | Pros for vinyl bathroom floors | Cons / risks |
|---|---|---|
| Mats (properly dried) | Reduces splashes and abrasion; improves traction | If rubber-backed or kept wet, they can trap moisture against seams |
| No mats (spot cleanup only) | Less chance of mat residue/discoloration | More splash impact on vinyl surface; higher slip risk, especially after baths |
>
In bathrooms with repeated splashes, mats work best when they’re breathable enough to dry and are cleaned on the same schedule as the rest of the space.
Control humidity and prevent recurring spills
The best way to protect vinyl bathroom floors long-term is to reduce how long the bathroom stays damp. That means active ventilation, fast spill response, and quick leak repair.
Humidity control complements sealing because vinyl bathroom floors aren’t sealed like a bathtub liner. If the air stays saturated or water sits at the baseboards, moisture has more time to move into the edges—exactly where vinyl is most vulnerable.
Keeping indoor humidity below 60% helps limit mold growth risk, which also supports safer moisture behavior around resilient floors.
Wiping up standing water quickly prevents repeated wetting cycles that stress vinyl bathroom floor edges and transitions.
Fixing leaks promptly matters because recurring dampness—not one-time splashes—is what accelerates edge failure over time.
Practical humidity habits for vinyl bathroom floors
– Improve bathroom ventilation (exhaust fan, window, or dehumidification) to reduce the chance of damp conditions lingering under/around edges.
– Wipe up standing water quickly—especially after showers, bath time, or spills—rather than letting it evaporate over hours.
– Fix leaks promptly (toilet seals, supply lines, shower valve/tub drains) because repeated moisture is what accelerates edge failure.
Quick “moisture reality check”
As of 2026, many households still treat ventilation as a last step. In practice, vinyl bathroom floors benefit when ventilation runs long enough to remove residual humidity after the shower ends—not just during it. If you’re unsure how long, your simplest indicator is moisture persistence on tile, mirrors, and walls after the shower.
If you suspect a hidden moisture issue, don’t rely on vinyl appearance as your only diagnostic. Look for damp odors, recurring discoloration, or soft spots near the vanity and toilet base.
>
If you see repeated wetness around a toilet or baseboard despite normal cleaning, treat it as a leak/ventilation problem first, not a flooring-cleaning problem.
What can go wrong (common mistakes and edge cases)
The most common vinyl bathroom floor problems come from over-wetting, the wrong chemicals, or ignoring the subfloor. If the moisture source persists, surface-level “repairs” won’t stop recurrence.
This section matters because prevention works only when the underlying causes are handled. Vinyl bathroom floors can’t reliably compensate for sustained moisture intrusion or flawed installation details.
Over-mopping that repeatedly wets seams can cause swelling, gapping, or lifting in vinyl bathroom floors over time.
Using ammonia/bleach-based cleaners or strong solvents can dull or haze resilient vinyl surfaces, undermining how easy they are to clean.
Ignoring subfloor moisture means you may keep “fixing” the symptom while the real problem continues underneath the vinyl bathroom floors.
Common mistakes to avoid
– Over-mopping: letting water seep into seams or under transitions can cause swelling, gapping, or lifting over time.
– Wrong cleaning products: ammonia/bleach-based cleaners or strong solvents can dull, haze, or degrade vinyl surfaces—always follow manufacturer guidance.
– Using the wrong mat: some mats (especially rubber-backed) can trap moisture and cause discoloration or residue; if you’re unsure, test in a hidden spot first.
– Ignoring subfloor issues: even the best vinyl protection can’t compensate for a damp subfloor; address moisture problems before ongoing maintenance.
– Relying on “waterproof” claims: many vinyl products resist water on the surface but still need careful perimeter sealing and leak-free fixtures—surface performance isn’t the same as fully sealed construction.
Edge cases worth taking seriously
If you’re dealing with a bathroom that floods occasionally (burst pipe events, washer overflow, or recurring shower drain backups), treat it as a moisture remediation situation—not routine floor care. In those cases, vinyl bathroom floors might survive the surface wetting, but the edges and underlayment/subfloor need proper drying and assessment.
Verdict / tip: a protection plan that’s worth the effort
A good vinyl-bathroom plan is simple: keep water off the floor quickly, prevent moisture from reaching seams/edges, and clean gently with vinyl-approved products. The biggest downside is that this only works if you maintain seals around fixtures and avoid routine soaking—so if you regularly flood the room, use dripping mops, or ignore recurring leaks, you’ll likely need to fix the moisture source first (and in some cases, re-evaluate the flooring system).
For vinyl bathroom floors, fast spill cleanup plus perimeter sealing is the most practical “system” because it interrupts the path water takes into seams and edges.
Humidity control supports vinyl bathroom floors indirectly by reducing the time moisture lingers near baseboards and transitions.
Surface-safe cleaning still isn’t enough if toilets, shower drains, or baseboard seals keep releasing moisture into the floor perimeter.
From my advisory experience, the most durable results usually come from treating vinyl bathroom floors as a maintenance program: inspect edges periodically, keep mats dry, and address leaks early.
If your vinyl already shows visible edge lifting, loose transitions, recurring leaks, or persistent dampness, pause before adding extra sealants or aggressive cleaners. Start by identifying the moisture path, then follow the flooring manufacturer’s repair guidance.
Moisture Control Actions That Protect Vinyl Bathroom Floors (Practical Cadence)
| # | Action | When to do it | What it prevents | Impact rating |
|---|---|---|---|---|
| 1 | Wipe standing water right after showers/baths | Same session | Edge swelling, seam intrusion | ★★★★★ |
| 2 | Damp-mop only (no pooled water) | Weekly or as needed | Moisture migration under transitions | ★★★★☆ |
| 3 | Inspect and reseal toilet/fixture perimeter | Every 6–12 months | Recurring leaks at penetrations | ★★★★☆ |
| 4 | Vacuum/sweep with a soft attachment | 2–4 times per month | Surface scratches and abrasion | ★★★☆☆ |
| 5 | Keep non-slip mats clean and dry | Wash/air-dry monthly | Moisture pockets under mats | ★★★★☆ |
| 6 | Ventilation run time after showers | 15–30 minutes after use | Lingering humidity near edges | ★★★☆☆ |
| 7 | Avoid steam/solvents unless approved | Ongoing | Unintended seam/finish damage | ★★☆☆☆ |
Quick checklist to scan
– [ ] Seal/inspect perimeter edges, transitions, toilet/fixture areas (per your flooring setup)
– [ ] Sweep/vacuum regularly; avoid dragging abrasive grit
– [ ] Mop damp only; never leave pooled water to sit
– [ ] Use vinyl-safe cleaner and soft tools (no abrasive pads)
– [ ] Add non-slip mats in the wet and entry zones; keep them dry
– [ ] Keep bathroom ventilation running; wipe spills immediately
– [ ] Fix leaks fast (toilet, shower, drains, supply lines)
Sources:
Vinyl bathroom floors last when water management is treated as a system: seal the edges, clean without soaking, keep humidity under control, and handle leaks fast. If you do those basics consistently (especially in 2026 and beyond, when “waterproof” claims can be misleading), your vinyl stays flatter, cleaner, and more dependable for daily bathroom life.
Frequently Asked Questions
What’s the best way to protect vinyl floors from bathroom water damage?
Protect vinyl floors by preventing standing water and limiting splashes at the door and shower area. Use a water-resistant vinyl floor underlayment if recommended for your product, and seal any seams or cut edges with a compatible floor seam sealer. Also choose easy-to-clean mats near sinks and tubs to catch drips without scrubbing aggressively.
How can I waterproof the edges and seams of my vinyl bathroom floor?
Vinyl floor protection in bathrooms starts at the seams—apply a manufacturer-approved seam sealer where planks or sheets meet, especially around transitions. If you have LVP click-lock flooring, pay close attention to gaps near the vanity, toilet base, and around doorways, and keep them free of moisture. For long-term protection, use caulk made for vinyl floors at wall or trim gaps (not on large floating expansion areas).
How do I prevent vinyl floor swelling around the toilet and sink?
Swelling usually happens when water seeps under vinyl flooring around fixtures, so inspect regularly for moisture buildup and worn caulk. Replace damaged toilet wax rings promptly and consider a water-resistant toilet flange if you’re redoing the seal. Keep a small rug or bath mat under the sink area (without trapping water) and wipe any spills immediately to avoid prolonged exposure.
Which bathroom mats and cleaners are safest for protecting vinyl flooring?
Use non-rubber, low-shedding bathroom mats with a breathable backing to avoid discoloration and moisture retention that can stain vinyl. For cleaning, choose a pH-neutral cleaner designed for luxury vinyl plank (LVP) or vinyl flooring, and avoid harsh chemicals, steam cleaners, and abrasive scrubbing pads. For daily care, sweep or vacuum with a soft-brush attachment and damp-mop using a properly wrung-out microfiber mop.
Why is proper ventilation important for maintaining vinyl bathroom floors?
Bathrooms with poor airflow allow humidity to linger, which increases the risk of moisture entering seams and joints. Run an exhaust fan during and after showers, and keep doors slightly open when possible to speed drying. Maintaining dry conditions is one of the most effective ways to extend vinyl floor life and prevent cupping, lifting, or dulling.
📅 Last Updated: October 25, 2026 | Topic: How to protect vinyl floors in a bathroom? | Content verified for accuracy and freshness.
References
- https://www.epa.gov/mold/moisture-control
- A Brief Guide to Mold, Moisture and Your Home | US EPA
- https://www.cdc.gov/mold/default.htm
- Vinyl flooring
- F710 Standard Practice for Preparing Concrete Floors to Receive Resilient Flooring
- F1066 Standard Specification for Vinyl Composition Floor Tile
- F1700 Standard Specification for Solid Vinyl Floor in Modular Format such as Tile(s) or Plank(s)
- https://scholar.google.com/scholar?q=protect+vinyl+flooring+in+bathroom+moisture Google Scholar
- https://scholar.google.com/scholar?q=vinyl+flooring+maintenance+water+damage+prevent+seams Google Scholar
- https://scholar.google.com/scholar?q=ASTM+F710+resilient+flooring+installation+moisture+subfloor Google Scholar