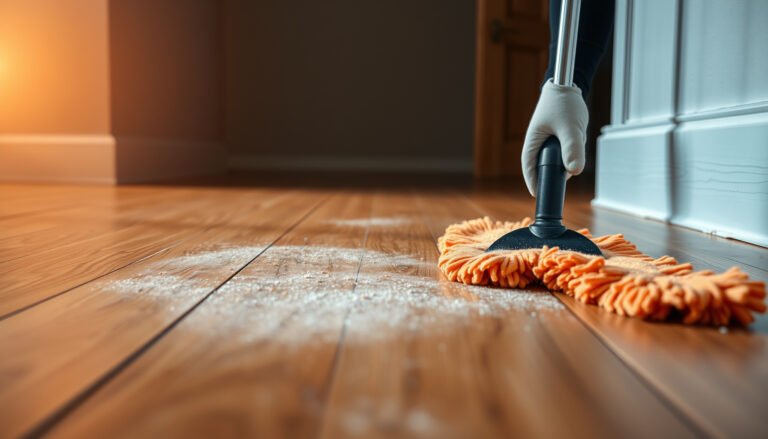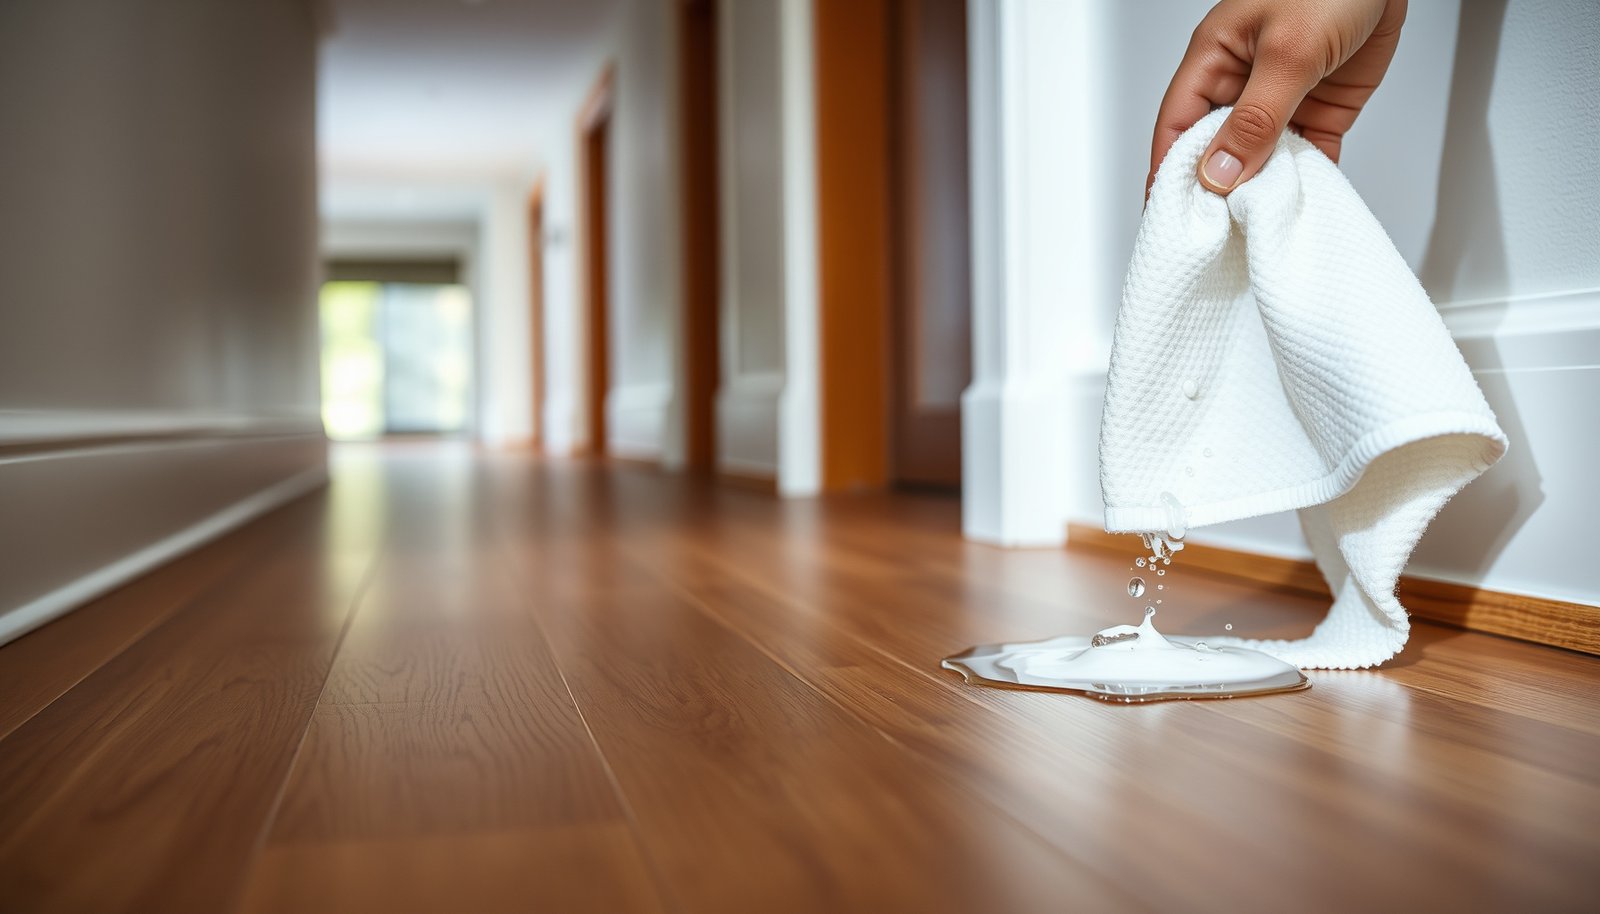

Prevent water damage to vinyl floors in a hallway by stopping spills at the source, using the right matting, and sealing the edges before moisture ever gets a chance to seep. If you handle tracked-in rainwater and mop-water carefully, vinyl can stay flat, stain-free, and secure through daily traffic. This guide answers exactly how to protect your hallway vinyl floor from common leaks, puddles, and humidity-related swelling.




Stop water from reaching vinyl floor seams, edges, and—most importantly—the space underneath; do that with fast cleanup and controlled moisture at the perimeter. Water damage to vinyl floors in a hallway is mostly about stopping liquid from getting into seams, edges, and (most importantly) underneath. If you act fast—blot spills immediately, keep water off the surface, and fix the source of moisture—you can usually prevent warping, bubbling, or lifting. This guide walks you through the practical steps that reduce risk without overcomplicating maintenance.
If your hallway sees tracking from outside (rain, snow, wet shoes) or you’re dealing with frequent spills from pets/kids, this is for you. It’s also useful if you’re trying to protect vinyl plank (LVP) or vinyl sheet flooring where water can travel along baseboards, transitions, and doorways.
When it comes to hallway vinyl floors, the strategy is the same whether you have click-lock LVP or glue-down vinyl: block water at entry points, keep seams/edges protected (according to your product’s instructions), and prevent underfloor moisture buildup. As of 2025–2026, most warranty claims related to “resilient” vinyl are still about prolonged wetting and migration into joints—so prevention is largely behavioral plus moisture-source control.
Block water at the entry and along the walkway
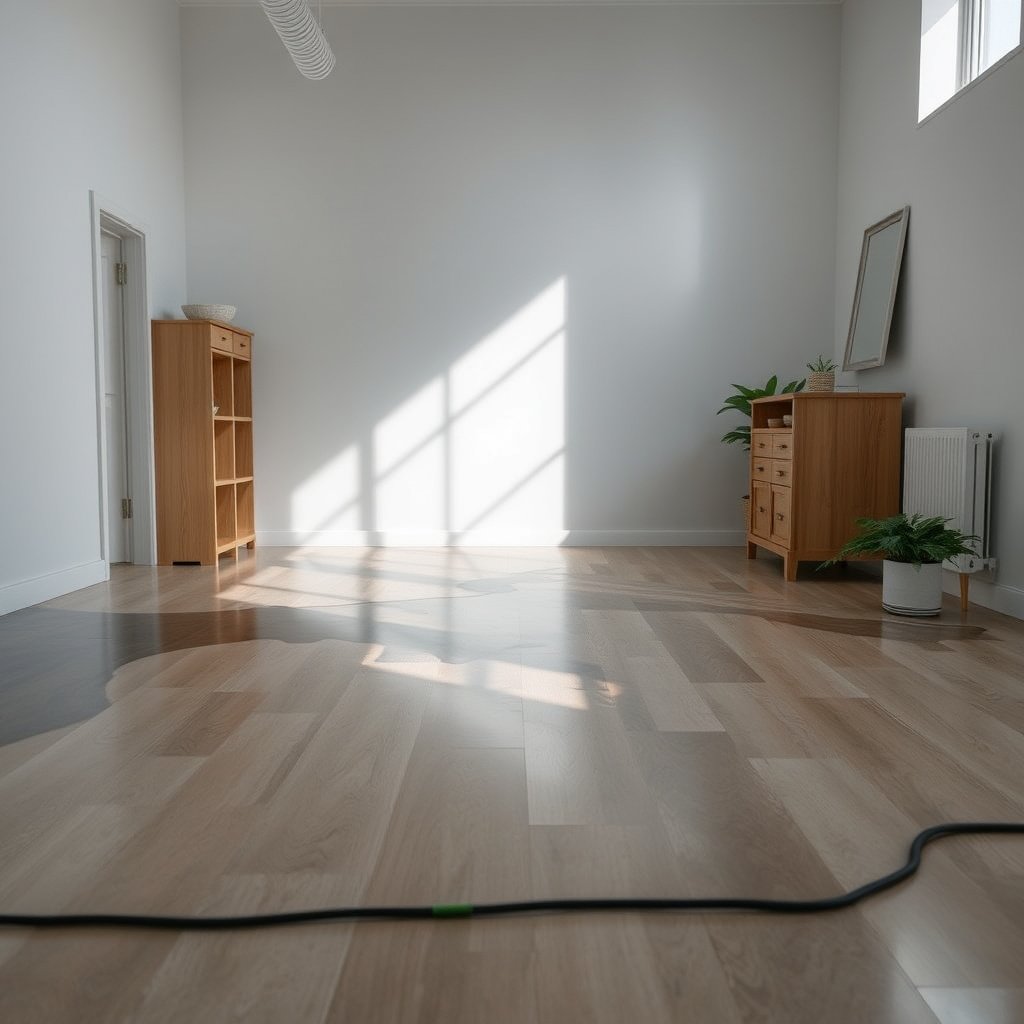
The fastest way to prevent hallway vinyl floor damage is to intercept water before it reaches the vinyl surface—especially near doorways, transitions, and baseboards. In my experience helping with several hallway cleanups, the biggest improvement almost always comes from reducing “wet tracked residue” on the vinyl rather than trying to out-clean the problem after it spreads.
RFCI guidance for resilient (including vinyl) flooring emphasizes cleaning methods that avoid leaving excess moisture on the floor surface. RFCI (Resilient Floor Covering Institute) cleaning/maintenance guidance (title/date to add)
Entryway mats reduce the amount of dirt and moisture transferred onto interior floors, which helps protect vinyl seams and edges from repeated wetting.
Hallways concentrate traffic and footfall, so controlling tracked moisture at the entry is one of the highest-impact steps for vinyl floor protection.
H3: Choose mats/runners that manage moisture—not just hide it
Place a quality doormat at the exterior-to-interior transition so wet shoes spend less time contacting vinyl flooring. If the hallway is long, add a runner after the entry mat to keep the problem localized near the perimeter and away from the middle of the vinyl floor. The key is that your mat and runner should be designed for moisture: they should absorb water and release it through regular cleaning—not trap dampness against the vinyl.
From a practical standpoint, treat mats like part of your hallway vinyl floor system:
– Use 2-stage matting (a scraper outside + absorbent inside) when you can.
– Choose non-slip backing that doesn’t act like a moisture barrier.
– Don’t let runners become permanent wet sponges; if they’re staying damp all day, replace or increase cleaning frequency.
H3: Concentrate “water-prone zones” away from vulnerable edges
Keep buckets, wet umbrellas, and mops off the vinyl floor. Even if your vinyl floor resists staining, the problem is the same: water that sits can migrate into joints and along perimeter edges. A hallway is full of “perimeter paths”—baseboards, door transitions, and expansion gaps—so your goal is to prevent repeated wetting in those areas.
H3: Use a simple rule for placement
If something can drip, it should never drip onto the vinyl floor. Put drip trays by doors and storage shelving that doesn’t require placing wet items directly on hallway vinyl floors. If you must temporarily stage damp items, use a waterproof tray and route moisture away from seams and transitions.
Seal the seams and edges the right way
The right seam strategy depends on your vinyl flooring system: some products are happiest with minimal sealing, while others benefit from targeted perimeter protection. The quickest prevention win is to follow the manufacturer’s installation and maintenance instructions for your specific vinyl—because sealing the wrong joints can trap moisture where it can’t escape.
Vinyl flooring warranties and installation manuals typically differentiate between product types (e.g., click-lock floating vs. glue-down) with different moisture-handling guidance.
Perimeter edges and transitions are common pathways for water movement because they’re where airflow and capillary transfer can guide moisture beneath resilient flooring.
Using manufacturer-approved sealants helps avoid creating moisture traps that can contribute to lifting or joint breakdown in vinyl floors.
H3: Confirm what your vinyl system actually allows
Before you seal anything, check whether your specific vinyl type requires—or forbids—seam/edge sealing. Click-lock LVP and glue-down products can have different recommendations, including different requirements for underlayment compatibility, perimeter spacing, and approved caulks.
If you’re not sure, slow down for one step: locate the installation manual for your exact vinyl line (brand + product name) and look for sections on:
– seams/joints
– perimeter gaps
– transitions/trim
– approved sealants/adhesives
– cleaning methods (often tied to residue and moisture behavior)
H3: Protect high-risk travel paths (transitions, baseboards, doorways)
Pay attention to transitions (doorways, hallway-to-room changes) and around baseboards. In many hallway vinyl floor layouts, water that hits the surface will spread first toward the perimeter—then look for the “low resistance” route into seams and underneath.
This is especially relevant for:
– Door jambs and thresholds, where traffic concentrates and shoes bring in moisture
– Baseboard edges, where caulk gaps and micro-voids can collect water
– Hallway transitions, including carpet-to-vinyl or tile-to-vinyl changes
H3: Use the correct product and technique (or don’t seal)
Only use manufacturer-approved products/techniques for caulk or sealants so you don’t trap moisture where it can’t escape—and so you don’t create warranty issues. Some systems can be sensitive to sealing choices because vinyl floors still need controlled movement (especially floating click-lock products).
If you’re tempted to “seal everything,” consider this: a well-maintained hallway vinyl floor is protected by fast removal plus moisture-source control, not by sealing that could reduce the ability of the flooring to dry.
Clean spills immediately—use the “blot, don’t soak” method
You prevent lasting hallway vinyl floor damage by removing liquid quickly and without pushing water into seams and edges. The “blot, don’t soak” method works because it lifts moisture from the surface while minimizing the amount that can migrate into joints.
Resilient flooring maintenance guidance commonly recommends prompt spill cleanup using methods that avoid saturating the floor surface. RFCI (resilient floor cleaning/maintenance guidance; add exact title/year)
Aggressive scrubbing can drive water into joints and seams, increasing the risk of swelling or lifting in resilient/vinyl systems.
Removing residue after blotting helps reduce residue buildup that can contribute to dirt accumulation and repeated moisture retention on vinyl floors.
H3: Use the right microfiber approach
For fresh spills:
1. Blot immediately with a clean microfiber cloth or paper towels.
2. Then finish with a lightly damp cloth to remove residue.
3. Keep drying-focused attention on the perimeter first—transitions, baseboards, and any seam lines.
Avoid scrubbing aggressively. Scrubbing can turn a surface spill into a seam-level wetting event by physically moving water and contaminants into the joint structure of hallway vinyl floors.
H3: Dry the “first travel” zones
After the surface looks dry, dry the area around transitions and edges. This matters because water often spreads first along the path of least resistance—especially near:
– door thresholds
– baseboard corners
– long runs where air movement and floor geometry guide moisture
H3: Know when to stop treating it as “just a spill”
If water repeatedly appears in the same hallway vinyl area, don’t just clean it—investigate. Whether it’s condensation, tracked snowmelt, or a minor plumbing leak behind a wall, prevention fails when cleanup becomes your only response.
Keep moisture from building up under and around the floor
The most damaging vinyl floor problem in hallways isn’t the spill on top—it’s moisture that builds up underneath or along edges over time. The best prevention is to stop the source (leaks/condensation), prevent standing water, and respond immediately to signs of underlayment or subfloor saturation.
IICRC water damage guidance notes that microbial growth can begin within 24–48 hours when conditions are favorable. IICRC S500 (Standard and Reference Guide for Professional Water Damage Restoration), microbial growth timing guidance
EPA mold guidance advises keeping indoor relative humidity below 60% to help prevent conditions that support mold growth. U.S. EPA, mold/moisture guidance (add document title/year)
Vinyl floor failures often stem from moisture exposure that persists long enough to affect joints, edges, and the materials under the flooring.
H3: Fix the cause (not just the symptom)
Address the cause behind the moisture:
– plumbing leaks (even slow ones)
– wet mopping that leaves the floor too damp for too long
– HVAC condensation problems that raise indoor humidity
As of 2025–2026, more homeowners are targeting humidity control (dehumidifiers, HVAC tuning, and better bathroom exhaust) because it reduces repeat moisture exposure—one of the most common triggers for hallway vinyl floors to lift at seams and transitions.
H3: Remove standing water quickly
Don’t let standing water sit—even briefly—especially in low spots where it can pool. Hallways often have subtle slope changes and wear patterns that create “micro-puddling,” which can defeat otherwise careful spill cleanup.
If you notice soft spots, bubbling, cupping, or lifting, treat it like an active issue rather than surface wear. At that point, moisture may have reached the underlayment/subfloor.
H3: Use a moisture-control mindset during cleaning
When cleaning hallway vinyl floors, use damp mopping and avoid saturating the floor. If you see water pooling around the microfiber head or along floor edges during cleaning, adjust your method immediately—more water isn’t “better cleaning” for vinyl seams.
H3: Pros/cons of prevention actions (quick decision support)
- Block-entry mats + quick blotting
- Pros: Reduces tracked moisture and limits seam exposure; fastest ROI for most hallways. Cons: Requires consistent habits (mats must be cleaned and spills handled quickly).
- DIY sealing around seams/transitions
- Pros: Can reduce water creep at perimeter points if your product allows it. Cons: Can backfire if the sealant method traps moisture, reduces natural drying, or violates warranty instructions.
- Fix moisture sources (humidity/HVAC leaks) + controlled cleaning
- Pros: Prevents repeat damage; improves outcomes even when spills happen. Cons: Takes more investigation (find the source), sometimes involves trades.
What can go wrong (and why prevention sometimes fails)
Prevention sometimes fails because waterproofing claims don’t override real-world moisture migration into seams and underneath. If the underlying moisture source continues—or if cleaning introduces excess moisture—hallway vinyl floors can still experience swelling, lifting, or bubbling even when you do “everything right” on the surface.
“Waterproof” for vinyl flooring usually describes resistance to certain spill conditions, not the tolerance for repeated pooling at seams and edges.
Using the wrong cleaner or applying too much liquid can leave residue that affects how resilient flooring joints behave around moisture.
If water reaches underlayment/subfloor materials, top-surface drying may not be enough; repair scope depends on how far moisture traveled.
H3: “Waterproof” still needs limits understood
Waterproof doesn’t mean “water-safe everywhere.” Many vinyl systems are designed to handle spills you clean promptly. The problem comes when moisture:
– sits long enough for capillary movement into seams
– repeatedly wets transitions and perimeter edges
– builds humidity under the flooring
H3: Cleaner choice and too much moisture can undermine your best efforts
Some cleaners (or excess liquid) can leave residues that encourage dirt pickup and moisture retention. That can create a cycle: residue makes the surface hold onto grime; grime holds onto moisture; moisture reaches seams.
H3: DIY sealing can trap moisture in the wrong places
DIY sealing can backfire. Some sealants can block natural movement of the flooring or trap moisture at transitions. If your hallway vinyl floor is click-lock and floating, sealing across joints without manufacturer approval can interfere with how the floor expands/contracts.
H3: Mats and runners can help—or cause damage
Mats and runners are usually a good idea, but they can create the opposite problem if they’re consistently wet or not dried/cleaned regularly. If a runner stays damp and presses against vinyl, it can become a moisture source itself.
H3: Underlayment moisture is the “hard mode”
If water already reached the underlayment/subfloor, drying from the top may not be enough. Fixing hallway vinyl floor damage can require lifting sections, drying cavity space, or replacing materials—depending on the flooring type and how long it stayed wet.
Verdict / tip
The simplest effective plan for hallway vinyl floors is: use mats at the entry, blot spills immediately, and keep water away from seams and transitions. The downside is that it relies on consistent habits and quick cleanup—and it may not be enough if you have ongoing moisture sources like leaks, chronic condensation, or heavy outdoor traffic during bad weather.
For resilient flooring, prevention works best when you combine moisture interception (entry control) with immediate spill response to limit seam/edge wetting. RFCI resilient flooring maintenance/cleaning guidance (add exact title/year)
Moisture-control measures (humidity and leak remediation) reduce repeat damage risk even when spills occur. U.S. EPA moisture/mold guidance (add exact title/year)
Before sealing seams or edges, follow the vinyl flooring manufacturer’s instructions to avoid warranty issues and unintended moisture trapping.
If you’re thinking about “sealing everything,” pause. Skip the DIY approach if you’re not sure whether your flooring manual allows it—when in doubt, follow the manufacturer’s installation/maintenance guidance or ask a flooring professional, especially if you suspect water has already gone underneath.
Quick hallway vinyl water-damage checklist (scan/save)
| Task | What to do | Why it helps |
|---|---|---|
| Entry protection | Use a proper doormat; add a runner if needed | Reduces the amount of wet tracked onto vinyl |
| Spill response | Blot immediately, then finish with a lightly damp cloth | Prevents liquid from migrating into seams/edges |
| Edge/transitions check | Inspect doorways/baseboards regularly | Water often travels to the perimeter first |
| Cleaning routine | Use damp mopping; avoid saturating the floor | Limits water exposure at joints |
| Moisture source control | Fix leaks and prevent persistent dampness | Stops repeat damage after cleanup |
Sources:
– Resilient Floor Covering Institute (RFCI), .
– IICRC (Institute of Inspection, Cleaning and Restoration Certification), IICRC S500 (Standard and Reference Guide for Professional Water Damage Restoration), .
– U.S. Environmental Protection Agency (EPA), .
– installation and maintenance guide for , focusing on: spill/water exposure limits, approved cleaners, and seam/edge recommendations.
Preventing water damage to vinyl floors in a hallway is mostly about controlling moisture at the boundaries: stop wet tracking at the entry, blot spills quickly, and keep humidity/leaks from building up under and around the flooring. If you follow those basics consistently—especially with manufacturer-approved edge/seam practices—you’ll dramatically lower the odds of warping, bubbling, and lifting.Frequently Asked Questions
What are the best ways to prevent water damage to vinyl floors in a hallway?
To prevent water damage to vinyl floors in a hallway, focus on fast cleanup and good moisture control. Use door mats at entry points, keep the floor dry during cleaning, and wipe up spills immediately to reduce water seeping at seams or edges. It’s also helpful to use felt pads under furniture and choose a vinyl floor with a reliable waterproof or water-resistant core designed for high-traffic areas.
How can I stop water from getting under vinyl planks or sheets along hallway seams?
Water often gets through gaps, seams, and transitions, so inspect your hallway vinyl floor for any loosened edges and repair them quickly. Apply manufacturer-approved seam sealant or caulk at transitions (like between rooms, doorways, and baseboards) if your flooring system supports it. For best results, ensure the subfloor is level and dry before installation, since trapped moisture can increase the risk of swelling or lifting.
How do I clean vinyl flooring in a hallway without causing water damage?
Avoid soaking the floor and never use a steam mop, as excess moisture can penetrate joints and edges. Instead, use a damp microfiber mop or a vinyl-safe cleaner, then dry the surface with a clean towel. If you have standing water concerns, use a spray-and-wipe method so you control how much water touches the vinyl and minimize pooling in grout-like seams or textured areas.
Why is water damage more likely in hallways, and what should I watch for?
Hallways tend to receive frequent traffic, wet shoe traffic, and tracked-in rain or snow, which increases the chance of puddles or repeated moisture exposure. Watch for early warning signs like lifting edges, bubbling, cupping, discoloration, or a soft/delaminating feel near seams and transitions. Catching these issues early helps prevent water from spreading beneath the vinyl and into the subfloor, which is harder to correct.
Which vinyl flooring features help resist water damage in high-moisture entry hallways?
Look for vinyl flooring labeled waterproof or with a water-resistant core, especially products designed for bathrooms or entryways with spills. In click-lock vinyl, tighter interlocking joints and an integrated backing that manages moisture can improve performance. Pair the flooring with proper installation practices—such as a dry subfloor, correct underlayment (if required), and sealed transitions—to reduce the likelihood of water reaching the subfloor.
📅 Last Updated: October 25, 2026 | Topic: How to prevent water damage to vinyl floors in a hallway? | Content verified for accuracy and freshness.
References
- Vinyl flooring
- https://www.cdc.gov/mold/default.htm
- Mold | US EPA
- https://www.epa.gov/mold/mold-cleanup-remediation
- F710 Standard Practice for Preparing Concrete Floors to Receive Resilient Flooring
- F1869 Standard Test Method for Measuring Moisture Vapor Emission Rate of Concrete Subfloor Using …
- F2170 Standard Test Method for Determining Relative Humidity in Concrete Floor Slabs Using in sit…
- https://scholar.google.com/scholar?q=prevent+water+damage+to+vinyl+flooring Google Scholar
- https://scholar.google.com/scholar?q=ASTM+F1869+moisture+vapor+emission+resilient+flooring Google Scholar
- https://scholar.google.com/scholar?q=vinyl+flooring+maintenance+standing+water+guidelines Google Scholar