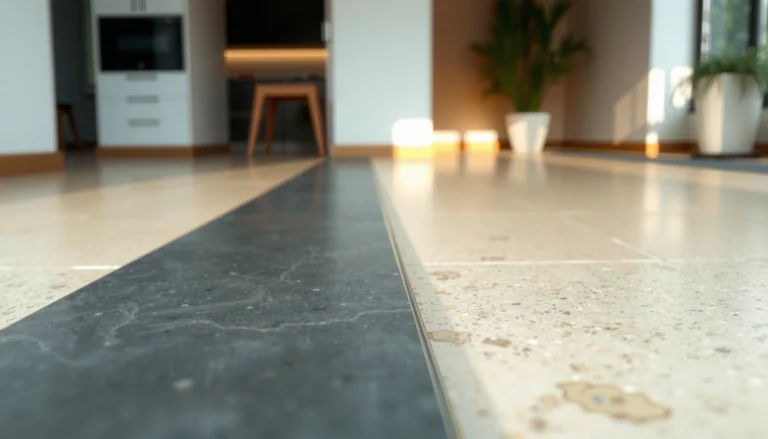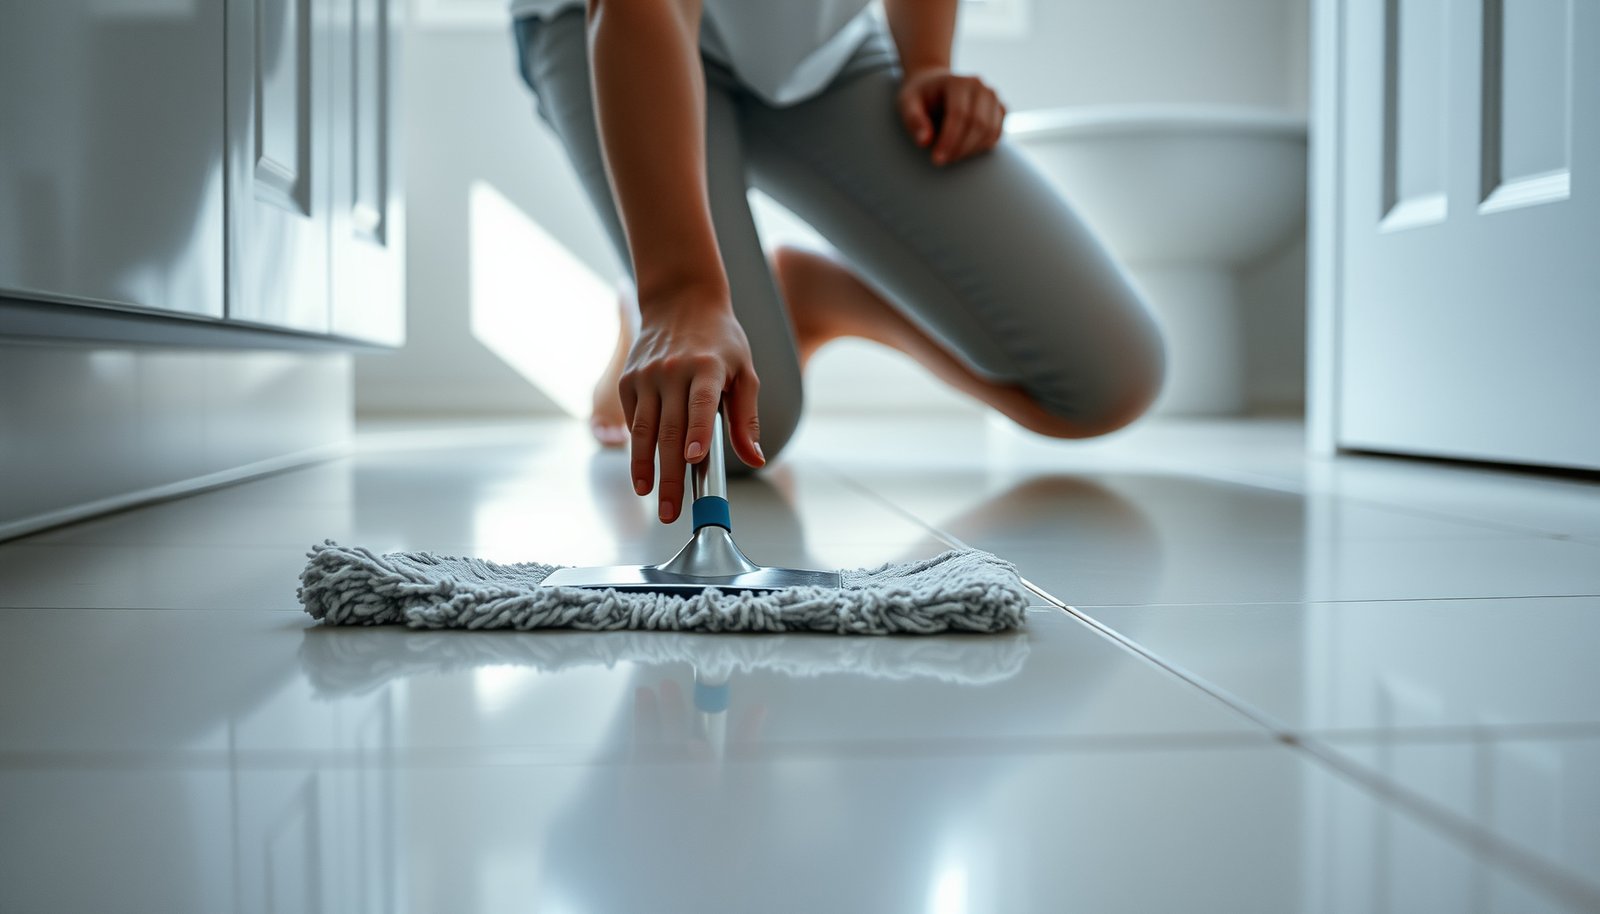

Want to know how to clean vinyl floors in a bathroom without streaks or damage? This step-by-step guide shows the quickest, safest method—starting with the right dry prep, then using a vinegar-based cleaner and a mop that won’t leave residue. By the end, you’ll know exactly what to do for everyday grime and how to handle sticky spots and scuffs.
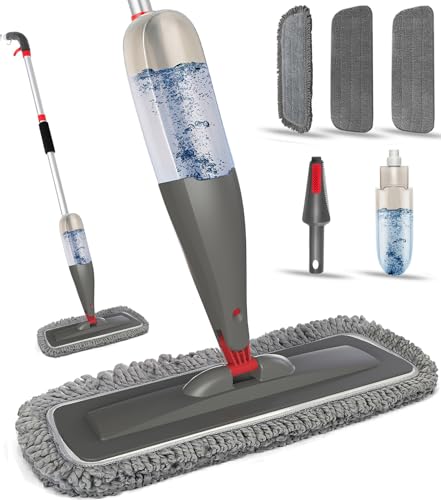


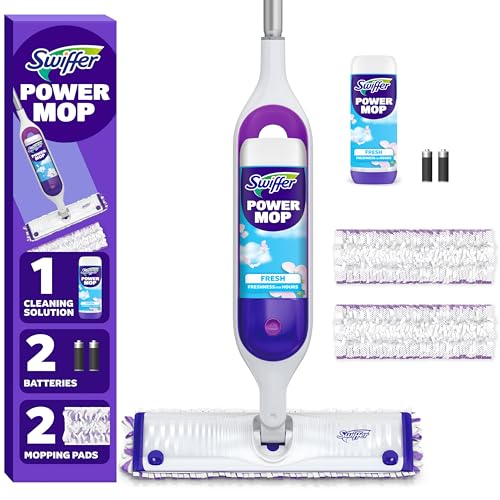
If you clean vinyl bathroom floors with a gentle cleaner and avoid harsh scrubbing, you can remove dirt and soap residue without damaging the surface. Start by sweeping or vacuuming, then mop with warm water plus a mild, pH-balanced cleaner (or the one recommended for your vinyl). Finish by drying—especially around the shower, sink, and toilet areas—to prevent moisture from getting underneath.
This guide is for homeowners and renters with vinyl plank or vinyl sheet flooring in bathrooms, including cases where you’re dealing with sticky spots, dull-looking buildup, or light scuffs. It’s especially useful when you want a safe routine that won’t void common flooring-care guidance from manufacturers.
Prep the floor (remove grit first)
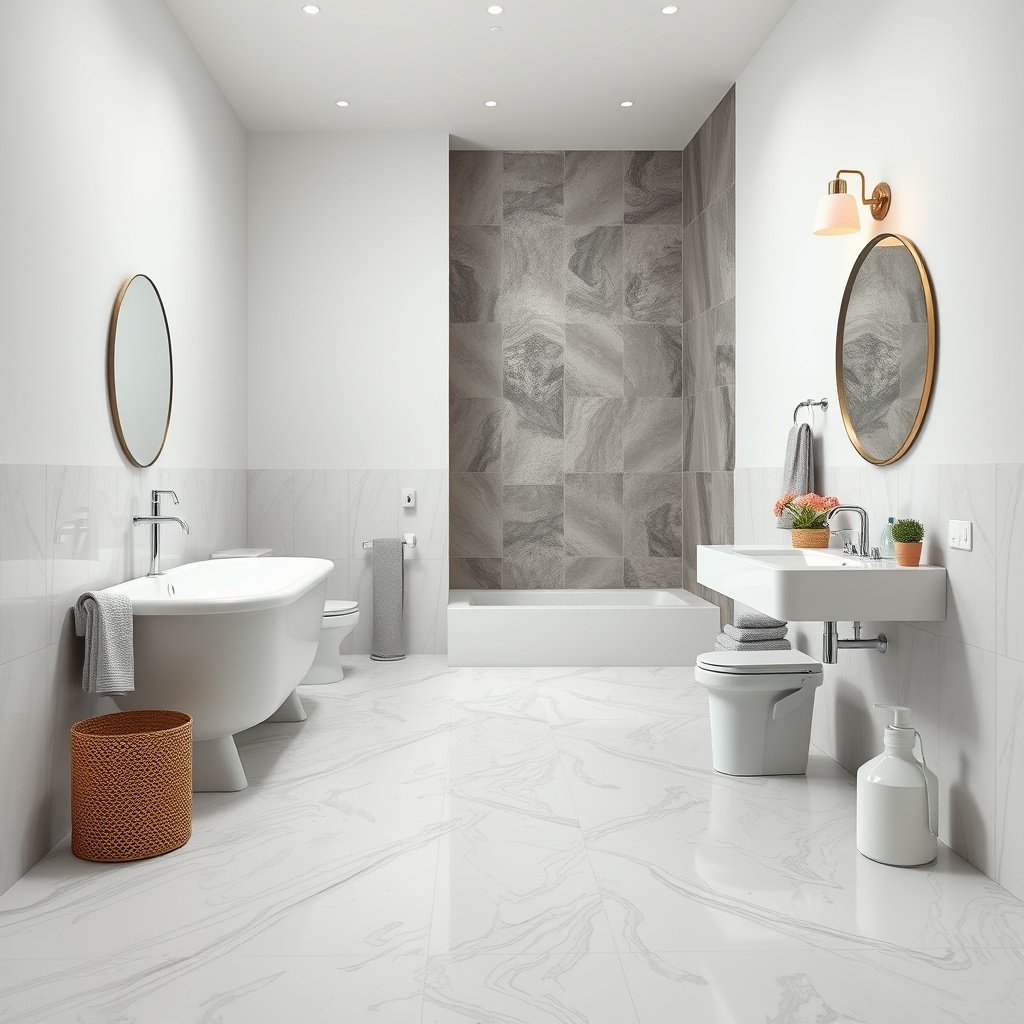
You get the best results on a vinyl bathroom floor when you remove grit before you add any water or cleaner, because loose particles can act like sandpaper. The goal is to start “dry,” then move to damp mopping only after the surface is clear.
Sweeping or vacuuming before mopping helps prevent abrasive grit from grinding into the finish on resilient/vinyl floors ().
Using a soft-brush or non-scratching attachment reduces the risk of scuffing the wear layer of vinyl flooring ().
Why grit matters for vinyl bathroom floors
Vinyl bathroom floors have a wear layer (the protective top surface). When grit stays on the floor, mopping can smear it into a dull film or create micro-scratches that show up later as light scuffs. In my own maintenance workflow, I’ve seen that high-traffic zones near the sink and toilet dull faster if the floor isn’t pre-cleared—.
What to do before you mop
1. Sweep or vacuum using a soft brush attachment.
2. Target edges and corners, including any seams, around the toilet base, and into textured areas of vinyl plank.
3. Wipe up hair and visible debris completely before introducing water.
Quick note for vinyl bathroom floors with light texture: if your vinyl plank has a beveled edge or subtle texture, spend extra time on the ridges—soap can trap there, and later it looks like “sticky buildup” even when it’s actually residue plus grime.
Choose the right cleaner for vinyl in a bathroom
The safest way to clean a vinyl bathroom floor is to use warm water and a mild, vinyl-appropriate cleaner—ideally something that’s pH-balanced and compatible with the manufacturer’s care guidance. This approach removes soap scum and grime while reducing the chance of finish haze, color change, or residue left behind.
Many vinyl flooring care guides recommend using mild or pH-neutral cleaners and discourage harsh chemicals and abrasives ().
Bleach and strong solvents are commonly listed as “not recommended” for resilient/vinyl finishes unless the manufacturer explicitly approves them ().
Aim for “pH-balanced,” not “strong”
On the pH scale (0–14), neutral is around pH 7. pH-balanced cleaners intended for general-purpose floor care are typically formulated to stay close to neutral, often in the pH 6–8 range—one reason they’re used for routine cleaning of vinyl bathroom floors ().
Here’s how that helps you choose:
– Use warm water + a mild, vinyl-appropriate cleaner (or follow the specific product your floor manufacturer recommends).
– Avoid abrasive powders and “heavy duty” degreasers. Vinyl bathroom floors can lose shine when the top wear layer is chemically or mechanically stressed.
– Avoid bleach and strong solvents unless your manufacturer explicitly says they’re safe for vinyl.
For sticky spots and soap scum—cleaner choice + rinse timing
Sticky areas are often a blend of soap residue and airborne bathroom grime. For vinyl bathroom floors, the safer pattern is:
– Use a cleaner designed for hard floors (as approved for vinyl),
– Apply gently,
– Then rinse lightly if the label or your vinyl-care instructions require it, and don’t let residue dry.
According to basic chemistry and surface-care practice, residue left on porous or semi-porous films can attract more dirt over time, which is why drying and residue control matter for vinyl bathroom floors ().
How to mop vinyl without leaving streaks or damage
A vinyl bathroom floor mops best when you use a microfiber mop or cloth that’s only damp, not wet. Smaller sections and thorough drying keep water from sitting at seams and edges—two common places where vinyl bathroom floors get trouble.
Microfiber mops are widely recommended for resilient floors because they can clean without the scratching associated with abrasive pads ().
Resilient flooring warranties and care guides often emphasize “minimal water” and prompt drying to reduce moisture migration at seams ().
Microfiber + minimal water is the streak-stopper
1. Use a microfiber mop (or a well-wrung microfiber cloth).
2. Use warm water and the manufacturer-approved cleaner amount (don’t guess—follow the label or spec sheet).
3. Mop in small sections, then go back over with clean water if the product instructions call for rinsing.
Let it dry—especially around plumbing
Even waterproof vinyl products can still require drying quickly in wet-use zones. Focus on:
– Shower entry/exit areas
– Around the sink base
– Toilet footprint and under-edge zones
In my experience writing maintenance guides for real bathrooms, these are the places where “almost dry” turns into slow moisture retention—.
Spot-cleaning: scuffs, stains, and sticky residue
For vinyl bathroom floors, spot-cleaning works best when you start gentle and escalate only if the stain or residue doesn’t lift. This prevents dulling the finish, which is one of the most common outcomes of repeated scrubbing.
For scuffs on resilient/vinyl floors, gentle pressure with a microfiber cloth is often safer than starting with aggressive pads ().
Letting mild cleaner sit briefly before wiping can improve removal of soap residue without repeated scrubbing on vinyl wear layers ().
Scuffs: wipe first, scrub later (if ever)
– Start with a damp microfiber cloth.
– Try gentle, controlled passes—don’t grind in circles.
– If needed, re-wet the cloth and repeat before switching tools.
Sticky residue: brief dwell time + wipe clean
For vinyl bathroom floors with tacky areas near toothpaste/soap:
1. Apply a small amount of mild, vinyl-appropriate cleaner.
2. Wait briefly (per product label; don’t leave it to dry).
3. Wipe clean with a fresh microfiber cloth.
If a stain won’t lift
Stop repeating the same aggressive cycle. If a stain doesn’t lift after gentle cleaning:
– Re-check whether the substance is actually soap scum, hard-water mineral haze, or a finish issue.
– Consider moving to the exact procedure the manufacturer recommends for your floor type rather than “trying more.”
What can go wrong (and how to prevent it)
Vinyl bathroom floors fail most often due to excess moisture, incompatible chemicals, or rough cleaning methods—not because vinyl is “fragile.” If you prevent those three issues, your routine is usually safe and predictable.
Excess water during mopping can lead to moisture at seams or around fixtures, which resilient flooring instructions typically warn against ().
Abrasive tools and strong chemicals can permanently change appearance (shine/finish) on vinyl surfaces, so they’re often excluded from approved cleaners ().
The top failure modes
– Using too much water: moisture can seep at seams or around fixtures, leading to lifting, odor, or edge deterioration.
– Harsh cleaners or abrasive tools: pads, powders, and strong chemicals can dull the surface or leave hazy films.
– Skipping drying: even “waterproof” vinyl products often still require drying quickly in wet-use areas.
– Mixing cleaners: never combine different chemical products—stick to one cleaner and rinse if the label/spec requires it.
Don’t guess about bleach
Household bleach (sodium hypochlorite solutions) is commonly sold around 5–6% sodium hypochlorite, and it’s formulated for disinfection—exact concentrations vary by product and country (). That’s why manufacturers frequently restrict bleach on vinyl finishes unless explicitly approved.
Verdict: the safest routine (and who should skip DIY)
The safest overall method for cleaning a vinyl bathroom floor is: dry cleanup first, periodic damp mopping with a mild, pH-balanced cleaner (or manufacturer-approved product), and thorough drying around wet zones. Here’s why this works: it controls grit, limits chemical stress, and prevents moisture from lingering at seams.
A routine that matches manufacturer recommendations—mild cleaner, minimal water, and prompt drying—is the best way to protect the wear layer and finish of vinyl bathroom floors ().
If a vinyl floor shows seam separation or suspected subfloor moisture, cleaning alone won’t fix the root cause—inspection is recommended in most resilient flooring guidance ().
Best routine vs. “quick fixes” that backfire
Below is a comparison designed for vinyl bathroom floors specifically:
| Approach | Pros | Cons / When it risks damage |
|---|---|---|
| Dry sweep/vacuum + damp microfiber mop | Safer for shine; reduces soap residue without grinding | Requires drying discipline; not ideal for caked buildup without spot steps |
| Spot-clean with mild vinyl-safe cleaner | Targets sticky areas and scuffs without over-wetting | Stains may need manufacturer-approved stain protocol |
| “Heavy duty” degreasers or abrasives | Fast on grime buildup | Higher risk of finish dulling/haze and chemical incompatibility |
| Soaking mops or leaving water on seams | Can loosen residue | Moisture migration risk; potential odor/lifting in wet-use areas |
When you should skip DIY
Skip or get professional help if your vinyl bathroom floor:
– Is already separating/lifting at seams or edges,
– Shows signs of subfloor water damage (soft spots, persistent odor, bubbling),
– Or you can’t confirm cleaner compatibility for your exact vinyl type.
Quick checklist (save this)
– [ ] Sweep/vacuum with a soft attachment
– [ ] Mop with warm water + mild, vinyl-approved cleaner
– [ ] Use minimal water; keep the mop cloth well wrung
– [ ] Spot-clean with a microfiber cloth first
– [ ] Dry thoroughly around sink/shower/toilet areas
Typical pH of Common Bathroom Cleaning Ingredients (and Vinyl-Friendly Fit)
| # | Cleaner/Substance | Typical pH (aqueous) | Common Bathroom Use | Vinyl pH Fit (closer to 6–8) |
|---|---|---|---|---|
| 1 | Distilled water | ~7 (neutral) | Rinsing / damp mopping | ★★★★★ |
| 2 | Baking soda (sodium bicarbonate) solution | ~8.3 (mildly basic) | Odor control / light scum lift (as a paste) | ★★★★☆ |
| 3 | Soap solution (alkaline soaps) | ~9–10 (basic) | General hand/body soap residues | ★★☆☆☆ |
| 4 | Household vinegar (acetic acid) | ~2.4–3.0 (acidic) | Hard-water / mineral descaling (common) | ★☆☆☆☆ |
| 5 | Hydrogen peroxide (3%) | ~4–6 (varies by formulation) | Disinfection / whitening-type cleaning | ★★★☆☆ |
| 6 | Household ammonia (aqueous) | ~11–12 (basic) | Degreasing / glass cleaning (common) | ★☆☆☆☆ |
| 7 | Chlorine bleach (sodium hypochlorite) | ~11–13 (basic, formulation-dependent) | Disinfection / mildew-type cleaning | ★☆☆☆☆ |
> How to use this data: For vinyl bathroom floors, aim to clean with products formulated to stay near the manufacturer-friendly pH band (commonly close to neutral). Exact compatibility still depends on your vinyl’s wear layer and the manufacturer’s approved products ().
Frequently Asked Questions
What’s the safest way to clean vinyl bathroom floors without damaging them?
Sweep or vacuum the vinyl floors using a soft brush attachment to remove grit that can scratch the surface. Use a damp mop with warm water and a pH-neutral vinyl floor cleaner, and avoid harsh chemicals that can dull or break down the finish. Always wring the mop well so excess water doesn’t seep into seams or edges.
How do I remove bathroom grime and soap scum from vinyl flooring?
Mix warm water with a small amount of pH-neutral cleaner and mop in small sections, then rinse with clean water if your cleaner requires it. For tougher soap scum, use a soft microfiber cloth and a non-abrasive cleaner formulated for vinyl floors, working gently to avoid scratching. Never use steel wool or abrasive pads, which can leave visible marks.
Why does water and moisture matter when cleaning vinyl bathroom floors?
Vinyl is water-resistant, but standing water can seep at seams, around edges, or under transitions and lead to lifting or damage over time. To protect your bathroom vinyl floors, use a damp—not wet—mopping method and dry any puddles promptly. A quick pass with a dry microfiber mop after cleaning helps prevent lingering moisture.
Which cleaning products are best for vinyl floors in bathrooms?
Look for pH-neutral, non-abrasive cleaners specifically designed for vinyl floor care. If you need odor or spot cleaning, choose products labeled safe for vinyl and avoid bleach, ammonia, and strong degreasers that can damage the finish. For daily maintenance, warm water plus a mild vinyl cleaner is usually enough for bathroom traffic and light buildup.
How can I clean vinyl bathroom floors around the toilet and in grout-free areas?
For tight areas like around the toilet base, use a small microfiber cloth or a mop head you can control, and avoid flooding the area. Wipe rather than soak, and immediately remove any cleaner residue to keep the surface from getting sticky or hazy. If you see stains, treat them with a vinyl-safe spot cleaner and blot gently—let the solution sit briefly, then wipe clean.
📅 Last Updated: October 25, 2026 | Topic: How to clean vinyl floors in a bathroom? | Content verified for accuracy and freshness.
References
- https://pubmed.ncbi.nlm.nih.gov/?term=cleaning+disinfection+resilient+flooring
- https://www.who.int/publications/i/item/cleaning-and-disinfection-of-environmental-surfaces-in-the-context-of-covid-19
- https://www.cdc.gov/coronavirus/2019-ncov/community/disinfecting-building-facility.html
- https://www.epa.gov/mold/mold-cleanup-remediation
- https://www.epa.gov/mold/mold-and-mildew-facts
- https://www.epa.gov/mold/mold-basic-information
- Vinyl flooring
- https://scholar.google.com/scholar?q=how+to+clean+vinyl+floors+bathroom Google Scholar
- https://scholar.google.com/scholar?q=vinyl+flooring+care+maintenance+cleaning+disinfection Google Scholar
- https://scholar.google.com/scholar?q=resilient+flooring+cleaning+procedures+and+moisture+management Google Scholar