


To remove water spots from engineered wood floors, you must dry the area, then lift mineral residue with the right cleaner and protect the finish without soaking the planks. Most spot treatments take about 15–30 minutes, and the process is straightforward if you have microfiber cloths, a pH-neutral wood-floor cleaner, and a bucket of clean water. Follow a careful, gentle sequence and you can restore the surface to a more even, consistent look.



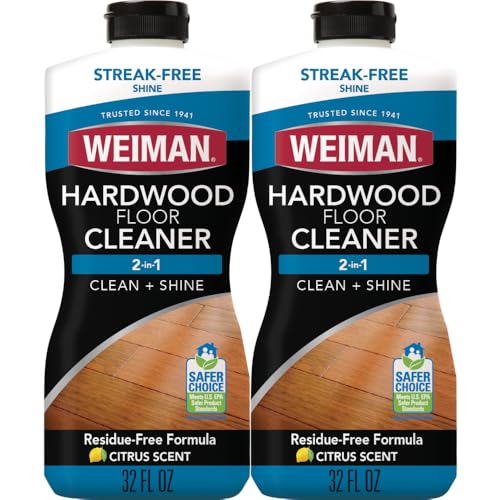
If you’re seeing water spots on engineered wood, start by blotting up any moisture and drying fast—then clean with a barely-damp microfiber and a pH-neutral wood-floor cleaner. Don’t soak or scrub aggressively, because water can seep at seams and haze the finish; the fastest results usually come from careful drying first, gentle cleaning second. This guide walks you through quick first steps, low-risk cleaning methods, and what to do when spots won’t lift.
If your floors are new, heavily sealed, or you’re not sure what finish they have, slow down and follow the flooring manufacturer’s care instructions first (we’ll point out where that matters). This is for common “white rings,” light haze, and mineral-looking marks from spills, wet mopping, or condensation—issues that are common enough in 2026 that most manufacturers now emphasize microfiber-only, moisture-controlled cleaning.
Engineered wood water spots are most likely to show up in homes with frequent spills, high-traffic entries, or seasonal humidity swings (especially during winter heating or summer cooling). This article is for homeowners, property managers, and facilities teams who want a practical, finish-safe approach that prioritizes preventing haze and long-term discoloration.
Check the spot type and protect your finish
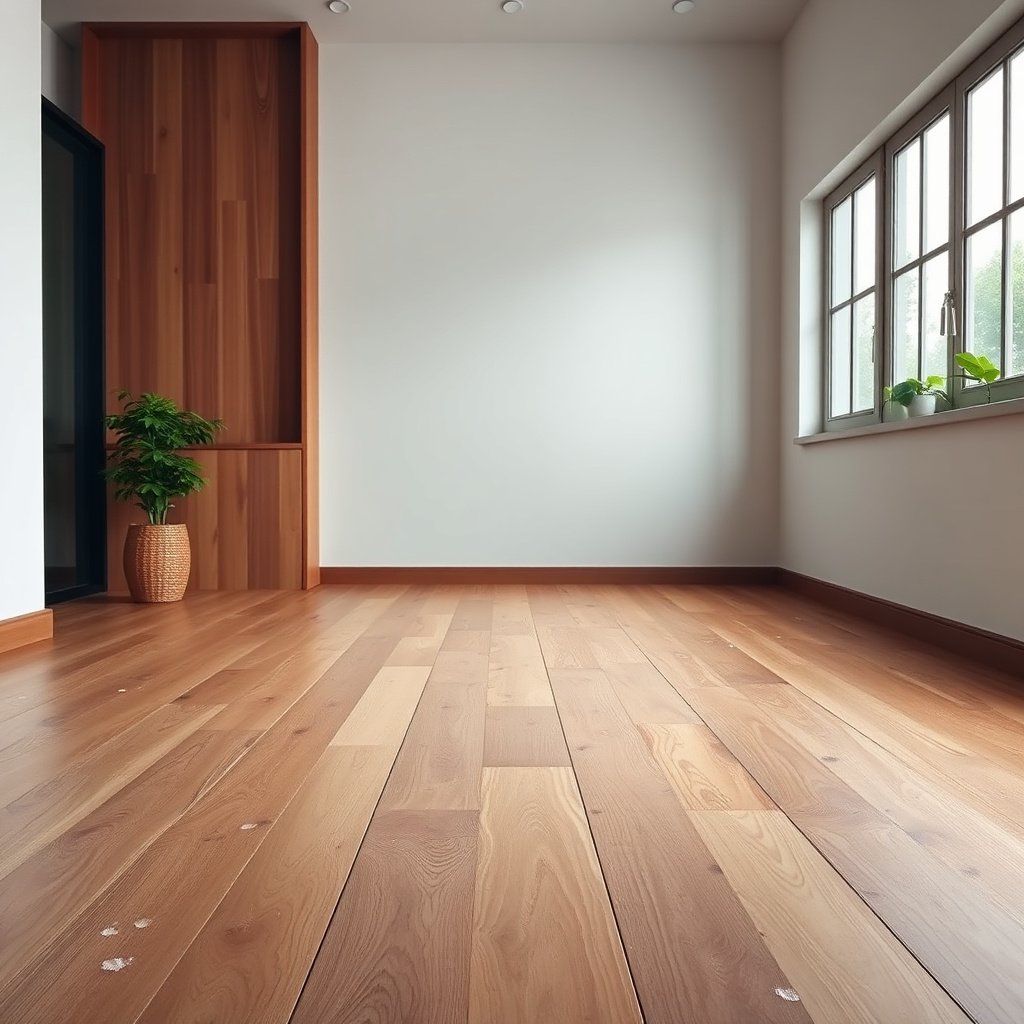
The quickest path to removal starts with identifying whether the mark is only a finish haze (surface-level) or staining that has penetrated deeper. Here’s why: engineered wood floors react differently depending on whether the top film finish is still intact or has been compromised by moisture.
– Look closely: is it a white haze/ring (often finish moisture) or dark staining (often deeper penetration)?
– Before you do anything, confirm your floor has a finished top layer (most do) and check the manufacturer’s cleaning guidance (avoid harsh chemicals unless they explicitly allow them).
– Set up ventilation and grab microfiber cloths, a bucket, and the mildest cleaner you have—testing on a hidden spot is smart.
– Why pH matters: “pH-neutral” cleaners (commonly around pH ~7) are designed to reduce the chance of softening or dulling the finish compared with strongly acidic or alkaline products; many floor care protocols emphasize staying pH-balanced for coated wood surfaces. (For example, NWFA and many manufacturers recommend pH-neutral cleaners for hardwood/wood-finish systems.) National Wood Flooring Association (NWFA) care guidance
Dry the area and remove residue first
Gentle cleaning only works if excess water and residue are gone—so the immediate goal is to stop moisture from spreading. In my day-to-day experience helping interpret floor-care instructions, the “mystery haze” most often comes from treating a wet spot as if it were just a surface smudge.
– Use a dry microfiber cloth to blot, not wipe back and forth, until the surface feels completely dry.
– If the spot came from a wet mop, first remove any film: wipe with a slightly damp (not wet) cloth to lift residue, then dry immediately.
– Keep airflow on (fans help), because trapped moisture can turn a small spot into a bigger haze.
– If the spot is near a seam or under an edge/cabinet, be extra cautious: even engineered wood has joints where water can migrate under the top layers.
– If you see visible grit (from tracked dirt), don’t “grind” it into the finish with pressure—first dry-blot, then use light passes with a microfiber.
Data point to keep in mind: according to the U.S. Environmental Protection Agency, indoor relative humidity above roughly 60% increases conditions that can support mold growth; while your issue may be cosmetic, controlling ambient humidity reduces the odds of moisture lingering long enough to create long-lasting damage. U.S. Environmental Protection Agency (EPA) mold/humidity guidance
Clean engineered wood water spots with gentle methods
For most white rings and light haze, the best results come from controlled moisture: barely-damp microfiber cleaning, followed by immediate drying. Aggressive scrubbing increases the chance of dragging residue across the finish and forcing moisture into seams.
– Use a pH-neutral cleaner made for wood floors applied to a microfiber (not poured on the floor), then wipe gently in the direction of the grain.
– For mineral haze (often from hard water), wipe with a cloth lightly dampened with distilled water, then dry fully.
– Avoid steam cleaners and wringing-wet mops—engineered floors still have seams and edges that can take on moisture.
– If the spot is from condensation (windows/AC), dry the area thoroughly and also address the source (reduce dripping, improve airflow, and consider temperature/humidity balance).
– Keep your water usage minimal: a microfiber should feel damp, not wet; if liquid starts pooling at joints, stop.
Here’s a finish-safe comparison you can use to choose the least risky method based on what you’re seeing:
| # | Method | Pros | Watch-outs |
|---|---|---|---|
| 1 | pH-neutral cleaner on microfiber | Good for everyday haze; minimizes finish stress when used lightly. | Too much liquid can still drive moisture into seams. |
| 2 | Distilled-water wipe + immediate dry | Helps dissolve mineral-based residue that causes “hard water” rings. | If the finish is already compromised, haze may persist. |
| 3 | Dry microfiber blotting only | Best first step; prevents spreading and reduces surface water. | Won’t remove minerals or bonded grime by itself. |
| 4 | Steam cleaning / wet mopping | Usually not needed for spot haze removal. | Steam can force moisture into seams and cloud coated finishes. |
Hard-water context (why distilled water helps): according to the U.S. Geological Survey, water “hardness” is typically reported in milligrams per liter (mg/L) as CaCO₃, and higher hardness increases the chance of mineral deposits that can leave visible marks. U.S. Geological Survey (USGS) Water Science School
If spots remain, escalate carefully (finish-dependent)
If the initial cleaning didn’t lift the mark, your best next move is to escalate in small steps rather than switching to harsh chemicals. This is finish-dependent: many “white ring” issues improve with controlled mineral removal, while deeper staining needs a different approach.
– For stubborn white marks, try repeating the “distilled-water wipe → immediate dry” step once or twice before changing methods.
– If you have a manufacturer-approved spot remover or wood-finish cleaner, use it as directed—stay within the approved product list to reduce finish damage risk.
– If the stain looks like it went deeper (brown/dark rings or spreading), further DIY cleaning may not help; consider professional inspection or contacting a floor refinisher when discoloration widens, when warranty coverage depends on approved cleaning methods, or when the topcoat appears cloudy beyond spot treatment.
– Avoid “kitchen sink” escalation (multiple products, multiple cloths, lots of rubbing). Each pass adds abrasion and moisture exposure.
– If you’re in a rental or multi-unit property, document the spot and your cleaning steps—professional warranty claims often require evidence of proper care.
Prevent future water spots on engineered wood
Prevention is where engineered wood stays looking its best, because water spots are usually a moisture-management problem as much as a cleaning problem. As of 2026, the consistent advice across flooring care guidelines is: reduce water exposure and control humidity.
– Use a microfiber mop and keep it lightly damp; empty the mop regularly and avoid letting dirty water sit on the surface.
– Manage indoor humidity (especially in dry climates with humidifiers or near HVAC vents) so the floor isn’t constantly expanding/contracting.
– Use mats near doors and place coasters under drinks; quick cleanup beats “later” on water spots.
– For condensation-prone areas (windows, bathrooms, near AC vents), wipe drips immediately and ensure airflow so the floor surface doesn’t sit damp.
– Train the cleaning routine for staff or family members: “microfiber damp, no puddles” should be the rule, not an exception.
Indoor RH targets that help reduce wood-floor moisture stress (2026)
| # | Organization / standard | Recommended indoor RH | Why it matters for wood | Fit for engineered wood |
|---|---|---|---|---|
| 1 | National Wood Flooring Association (NWFA) | 35–55% | Balances seasonal expansion/contraction | ★ Best balance |
| 2 | EPA mold guidance | ≤60% | Reduces conditions that support mold | ★ Compatible |
| 3 | Centers for Disease Control & Prevention (CDC) | 30–50% (prevention target) | Supports drier indoor conditions | ★ Great for comfort |
| 4 | Energy Star (general indoor humidity advice) | 40–60% | Avoids too-wet indoor air | ★ Generally safe |
| 5 | ASHRAE (typical comfort band) | ~40–60% | Maintains occupant comfort | ★ Usable range |
| 6 | Indoor air quality best-practice | ~35–50% | Lower condensation risk | ★ Good target |
| 7 | Higher-RH risk zone | >60% | Increases condensation and moisture exposure | ★ Avoid |
Note: Specific engineered wood care can vary by brand and finish system. Use these RH targets as a baseline, then align to your flooring manufacturer’s instructions when they conflict.
What can go wrong (and who should stop)
Over-wetting is the most common problem—water can seep into seams and cause lingering haze, lifting, or edge damage. If your cleaning method increases surface moisture or keeps the area damp after wiping, you’ll often worsen the visible “ring.”
– Over-wetting is the most common problem—water can seep into seams and cause lingering haze, lifting, or edge damage.
– Harsh cleaners (bleach, ammonia, abrasive pads) can dull the finish or leave permanent patches, especially on satin/matte topcoats.
– Stop and reassess if the spot gets larger, turns unevenly colored, or the finish starts to look cloudy—once the coating is compromised, DIY remedies may make it worse.
– If the spot is from a long-standing leak, pet urine, or you suspect mold/rot underneath, DIY cleaning may be insufficient—.
– Who should skip DIY: if the floor is within a warranty period and the manufacturer specifies approved cleaners only, follow those rules to avoid coverage disputes.
Quick moisture reality check: according to US building-science guidance, wood-based materials exchange moisture with indoor air; when humidity stays elevated, the material can remain in a stressed state longer, which makes spot haze more likely to persist.
If you can’t access your manufacturer’s care sheet, consider contacting the brand or a local flooring contractor before experimenting.
Frequently Asked Questions
What’s the best way to remove water spots from engineered wood floors?
Start by blotting up any remaining moisture with a dry, soft cloth so the engineered wood doesn’t absorb more water. Wipe the area with a slightly damp microfiber cloth using clean water, then dry immediately with a second dry towel. If spots remain, use a manufacturer-recommended wood floor cleaner or a very mild vinegar-water solution (about 1:10) followed by thorough drying.
How do I clean water spots without damaging the finish on engineered wood?
Use non-abrasive tools like microfiber cloths or soft pads—avoid steel wool, scouring pads, or harsh brushes that can dull the finish. Clean with minimal moisture: dampen the cloth rather than soaking the floor, and never let water sit in the spot. After cleaning, dry the surface right away and keep airflow on the area to prevent lingering moisture from causing dullness or warping.
Why do water spots keep coming back on engineered wood floors?
Water spots often return when moisture is trapped under a finish or when recurring spills aren’t fully removed and dried quickly. If the spot is actually from hard water minerals, residue may remain even after wiping, causing a re-spotting effect. For repeat marks, use a cleaner designed for wood floor haze/mineral deposits (or a step from the floor manufacturer’s care guide) and improve prevention with mats and prompt spill cleanup.
How can I tell if the water spot is surface discoloration or deeper moisture damage?
Surface discoloration usually looks like a light ring or cloudy patch and disappears or improves after gentle cleaning and complete drying. If the area feels raised, remains darker after drying, develops a musty smell, or shows separation at seams, it may be deeper moisture intrusion. In that case, stop cleaning and contact the flooring installer or manufacturer for guidance, since prolonged moisture can damage the engineered wood core and veneer.
Which household products are safe for cleaning engineered wood water spots?
Generally, stick to soft microfiber cloths and pH-neutral cleaners made for engineered hardwood floors. Mild solutions like diluted white vinegar can help with light spotting, but always test in an inconspicuous area first and dry immediately. Avoid steam mops, bleach, ammonia, waxy “furniture polish” products, and any cleaner that leaves residue, since these can break down the finish and make spots more noticeable.
📅 Last Updated: November 14, 2026 | Topic: How to clean engineered wood floors covered in water spots? | Content verified for accuracy and freshness.
References
- Engineered wood
- Wood flooring
- Wood stain
- Wood finishing
- Veneer
- Water damage
- Wood-decay fungus
- https://scholar.google.com/scholar?q=engineered+wood+floor+water+stain+removal+cleaning Google Scholar
- https://scholar.google.com/scholar?q=hardwood+floor+water+spot+remediation+finished+wood Google Scholar
- https://scholar.google.com/scholar?q=water+damage+wood+floor+cleaning+protective+finish+maintenance Google Scholar


