
Replacing industrial floors doesn’t have to be guesswork—this step-by-step guide walks you through the process from prep to install for a durable, ready-for-traffic finish. You’ll learn the fastest path to a clean demo, the right substrate and leveling approach, and the correct material and curing sequence to avoid downtime and premature failure. If you want the clear, practical way to replace industrial floors correctly the first time, start here.




Replacing industrial floors usually means removing the existing surface (and often the top concrete layer), repairing the substrate, then installing a new system matched to your load, chemicals, and moisture conditions. If you want fewer failures, start with a proper assessment of adhesion/moisture and choose the right flooring type (epoxy, polyurethane, rubber, concrete resurfacing, or full replacement). This guide walks you through the practical steps and the most common pitfalls so you can plan the job and avoid rework.
Replacing industrial flooring is rarely a “swap one layer for another” task. The floor fails when the substrate, surface prep, and installed system don’t agree—especially around moisture vapor transmission, cracking movement, and chemical contamination. In practice, the best results come from a structured workflow: diagnose the existing failure, decide whether you need resurfacing or full rebuild, prep aggressively (including mechanical profiling), then specify an installation that fits your service conditions and joint detailing.
This step-by-step approach is also how experienced industrial flooring teams reduce rework during commissioning—because it focuses on what usually drives early delamination: moisture, adhesion performance, and incompatible system selection.
This is for facility owners, maintenance managers, and contractors planning to replace industrial floors in warehouses, workshops, food/chemical areas, or any space with heavy traffic, impacts, or spill exposure. It’s especially useful when you’re deciding how to prep the existing surface and what to specify so the new floor bond lasts.
Assess the existing floor and conditions first
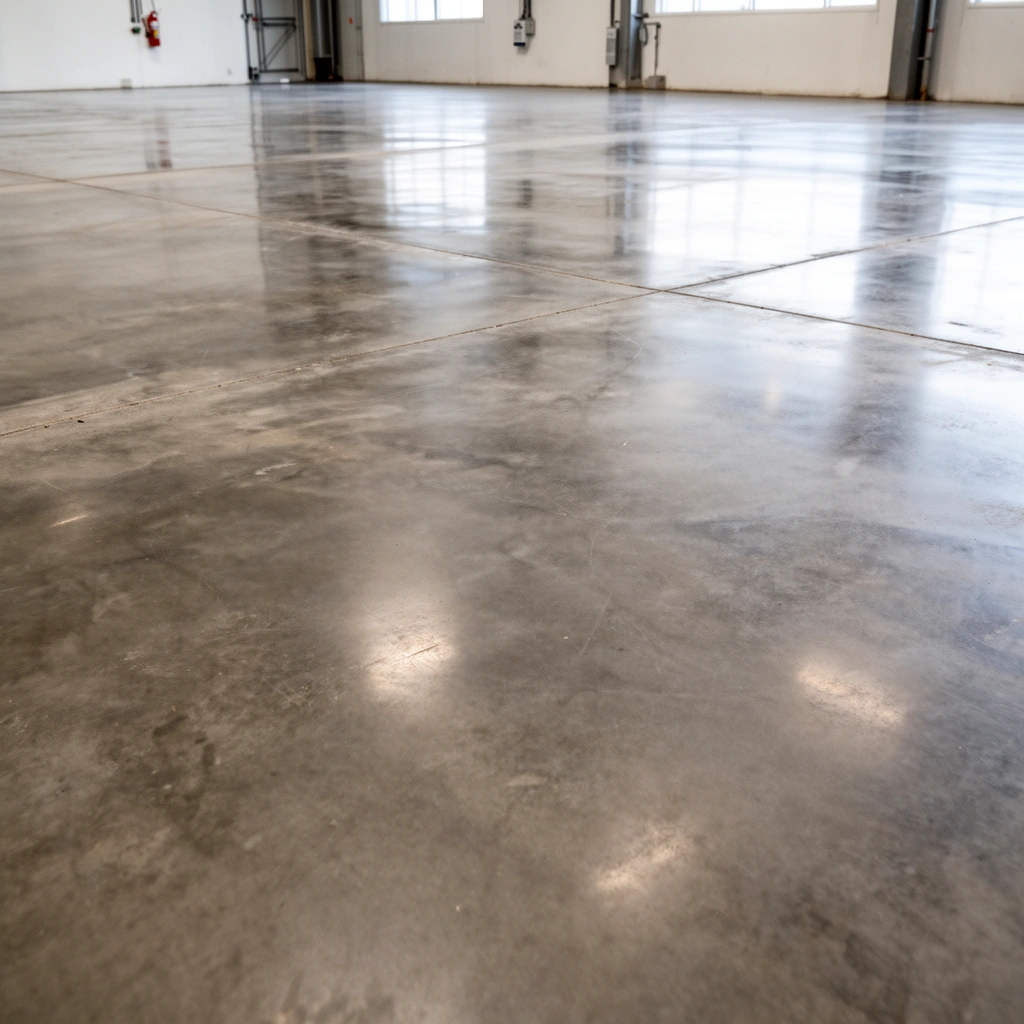
You get the right replacement plan by diagnosing the cause of failure first—not just the symptom. A blistered or peeling coating often points to moisture or contamination, while cracked concrete points to structural movement you can’t “coating-correct.”
Start by identifying what you currently have (concrete only, epoxy/urethane coating, tile, asphalt, or a composite system). Then confirm why it’s failing: surface wear, cracking, delamination, alkali/chemical attack, or joint breakdown. From there, inspect the slab itself—cracks, spalls, scaling, unevenness, and any areas with evidence of deep contamination. Finally, translate your daily use into measurable service demands: forklift/rolling loads, thermal cycling, abrasion severity, and chemical exposure profile (continuous vs. occasional spills).
According to OSHA, respirable crystalline silica is regulated due to health risk, and demolition/grinding controls must prevent airborne dust during concrete surface prep.
According to ASTM F1869, many coating systems require moisture vapor transmission rates at or below 3 lb/1000 ft²/24h to reduce blistering and debonding risk.
Concrete and coating failure clues you should document
– Cracking pattern: map crack locations and widths. Hairline cracks may be cosmetic; wider cracks with vertical displacement or active growth indicate structural movement.
– Delamination behavior: if coating lifts in sheets, moisture vapor drive and/or bond contamination is often a primary driver.
– Chemical signatures: staining, softening, or etching can indicate chemical incompatibility or long-term exposure to oils, solvents, acids, or alkalis.
– Surface hardness and profile: a slab that’s contaminated with curing compounds, oils, or dust frequently prevents good mechanical anchorage even after “visible” cleaning.
What moisture testing is really trying to answer
Moisture is not just “wetness.” Many industrial floor failures happen because moisture vapor migrates through concrete and disrupts cure/bond. In my experience reviewing job photos and failure investigations for warehouses, the most productive early step is confirming whether moisture is within the installed system’s allowed range—because surface prep alone can’t fix a moisture mismatch.
Here are common moisture/adhesion checks teams use before selecting epoxy or polyurethane.
Industrial Floor Pre-Install Checks and Common Acceptance Criteria
| # | Test (ASTM/Standard) | What it measures | Typical acceptance limit for epoxy/urethane coatings | Typical turnaround | Risk if out of range |
|---|---|---|---|---|---|
| 1 | ASTM F1869 | Moisture vapor emission rate (MVER) | ≤ 3 lb/1000 ft²/24h | ~24–72 hrs | ★ ★ ★ ★ ★ |
| 2 | ASTM F2170 | Relative humidity in-slab | ≤ 75% RH | ~48–96 hrs | ★ ★ ★ ★ ★ |
| 3 | ASTM D4541 | Pull-off adhesion strength | ≥ 300 psi (≈ 2.1 MPa) | ~1–2 days | ★ ★ ★ ★ |
| 4 | ASTM D3359 | Crosshatch adhesion (qualitative) | Rating commonly ≥ 4B | Same day | ★ ★ ★ ★ |
| 5 | ASTM D4263 | Plastic sheet test (surface wetness/contamination) | No condensation/wetting | ~24 hrs | ★ ★ ★ |
| 6 | ASTM C1583 | Tensile pull-out (cracking/strength checks) | Project-specific; often compared to design baseline | ~1–3 days | ★ ★ ★ ★ |
| 7 | ICRI CSP profiling | Surface roughness/host profile for coating bond | Common target: CSP 2–3 | Same day | ★ ★ |
Note: actual acceptance thresholds should be confirmed in your specific coating/manufacturer specification. For example, moisture limits often vary by system; always follow the product data sheet and the relevant test standard. Key anchors include: ASTM F1869 for moisture vapor emission rate, ASTM F2170 for in-slab RH, and OSHA’s silica standard 29 CFR 1910.1001 for hazard control.
Choose the right replacement flooring system
You choose the right industrial flooring system by matching the coating/overlay type to the slab condition, chemical exposure, and moisture risk—not by price per square foot. The “best” system is the one that the substrate can physically support and the environment can chemically tolerate.
Start with a simple decision: if concrete is stable and contamination is limited to the surface, resurfacing or direct coating may be enough. If the slab is structurally compromised (deep contamination, active cracking, spalling), you’re effectively building a new floor system—and that typically means deeper repairs or full replacement.
Moisture-safe flooring design starts with system limits from the manufacturer plus field testing using ASTM F1869 or ASTM F2170.
Chemical compatibility is determined by resin chemistry (e.g., epoxy vs. polyurethane vs. novolac variants) and is confirmed using the manufacturer’s chemical resistance chart.
System selection: what to align
– Use case & slab stability: stable slabs often support epoxy or polyurethane coatings; unstable slabs require crack control, polymer mortars, or resurfacing systems designed for movement.
– Chemical exposure profile: oils and fuels behave differently than acids, alkalis, and solvents. “Foot traffic friendly” systems can still fail under chemical dwell.
– Abrasion and impact: forklift lanes and drop zones may need thicker coatings, broadcast aggregates, or elastomeric/rubber solutions to handle abrasion and repeated impacts.
– Downtime and cure strategy: some systems allow faster return to service, but cure performance is still dependent on temperature, humidity, and correct surface prep.
Quick pros/cons: common industrial floor options
- Epoxy coatings
- Pros: strong bond on properly profiled concrete; good chemical resistance for many oils/alkalis (varies by formulation). Cons: can be vulnerable to moisture vapor drive if limits aren’t met; joint/contamination failures show up as early peeling.
- Polyurethane systems
- Pros: often better UV/appearance stability than epoxy; flexible options can handle some movement. Cons: chemical resistance still depends on formulation; improper prep still causes debonding.
- Concrete resurfacing/overlays
- Pros: rebuilds flatness and thickness; can restore damaged surfaces. Cons: bond and curing depend on correct substrate prep and compatible repair materials.
- Rubber/elastomeric systems
- Pros: good for impact, rolling, and slip resistance where movement and resilience matter. Cons: chemical compatibility must be verified; thickness and edges need disciplined detailing.
- Full replacement (rebuild slab)
- Pros: solves deep slab problems (extensive spalling, contaminated sublayers, persistent moisture). Cons: longest lead time and highest scope.
Demo and remove the old surface safely
You minimize rework by removing only what’s failing (and the right amount of slab) while controlling dust and worker exposure during demolition. Safe demo is not optional—concrete grinding introduces silica dust, and coatings may contain hazardous constituents depending on age and chemistry.
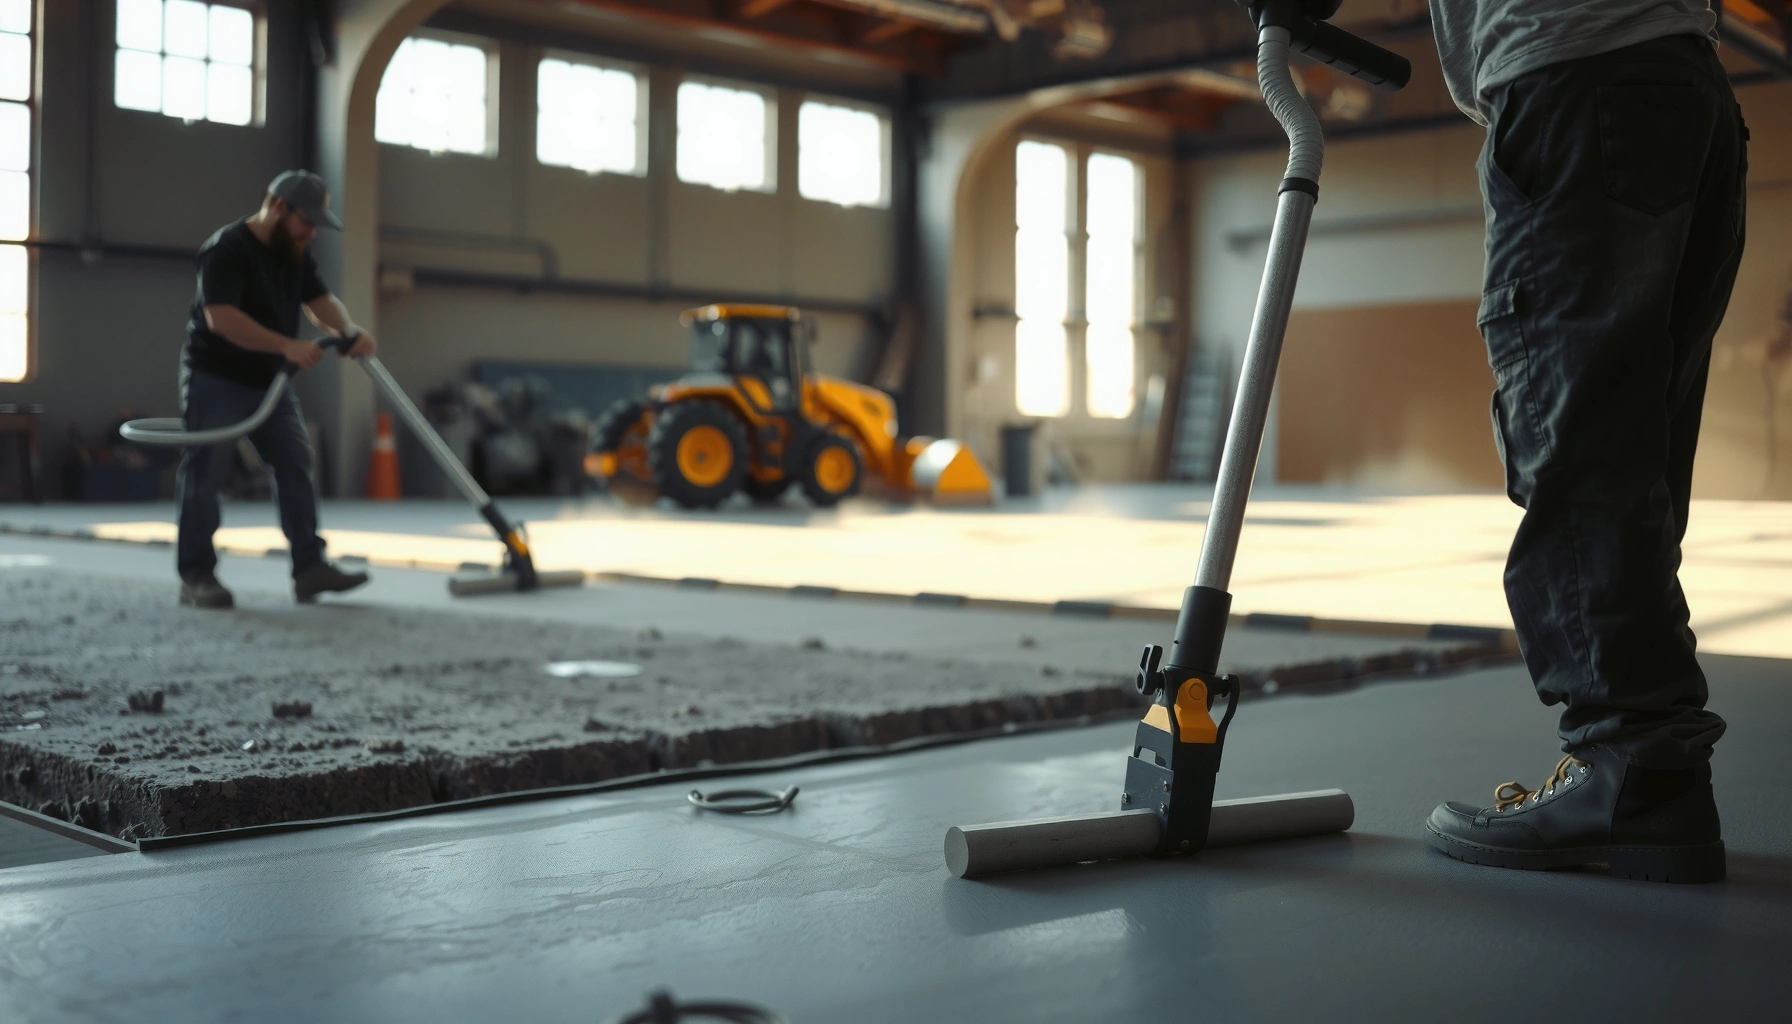
Demolition scope typically means mechanical removal of coatings (shot blasting, grinding, scarification) and selective concrete removal only where the slab is weak, spalled, delaminated, or contaminated. After removal, verify the remaining substrate is sound enough to bond with the new system.
OSHA’s silica standard requires respiratory protection and dust control during grinding/cutting, especially when using abrasive equipment on concrete.
If the coating removal process leaves weak or contaminated concrete behind, the new floor can debond even when the applied product is correct.
Safe demo planning that pays off
– Containment & filtration: use floor-to-ceiling containment where feasible and appropriate HEPA filtration. This isn’t just cleanliness—it reduces recontamination of the slab right before coating.
– PPE and hazardous material checks: determine whether older coatings contain regulated materials (especially in renovated facilities). Your safety plan should align with your site industrial hygiene evaluation.
– Confirm “what remains”: after demo, look for:
– loose concrete or hollow sounding areas
– oil/grease reservoirs
– curing compound residues
– failing edges where delamination originates
A key field lesson: “pretty removal” can still be incorrect. If the surface profile is too smooth or contamination remains, you can end up with a flawless-looking slab that still won’t bond.
Repair the substrate and prepare for adhesion
You increase system life by repairing the substrate with compatible materials and achieving the correct surface profile for bonding. Most early failures trace back to either inadequate profiling, hidden contamination, or repairs that don’t match the chemistry/rigidity of the new floor system.
Begin with crack filling and patching where needed. Then profile mechanically to create the anchor pattern required for your chosen coating/overlay. Next, remove contaminants—oils, curing compounds, dust films, and residue from prior repairs—because adhesion depends on both cleanliness and texture.
Even a correctly chosen epoxy can fail if oils, curing compounds, or dust remain; surface cleanliness is a prerequisite to mechanical anchorage and chemical bonding.
Surface profiling standards commonly target an ICRI CSP range appropriate to the coating system; too smooth reduces mechanical interlock.
What to document during prep
– Ambient conditions during prep and application (temperature and relative humidity).
– Moisture testing results and the method used (ASTM F1869 or ASTM F2170).
– Surface profile (ICRI CSP target range for the system).
– Repair material compatibility (same manufacturer family or explicitly compatible products).
– Cleaning verification: by visual inspection plus any required “white rag”/vacuum wipe protocols your spec mandates.
Concrete moisture limits matter because they directly influence cure and bond. For anchoring numbers: ASTM F1869 MVER limits are often set at ≤3 lb/1000 ft²/24h, while ASTM F2170 in-slab RH limits are often set around ≤75% RH—again, confirm in your product’s technical data sheet.
Install the new industrial floor system
You achieve the intended performance by installing exactly to manufacturer instructions for mixing, thickness, application method, and cure time. In industrial floors, the “installation details” (especially around edges and joints) are where success is won or lost.
Plan your sequence so the floor can cure undisturbed before it sees traffic. Handle joints and transitions with the detailing method specified for your system—control joints, saw cuts, drains, curb transitions, and equipment bases are common failure points if they’re ignored.
Joints concentrate movement; floor systems that do not respect control joints and transitions can crack or debond faster under forklift loads.
Manufacturer cure windows are not interchangeable; temperature and humidity changes can extend cure and increase the risk of surface damage during early trafficking.
Installation elements you should schedule and control
– Mixing and pot life: improper mixing or exceeding pot life leads to thin spots, soft material, and adhesion loss.
– Thickness control: underbuilds wear out; overbuilds can crack or trap stress.
– Rollout and back-rolling (when specified): helps achieve uniform film formation and avoids pinholes.
– Broadcasts/finish systems: if using aggregates for traction, ensure the broadcast is specified and fully cured before cleaning/overcoating.
– Edge and drain detailing: sealants, termination profiles, and compatible primers are often required.
What can go wrong (and how to avoid it)
You avoid rework by targeting the failure modes that show up repeatedly in industrial environments: poor prep, moisture mismatch, wrong system selection, slab problems, and neglected joints. If you address these five categories early, the probability of early delamination drops significantly.
Here are the most common pitfalls and how teams prevent them:
The most common reason coatings peel is inadequate mechanical profiling or remaining contamination that prevents the bond from forming.
Coatings fail when moisture vapor drive exceeds the installed system’s limits, even if the floor looks clean and the coating is applied at the correct thickness.
| Mistake | Typical symptom | Prevent it by |
|---|---|---|
| Poor surface prep | Peeling/delamination in sheets | Mechanical profiling per spec; remove curing compounds/oils; vacuum and verify cleanliness |
| Ignoring moisture and temperature limits | Blistering, cloudy coating, debonding | ASTM F1869/F2170 testing and environmental control before application |
| Incorrect system for chemicals/abrasion | Softening, staining, rapid wear | Match resin type and thickness to chemical resistance charts and abrasion requirements |
| Overlooking slab condition | Cracks telegraph through; repeat failures | Evaluate slab integrity; repair or rebuild when the substrate is compromised |
| Ignoring joints/transitions | Cracking near drains/doorways/equipment bases | Detail joints as designed; use compatible sealants/termination methods |
Verdict / tip
If the existing slab is structurally sound and the failure is mostly surface-related, you can often replace only the flooring system (coating/resurfacing) after aggressive prep and proper moisture/adhesion checks. If the concrete is cracked, spalled, or contaminated deep within the slab, plan on deeper repairs or full replacement—otherwise you’re paying twice. Skip this DIY-style if you don’t have equipment for proper profiling, dust control (silica considerations), and the ability to meet strict surface condition requirements; in those cases, use a qualified industrial flooring contractor and insist on a written scope aligned to manufacturer specs.
Also, keep expectations realistic: industrial floors aren’t “set-and-forget.” A good spec reduces failures, but ongoing maintenance (spot cleaning chemical spills, monitoring joints, and replacing damaged edge sections) still matters—especially in high-traffic forklift zones.
Scan-friendly checklist (save this)
– [ ] Diagnose failure cause (wear, cracking, delamination, chemical damage)
– [ ] Inspect slab integrity and identify needed repairs
– [ ] Confirm floor type to install (and compatibility with chemicals/loads)
– [ ] Mechanically remove old coatings/surfaces as needed
– [ ] Remove contaminants; profile surface to required bonding profile
– [ ] Verify moisture/temperature conditions meet system requirements
– [ ] Install per manufacturer instructions (mixing, thickness, cure steps)
– [ ] Protect from early traffic until fully cured
– [ ] Treat joints/edges/drains with the specified detailing
FAQ
How much concrete do I need to remove when replacing industrial floors?
It depends on where the damage is: surface coatings usually come off mechanically, while concrete removal is typically limited to areas that are weak, delaminated, spalled, or contaminated. [ADD: specify your situation—e.g., “remove only failed areas” vs. “full slab replacement”—based on your assessment.]
What’s more important: the coating thickness or surface preparation?
Surface preparation is usually more critical than chasing higher thickness. A flooring system installed on contaminated or poorly profiled concrete can fail even if it’s applied to the “right” thickness.
Can I install new flooring over existing epoxy?
Sometimes, but only if the existing surface is solid, clean, and properly prepared for adhesion—and only if it meets the new system’s recoat requirements. If there’s delamination or extensive failure, removal is typically necessary. [ADD: source for recoat/overcoating requirements from your chosen manufacturer.]
How do I choose between epoxy, polyurethane, and other options?
Match the system to your environment: abrasion, chemical exposure, temperature swings, and whether you need flexibility or high impact resistance. Use manufacturer chemical resistance charts and installation specs. [ADD: list your chemicals/temperatures so the right system can be selected.]
Sources
– Manufacturer installation/specification documents for the chosen industrial flooring system (surface prep, mixing, thickness, cure times, and moisture/temperature limits). [ADD: name the specific product/manufacturer you’re targeting.]
– Health and safety guidance on silica dust control during concrete grinding/demo (for example, OSHA guidance on silica exposure and required controls). OSHA 29 CFR 1910.1001
– Technical guidance from flooring manufacturers on joint detailing and overcoating/adhesion requirements. [ADD: include the specific technical bulletin(s) referenced for your system.]
– Moisture testing methodology references: ASTM F1869 and ASTM F2170
– Adhesion testing methodology reference: ASTM D4541
Replacing industrial floors successfully comes down to the same principle every time: the new system has to be compatible with what’s underneath. Diagnose the failure, test moisture and adhesion risk, remove and profile correctly, repair with compatible materials, and detail joints and edges as specified. When you follow that workflow, your floor isn’t just “installed”—it’s engineered to survive the loads, chemicals, and moisture your facility actually produces.
Frequently Asked Questions
What’s the best way to assess whether an industrial floor needs full replacement?
Start by inspecting for structural damage like cracking, spalling, delamination, uneven settlement, and moisture intrusion, since cosmetic wear alone may not require replacing the entire slab. Perform moisture testing, surface profile checks, and, when needed, concrete thickness and rebar/void evaluations to confirm the substrate is still sound. If repairs won’t restore load-bearing performance, chemical resistance, or safety, full industrial floor replacement is usually the most cost-effective option.
How do you remove an existing industrial floor without damaging the base slab?
Use the least aggressive method that achieves full removal, such as diamond grinding for thin coatings or saw cutting plus controlled demolition for thicker systems. Protect adjacent equipment and utilities, manage dust with HEPA vacuums and containment, and ensure proper waste hauling and site cleanup. After removal, prepare the exposed concrete by profiling it to the required surface profile so your new floor system bonds correctly.
Which industrial floor replacement materials work best for heavy traffic and forklifts?
For forklifts and high-load areas, consider systems like heavy-duty epoxy or urethane coatings, polymer-modified cementitious overlays, or epoxy self-leveling underlays over properly prepared concrete. If you need maximum impact and abrasion resistance, polished or densified concrete may be suitable, while epoxy mortar systems can provide strong thickness and durability. The right choice depends on load, wheel type, chemical exposure (oils, solvents, acids), temperature cycles, and whether the floor must meet sanitary or anti-slip requirements.
How do you prepare concrete for a new industrial floor coating or overlay?
Industrial floor preparation typically includes thorough cleaning (degreasing and removing laitance), moisture testing, and mechanical surface profiling to achieve the correct bond strength. Repair spalls, cracks, and low spots with compatible patch materials before applying any coating or overlay. Follow strict mixing and application guidelines for epoxy/urethane systems, including environmental controls like temperature and humidity to prevent failures such as bubbling, debonding, or outgassing.
Why do industrial floor replacements fail, and how can contractors prevent it?
The most common failure causes are poor substrate preparation, inadequate moisture control, incorrect product selection, and skipping compatible primers or crack isolation where needed. Contamination from dust, curing compounds, oil, or improper surface profile can also prevent proper adhesion of industrial floor coatings. Mitigate risk by using qualified floor prep methods, performing moisture and surface checks, specifying the correct system for chemicals and traffic, and documenting surface conditions before installation.
📅 Last Updated: October 12, 2026 | Topic: How to replace industrial floors? | Content verified for accuracy and freshness.
References
- Google Scholar Google Scholar
https://scholar.google.com/scholar?q=industrial+concrete+floor+replacement+procedure - Google Scholar Google Scholar
https://scholar.google.com/scholar?q=concrete+slab+replacement+subbase+preparation - Google Scholar Google Scholar
https://scholar.google.com/scholar?q=industrial+flooring+surface+preparation+demolition+hazards+silica+asbestos+lead - Silica, Crystalline – Overview | Occupational Safety and Health Administration
https://www.osha.gov/silica - Silica and Worker Health | Silica | CDC
https://www.cdc.gov/niosh/topics/silica/ - Asbestos – Overview | Occupational Safety and Health Administration
https://www.osha.gov/asbestos - Asbestos | US EPA
https://www.epa.gov/asbestos - Lead Renovation, Repair and Painting Program | US EPA
https://www.epa.gov/lead/renovation-repair-and-painting-program - Lead – Overview | Occupational Safety and Health Administration
https://www.osha.gov/lead - Recycling – Sustainability – Pavements – Federal Highway Administration
https://www.fhwa.dot.gov/pavement/recycling/