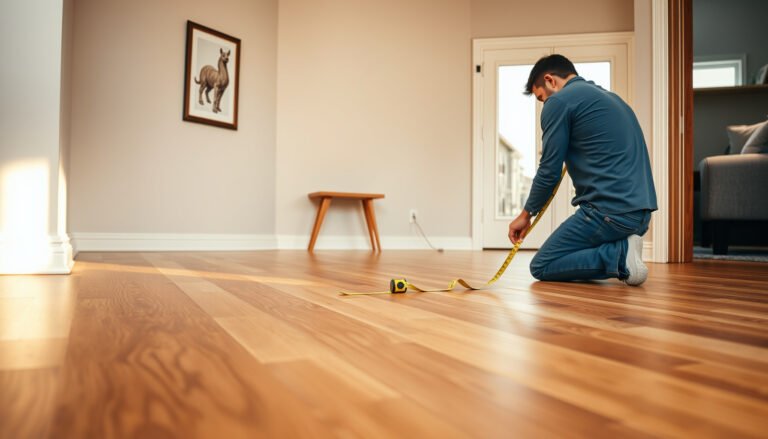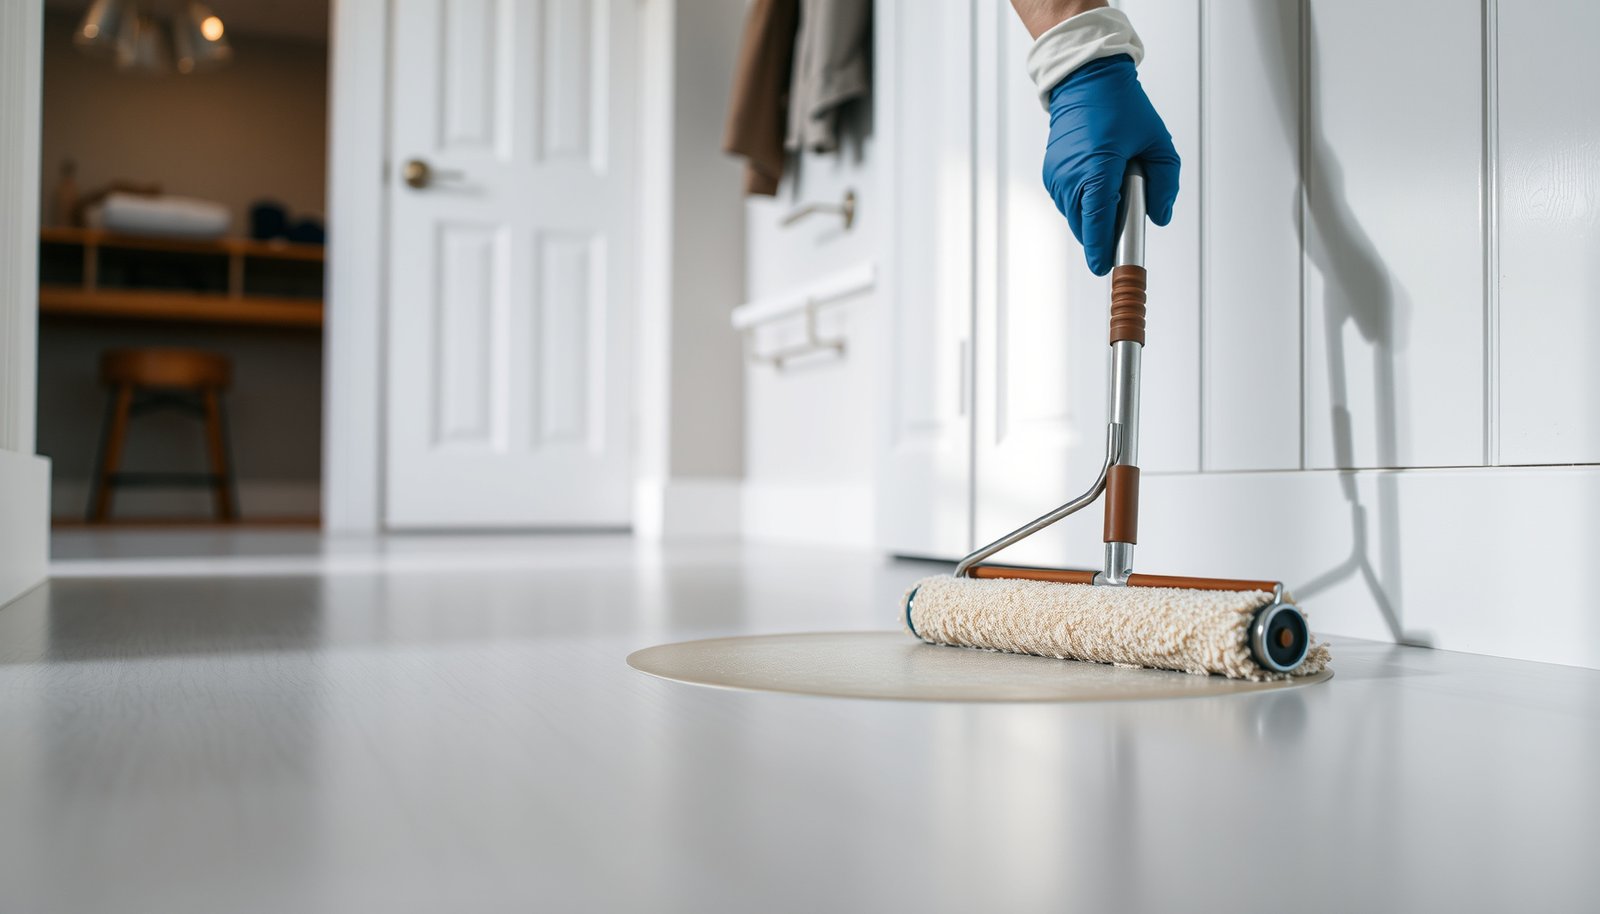

Preparing vinyl floors for a mudroom is simple when you follow the right prep steps: clean thoroughly, repair any subfloor flaws, and ensure the surface is dry, level, and smooth. This guide tells you exactly what to do before installation—so the planks stay flat, seams don’t lift, and water and grit don’t work their way underneath. If you’re dealing with an older subfloor or heavier moisture from tracked-in rain, these checks are the difference between a lasting mudroom floor and one that fails early.




To prepare vinyl floors for a mudroom, focus on getting the subfloor clean, dry, smooth, and level before you install. Mudrooms bring in grit and moisture, so the prep steps matter more than for most rooms. In this guide, you’ll learn what to check, how to fix common subfloor issues, and what to do (and avoid) so your vinyl holds up.
If you’re installing luxury vinyl plank (LVP), luxury vinyl tile (LVT), or sheet vinyl in a mudroom—especially over concrete or an older subfloor—this is for you. It’s also helpful if you’ve noticed bubbles, gaps, or clicking/peaking in previous flooring and want to prevent that from happening again.
If you want the most durable mudroom vinyl outcome, your goal is simple: treat vinyl like a precision surface—because mudroom conditions (salt, water, and abrasion) reveal prep shortcuts faster than you might expect.
Clear the space and assess the subfloor first
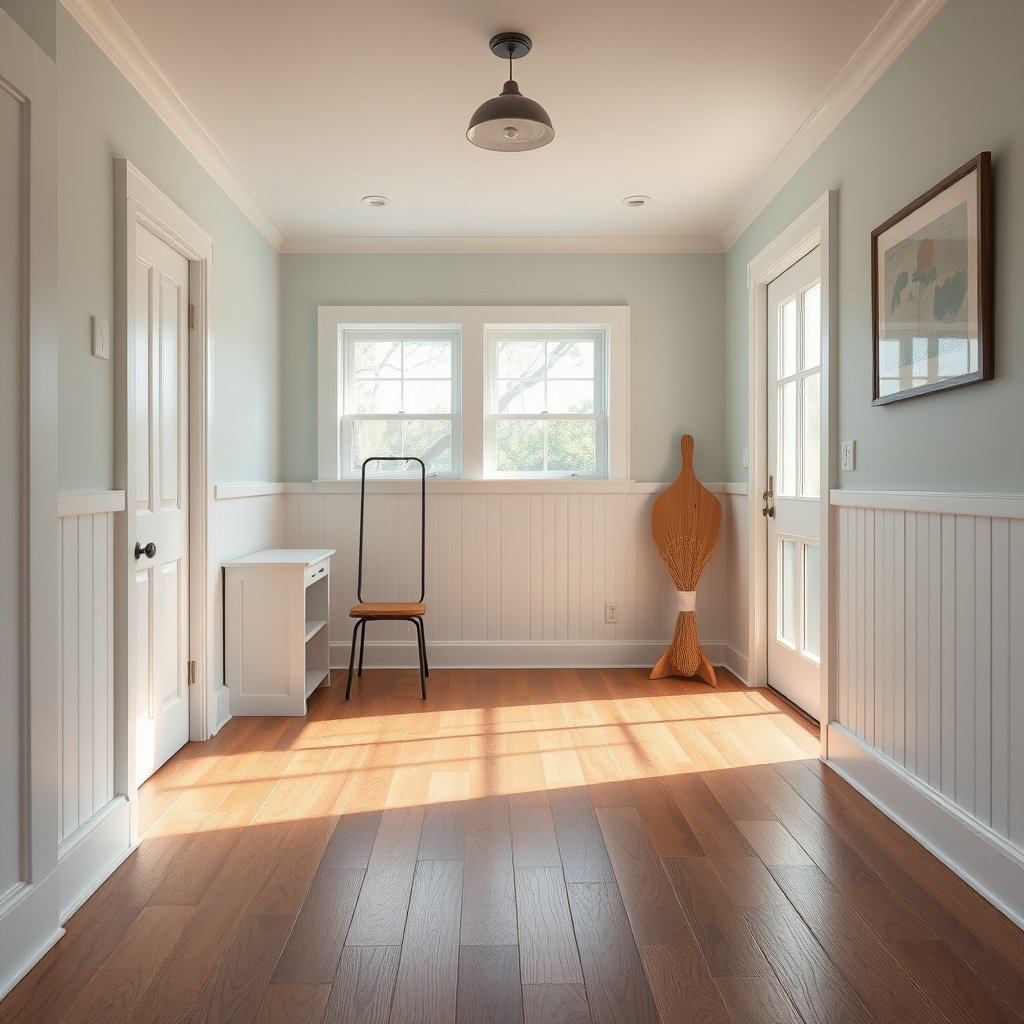
You’ll get the best mudroom vinyl performance when you start by removing anything that prevents direct contact (or proper flatness) between the vinyl and the subfloor. Before you touch leveling compound or underlayment, confirm what you’re working with and whether the subfloor has movement, because floating click-lock floors and glue-down products both telegraph problems when the base flexes.
Mudrooms are high-transit entry zones; grit plus moisture cycles make flatness and subfloor stability critical for vinyl seams and locks.
Vinyl installation success depends on subfloor type (concrete slab vs. plywood/OSB over joists), because repair and moisture control methods differ by material.
If the subfloor flexes, vinyl locks can fail faster—movement concentrates stress at seams rather than distributing it across the full panel.
– Remove all dirt, adhesive residue, and anything that could create bumps (old staples, raised caulk, wax, etc.).
Start with a thorough scrape and vacuum. In mudrooms, tiny ridges and leftover tape adhesive can create micro-high spots—exactly the spots that later become clicking, gaps, or seam wear.
– Identify your subfloor type (concrete slab vs. plywood/OSB/joists) so you can choose the right fixes.
Concrete typically needs surface prep for flatness and moisture control. Wood subfloors often need fastening, squeak elimination, and patching for deflection or “springy” areas.
– Check for movement or softness—if the subfloor flexes, vinyl joints and locks are more likely to fail.
Walk the area and feel for bounce. If you hear squeaks or notice deflection, address that before installing—vinyl can resist water well, but it can’t compensate for structural movement.
Quick assessment that saves rework
If you’re working from an older mudroom floor, spend extra time on these three checks:
1. Flatness feel test: use your hand to detect ridges and depressions (pay attention to door tracks and where people line up to wipe shoes).
2. Fastener check (wood subfloors): verify panels are solid—loose boards will crack patches and loosen locking joints.
3. Crack and seam mapping (concrete): identify control joints and wider cracks so you can decide whether they’re purely cosmetic or require a specific repair approach.
Clean thoroughly and control moisture
You’ll protect your mudroom vinyl from most early failures by controlling moisture and removing contamination that prevents true flatness. Mudrooms aren’t just “wet”—they cycle between damp and dry, and that repeated moisture exposure can affect the subfloor (especially concrete), undermining the vinyl installation over time.
ASTM F2170 measures in-situ relative humidity and reports results as %RH, which helps evaluate whether a concrete slab is too wet for resilient flooring installation.
ASTM F1869 reports moisture vapor emission rate in lbs/1000 sq. ft./24 hours, offering a quantified way to assess concrete moisture for flooring decisions.
Moisture management is as much about subfloor protection as it is about vinyl performance—because adhesives, patching compounds, and subfloor stability can be impacted.
– Vacuum well and scrape off anything that interferes with adhesion or flatness (dust is the enemy of smooth bonding).
For glue-down LVT or sheet vinyl, dust can reduce bond strength. For floating floors, dust and grit still create “point loads” that show up as premature wear and joint stress.
– Let the area fully dry; if you suspect humidity or dampness (often around exterior doors or in basements), handle moisture before installation.
If you see efflorescence (white powder on concrete), persistent damp spots, or musty odor, pause installation until moisture sources are addressed. Vinyl may slow water entry, but it can’t correct the source.
– If your vinyl product requires moisture testing, follow the manufacturer’s required method and limits.
Moisture-Related Metrics Commonly Used Before Vinyl Over Concrete
| # | Metric (what you measure) | Typical unit/output | What it indicates for mudroom vinyl | Decision strength |
|---|---|---|---|---|
| 1 | In-situ relative humidity (RH) | %RH | Whether the slab’s moisture conditions are appropriate for resilient flooring | ★★★★★ |
| 2 | Moisture vapor emission rate (MVER) | lb/1000 sq. ft./24 hr | How much moisture vapor is actively leaving the slab over time | ★★★★☆ |
| 3 | Surface dryness check (visual + touch) | Qualitative (pass/fail) | Whether the surface looks and feels dry enough to begin prep/work safely | ★★☆☆☆ |
| 4 | Concrete alkalinity (pH) | pH scale (unitless) | Whether coatings/adhesives may be chemically challenged by slab chemistry | ★★★☆☆ |
| 5 | Vapor retarder “permeance” (if used) | US perms | Whether a barrier layer limits vapor movement toward vinyl systems | ★★★☆☆ |
| 6 | Moisture-sensitivity of the installation system | System-specific limit | Whether your specific vinyl/adhesive/underlayment combination allows installation | ★★★★☆ |
| 7 | Flatness at inspection length | Inches deviation (e.g., per 6–10 ft) | Whether micro-lippage can trigger clicking, gaps, or wear in a mudroom’s traffic lane | ★★★★☆ |
Note: the “decision strength” reflects how directly each metric supports a pass/fail installation decision in moisture/flatness-driven vinyl systems; always defer to your vinyl manufacturer’s specific moisture limits and test method.
Level, repair, and smooth out the surface
You’ll avoid mudroom vinyl seam problems by making the surface flat—then repairing anything that creates peaks, dips, or movement. Vinyl can feel forgiving during install, but LVP/LVT joints and any glue-down adhesive layer behave like “stress concentrators” around uneven areas.
Floating click-lock vinyl floors are sensitive to subfloor flatness because small deviations increase stress at joints where locking teeth meet.
Filling low spots and removing ridges improves load distribution, which helps reduce visible seam gaps under mudroom traffic.
Smoothness is not the same as flatness—patches must cure properly and ridges must be ground so the vinyl can sit uniformly.
– Fill low spots and repair cracks/holes so the floor is flat; high spots often cause plank stress and seam issues.
Use an appropriate patch/leveling compound rated for your substrate and installation type. For concrete, confirm compatibility with the system (especially if you’re also addressing moisture).
– Sand down ridges and remove protrusions until the surface feels uniformly smooth.
Run your hand over repaired zones and along expected plank joints. If you feel a ridge, the vinyl will too.
– Don’t cover major subfloor defects—vinyl can hide them temporarily, but it won’t fix structural problems.
If there’s consistent bounce, major delamination, or widespread concrete deterioration, you’ll likely need structural correction—not just cosmetic smoothing.
Mudroom-specific flatness hotspots
Pay special attention to areas that get the most repeated impact:
– Doorway transition lines (where people pause and scrape shoes)
– Under bench storage (where moisture wicks into edges)
– Along the “wipe shoes” path (where salt/grit abrasion concentrates)
Acclimate and prep for mudroom traffic
You’ll protect your mudroom vinyl from gapping and premature wear by acclimating the material and installing it using the correct method for your product type. Mudrooms expose floors to temperature swings and grit abrasion, so the installation approach (floating vs. glue-down vs. sheet) controls how your vinyl responds to movement.
Vinyl acclimation reduces post-install expansion/contraction, which helps prevent gapping at walls and door thresholds.
A mudroom entry mat system is part of the installation plan because grit and salt act like abrasive particles on resilient surfaces.
Using the wrong underlayment can change the flooring’s stability and performance, especially for click-lock products.
– Acclimate vinyl according to the manufacturer’s instructions before installation (temperature and time requirements vary by product).
Don’t guess. Bring the material into the room environment and follow the exact acclimation window in the installation guide.
– Plan your layout to reduce cuts at the door area where you’ll have the most traffic and wet-salt exposure.
Door zones amplify wear at edges and joints. Wherever possible, keep end joints away from the highest-footfall line.
– Choose the correct installation approach for your flooring type (floating click-lock vs. glue-down vs. sheet vinyl), and follow the product’s underlayment guidance.
Installation approach: which one fits mudroom conditions?
Below is a practical comparison of three common vinyl installation approaches when you’re preparing a mudroom subfloor.
| Feature | Floating click-lock LVP/LVT | Glue-down LVT/LVP | Sheet vinyl |
|---|---|---|---|
| Subfloor flatness sensitivity | High | Medium–High | Medium |
| Movement tolerance | Lower at joints | Lower (adhesive bond) | Lower (needs smooth base) |
| Gaps/clicking risk if uneven | Higher | Moderate | Lower |
| Moisture testing importance | Often required | Typically required | Often required |
| Underlayment role | Critical (stability) | Usually none (depends) | Varies by sheet system |
| Door-threshold cut complexity | Moderate | Moderate–High | High (pattern/rolling) |
| DIY friendliness (prep-driven) | Medium | Low–Medium | Low |
| Mudroom abrasion reality | Depends on wear layer + mats | Depends on wear layer + mats | Depends on thickness + mats |
| Repairability | Often easier (replace planks) | Harder (requires removal) | Hardest (patching) |
| Best for mudroom prep consistency | When flatness is excellent | When moisture + substrate are controlled | When you want fewer seams |
| Best For | Most DIY mudroom installs with strong flatness | Stability-first installs when specs are followed | Lower-seam designs and simpler wet-splash zones |
From a practical standpoint, the “best” vinyl method in a mudroom is the one that matches your prep reality. If you can’t reliably achieve flatness, floating click-lock is often where prep gaps show up first.
What can go wrong (and how to prevent it)
You can prevent most mudroom vinyl failures by avoiding uneven subfloors and uncontrolled moisture. The common issues—bubbles, gaps, clicking, and peaking—almost always trace back to subfloor prep, moisture conditions, or incorrect installation materials (especially underlayment and adhesives).
Bubbles and lifting often indicate bond or moisture incompatibility—vinyl can resist water, but the installation system still needs the right moisture conditions.
Clicking and peaking are frequently symptoms of inadequate flatness or subfloor movement, not “bad vinyl luck.”
Improper underlayment can reduce dimensional stability, increasing the likelihood of movement-related seam problems in click-lock products.
– Installing over a subfloor that isn’t flat: even small dips/bumps can lead to joint separation, clicking, or wear in a mudroom’s high-traffic lanes.
If you can’t achieve flatness with patch/leveler and sanding, you’ll need to address the root cause. Vinyl can’t “bridge” true flatness defects for long.
– Ignoring moisture: vinyl may resist water better than some floors, but ongoing dampness can still warp the subfloor and shorten flooring life.
In mudrooms, moisture isn’t constant—it’s episodic. That repeated wet/dry cycle still affects subfloor conditions and dimensional stability.
– Skipping acclimation or using the wrong underlayment: temperature changes can expand/contract materials, and the wrong underlayment can create instability or void warranties.
Acclimation is often short compared to the lifetime of your flooring; treating it as optional is one of the quickest ways to end up with gapping at edges.
– Not planning for grit and salt: the “damage” in mudrooms often comes from sand/salt abrasion—use a mat system and clean off debris regularly. (No need for harsh chemicals—use cleaner directions from the manufacturer.)
If abrasive grit sits on the floor for weeks, wear accelerates in the exact spots people track it in.
Floating click-lock vs. glue-down: what usually fails first?
This “at-a-glance” comparison helps you decide which prep issues are most likely to show up in a mudroom.
| Criteria | Click-lock floating | Glue-down |
|---|---|---|
| Flatness tolerance (typical sensitivity) | Higher | Moderate–High |
| Common symptom from uneven base | Clicking/gaps | Edge lift/bond issues |
| How moisture shows up | Subfloor movement impacts joints | Adhesive failure or patch problems |
| Underlayment importance | High (product-specific) | Usually none unless specified |
| Tolerance for DIY small mistakes | Lower | Lower–Medium |
| Temperature changes risk | Gapping if acclimation skipped | Bond performance depends on system limits |
| Seam count/weak points | More joints (locks) | Fewer if product design reduces joints |
| Repair after damage | Often easier (replace planks) | Harder (remove and re-glue) |
| Time pressure during install | Moderate (position matters) | More critical (adhesive open time) |
| Maintenance in mudroom grit | Depends on mats + cleaning regimen | Depends on mats + cleaning regimen |
| Verdict | Pick this when your subfloor is flat, solid, and you match the underlayment spec | Pick this when you can follow moisture/adhesive specs and prep the substrate precisely |
Verdict & quick checklist
If your subfloor is clean, dry, and truly flat—and you follow your vinyl’s acclimation + installation method—vinyl in a mudroom is usually a practical choice because it’s easier to maintain than many alternatives. The downside is that it’s unforgiving of prep shortcuts: moisture issues and uneven subfloors tend to show up as seam or lock problems faster in mudrooms.
Who should skip this DIY approach: If you’re dealing with chronic moisture, questionable subfloor integrity, or major leveling needs you can’t address confidently, consider hiring a flooring installer or getting professional moisture/subfloor assessment first.
Mudroom vinyl prep checklist (scan/save)
– ☐ Remove all debris, old residue, and protrusions
– ☐ Confirm subfloor type and check for movement/soft spots
– ☐ Clean/vacuum fully and let the area dry
– ☐ Moisture test (only if required by your vinyl manufacturer)
– ☐ Repair cracks/holes; fill low areas; sand high spots
– ☐ Ensure the surface is smooth and as flat as the product requires
– ☐ Acclimate flooring per manufacturer instructions
– ☐ Use approved underlayment (or none) for your flooring type
– ☐ Plan layout to reduce heavy cutwork near the entry door
– ☐ Add mats and wipe/sweep regularly after install
Frequently Asked Questions
How do I clean and prep my subfloor before installing vinyl flooring in a mudroom?
Start by removing all debris, dust, paint overspray, and any old adhesive residue so the vinyl can adhere or lay flat properly. Vacuum thoroughly, then clean with a suitable floor cleaner and let the subfloor dry completely. Check for any loose spots or squeaks and repair them before you begin. A clean, dry, smooth surface is key to avoiding gaps, lifting edges, and premature wear in a high-traffic mudroom.
What should I do to level and smooth a concrete or plywood subfloor for vinyl mudroom flooring?
Inspect the subfloor for dips, cracks, or ridges using a straightedge and mark problem areas. Fill low spots with an appropriate patching compound and grind down high areas to keep the surface smooth. For plywood, ensure fasteners are secure and replace any damaged boards to prevent movement. Proper leveling helps prevent telegraphing and reduces the risk of vinyl flooring separating at seams.
Why is moisture testing important before preparing vinyl floors for a mudroom?
Mudrooms often deal with wet boots, snow melt, and tracked-in water, so moisture can damage subfloors and cause vinyl to fail. Use a moisture meter or a concrete test method recommended for your flooring type to confirm the subfloor is within acceptable limits. Address issues like water intrusion, missing sealant, or poor drainage before installing vinyl. Taking moisture precautions helps prevent cupping, bubbling, and mold-related problems under your luxury vinyl planks or sheets.
Best way to handle existing flooring—should I remove old flooring before installing vinyl in a mudroom?
In many cases, the best option is to remove soft or damaged flooring materials, especially carpet, cushioned vinyl, or anything that might compress under load. For hard, well-bonded surfaces, some vinyl installations can go over certain existing floors, but it depends on thickness and condition. Make sure the surface is flat, solid, and free of wax, grease, or loose seams. Following manufacturer guidelines for underlayment and floor prep is essential to ensure your vinyl mudroom flooring performs long-term.
Which vinyl floor underlayment or vapor barrier should I use in a mudroom?
The right underlayment or vapor barrier depends on whether you’re installing a floating luxury vinyl plank (LVP), click-lock vinyl, or glue-down vinyl. For concrete subfloors and damp environments, a moisture barrier is often recommended to protect against humidity and tracked-in water. If your vinyl comes with attached padding, you may not need an additional foam underlayment—use only what the manufacturer specifies. Choosing the correct underlayment helps improve comfort, stability, and the durability of your vinyl floors in a mudroom.
📅 Last Updated: October 25, 2026 | Topic: How to prepare a vinyl floors for mudroom? | Content verified for accuracy and freshness.
References
- Vinyl flooring
- https://www.rfci.com/installation-guidelines/
- F1869 Standard Test Method for Measuring Moisture Vapor Emission Rate of Concrete Subfloor Using …
- F2170 Standard Test Method for Determining Relative Humidity in Concrete Floor Slabs Using in sit…
- https://www.armstrongflooring.com/commercial/en-us/flooring-installation-guides.html
- https://scholar.google.com/scholar?q=vinyl+flooring+subfloor+preparation+moisture+testing Google Scholar
- https://scholar.google.com/scholar?q=luxury+vinyl+plank+installation+acclimation+subfloor+flatness Google Scholar
- https://scholar.google.com/scholar?q=resilient+flooring+installation+guidelines+RFCI+subfloor+repair+cleaning Google Scholar