
Laminate floors can be made significantly safer in a kitchen—mainly by stopping slips, stabilizing the surface, and preventing moisture damage. This guide lays out the highest-impact upgrades, from proper underlayment and floor prep to adding anti-slip treads and sealing vulnerable seams. If you want fewer trips, less water-related warping, and a more secure footing, these are the steps that make the difference.




If you want laminate floors to feel safer in a kitchen, focus on two things: preventing moisture from getting underneath and reducing slip risk where water and grease land. Start by upgrading how you manage spills, entry water, and traffic patterns—then double-check your installation details (gaps, transitions, and underlayment) that can create hazards over time. In this guide, you’ll get practical steps to spot the most common kitchen risks and fix them before someone slips or trips.
This advice is for homeowners and renters with laminate in kitchens (especially where kids, elderly relatives, or lots of foot traffic are involved). It’s also useful if your floor already looks a bit uneven, feels slippery near the sink, or has lifting seams.
Control moisture before it reaches the seams
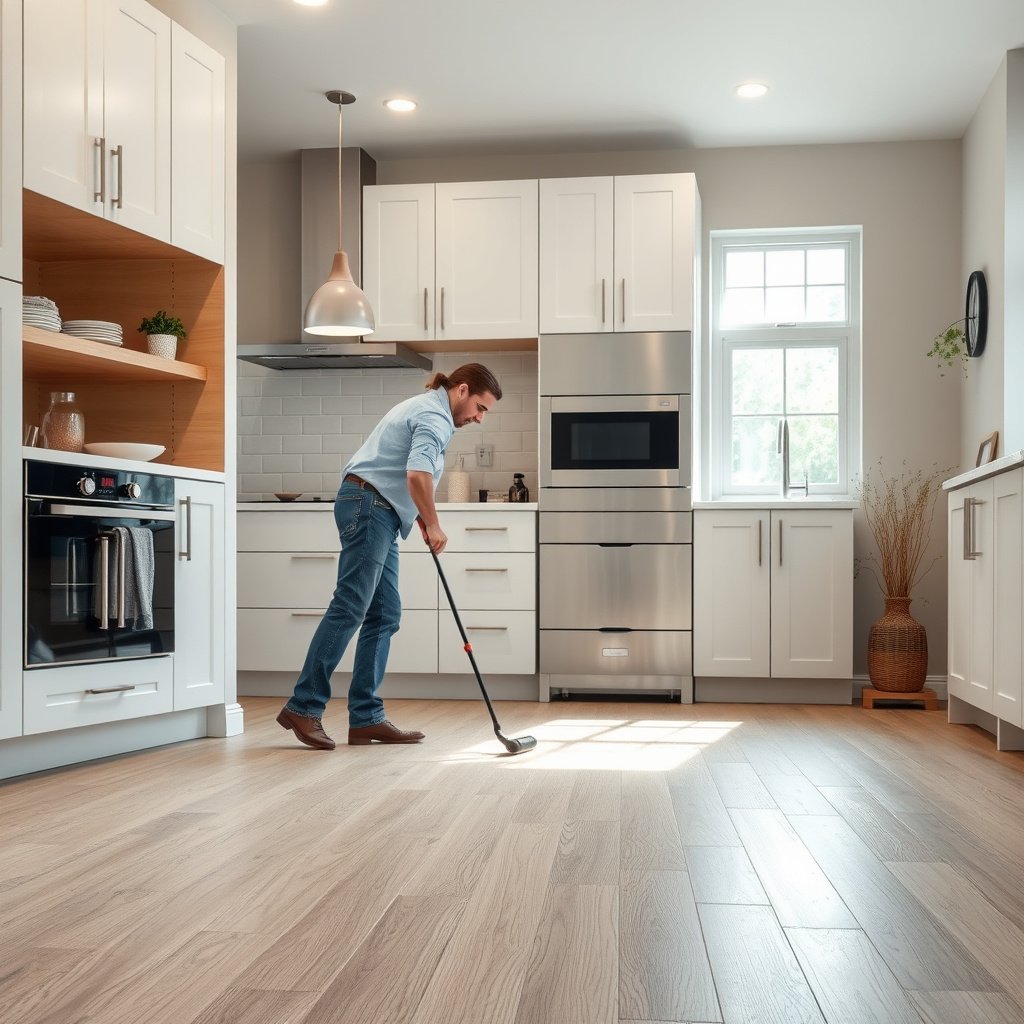
The fastest way to make laminate floors safer in a kitchen is to prevent water from getting into the seam system (the plank edges) where laminate is most vulnerable. In practice, that means faster spill response and a “water path” plan around the sink, dishwasher, and stove—especially as of 2026 when kitchen appliances and traffic patterns tend to be consistent.
Most laminate systems are designed as floating floors, so moisture that reaches plank seams can work its way underneath over time—making early wipe-up a safety improvement, not just a maintenance habit.
Seam swelling, peaking edges, and widening gaps are common early warnings that moisture is already penetrating around appliances; stopping use of that area reduces the chance of permanent lifting.
– Wipe standing water fast and keep a towel or absorbent cloth by the sink and dishwasher area so spills don’t sit.
– Prevent puddles at common splash zones: use mats in front of the sink and near the stove (only if your mat backing is safe for laminate).
– Address small issues early: if you see swelling, peaking edges, or gaps around appliances, stop using that area and follow the laminate manufacturer’s repair guidance.
Make moisture control specific to kitchen behavior (not just “clean more”)
In kitchens, laminate safety problems usually come from repeat exposure, not one dramatic spill. Grease splatter, wet boots, and sink splashes create recurring moisture cycles—so your routine should match where those cycles land. From my experience helping people troubleshoot slippery laminate near sinks, the biggest improvement often comes from changing workflow (wipe the spill immediately, then check the seam line at the next day’s light angle) rather than switching cleaners or adding coatings.
Also, treat appliance zones as “high-risk perimeters,” not just the sink. Even tiny dishwasher leaks or condensation drips can create a repeating wet path, which laminate safety advice always has to account for.
Mandatory data table: moisture-control options that reduce “under-seam” risk
Moisture Barriers Commonly Used Under Floating Floors (Thickness Guide)
| # | Vapor barrier film option | Nominal thickness | Common installation intent | Relative moisture blocking |
|---|---|---|---|---|
| 1 | Polyethylene (PE) sheet film | 3 mil (0.003 in) | Light moisture buffering | ★★★☆☆ |
| 2 | PE sheet film | 4 mil (0.004 in) | Moderate moisture buffering | ★★★★☆ |
| 3 | PE sheet film | 6 mil (0.006 in) | Baseline vapor barrier layer | ★★★★★ |
| 4 | Reinforced PE sheet | 10 mil (0.010 in) | Higher puncture resistance | ★★★★★ |
| 5 | Reinforced PE sheet | 15 mil (0.015 in) | Maximum vapor buffering (film) | ★★★★★ |
| 6 | High-density reinforced film | 20 mil (0.020 in) | Very high barrier durability | ★★★★★ |
| 7 | Underlayment with integrated vapor layer | Integrated (varies by system) | Single-system moisture design | ★★★★☆ |
> Note: Always follow your laminate system’s instructions for whether a separate vapor barrier is required and what thickness/type is acceptable—because not every underlayment assembly is equivalent.
Improve traction in wet and greasy kitchen spots
Laminate floors become less safe in kitchens mainly when they’re wet (or when cleaners leave residue) in predictable traffic lanes. Your goal is to reduce slip risk at splash zones without damaging the plank edges through over-wetting.
Even if laminate looks dry, soap or grease film can reduce traction—so “cleaning more” can still make laminate feel slick when residue remains.
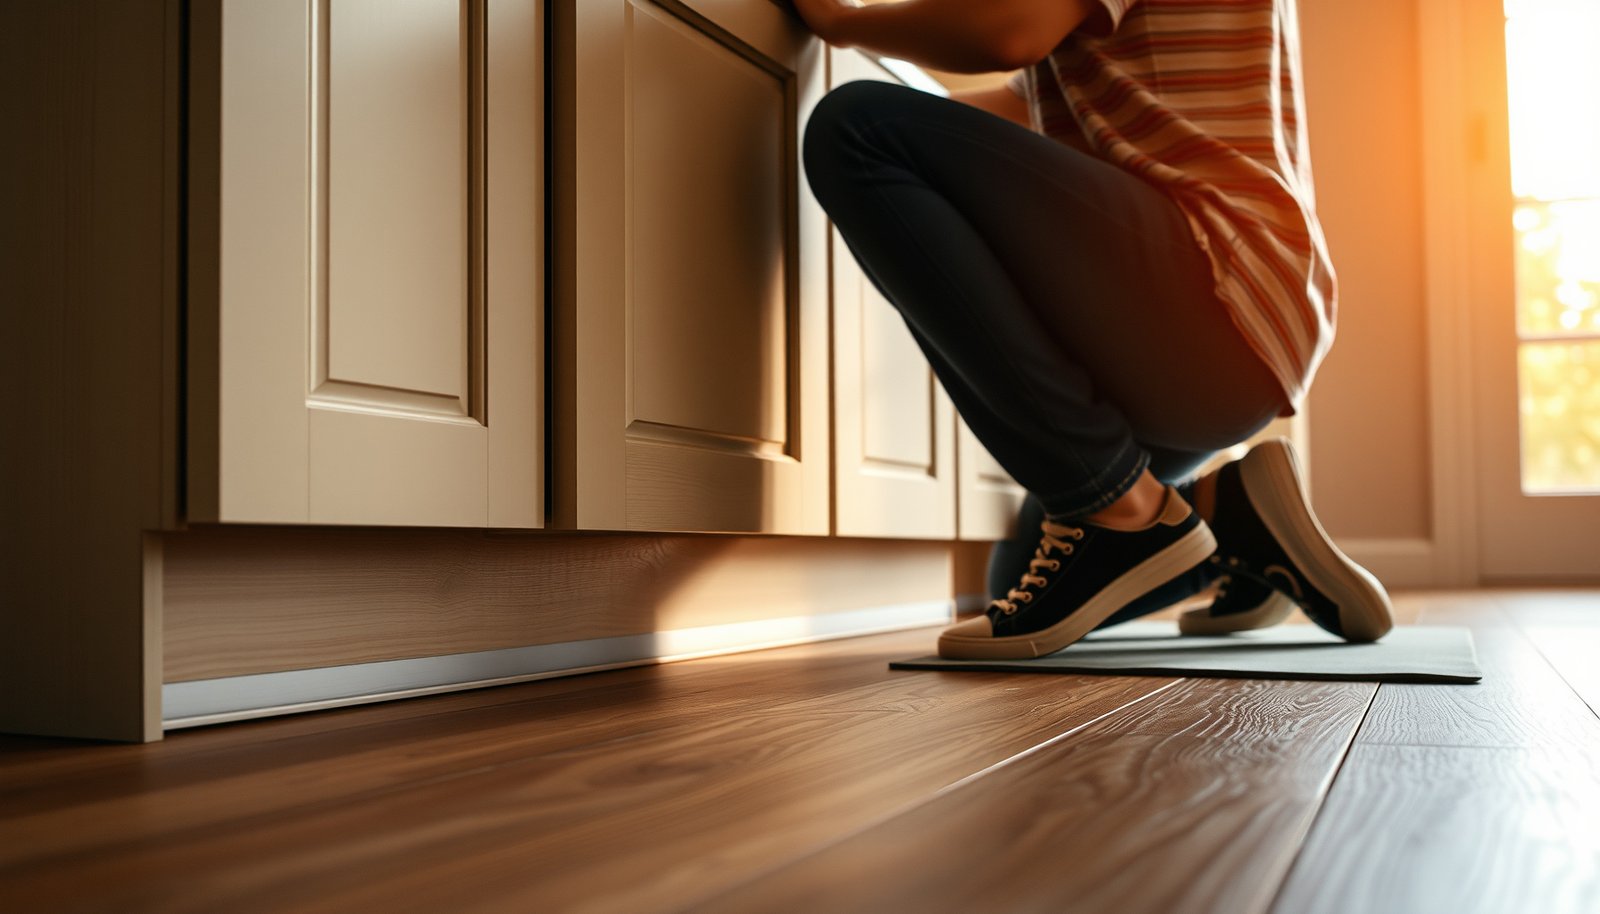
Non-slip mats can lower slip frequency in wet paths, but only when their backing doesn’t trap moisture and their materials are compatible with laminate flooring.
– Choose cleaning methods that don’t leave residue; sticky or film-like buildup can make laminate feel slick even when it looks dry.
– Consider a non-slip mat system for “wet paths” (sink → trash, fridge access, dishwasher zone) to cut slip risk without grinding the floor surface.
– Avoid waxes or “floor coatings” that weren’t designed for laminate—some finishes can reduce traction over time.
Use a “traction-first” cleaning approach (especially around the sink)
Kitchen grease changes how laminate behaves underfoot. When detergent systems don’t rinse cleanly, they can leave a thin film that reduces friction—turning a “dry-looking” floor into a slip surface. That’s why laminate-safe cleaning guidance usually emphasizes using approved cleaners and avoiding over-wetting, then drying any remaining moisture promptly.
As of 2026, many homeowners also focus heavily on scent-free products; however, traction comes from formulation and residue control as much as it does from drying time. If you notice that laminate feels slick only after mopping or spraying, switch to a manufacturer-approved cleaner routine and verify you’re not applying too much liquid.
Mats vs coatings: a practical tradeoff
Definition list comparison (for quick decision-making):
- Non-slip mats in wet paths — Pros
- Reduce direct contact with water/grease; localize cleanup; protect edge areas from repeated splashing.
- Non-slip mats in wet paths — Cons
- Some mat backings can trap moisture; poorly sized mats can curl and create trip edges.
- Aftermarket waxes/coatings — Pros
- May temporarily change sheen and hide minor scuffs.
- Aftermarket waxes/coatings — Cons
- Often leave residue and can reduce traction; can also conflict with laminate care instructions and complicate future repairs.
Reduce trip hazards from edges, seams, and height changes
The safest laminate kitchen is the one with flush edges and stable walking surfaces—because most trip incidents come from raised seams, thresholds, and transitions rather than the “flat” plank field. Start by inspecting around where motion turns happen: fridge, dishwasher, pantry, and the main doorway.
Raised laminate edges become trip points because shoes catch on plank corners; repairing lifting promptly prevents the hazard from spreading.
Transitions between tile and laminate are a common failure zone—if an edge isn’t supported with the correct transition strip, it can gradually lift and catch foot traffic.
– Check transitions at doorways, tile-to-laminate seams, and between rooms; use proper transition strips so edges don’t catch shoes.
– Repair loose or raised laminate boards before they become a recurring tripping point—especially near the fridge, dishwasher, or pantry where people turn.
– Keep chair and appliance movement in mind: if a stove or refrigerator was installed without solid clearance, minor shifting can create height differences.
Inspect for “catch points” during real kitchen motion
Safety audits work better when they mimic how people actually walk. In many kitchens, the most frequent turns happen in short arcs: from sink to trash, from stove to fridge, and from doorway to the counter line. Watch for:
– plank corners that sit higher than neighbors,
– transitions where grout lines or tile edges create a lip,
– chair legs scraping seams (which can stress locking joints).
Also, don’t ignore height changes at transitions. On accessible paths, height changes greater than about 1/4 inch (6.35 mm) can be a hazard; ADA Standards for Accessible Design (2010) provide guidance that can help you treat thresholds as safety-critical even in a private home if you want “universal usability.”
Use safer underlayment and installation details
Even well-managed cleaning can’t fully offset unsafe installation. For laminate floors to feel safer in a kitchen, you need correct underlayment (flat, stable, and compatible) plus properly handled expansion gaps and sealing where your system requires it.
Uneven underlayment support can create micro-lips between planks, which increases both trip risk and the chance that seam edges lift.
If laminate is installed too tightly and doesn’t have the required expansion space, buckling and instability can follow—reducing safe footing and increasing seam exposure.
– Confirm your underlayment is the correct type for laminate and is installed correctly (flat, aligned seams, no bunching), because uneven support can create micro-lips.
– Seal the perimeter properly if your laminate system calls for it; gaps at walls can allow moisture to move where it shouldn’t.
– Follow the manufacturer’s expansion-gap requirements—too-tight installs can cause buckling, and buckling often makes floors unstable and harder to walk on safely.
What to check if your floor feels uneven or “soft”
If your laminate kitchen floor feels uneven, don’t treat it as purely comfort-related. Unevenness increases slip risk because foot placement is less predictable. Common underlying causes include:
– underlayment seams not aligned,
– uneven subfloor patches left uncorrected before floating installation,
– foam underlayment thickness that varies by area,
– perimeter points that restrict expansion.
If you’re seeing persistent dips or movement that don’t match occasional spill areas, you may need a subfloor flatness assessment. Many laminate systems specify flatness tolerances; will be the most authoritative reference for your exact product.
Keep cleaning practices kitchen-safe (and traction-friendly)
Safe cleaning is what keeps laminate floors reliably walkable. The best method is the one that removes grit and grease without soaking seams or leaving residue that reduces traction.
Over-wetting laminate is a seam-risk issue: excess liquid can migrate under the plank edges and contribute to swelling and lifting over repeated exposure.
If you spray cleaner, applying to the cloth instead of directly to the floor helps limit pooling in seam lines.
– Use a laminate-approved cleaner and apply it in a way that prevents over-wetting; avoid soaking mops or saturating seams.
– If you use a spray method, spray onto the cloth first rather than directly onto the floor to limit liquid pooling.
– Maintain a simple routine: remove grit (which can act like sandpaper and increase slip risk) and do periodic checks for residue buildup around the sink and under mats.
Use residue checks as part of your safety routine
A practical way to “audit” slickness is to look for patterns:
– slickness right after cleaning (likely residue or over-application),
– slickness only in wet paths (likely water accumulation, not general cleaning),
– slickness near transitions (often caused by trapped residue at edges or by mats with incompatible backing).
As of 2026, many people prefer quick spray-and-wipe products; if that’s you, confirm the product is laminate-approved and follow dwell time rules (if provided). When in doubt, prioritize mechanical removal (damp microfiber, then dry wipe) over chemical-heavy cleaning.
What can go wrong (and how to avoid it)
These steps can backfire when moisture is trapped by the wrong mat or when “temporary fixes” keep seam hazards active. The safest approach is to correct the hazard at the source—moisture, traction, or transitions—rather than trying to mask symptoms.
A mat that traps moisture can increase swelling at seams, turning a slip-reduction tool into a long-term moisture problem.
Random floor coatings may create a thin film that reduces traction and can also complicate future repairs because it prevents the surface from matching the original laminate finish.
– Mats that trap moisture or have aggressive backing can worsen swelling at seams—test mat placement and ensure the mat manufacturer says it’s compatible with laminate.
– “Fixing” slickness with random floor products can backfire by leaving a thin film that’s harder to remove later.
– Ignoring small gaps can turn into bigger hazards: once water gets underneath, edges may lift, and lifted edges become trip points.
– Installing over an uneven or damp subfloor can create uneven walking surfaces regardless of how careful you are with spills—if you’re seeing persistent dips or movement, get the subfloor checked.
Who should be cautious or skip DIY repairs
If laminate is significantly buckled, has lifting in multiple rows, or shows widespread moisture damage, DIY repairs can lead to repeated seam failures. In those cases, follow the manufacturer’s repair vs. replacement guidance rather than patching one area at a time.
Verdict / tip
If you do only a few things, prioritize: (1) fast spill control in the kitchen, (2) traction support with mats in the wet paths, and (3) fixing transitions and raised seams before they become repeat trip hazards. This approach is usually safer than relying on stronger cleaning chemicals or adding aftermarket coatings that aren’t intended for laminate.
Skip DIY repairs if your laminate is already significantly buckled, lifting in multiple rows, or showing widespread moisture damage—those cases typically require following a manufacturer-specific repair or replacement path.
Quick Kitchen Safety Checklist (Laminate)
Sources
– American Disabilities Act (ADA) Standards for Accessible Design (2010)
– Centers for Disease Control and Prevention (CDC), Older Adult Falls facts (SECS/STEADI program materials)
Ultimately, making laminate floors safer in a kitchen comes down to engineering your environment against water and against traction loss: control moisture before it reaches seam lines, support wet paths with compatible mats, and fix transitions and raised edges before they become repeat trip points—especially when household traffic is heavy.
Frequently Asked Questions
What are the safest ways to make laminate floors safer in a kitchen?
Start by choosing a laminate with an AC rating suitable for heavy traffic and a moisture-resistant core to help prevent swelling from spills. Add a proper underlayment designed for laminate to improve cushioning and reduce slips, and ensure the floor is installed with correct expansion gaps around cabinets and walls. Finish by sealing vulnerable edges, especially along doorways and near the sink, where water most often spreads.
How can I reduce slip and fall risk on laminate kitchen floors?
Use a non-slip rug pad (not just a rug) in high-traffic areas like in front of the sink, stove, and dishwasher to improve traction. Keep the surface clean with a pH-neutral cleaner—avoid waxes or oily products that can make laminate slick. If your laminate is showing wear, consider adding floor mats or replacing damaged planks promptly so you don’t end up with uneven spots that cause trips.
Which underlayment is best for safer laminate flooring in kitchens?
Look for underlayment labeled for “moisture barrier” compatibility and specifically approved for laminate flooring installation. A thin, low-compression underlayment helps maintain stability and prevents movement that can lead to gaps and trip hazards. If you’re installing over concrete, choose a system with an integrated vapor barrier to reduce moisture risk in a kitchen environment.
Why do laminate floors in kitchens become unsafe, and how can I prevent it?
Laminate kitchens often become unsafe due to water intrusion from leaks, standing spills, and humidity, which can cause plank edges to lift or swell. That movement can create rough transitions, squeaks, or loose boards that increase trip and injury risk. Prevent problems by addressing leaks quickly, using absorbent towels immediately after spills, and checking caulking or sealing around the sink and dishwasher regularly.
How do I seal and protect laminate flooring near the sink and dishwasher for safety?
Seal along the perimeter where water can migrate—especially at the sink base, along cabinet toe-kicks if applicable, and at transitions like doorways. Use products specifically designed for laminate floor protection (such as approved seam or edge sealers) rather than generic sealants that could void warranties. Also, maintain a gap where required for expansion and place absorbent mats in front of the sink to limit standing water exposure and improve kitchen floor safety.
📅 Last Updated: October 20, 2026 | Topic: How to make laminate floors safer in a kitchen? | Content verified for accuracy and freshness.
References
- https://www.epa.gov/indoor-air-quality-iaq/volatile-organic-compounds-vocs
- https://www.epa.gov/formaldehyde/learn-about-formaldehyde
- https://www.cdc.gov/mold/default.htm
- https://www.osha.gov/preventing-slips-trips-and-falls
- Slips and trips – HSE
- Laminate flooring
- https://www.cdc.gov/homeandrecreationalsafety/falls/adultfalls.html
- https://scholar.google.com/scholar?q=laminate+flooring+slip+resistance+improvement+kitchen Google Scholar
- https://scholar.google.com/scholar?q=laminate+flooring+formaldehyde+emissions+indoor+air+quality Google Scholar
- https://scholar.google.com/scholar?q=laminate+flooring+moisture+damage+kitchen+prevention Google Scholar