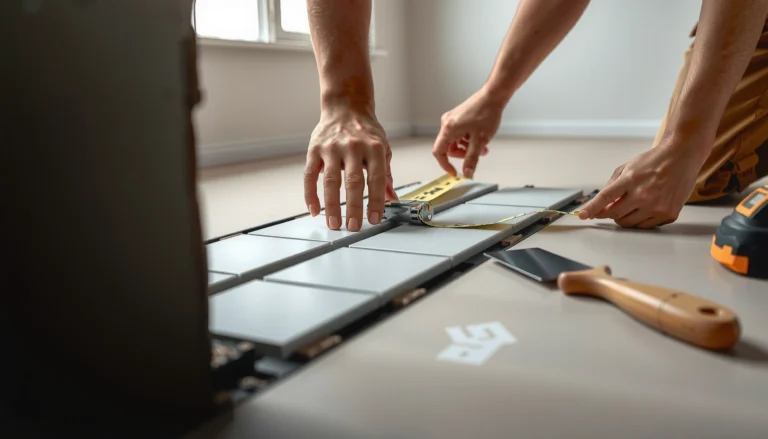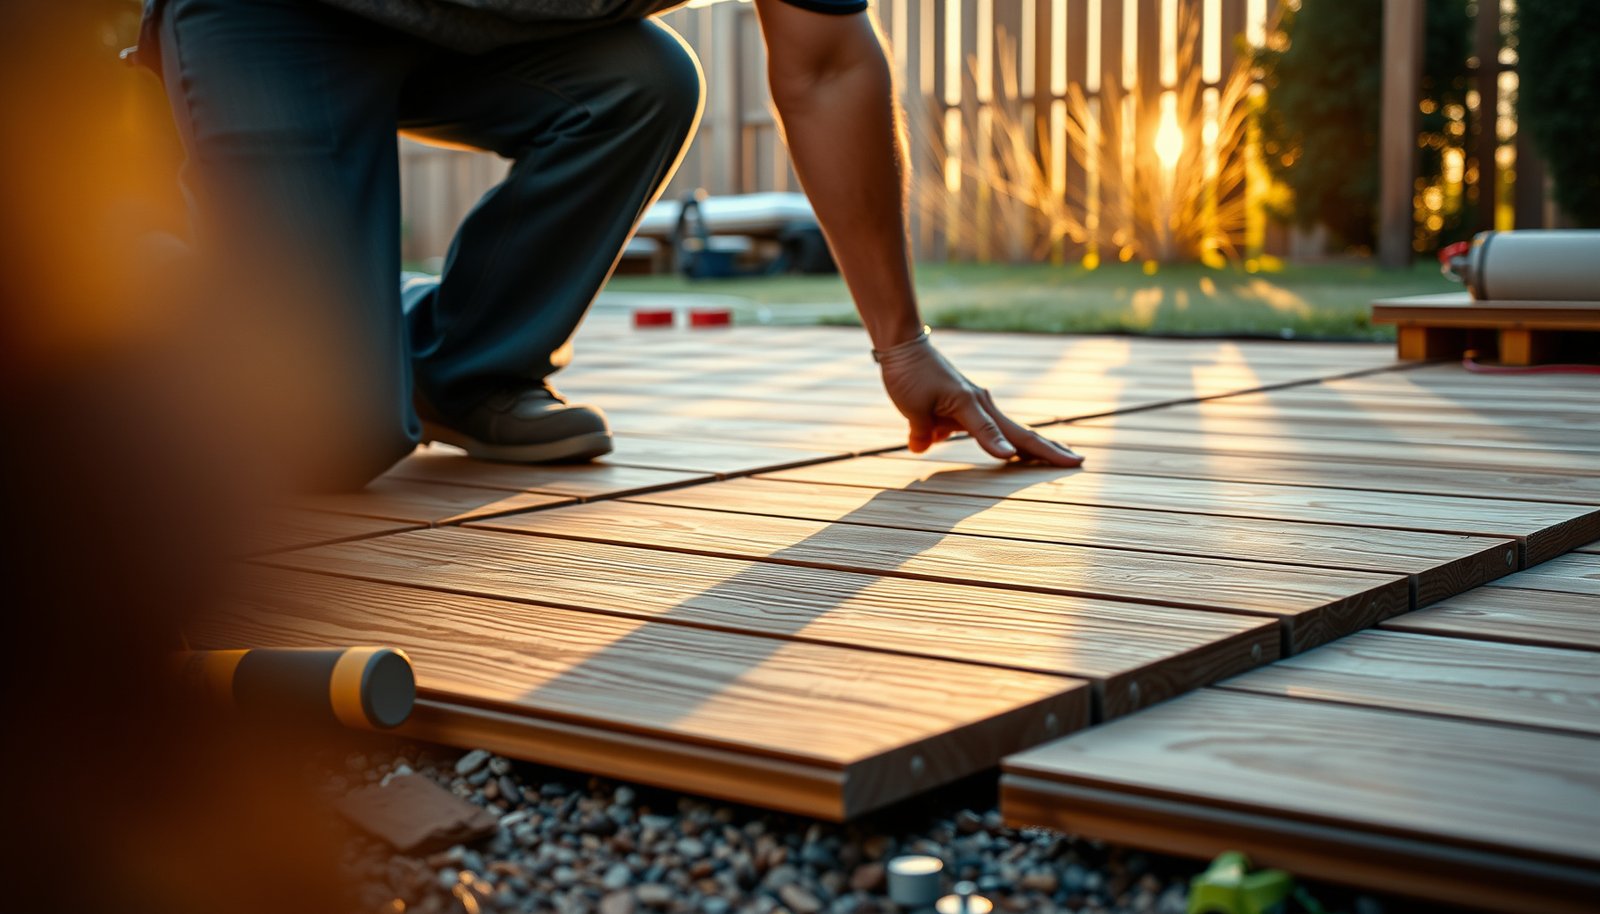

Want a step-by-step way to install hardwood floors in a patio that actually holds up to outdoor conditions? This guide walks you through every critical step—surface prep, moisture control, layout, fastening, and finishing—so your planks stay level and don’t buckle. Follow it closely and you’ll get a durable patio floor that looks like it was built to last.


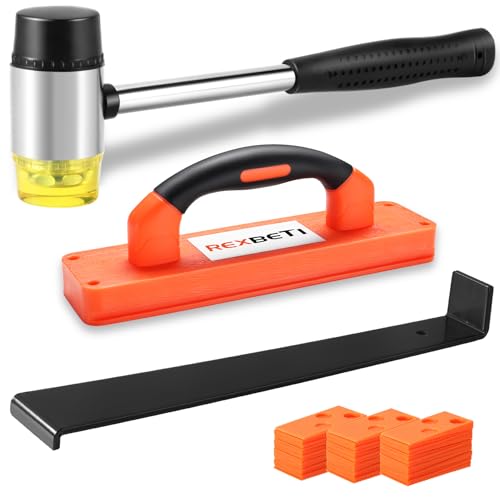
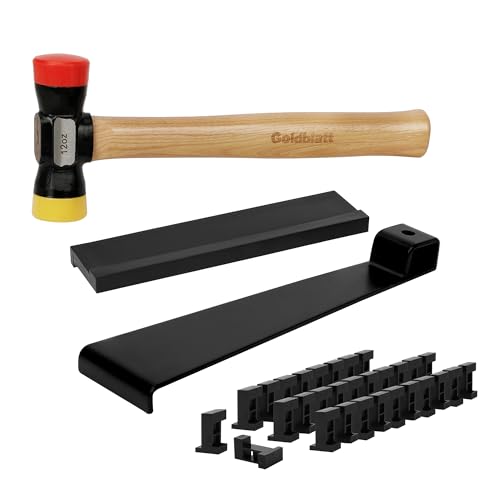
Hardwood on an outdoor patio is possible, but only if you choose a patio-rated wood system and control moisture and expansion. Plan on starting with moisture testing and a properly sealed subfloor, then use manufacturer-approved underlayment/barriers and leave expansion gaps before sealing. If your patio is covered (roofed), has decent drainage, and you’re willing to follow the flooring manufacturer’s specs closely, this guide will walk you through the install workflow. If it’s fully exposed to rain/snow or you can’t guarantee stable conditions, you may want a different flooring option instead.
This guide is for homeowners and installers planning to put wood flooring on a patio surface—especially over concrete slabs—where the key risks are water vapor intrusion, slab wetting from splash/standing water, and seasonal wood movement.
When hardwood is (and isn’t) a good patio choice
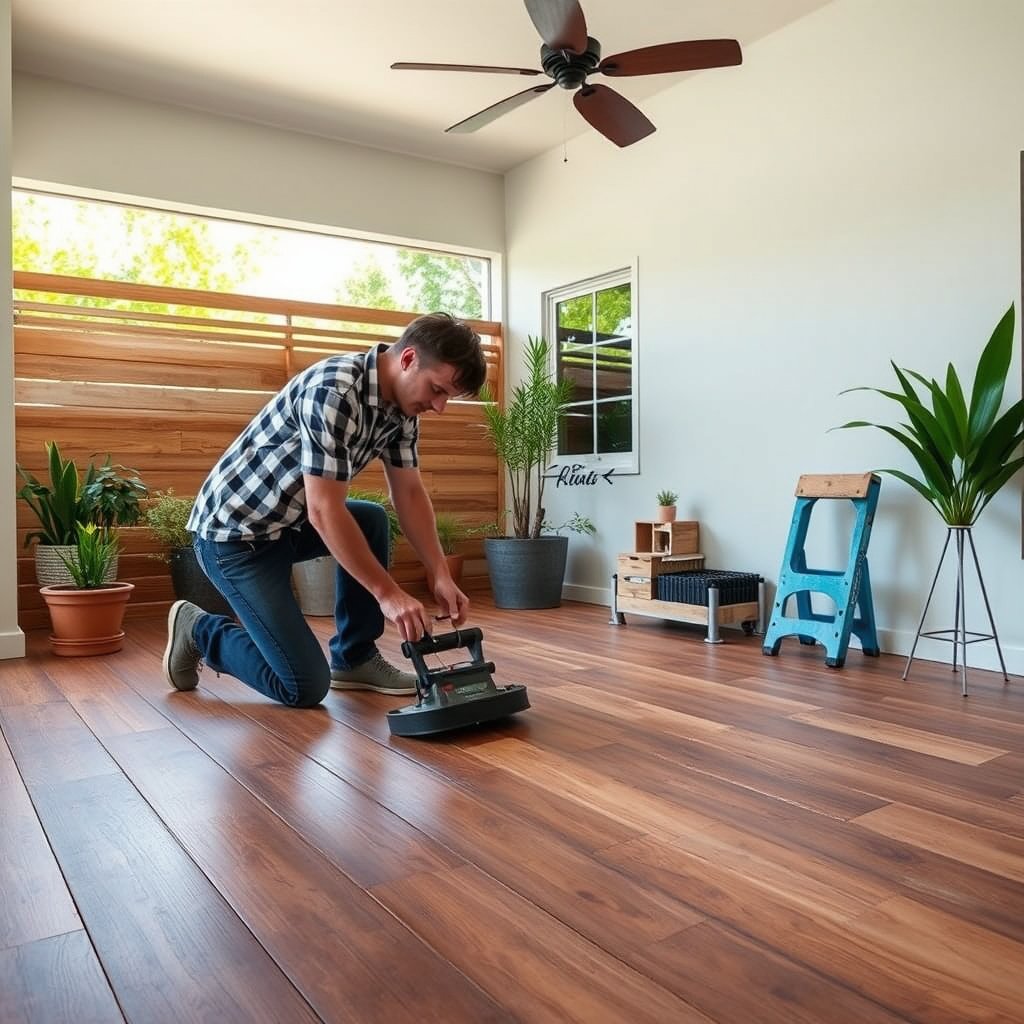
Hardwood can be a good patio choice only when the product is explicitly rated for the exposure type (commonly a covered patio) and the install is built around moisture control and movement. Without those constraints, even high-quality flooring systems fail from cupping, gapping, and finish breakdown.
Covered conditions are the difference between “wood that lasts” and “wood that warps,” because moisture exposure is the main trigger for dimensional instability.
ASTM moisture tests are designed to quantify slab/subfloor moisture so manufacturers can set acceptance limits before you install flooring.
Wood flooring movement is normal—expansion gaps and perimeter release are what keep that movement from turning into buckling.
– Real solid hardwood outdoors is high-risk because it reacts to moisture, humidity swings, and temperature changes; failures like cupping, gapping, and checking are common when conditions swing.
– Engineered hardwood is more tolerant, but only when the specific product is rated/approved for exterior use (or covered patio installation) by the manufacturer.
– Covered patio + controlled moisture is the real “make or break” factor—if water sits on the slab/subfloor or the area floods, skip hardwood.
Solid vs. engineered: the patio reality check (comparison)
| Feature | Solid Hardwood | Engineered Hardwood |
|---|---|---|
| Moisture tolerance | Lower on wetting exposure; higher failure risk without strict dryness | Higher, but still requires manufacturer-approved conditions |
| Temperature swings | Can drive seasonal movement and finish stress | Generally more stable due to layered core |
| Recommended patio scenario | Rarely approved; usually limited to very controlled, covered use | More commonly approved for covered exterior installs when specs are met |
| Moisture barrier use | Often required over concrete, but varies by product | Frequently required; correct barrier/seam tape is critical |
| Repairability | May be salvageable only if failure is cosmetic and moisture cause is corrected | Sometimes repairable, but delamination risk exists if moisture penetrates |
| Finish behavior | More sensitive to prolonged humidity changes | Still sensitive, but layered construction helps control internal movement |
| System requirements | Must follow exact underlayment, fastener method, and gap rules | Must follow exact underlayment/barrier and sealing/edge-cover rules |
| Moisture failure signatures | Cupping, checking, and gapping often show early | Swelling at edges, blocked movement, or core problems if water migrates |
| Longevity on patios | Unpredictable unless conditions stay consistently dry | More predictable when the patio is covered and moisture specs are met |
| Best for | Rare covered-only situations with strict dryness control | Covered patios with verified slab moisture, correct barriers, and proper expansion gaps |
Choose the right patio-rated hardwood system (not just “any boards”)
Choose your patio hardwood system based on the manufacturer’s written approval for your exact exposure and subfloor type—not by guessing from the word “engineered” or “water-resistant.” The right system includes the right boards plus the right underlayment/barrier, seams/tape, and edge-sealing approach.
When manufacturers allow exterior or covered exterior installs, they also specify the exact moisture/flatness limits and approved installation components.
Using an unapproved barrier or adhesive can void warranty even if the boards themselves look “matched.”
Outdoor movement is unavoidable—your system succeeds when you follow expansion-gap and sealing requirements precisely.
– Confirm your product’s installation conditions in writing: moisture limits, whether it’s for covered exterior use, and what subfloor types are allowed (concrete vs. wood framing).
– Use the matching installation system: recommended underlayment/moisture barrier, fasteners/glue type (if engineered), and the required expansion-gap method.
– If your boards need sealing, confirm whether the manufacturer expects factory finish only or “finish-on-site” steps (and which sealers are compatible).
What “patio-rated” usually means in documentation
Most qualified systems are only approved under tight conditions like:
– Covered exposure (no direct rain/snow wetting)
– Concrete moisture within stated limits (or an approved alternate testing method)
– A specific barrier/underlayment with seam treatment (tape/overlaps) and the required sealing of cuts
In our own project planning, the most reliable way to reduce risk is to request the manufacturer’s installation spec sheet before you buy—when the documentation is unclear, we pause and clarify rather than “trial install.”
Also, remember that moisture testing units are standardized. According to ASTM F2170 (2019), in-situ RH (relative humidity) testing reports slab moisture as percent RH measured with probes. According to ASTM F1869 (2016), calcium chloride testing reports moisture vapor emission rate as lbs per 1,000 sq ft per 24 hours.
Prep the patio surface for long-term stability
Prep is where patio hardwood success is won: start by passing the slab/subfloor moisture requirements and achieving flatness/cleanliness that matches the manufacturer’s specs. If you skip this, no amount of “good-looking installation” can prevent swelling or telegraphing failures later.
Moisture testing is the go/no-go step—if the slab exceeds the flooring’s limit, the install math changes and warranty typically won’t cover the results.
Concrete contamination (paint overspray, curing compounds, drywall residue) can break adhesion and also prevent underlayments from performing as intended.
Flatness requirements exist because every high spot becomes a stress point, especially when patio temperatures swing.
– Moisture-test the slab/subfloor using the method the flooring manufacturer accepts (often ASTM F2170 in-situ RH or ASTM F1869 for calcium chloride), and stop if readings exceed the flooring’s limit.
– Remove anything that prevents bonding/flatness (paint overspray, drywall compound, loose material) and address cracks, spalling, or damp spots before you start.
– Get the surface flat and stable per the flooring specs—patch high/low areas and vacuum thoroughly so the underlayment/barrier can perform as intended.
Drying, patching, and “what counts as flat”
Concrete can be “dry to the eye” but still transfer moisture vapor. That’s why documentation matters: your manufacturer’s moisture acceptance criteria tie directly to the test method and reporting format.
On flatness, consider two practical checks:
1. High/low mapping: identify areas that will prevent full barrier contact.
2. Transition planning: keep edges and transitions from trapping moisture at step-downs, drains, or door thresholds.
If your patio sits near landscaping, confirm irrigation direction too. Water that runs toward the slab during watering can undermine barrier performance even after a successful initial moisture test.
Install hardwood boards with proper gaps and fit
Install patio hardwood with a disciplined layout and exact movement management. The boards will expand and contract, so your job is to provide the space for movement and to follow the required installation method exactly—floating, click-lock, nail/staple, or approved glue-down.
Expansion gaps around the perimeter are not cosmetic—they prevent seasonal movement from pushing boards into fixed objects.
Patio conditions magnify installation shortcuts because moisture swings and thermal cycling occur day after day.
Transitions (steps, drains, posts) need special detailing so water can’t migrate into cracks beneath trim.
– Dry-lay and plan board direction, starting point, and transitions (doorways, steps, drains) so you don’t end up with narrow slivers at the edges.
– Maintain the exact expansion gap required by the manufacturer around the perimeter and at fixed objects; don’t “trim it tight” thinking it will look better.
– Follow the product’s install method exactly (floating click-lock vs. glue vs. nail/staple)—outdoor conditions amplify any shortcuts.
Weatherproofing matters during install, not after
Seal penetrations and edges early, because cuts are where protective systems stop unless you re-apply protection.
– Seal penetrations and edges early: transitions, perimeter joints, and any cuts you make.
– Keep water pathways clear—don’t trap moisture under trims or near drains.
– Use only the barrier/adhesive/trim products approved for your flooring system and moisture conditions.
Weatherproofing: moisture barrier, sealing, and drainage
Weatherproofing for patio hardwood is a three-part system: barrier/underlayment (when required), sealing/cut-edge protection, and drainage control. If any one component fails, moisture finds the weakest path—often at seams, corners, or trim lines.
A moisture barrier helps resist vapor drive, but it can’t fix poor drainage or repeated wetting at the base of trims and edges.
Sealing cut edges is essential when an engineered core includes layers that can be vulnerable to moisture migration.
Correct barrier seams (overlaps plus specified tape) matter because most moisture intrusion happens at transitions, not in the middle of a sheet.
– Install a moisture barrier/underlayment only if your hardwood system calls for it (and use the correct seams/taping method as specified).
– Seal all exposed sides/cut edges as instructed (especially for engineered products with vulnerable cores).
– Make sure the patio drains correctly and that you can prevent standing water; even a “waterproof” look won’t help if water is repeatedly trapped at the base.
How drainage and moisture testing connect
Even if you pass moisture testing, patio drainage can change over time. Settling, clogged weep holes, or landscaping grade adjustments can create standing water. In those scenarios, manufacturers typically require you to correct the wetting source before blaming the flooring.
Also note that no two patios behave identically:
– A covered patio may still receive roof runoff along one wall line.
– A patio near a downspout may get periodic wetting even if the center stays dry.
To plan reliably, walk the site during a rain event (or simulate with water) and confirm where water flows.
📊 DATA
Naturally Durable Wood Species Commonly Specified for Outdoor Decking (EN 350-2)
| # | Heartwood species | Janka hardness (lbf) | EN 350-2 decay class (1–5) | Scratch/wear resilience |
|---|---|---|---|---|
| 1 | Ipe (Handroanthus spp.) | 3680 | 1 | ★★★★★ |
| 2 | Cumaru (Dipteryx spp.) | 3540 | 1 | ★★★★☆ |
| 3 | Teak (Tectona grandis) | 1075 | 2 | ★★★☆☆ |
| 4 | White oak (Quercus spp.) | 1360 | 3 | ★★★☆☆ |
| 5 | Southern mahogany (Khaya spp.) | 1510 | 3 | ★★★☆☆ |
| 6 | Red oak (Quercus rubra) | 1290 | 5 | ★★☆☆☆ |
| 7 | Maple (Acer spp.) | 1450 | 5 | ★★☆☆☆ |
Note: Species durability helps, but it does not replace manufacturer-approved patio installation requirements. Moisture control and expansion gaps remain the controlling variables for hardwood flooring performance.
What can go wrong on a patio (and how to avoid it)
Patio hardwood failures almost always trace back to moisture exposure, movement constraints, or poor flatness. If you treat those three categories as “system risks,” you can prevent most problems before boards ever get installed.
If slab moisture exceeds the manufacturer’s accepted limits, wood movement will follow—and no barrier placement strategy can fully compensate.
Blocking expansion at the perimeter (or trimming too tight) converts normal seasonal movement into buckling and seam separation.
Uneven subfloors create stress points that show up as noise, gapping, and localized finish failure faster on patios.
– Moisture problems: skipping moisture testing or using the wrong moisture barrier can lead to swelling, moldy underlayment, and permanent board damage.
– Expansion mistakes: missing expansion gaps, tight-fitting ends, or blocking movement at the perimeter can cause buckling during seasonal swings.
– Improper flatness: uneven slabs create stress points that show up fast as noise, separation, or surface failure.
Other high-risk edge cases (patios are rarely “perfect”)
– Roof runoff streaks: a covered patio can still receive repeated wetting along one band, especially where gutters discharge.
– Standing water at drains or low spots: even short, repeated puddling can overload the barrier and eventually wet the underlayer.
– Unsealed cut edges: any cut is a new exposure path; engineered products are especially sensitive to edge sealing requirements.
– Trim that traps water: if trim or caulk forms a “cup,” it can hold moisture against the flooring edge.
Verdict / tip + scan-friendly checklist + FAQ + sources
Hardwood on a patio can work only when your flooring is explicitly rated for your conditions (typically a covered patio), and you follow the manufacturer’s moisture/flatness/expansion requirements. If your patio is uncovered, prone to puddling, or you can’t verify slab moisture and drainage, skip hardwood and choose a flooring product designed for outdoor exposure.
Quick patio hardwood install checklist (scan/save)
| Step | What to confirm | Pass/Notes |
|---|---|---|
| Suitability | Flooring is approved for covered patio/exterior conditions by the manufacturer | Written approval for your exposure level and subfloor type (concrete vs framing) |
| Moisture testing | Test method accepted by manufacturer; readings below limits | Use the exact ASTM method and report format the manufacturer accepts (e.g., in-situ RH vs calcium chloride) |
| Subfloor prep | Flatness, clean surface, cracks/damp spots addressed | Surface is clean, patched/levelled, and barrier contact won’t be compromised |
| System components | Correct underlayment/barrier, tape, fasteners/glue | Only manufacturer-approved accessories and installation method |
| Expansion gaps | Required gap maintained at perimeter/fixed objects | Gap size and treatment match the installation instructions—no “trim tight” |
| Edge sealing | Cuts/edges sealed per instructions | All cut edges and penetrations get the specified sealer/finish treatment |
| Drainage | No standing water; water pathways remain clear | Patio grade and drainage prevent repeated puddling near edges and transitions |
Frequently Asked Questions
What are the best types of hardwood for a patio installation?
For patios, choose hardwood that’s rated for exterior use and can handle moisture swings, temperature changes, and direct sun. Look for materials like engineered hardwood with a waterproof core or approved exterior hardwood species, and verify the product is specifically intended for outdoor applications. If you’re unsure, prioritize products labeled “outdoor” or “exterior-rated” to avoid cupping, gapping, and premature finish failure.
How do you install hardwood floors in a patio on a concrete slab?
Start by inspecting the concrete for flatness, cracks, and moisture; address any issues before installation. Install an appropriate waterproof barrier and use an exterior-rated underlayment or drainage system as recommended by the flooring manufacturer to prevent trapped moisture. Then lay the hardwood using the correct method for patio conditions—often glue-down with a compatible adhesive system or a properly ventilated floating approach—while maintaining expansion gaps around the perimeter.
How much slope and drainage do you need for outdoor hardwood patio flooring?
Good drainage is critical because standing water is one of the fastest ways to damage hardwood floors. Aim for a slight slope away from structures so water runs off efficiently, and ensure the patio surface isn’t trapping moisture beneath the boards. If you’re building over an existing base, consider a drainage plane and regularly check weep holes or gaps to help the floor dry between wet conditions.
Why do outdoor hardwood floors warp, and how can you prevent it during installation?
Outdoor hardwood warps due to moisture exposure, inadequate vapor control, poor subfloor flatness, and insufficient expansion space. Prevent problems by using a moisture barrier when installing over concrete, selecting exterior-rated flooring, and acclimating the boards to local conditions before installation. Leave expansion gaps, avoid blocking airflow where required by the system, and apply a finish or sealer designed for outdoor use.
Which installation method is best for patio hardwood—nail-down, glue-down, or floating?
The best patio hardwood installation method depends on whether you’re working over concrete, framing, or a raised base, and what your flooring manufacturer approves for exterior conditions. Glue-down can work well on stable, flat concrete when using exterior-grade adhesives and a proper moisture barrier, while floating systems may be better for certain engineered outdoor planks that allow movement without stressing joints. Nail-down is usually less common outdoors unless the system is specifically designed for patio exposure and includes ventilation and weather-resistant detailing.
📅 Last Updated: October 17, 2026 | Topic: How to install hardwood floors in a patio? | Content verified for accuracy and freshness.
References
- Wood flooring
- Wood flooring
- Deck
- NWFA | National Wood Flooring Association
- WoodWorks | Wood Products Council
- https://www.fs.usda.gov/treesearch/results?query=wood%20deck%20construction%20guide
- Wood Design Standards & Building Codes – American Wood Council
- https://scholar.google.com/scholar?q=outdoor+wood+flooring+installation+moisture+subfloor Google Scholar
- https://scholar.google.com/scholar?q=hardwood+flooring+outdoor+installation+patio+weather+guidelines Google Scholar
- https://scholar.google.com/scholar?q=deck+subfloor+drainage+installation+wood+flooring+guide Google Scholar