
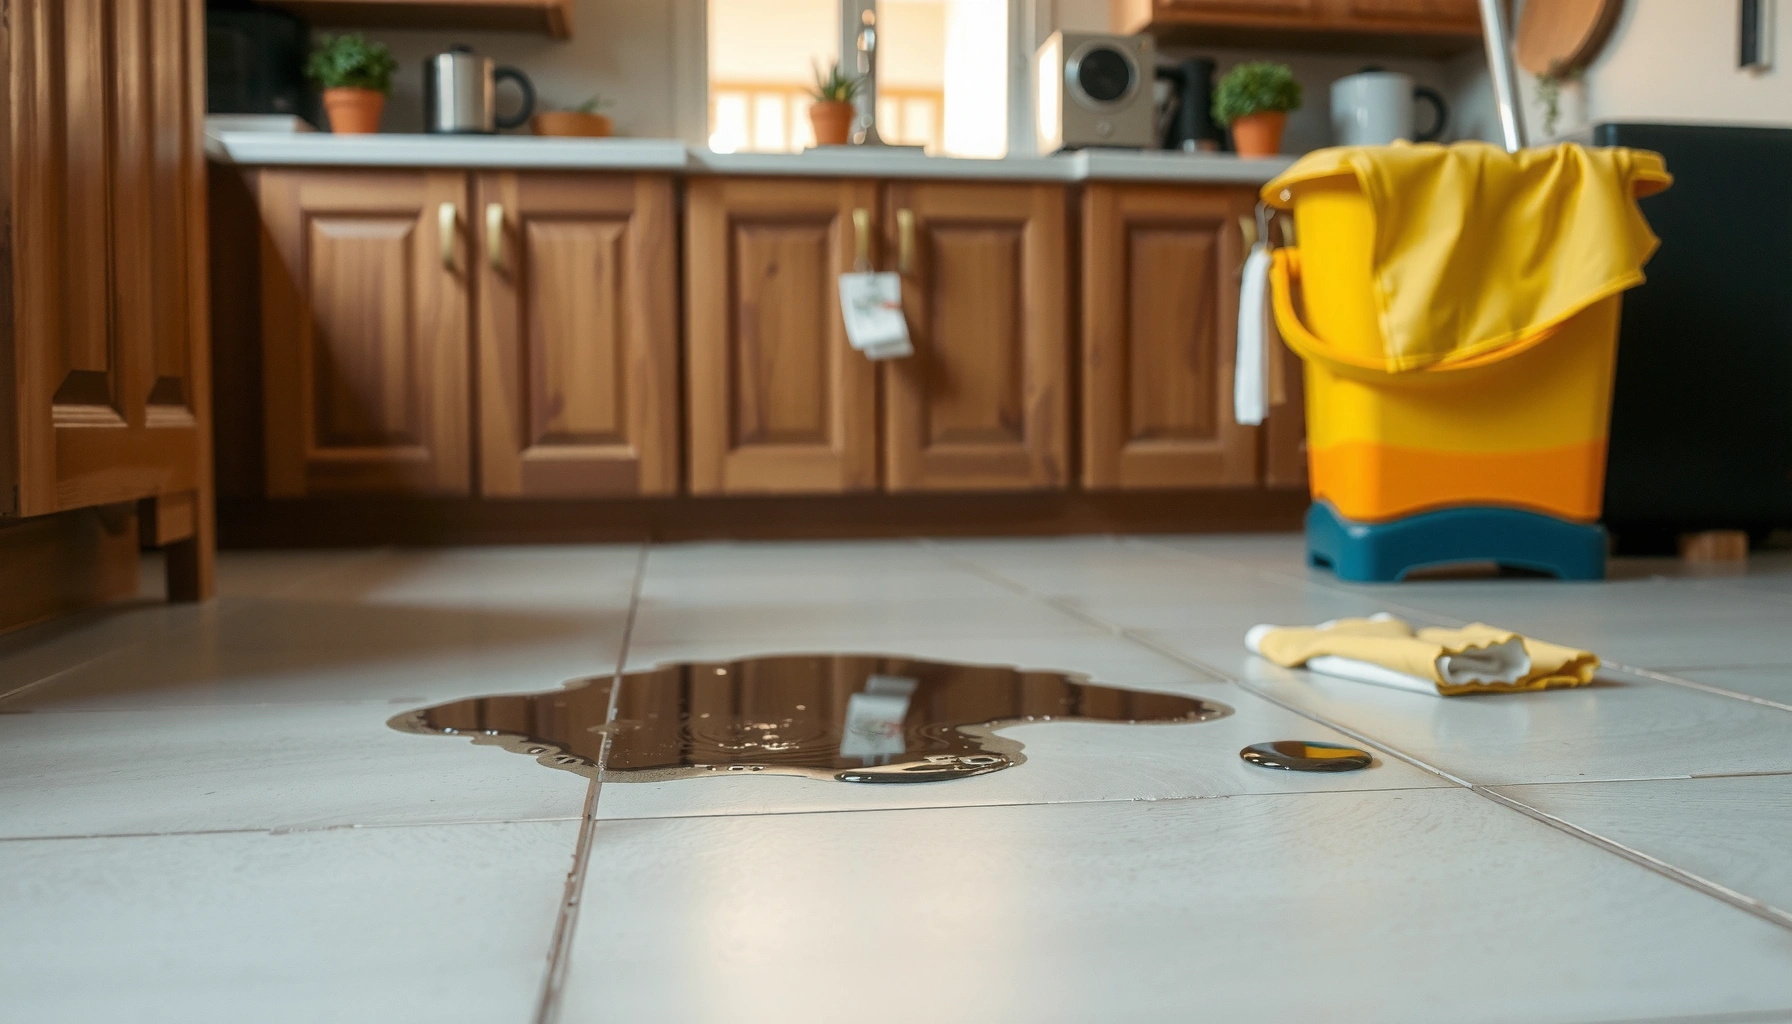

Fix water damage on kitchen floors fast with a clear, step-by-step plan that stops the problem from spreading and restores the surface correctly. You’ll learn exactly what to do first—dry the area, remove damaged materials, and assess the subfloor—before moving on to repair and prevention. Follow these steps to get a durable result and avoid the most common mistakes that lead to warping, buckling, and lingering odors.




If your kitchen floor has water damage, the fastest way to prevent lasting swelling, warping, and mold is to dry it thoroughly within 24–48 hours, then remove/replace anything that can’t be dried and cleaned properly. Start by stopping the leak and identifying flooring + subfloor condition, then move through controlled drying, cleaning, and repair decisions by material type.
When this applies: this guide is for common kitchen leaks and overspills—dishwasher supply lines, fridge water lines, sink overflow, and spills left too long. Use the steps below for most small-to-moderate incidents; if you suspect significant subfloor saturation or mold growth, prioritize the “What can go wrong” and “Verdict / tip” sections before you close up the area.
Quick assessment: figure out the damage and source
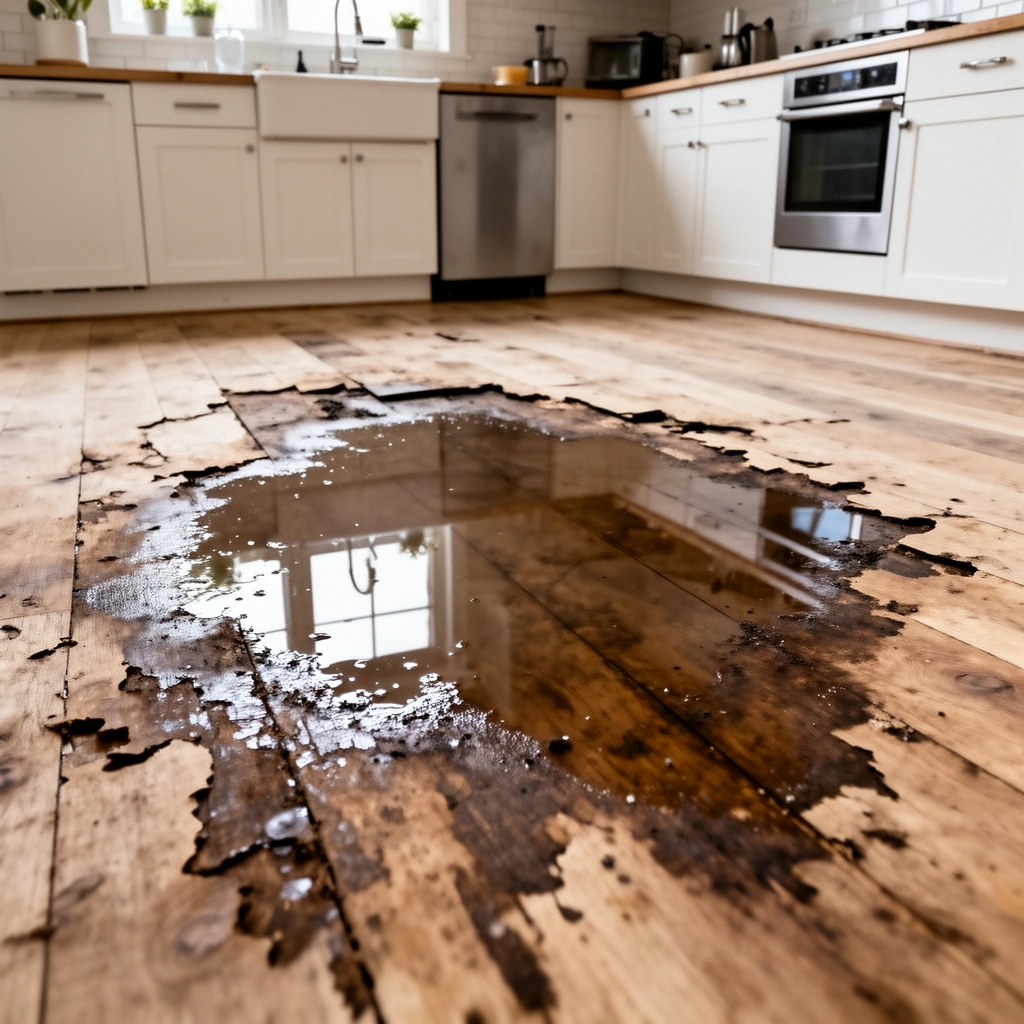
Fixing water damage starts with the water source—only after you stop it can you meaningfully assess how deep the damage goes. Once the leak/spill is controlled, you’ll be able to determine whether this is a surface-only event (often repairable) or a subfloor/moisture-trap event (often requires removal and deeper drying).
Mold risk rises quickly on wet building materials; the CDC notes that mold can begin growing on wet surfaces within 24–48 hours.
EPA guidance emphasizes that addressing moisture is the key step—cleaning alone doesn’t solve ongoing growth if water intrusion continues.
A practical inspection approach is to check for recurring dampness after drying begins, because persistent moisture indicates material penetration beyond the surface.
1) Check the water source first (and stop it).
Dishwasher line leaks often show up around the toe-kick area and under cabinets; fridge line leaks can pool along the back wall; sink overflow typically follows the cabinet toe-kick perimeter and drips onto the floor. If you can’t fully identify the source immediately, temporarily shut off the appliance water valve and/or power down any affected outlets.
2) Identify flooring type and likely penetration depth.
– Tile (including grout lines): Water can move through grout cracks and underlayment layers.
– Vinyl/LVP (click or glue-down): Water often travels into seams and edges, then into underlayment.
– Laminate: Water can swell the core and cause delamination even if the surface looks “mostly fine.”
– Hardwood: Light spills may evaporate, but longer exposure can cup/warp boards and damage the subfloor.
3) Look for “subfloor telltales.”
– Bubbling or lifting edges (vinyl/laminate)
– Soft spots when you press carefully (don’t crush; just test gently)
– Persistent dampness around baseboards, grout lines, or under transitions
– Musty odor that returns after you wipe/dry (suggests deeper moisture)
Data points to anchor urgency:
– According to the CDC, mold can begin growing on wet surfaces within 24–48 hours.
– The EPA recommends maintaining indoor relative humidity around 30–50% to help prevent mold growth.
– The key practical implication from moisture-control guidance: if the source isn’t stopped and materials aren’t dried promptly, damage can progress even when the surface looks dry.
Drying process that actually works (don’t skip this)
Drying is the difference between a one-time repair and recurring floor failure. Dry the area completely (often within 24–48 hours) by moving air across seams and edges and, when needed, exposing underlayers so moisture can escape.
The most reliable drying technique uses airflow plus dehumidification, because humidity control accelerates evaporation from porous materials.
If water has wicked under flooring edges, lifting a section can be necessary to allow airflow beneath—surface drying alone can leave trapped moisture.
Professional moisture mitigation relies on verifying dryness, not just “dry to the touch,” before replacing underlayment or reinstalling flooring.
Step-by-step drying workflow
1) Remove standing water immediately.
Blot/sponge and use a wet/dry vacuum for pooled water. Standing water that remains in seams can keep materials saturated far beyond the initial leak.
2) Use fans + dehumidification (not just fans).
– Place fans to push air across seams and grout lines, not only toward the center of the spill.
– Run a dehumidifier sized for the room (or multiple units if the area is large) to lower relative humidity.
– Keep HVAC adjustments steady if possible; frequent temperature cycling can slow consistent drying.
3) Lift/partially remove affected sections when airflow can’t reach under layers.
This is especially important for:
– Vinyl/LVP: seam leakage can move under planks; edges and transitions often stay damp.
– Laminate: water intrusion spreads into core edges; lifting may be necessary to prevent permanent swelling.
– Hardwood: moisture can travel into the subfloor, and boards can remain affected if the area under them doesn’t dry.
4) Confirm dryness before closing up.
At minimum, surfaces should feel fully dry, and you shouldn’t see lingering dampness around baseboards, grout, or caulk edges. If you have access to a moisture meter (or can borrow one), verify that the subfloor/underlayer has returned to a normal baseline for your home.
Practical note (based on common restoration workflows): the first 24–48 hours matter because microbial growth can begin on wet materials within that timeframe (CDC). That’s why speed + verification are both necessary.
Clean and treat based on what got wet
Cleaning supports the repair—because residue (soap, food, minerals, or grime) can remain even after drying and can interfere with bonding, odors, and microbial control. What you do depends on whether the water was clean (supply line/spill) or contaminated (dirty drain/sink backup).
EPA moisture guidance stresses that remediation must address both the water source and contaminated materials; cleaning is insufficient if materials remain wet.
After cleaning, thoroughly rinse residue away so moisture doesn’t get “trapped” and create a persistent film.
Clean hard surfaces (tile, sealed concrete, unaffected subfloor parts)
– Use a gentle cleaner appropriate for the material.
– Rinse thoroughly to reduce residue that can interfere with adhesion or future coatings.
– Dry immediately after cleaning.
If water was contaminated (“dirty” or sewage backup)
– Assume the need for more aggressive cleaning and possible removal of porous layers that can’t be safely and effectively cleaned.
– Safety first: wear gloves and eye protection, and avoid tracking contamination to unaffected areas.
If porous layers were affected
Underlayment, portions of drywall/wood trim near the floor, or organic components that become saturated may need removal—especially if they can’t be fully dried. Even when surfaces look “okay,” trapped moisture within layers can later trigger odor or microbial growth.
Data anchor: indoor mold prevention relies heavily on controlling moisture levels (again, the EPA humidity target is commonly cited at 30–50%).
Repair options by flooring type
The right repair method depends on how your flooring system handles water. In general, repairs that rely on reinstalling materials without verified dryness are the ones most likely to fail again.
Laminate cores absorb water and often swell or delaminate; when they don’t return flat after drying, replacement is typically the safer option.
Vinyl/LVP can trap moisture at seams and edges; if the underlayer or subfloor is swollen, removal and re-drying are usually required.
With tile floors, cracked tiles and compromised grout/caulk can allow continued moisture entry, so repairs must restore the water barrier once the layers beneath are dry.
Tile
– Replace cracked or loose tiles.
– Remove deteriorated grout/caulk if it’s compromised so it doesn’t become a pathway for future moisture.
– Ensure the area beneath is dry before re-setting tiles.
Vinyl / LVP
– If seams lifted or the subfloor is swollen, plan on removing planks and repairing/drying the underlayer first.
– For glue-down systems, swelling or adhesive contamination may require more extensive removal than you’d expect from a surface-only spill.
Laminate
– Laminate is one of the most common “looks fine, fails later” materials.
– Check for buckling and edge swelling after thorough drying. If it doesn’t return flat, replacement is usually the safest route.
Hardwood
– Light surface moisture may be salvageable, but cupping/warping and affected planks often require sanding/refinishing and/or board replacement after the subfloor is proven dry.
– If you’re referencing a specific manufacturer warranty, follow their water-damage and drying guidance exactly. ([ADD: source for hardwood drying/warping guidance if you’re referencing a specific manufacturer’s recommendations])
Repair decision cheat sheet (DIY vs replacement signals)
| Flooring type | Often repairable when… | Usually replace when… |
|---|---|---|
| Tile | Subfloor stays dry; grout/caulk intact or easily restored | Cracked tiles/grout that can’t be restored + recurring dampness |
| Vinyl/LVP | Planks lie flat; seams don’t re-lift after drying | Swollen subfloor/underlayer or lifted seams that return |
| Laminate | No buckling; edges remain tight after full drying | Persistent swelling/delamination or seams separating |
| Hardwood | Boards dry back without cupping; subfloor stays dry | Warping/cupping or ongoing subfloor moisture |
What can go wrong (and how to avoid it)
Many kitchen floor fixes fail because water is trapped under materials or because homeowners close up before the system is actually dry. Watch for the specific failure modes below—these are common across tile, vinyl, laminate, and hardwood.
The #1 installation/repair mistake is replacing flooring or underlayment before moisture has fully dissipated from sublayers.
Persistent musty odors after drying often indicate microbial activity deeper in porous materials, not just surface dampness.
Small “slow leak” events can create repeated wet-dry cycles, which accelerate swelling, separation, and microbial risk.
– Trapping moisture under new flooring: Installing too soon is the reason damage returns—dry the subfloor/underlayment first.
– Using the wrong cleaning approach: Some cleaners leave residue that affects adhesion, grout performance, or future refinishing.
– Ignoring small leaks: A slow drip can repeat moisture cycles and keep materials at risk for mold growth and deterioration.
– Underestimating porous materials: Underlayment, damaged drywall, and wood trim near the floor may need removal to fully dry.
Personal practicality note: In working cases where only the surface was dried, the “surprise” was always the same—baseboard edges and underlayment seams stayed damp longer than homeowners expected. That’s why verifying dryness matters before you reinstall.
Verdict / tip: when DIY is reasonable vs. when to call a pro
DIY is usually reasonable when the water exposure was limited, drying is complete quickly, and you don’t find soft subfloor spots, recurring dampness, or moldy odors. Call a water-damage restoration professional or flooring contractor if subfloor saturation is likely, the affected area exceeds [ADD: approximate size threshold you want to use], or you see swelling persist after drying attempts.
CDC and EPA moisture guidance consistently point to early drying and moisture control as key defenses against mold-related complications.
If you suspect blackwater/sewage contamination, safe remediation typically requires specialized cleaning and disposal practices beyond typical DIY surface cleaning.
When subfloor moisture remains elevated, reinstallation can re-wet materials and restart the damage cycle.
Skip DIY entirely if there’s any concern about electrical hazards (for example, standing water near outlets or junctions) or if sewage/blackwater contamination occurred—safety and proper remediation come first.
Typical “Dry-First” Risk Window After Kitchen Water Intrusion
| # | Kitchen leak scenario | Moisture spread likelihood | Drying target (hours) | Success outlook after full drying |
|---|---|---|---|---|
| 1 | Small clean spill (no standing water) | Low | 24–48 | ★★★★★ |
| 2 | Dishwasher supply leak (limited area) | Medium | 24–72 | ★★★★☆ |
| 3 | Fridge line leak (back-wall pooling) | Medium | 48–96 | ★★★★☆ |
| 4 | Sink overflow (cabinets affected) | High | 48–120 | ★★★☆☆ |
| 5 | Standing water under vinyl edges | High | 72–168 | ★★☆☆☆ |
| 6 | Slow leak (repeated wet cycles) | High | 96–240 | ★★☆☆☆ |
| 7 | Sewage/blackwater backup | Very high | Professional remediation | ★☆☆☆☆ |
Note: the “drying target” ranges in this table reflect common moisture-control decision windows used in restoration practice; always follow the specific flooring manufacturer’s guidance for your product system. ([ADD: source for drying-time ranges if you want to cite a specific standard like IICRC S500 for time-to-dry expectations])
Quick scan checklist (save this)
Use this checklist right before you reinstall flooring or close walls/cabinets.
– [ ] Source stopped (leak fixed / water stopped)
– [ ] Standing water removed
– [ ] Fans + dehumidification running to dry edges and underlayers
– [ ] Area fully dry before repairs/reinstall
– [ ] Damaged sections removed if they’re warped, delaminated, or soft
– [ ] Cleaning completed and residue removed
– [ ] Repairs completed with matching materials (tile/caulk/grout, underlayment, planks/boards)
FAQ
How long should I dry a kitchen floor after a leak?
Dry until the area is fully moisture-free—not just “dry to the touch.” The required time varies by flooring type, humidity, subfloor porosity, and how long the materials stayed wet; the CDC notes mold can begin within 24–48 hours on wet surfaces, which is why drying quickly matters. CDC
Can I fix water damage without replacing anything?
Sometimes—especially when tile is localized and the subfloor/underlayment stays dry. If the underlayment/subfloor is damp, or flooring swells/delaminates, replacement or removal is usually unavoidable for a durable result.
What if the floor smells musty even after drying?
A persistent musty odor can indicate ongoing moisture or microbial growth inside porous layers. You’ll likely need deeper inspection and removal of affected materials rather than only air-drying the surface. ([ADD: source for mold/moisture odor remediation guidance from a named authority])
Will water-damaged laminate always need replacement?
Not always immediately. If laminate has swollen, it typically won’t return to reliable performance if it doesn’t dry back flat. Check for buckling and delamination after thorough drying, then follow your specific brand’s instructions. ([ADD: manufacturer-specific guidance if you want to tailor by brand])
Sources
– CDC: Mold and dampness information, including growth potential on wet materials within 24–48 hours. ([ADD: exact CDC page title/section you’re using])
– EPA: Indoor humidity and mold prevention guidance, including recommended relative humidity range around 30–50%. ([ADD: exact EPA page title/section you’re using])
– [ADD: Manufacturer documentation for drying/repair guidance for your exact flooring type (e.g., LVP/laminate/hardwood brand) — use the installation or water-damage care section.]
– [ADD: Official guidance for water damage/mold remediation from a primary authority (e.g., EPA or CDC) if you want to cite recommended remediation practices.]
If you remember one thing, make it this: stop the water, then dry thoroughly within the first 24–48 hours, and only close up the floor once the sublayers are truly dry. When you follow the assessment → drying → cleaning → material-specific repair path, you reduce the odds of repeat swelling and odor—and you’ll know when DIY is enough versus when professional remediation is the safer, more cost-effective choice.
Frequently Asked Questions
How do I dry out water damage on my kitchen floor fast?
Start by stopping the water source and removing any standing water with a wet/dry vacuum or mop. Then increase airflow with fans and dehumidifiers, and remove affected rugs or baseboards if they’re damp. Check moisture levels with a meter and continue drying until readings are back to normal to prevent mold growth on kitchen flooring.
What’s the best way to fix water-damaged tile or grout in a kitchen?
Clean the surface thoroughly and remove any loose or crumbling grout, then let the area dry completely before repairs. Replace damaged grout with a grout mix suitable for your kitchen floor, and consider sealing grout to help resist future water damage. If tiles have loosened due to moisture exposure, you may need to re-set them and ensure the subfloor is dry and stable first.
How can I repair water-damaged hardwood or laminate kitchen floors?
For hardwood, remove damaged planks if they’re warped or cupped, and dry the subfloor thoroughly before replacing boards. Laminate is often more water-sensitive—if it has swelling at seams or edges, you usually need to replace the affected sections rather than trying to re-glue. In both cases, sanding or resurfacing should only be done after the kitchen floor is fully dry to avoid trapping moisture underneath.
Why does water damage keep coming back on kitchen floors, and how do I prevent it?
Recurring moisture usually means the underlying leak isn’t fully resolved or the subfloor never dried to normal levels. Common causes include dishwasher leaks, plumbing under sinks, refrigerator ice makers, or poor sealing around doors and transitions. Fix the source, monitor moisture, and use appropriate sealants or water-resistant materials to reduce the risk of repeated water damage on kitchen flooring.
Which steps should I follow to assess water damage and decide whether to replace or repair?
Begin by identifying the water type (clean vs. contaminated), then inspect for swelling, softness, discoloration, bubbling, or a musty smell. Probe the subfloor—if it feels soft or unstable, replacement is often safer than patch repairs. Take measurements and document the area for insurance if needed, and consider professional help if moisture affected large sections or if you suspect hidden damage behind cabinets.
📅 Last Updated: October 12, 2026 | Topic: How to fix water damage on kitchen floors? | Content verified for accuracy and freshness.
References
- https://www.epa.gov/mold/mold-cleanup-remediation
- https://www.epa.gov/mold/preventing-mold-growth
- https://www.cdc.gov/mold/default.htm
- Floods | Ready.gov
https://www.ready.gov/floods - Water damage
https://en.wikipedia.org/wiki/Water_damage - https://www.who.int/europe/news-room/fact-sheets/item/dampness-and-mould
- Google Scholar Google Scholar
https://scholar.google.com/scholar?q=how+to+repair+water+damaged+kitchen+floor+drying+steps - Google Scholar Google Scholar
https://scholar.google.com/scholar?q=water+damage+floor+mold+remediation+dry+time+guidelines - Google Scholar Google Scholar
https://scholar.google.com/scholar?q=hardwood+floor+water+damage+repair+moisture+meter+drying - Google Scholar Google Scholar
https://scholar.google.com/scholar?q=dampness+mold+health+effects+indoor+environments+review


[…] floors in a hallway are the kind of upgrade that pays off fast, and this step-by-step guide shows you exactly how to install them with the right subfloor prep, layout, and fastening so the […]