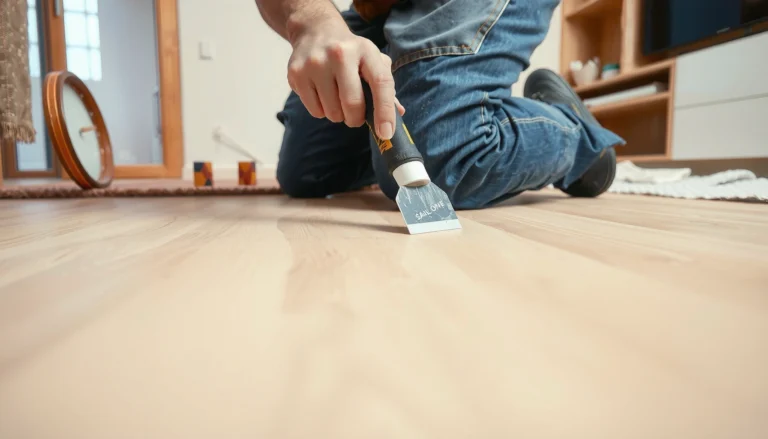

Peeling on concrete floors stops being a mystery when you follow a step-by-step fix: diagnose the cause, remove the failing coating or surface, and repair the concrete properly. This guide tells you exactly what to do at each stage—prep the slab, patch spalls or delamination, and choose the right primer and floor system so the peeling doesn’t come back. You’ll end with clear, practical instructions that match the most common peeling scenarios.



Peeling on concrete floors is almost always a “remove-and-fix-the-cause” problem, not a patch-and-recoat problem. The durable solution is to remove every loose layer, verify whether the failure is paint/sealer adhesion or weak surface/laitance, then recoat only after the concrete is properly prepped and (critically) moisture risk is addressed.
If you’re seeing flakes, bubbles, or layers lifting on a garage slab, basement floor, patio, or commercial concrete, this is for you. It’s especially relevant when the peeling started after cleaning, a recent coating, or a period of wet weather—and you want a practical plan to stop it.
Diagnose why the concrete floor is peeling
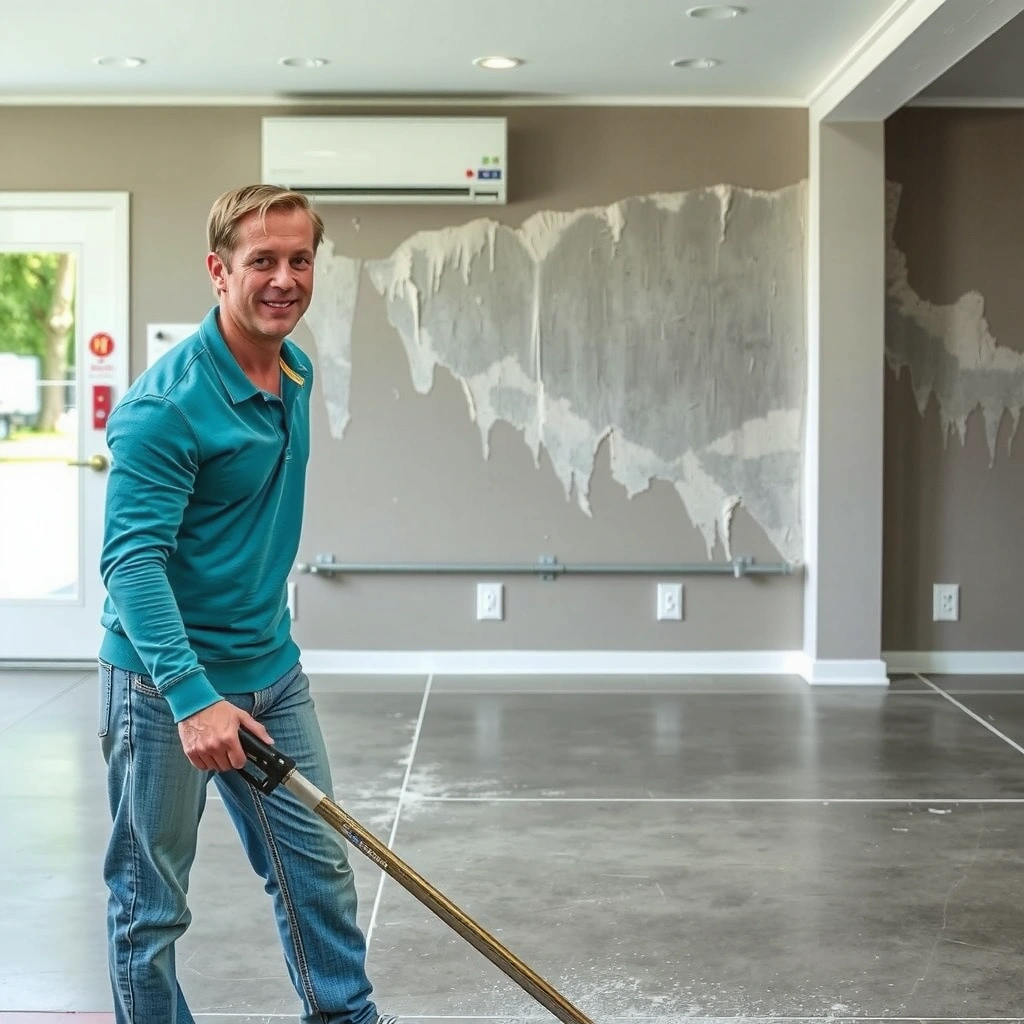
Peeling happens because the system you applied (paint, sealer, epoxy, urethane, etc.) lost adhesion to what’s beneath it. Your first job is to determine whether the failure is primarily coating/primer failure or a concrete surface failure (often laitance or weak top material).
Flaking or “lift-off” that follows the footprint of a prior coating usually points to coating adhesion failure, not necessarily a full-slab structural issue.
Powdery chalking, weak surface texture, or “sand-like” abrasion is a strong indicator of laitance that must be mechanically removed before recoating.
Moisture-driven failures commonly show up after wet weather or post-cleaning, because curing chemistry and vapor pressure change under a sealed surface.
Look for the peeling pattern: coating failure vs. moisture/weak concrete
A practical rule: patchy lifts often track where a coating was applied, where surface preparation was missed, or where contamination occurred (cleaners, curing compounds, oils). Widespread peeling—especially accompanied by a damp smell, recurring bubbling, or consistent edge lift—often indicates moisture vapor pressure and/or poor substrate readiness.
Check the likely trigger
Think backward from “when it started.” Common triggers include:
– A recent coating applied over dust, paint overspray, or incompletely cured primer
– Aggressive cleaning that left residues (some degreasers can interfere with coatings)
– Prolonged dampness from leaks, HVAC condensation, poor grading, or unvented crawlspaces
Determine what’s peeling: coating/sealer vs. the concrete surface itself
Do two quick checks:
1. Scratch test: If you can scratch the surface into chalky powder, the top layer is weak.
2. Bond “feel” test: Tap and pull at a lifted edge. If the delamination looks like it’s happening within the concrete surface (not only within the coating), you need surface repair, not just a new topcoat.
Moisture testing methods you should know (for diagnosis)
Concrete moisture testing isn’t just “nice to have”—most coating warranties assume a test was performed and documented. According to standards:
– ASTM F1869 (calcium chloride test) reports results in lbs/1000 sq ft/24 hours.
– ASTM F2170 uses in-situ RH% (relative humidity) probes installed in drilled holes.
– ASTM D4541 (pull-off adhesion testing) measures adhesion strength in psi (pounds per square inch).
ASTM F1869, ASTM F2170, and ASTM D4541 define these measurement approaches and reporting formats.Reference table: typical peeling “symptoms” and likely cause
Use this to map what you see to what you do next.
Concrete Floor Peeling: Symptom → Likely Failure Mode → First Fix Step
| # | What You Notice | Most Likely Cause | Repair Priority | Confidence |
|---|---|---|---|---|
| 1 | Bubbles under a sealer/paint | Moisture/vapor trapped beneath coating | Moisture check before recoating | ★★★★★ |
| 2 | Patchy peeling in small islands | Contamination or missed prep spots | Remove loose areas + grind | ★★★★☆ |
| 3 | Chalky dust when you rub the surface | Laitance/weak surface layer | Mechanical removal to sound concrete | ★★★★★ |
| 4 | Peel starts at edges/joints first | Poor profile or unsealed edges allowing ingress | Feather edges + address water entry | ★★★☆☆ |
| 5 | Delamination follows “over-cleaned” timeline | Residue/chemical incompatibility from cleaner | Strip to sound substrate + re-prime | ★★★☆☆ |
| 6 | Concrete surface “spalls” before coating failure | Surface deterioration or ongoing moisture | Repair/patch + re-profile | ★★☆☆☆ |
| 7 | Adhesion fails immediately after sanding | Smooth/incorrect profile or remaining contaminants | Confirm profile + repeat mechanical cleaning | ★★☆☆☆ |
Remove peeling material safely and thoroughly
If the coating is lifting, you need to remove it down to sound substrate—otherwise the new layer becomes another “skin” over an unstable foundation. Start with mechanical removal, then clean aggressively so dust and debris don’t sabotage bond.
Coatings that have visible adhesion loss should not be encapsulated; they must be removed to prevent ongoing delamination beneath the new finish.
Feathering or grinding lifted edges eliminates a sharp “lip,” which reduces stress concentration that drives future peeling.
Thorough vacuuming after grinding is essential because fine concrete dust can interfere with primer wet-out and mechanical bonding.
Mechanically remove everything loose until you reach sound material
Use grinders, scarifiers, or shot blasting where appropriate. The goal is simple: every edge you leave must be fully bonded. Don’t assume that “almost stuck” is good enough.
Feather the perimeter so there’s no hard lip
When coating lifts, it usually does so under stress. A hard edge left by removing a patch creates a new weak point, so feather the perimeter gradually into intact areas.
Vacuum thoroughly and keep dust under control
Concrete prep performance depends on cleanliness. Vacuum using HEPA where feasible, and wipe only when your system’s specs allow it (some coatings want “profile + dust removal,” not wet wiping).
Common real-world failure mode we see on site: someone cleans with a broom and then applies primer—grinding dust is still in pores and surface texture. That dust becomes a bond breaker.
Test and address moisture before you recoat
Moisture testing determines whether you can successfully recoat without repeat failure. If water vapor or liquid water is moving through the slab, many coatings fail even when prep looks perfect.
Moisture in concrete can create hydrostatic pressure or vapor pressure that disrupts primer and coating adhesion.
Moisture test standards like ASTM F1869 and ASTM F2170 produce different metrics, so you can’t swap results between methods.
Most coating systems require moisture limits and cure/installation windows stated in the manufacturer’s technical data sheet.
If moisture is present, prioritize moisture checks over “faster recoats”
Start by confirming the presence and source of moisture:
– Surface dampness or dark staining
– Condensation patterns
– Cracks that allow water ingress
– Plumbing leaks or exterior water intrusion
Improve drainage and reduce water intrusion
Before sealing a slab, fix the path:
– Grade soil away from the foundation
– Address downspout extensions and gutters
– Repair slab penetrations and seal/control joints where appropriate
Use the right moisture test method and thresholds
You should follow the coating/sealer manufacturer’s documented requirements and the specific test method they specify.
[ADD: source for the specific moisture test method and acceptable thresholds from your product’s technical data sheet]
For reference, the measurement types are standardized:
– ASTM F1869: calcium chloride test in lbs/1000 sq ft/24h (ASTM F1869)
– ASTM F2170: in-situ RH% probes (ASTM F2170)
– ASTM D4263: plastic sheet test (qualitative indication) (ASTM D4263)
Comparison: what moisture problem looks like in practice
When deciding how cautious to be, your observation matters.
| Moisture sign | Most likely driver | Typical coating risk | Immediate next step |
|---|---|---|---|
| Bubbles develop soon after coating | Vapor pressure | Coating blistering/peel | Test with ASTM method required by your coating |
| Always damp corners/edges | Water entry through boundary areas | Edge lift and re-peeling | Address grading/leaks; prep edges properly |
| New peeling after cleaning | Cleaner residue + moisture | Poor wet-out, localized delamination | Strip to sound substrate and follow primer requirements |
Repair the concrete surface (patching and leveling)
Once the failing coating is removed, the slab surface must be structurally and chemically ready to bond with the new system. This is where many DIY attempts fall short: they recoat over pitting, spalls, or remaining chalky zones.
Patching compounds need compatible bonding characteristics with the planned topcoat and must be installed within the repair product’s cure window.
Removing delaminated or chalky concrete is not optional; priming over weak top layers usually reproduces the same failure pattern.
Grinding creates the surface profile many coatings need for mechanical anchoring.
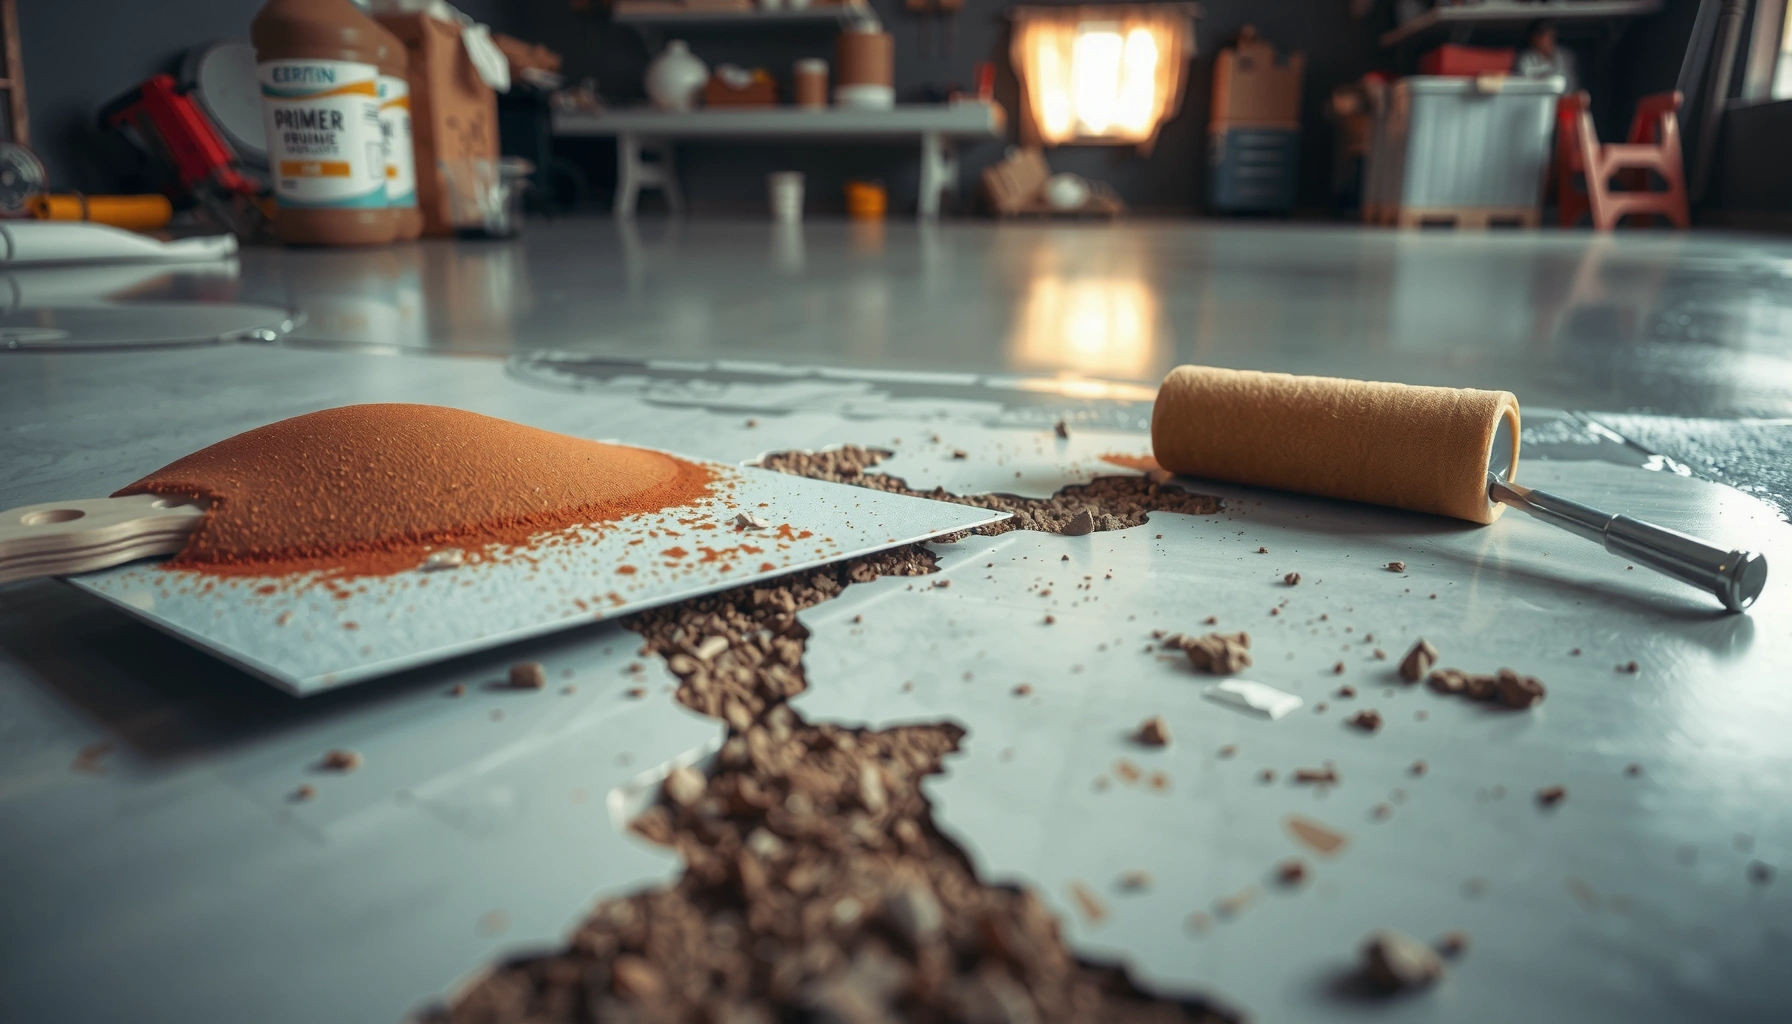
For spalls, pits, or deteriorated areas, use a compatible repair method
If you have:
– Spalls (broken-out edges)
– Pits and voids
– Deteriorated/chunky surface zones
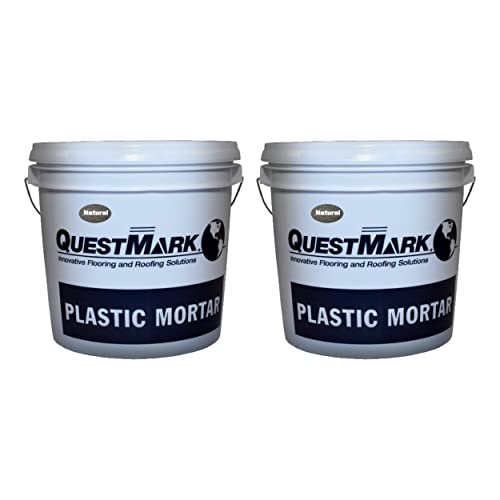
…you’ll need a repair mortar/compound designed for concrete repairs and compatible with your coating chemistry. Match repair materials to the planned coating system (epoxy/urethane/cementitious topcoat), as manufacturers often specify approved combinations.
Grind or prep to create a profile and remove weak material
Even if you patch, the surrounding area must be profiled. If the surface is too smooth, adhesion can suffer; if it’s contaminated or dusty, primer won’t wet out.
Re-test surface condition (soundness, dryness, debris-free)
Before priming:
– Soundness: no loose/chalky areas
– Dryness: consistent with the moisture requirements for your system
– Cleanliness: vacuum + confirm no residue film
Note: If you find widespread deterioration, ongoing moisture, or recurring soft spots, you may be seeing more than a coating problem—plan for a deeper investigation.
Prime and recoat using compatible systems
The best coating system is the one that is designed to work together on your substrate under your conditions. Priming isn’t just “extra”—it’s often the chemical bridge and/or bond-failure insurance between concrete and topcoat.
Manufacturer technical data sheets typically specify primer requirements, including when a primer is mandatory and which primer type fits specific concrete conditions.
Recoat windows (time ranges between primer and topcoat) are critical; applying too late or too early can reduce adhesion.
Coatings develop proper film formation only within target temperature and humidity ranges stated by the manufacturer.
Match primer and topcoat to substrate condition and contamination risk
Your primer choice depends on what you’re covering:
– Freshly ground concrete
– Repaired patches
– Residue risk (from cleaners, curing compounds)
– Moisture-vapor risk (as tested)
Apply according to manufacturer instructions—especially recoat windows
Follow mixing ratios, spreading rate, and cure/recoat timing exactly. Rushing is a common cause of re-peeling because the primer may not have developed the surface chemistry the topcoat depends on.
[ADD: exact cure/recoat times from the products you’re using]
Work in the right temperature/humidity range
Many coating systems have strict application conditions. As of 2025–2026, manufacturers continue to emphasize that out-of-range conditions can lead to poor wetting, slow cure, or reduced adhesion performance. Check:
– Ambient and slab temperature
– Relative humidity limits
– Dew point considerations (to prevent condensation)
What can go wrong (and how to avoid it)
Most “it peeled again” cases come down to skipping a step that the manufacturer’s system is designed around. If you avoid these common pitfalls, your odds improve dramatically.
Painting over loose material keeps the underlying adhesion failure active, so the new coating can delaminate along the same weak interface.
Ignoring moisture testing increases the odds of blistering and peel-off even after excellent grinding and cleaning.
Surface profile is a controlled variable: too smooth can reduce mechanical anchoring; too contaminated can prevent wetting and bonding.
Common mistakes
– Painting over loose material: Even small lifting areas can spread under new film.
– Ignoring moisture: Without fixing leaks/drainage or meeting the moisture limits for your system, failures often return.
– Wrong surface profile: Some systems need a CSP-like profile; others are tolerant, but dust and smoothness still matter.
– Incompatible product pairing: Epoxy/urethane/acrylic systems often require specific primers for chemical compatibility.
– Over-thinning or skipping primer: Many systems are designed around specific DFT (dry film thickness) and primer coverage.
Practical prevention steps (do these every time)
– Remove to sound concrete—then vacuum.
– Verify moisture per your coating’s required test method and thresholds.
– Prime with the correct system component.
– Respect recoat windows and environmental conditions.
Verdict: the honest approach (and who should skip DIY)
If you remove all loose material, verify the concrete isn’t actively failing from moisture, and then use a compatible primer + coating system applied to the manufacturer’s specs, you have a strong path to a durable repair. The tradeoff is time: mechanical prep and moisture investigation can be messy, and sometimes it reveals a bigger slab issue (active leaks, widespread deterioration, or the need for professional moisture mitigation).
A coating can’t “fix” a failing substrate; it only performs as well as the concrete surface and moisture conditions beneath it allow.
If moisture is present and your system requires specific test results, skipping testing often leads to repeat blistering or adhesion loss.
When peeling returns quickly, that pattern is more diagnostic than the coating brand—focus on slab moisture and surface soundness.
Skip DIY (or bring in a contractor) if:
– The slab is actively wet or you can’t identify water sources
– Peeling is widespread and recurring after surface cleaning
– Your selected coating system requires moisture test results you can’t reliably obtain
– There’s significant spalling or structural cracking suggesting deeper remediation needs
Quick checklist (scan before you start)
– [ ] Identify what’s peeling: coating/sealer layer vs. concrete surface
– [ ] Remove all loose material and feather edges
– [ ] Clean and vacuum thoroughly; no dust residue
– [ ] Check/confirm moisture risk per manufacturer requirements
– [ ] Repair spalls/pits; grind weak/chalky areas
– [ ] Use manufacturer-approved primer for your substrate + conditions
– [ ] Recoat within the stated recoat/cure windows
FAQ
Can I fix peeling concrete floors without removing the old coating?
Usually no. If the existing coating is lifting, the adhesion failure continues under the new layer, so you generally need to remove anything loose and prep to sound substrate.
Why does concrete floor paint peel even if the surface looks clean?
Common reasons include moisture vapor issues, insufficient surface profile, residual contaminants from cleaners/chemicals, or incompatible primer/topcoat pairings.
What’s the best way to prep a peeling concrete floor for recoating?
Most successful repairs rely on mechanical removal (grinding/blasting/scarifying) to reach sound concrete, followed by thorough vacuuming. Then use the correct primer and recoat within the specified windows.
How long should I wait after concrete repair before coating?
Follow both the repair product’s cure time and the coating system’s stated recoat windows. [ADD: exact cure/recoat times from the products you’re using]
If I fix the peeling once, will it stay fixed?
It can—if you address the underlying cause (especially moisture and surface prep). If the root issue isn’t resolved, failures often return in the same patterns.
Sources
– ASTM F1869 — Standard Test Method for Measuring Moisture Vapor Emission Rate of Concrete Subfloor Surfaces Using Anhydrous Calcium Chloride.
– ASTM F2170 — Standard Test Method for Determining Relative Humidity in Concrete Floor Slabs Using in situ Probes.
– ASTM D4541 — Standard Test Method for Pull-Off Strength of Coatings Using Portable Pull-Off Adhesion Testers.
– ASTM D4263 — Standard Test Method for Indicating Moisture in Concrete by the Plastic Sheet Method.
– [ADD: source for the specific moisture test method and acceptable thresholds from your chosen primer/topcoat manufacturer’s technical data sheet]
– [ADD: manufacturer application instructions for any concrete repair products used (prep, cure time, compatibility)]
– [ADD: source for concrete surface prep/profile guidance used by your chosen coating system from the coating manufacturer’s technical documentation]
In short, fixing peeling concrete floors is about rebuilding the bond—by removing loose material, repairing soundness, confirming moisture risk, and recoating with a compatible system applied within the manufacturer’s exact specifications. If you do those steps, you’re far more likely to stop the peel permanently than if you treat it as a cosmetic issue.
Frequently Asked Questions
What causes concrete floor peeling and flaking paint or coatings?
Concrete floor peeling usually happens when the surface wasn’t properly prepared before applying paint, epoxy, or stain, or when moisture is moving up from the slab. Common causes include weak concrete surface (dusting/surface laitance), poor adhesion, contamination from grease or curing compounds, and insufficient drying time. If peeling occurs near cracks or in damp areas, rising moisture or hydrostatic pressure is often a major factor.
How do I fix peeling on an interior concrete floor step-by-step?
Start by removing all loose coating, paint, or flaking concrete until you reach solid, firmly bonded material. Mechanically prep the surface using grinding or shot blasting, then clean thoroughly with a detergent wash and allow full dry time. Repair minor spalls with a concrete patch, and apply a primer or moisture-mitigation system rated for your slab conditions before reinstalling your floor coating.
How can I repair peeling concrete caused by moisture or humidity?
If the slab is damp, applying a coating directly over peeling areas will often lead to repeat failure. Test for moisture (using plastic sheet tests or a proper concrete moisture meter) and address the source—improve ventilation, fix leaks, or use a moisture mitigation primer designed for concrete floors. Once moisture is controlled, recoat with an adhesive primer and a compatible system to improve adhesion and prevent new peeling.
Which concrete floor coating is best to prevent future peeling after surface prep?
The best choice depends on whether you’re dealing with moisture, wear, and whether the slab is interior or exposed to chemicals. For many garages and basements, a properly primed epoxy or polyurethane system works well when the concrete is mechanically prepared and primed for adhesion. If moisture is present, use a moisture-tolerant primer or epoxy moisture barrier first, then apply the topcoat rated for that substrate condition.
Why does concrete floor peeling keep coming back even after patching and repainting?
It usually returns because the underlying adhesion problem wasn’t fixed—most commonly inadequate surface preparation or lingering moisture. Peeling can also recur if the repaired areas weren’t feathered and leveled, causing weak bonds, or if incompatible products were layered (for example, coating over old residues or sealing agents). To prevent repeat peeling, address concrete floor moisture, remove all failing coating, and use compatible primer and patch materials matched to the existing system.
📅 Last Updated: October 10, 2026 | Topic: How to fix peeling on concrete floors? | Content verified for accuracy and freshness.
References
- Google Scholar Google Scholar
https://scholar.google.com/scholar?q=concrete+floor+coating+peeling+repair - Google Scholar Google Scholar
https://scholar.google.com/scholar?q=concrete+floor+moisture+vapor+transmission+coating+failure - Google Scholar Google Scholar
https://scholar.google.com/scholar?q=concrete+surface+preparation+coatings+adhesion+failure - https://en.wikipedia.org/wiki/Efflorescence
- https://en.wikipedia.org/wiki/Concrete_spalling
- https://en.wikipedia.org/wiki/Delamination
- https://www.epa.gov/frequent-questions/what-are-chemical-sealers-and-why-are-they-used
- Google Scholar Google Scholar
https://scholar.google.com/scholar?q=How+to+fix+peeling+on+concrete+floors? - How to fix peeling on concrete floors? – Search results
https://en.wikipedia.org/wiki/Special:Search?search=How+to+fix+peeling+on+concrete+floors? - https://www.ncbi.nlm.nih.gov/search/research-articles/?term=How+to+fix+peeling+on+concrete+floors?