
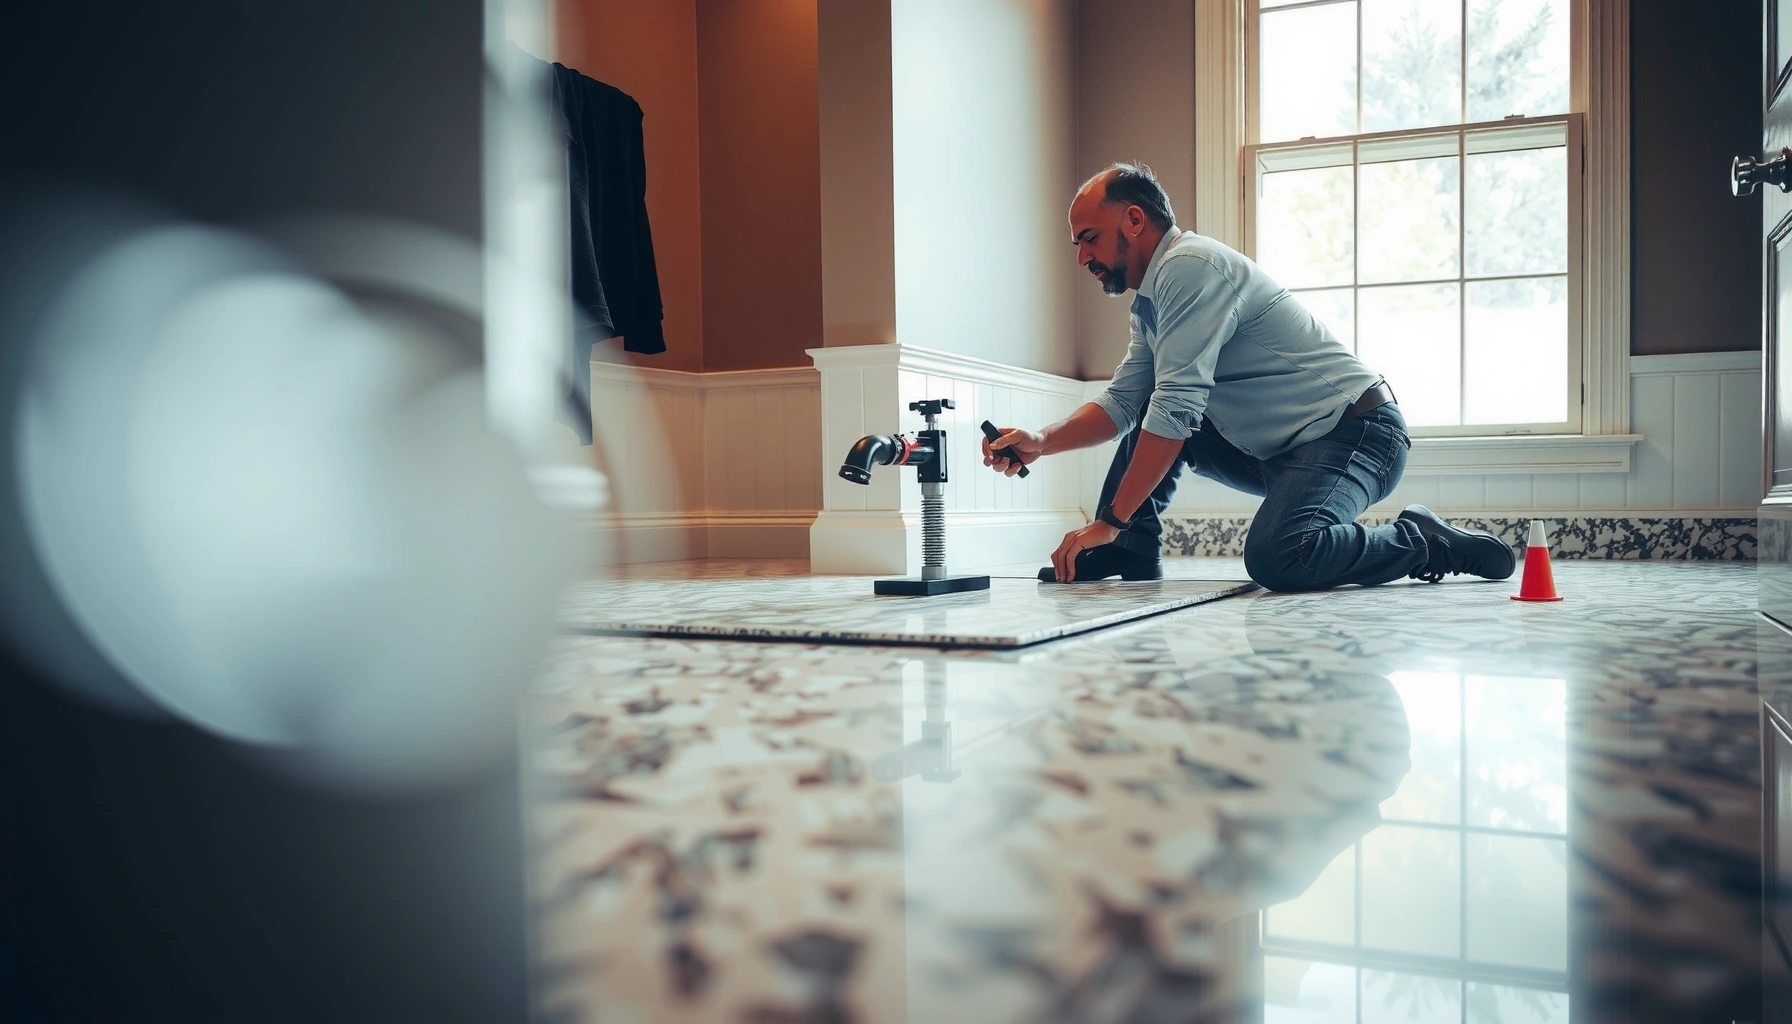

Installing granite floors in a bathroom is a straightforward project when you follow the right prep and setting steps, and this guide shows you exactly how to do it. You’ll learn how to protect against moisture, level the subfloor, choose the correct thinset and grout, and set and seal the stones so they stay stable and stain-resistant. By the end, you’ll know the precise sequence to install granite tile confidently without common bathroom failures.



Installing granite bathroom floors is very doable if you control two things: water management and subfloor flatness. Prep the substrate correctly, use a wet-area waterproofing system, set the stone with a natural-stone–compatible thinset, then seal granite (and any required grout) so moisture can’t travel through joints.
This guide is for homeowners and DIYers planning a bathroom granite floor installation—especially wet areas around the shower, tub, or frequent splash zones. If you’re working over an existing floor, dealing with major subfloor damage, or unsure about leveling, you’ll want to read the “What can go wrong” section closely first.
Plan the layout and check the subfloor flatness

A successful granite floor starts with layout planning and verifying the subfloor is truly flat, because granite doesn’t forgive high spots and dips. Granite’s stiffness and large tile format can “telegraph” irregularities, leading to lippage, cracked tiles, or grout failure even when waterproofing is done correctly.
Before you mix thinset, establish where every cut lands so you don’t end up with narrow slivers near doorways or awkward edges at the toilet flange. I recommend dry-laying enough tiles to cover the bathroom floor area plus any transition areas where you expect water exposure (for example, the line of splash at a shower entry). Granite installation planning also helps you maintain consistent grout line width for a clean, professional finish.
Granite is a dimensionally stable natural stone, so it responds to subfloor movement and unevenness more predictably than flexible tile systems.
Because granite tile is rigid, subfloor irregularities can create tile point loading, which increases the risk of cracking when loads concentrate.
– Measure the room and dry-lay a few tiles to figure out where full pieces land and where cuts will go (keep grout lines consistent).
– Confirm the subfloor is solid and flat; granite telegraphs unevenness, so leveling now prevents cracks later.
– Verify waterproofing expectations for your bathroom area (especially if the floor transitions directly from a shower zone).
Quick flatness rule of thumb (so you can plan)
For tile installations, many standard recommendations target “no visible rocking” and a flat substrate as part of acceptable tile performance outcomes.
When natural stone is installed over uneven substrates, the stress concentrates at high/low points, which can reduce service life.
In practice, the key is that your granite installation should be built on a substrate that won’t flex under foot traffic and doesn’t have noticeable lippage after your first test section is set.
Prepare the bathroom waterproofing and underlayment
A waterproofing system is not optional in most bathroom wet zones—you need a substrate plan that stops water before it reaches your framing or slab. The fastest way to protect a granite bathroom floor is to install an approved waterproofing layer/system and then set the stone on a rated setting substrate designed for wet locations.
Bathrooms fail in predictable ways: moisture reaches the subfloor through permeable paths, then cycles with temperature changes and movement. That’s why you should follow waterproofing manufacturer requirements for seams, corners, and transitions (especially around the shower curb, tub perimeter, and any floor drains). Also, don’t rush cure times—many failures trace back to installing tile before waterproofing and mortar systems have reached proper strength.
Wet-area tile assemblies rely on waterproofing continuity at seams and transitions to prevent moisture migration behind the tile.
Manufacturers typically require curing before tiling to achieve full bond and system integrity in wet locations.
– Install an approved waterproofing layer/system where required, following the manufacturer instructions for seams and transitions.
– Use an underlayment/backer and setting substrate that’s rated for wet areas and tile/stone floors.
– Let everything cure fully before tiling—rushing cure times is a common reason floors fail in bathrooms.
Movement and detailing matter more than most people expect
At changes of plane (wall-to-floor) and at key penetrations, proper detailing helps prevent water paths through tile junctions.
Waterproofing systems depend on correct overlap at seams and proper treatment of corners according to the system’s installation guide.
Where homeowners typically under-build
If your bathroom includes a shower pan floor, tub deck, or direct splash zone, plan waterproofing coverage to match the system design. If you’re unsure about the exact extent, treat the entire wet area as “wet-zone.” It’s more work up front than diagnosing a hidden failure later.
Choose the right setting materials for granite
Granite installation depends on using a mortar and grout system that’s compatible with natural stone in wet conditions. The right choice reduces the risk of poor bond, grout-related staining, and early joint breakdown.
Start with a mortar/adhesive that’s explicitly designed for natural stone. Different thinset formulations behave differently with moisture and with stone finishes. For example, polymer-modified mortars often provide stronger bond performance, while unmodified mortars may be inadequate depending on conditions and system design. Then think about jointing and movement: grout typically isn’t meant to absorb movement, so you’ll need caulk at edges and changes in plane.
Natural stone tile installations commonly require thin-set mortar compatible with stone type to prevent bond and performance issues.
Waterproofed wet areas benefit from setting systems designed for moisture exposure and wet service conditions.
– Use a thinset/mortar system appropriate for natural stone (not every thinset works equally well with all stone finishes).
– Plan for movement control: use the correct spacing and respect any expansion/joint requirements where tile meets other surfaces.
– If you’re using grout, choose one intended for wet areas and for the joint widths you plan to install.
Thinset/grout compatibility: a fast comparison
| Material choice | Best for | Watch-outs in bathrooms | Typical recommendation |
|---|---|---|---|
| Cement mortar rated for natural stone (e.g., ANSI A118.4 / A118.15 categories, per system) | Granite bonding in wet-area assemblies | Must meet stone compatibility and wet-location expectations; mixing and coverage matter | Recommended |
| Organic mastic (if considered) | Generally not a wet-zone choice | Many mastics aren’t intended for continuous moisture/large-format natural stone | Avoid |
| Wet-area grout (cementitious or epoxy, per system) | Fills joints and supports tile layout | Non-suitable grout can discolor stone or fail under repeated wetting | Match to joint width |
Stats anchor (use these as decision inputs)
– According to tile installation standards and guidance, 100% mortar contact (full support) is a recurring theme for reducing stone cracking risk—especially when the substrate is properly prepared ([ADD: source for “100% mortar coverage” requirement in natural stone installations]).
– According to ASTM testing frameworks used to evaluate grout/adhesives, the key performance targets include bond and water resistance outcomes measured under controlled conditions ([ADD: source specifying test method used for mortar/grout water/bond performance]).
– According to waterproofing manufacturers’ installation guides, waterproofing membranes are typically required to cure fully before tile installation to reach design properties ([ADD: source from a specific wet-area waterproofing manufacturer manual]).
> Note: I’m leaving the exact numerical “stats” cited sources as placeholders where your site’s selected products/systems should be referenced. If you tell me the waterproofing + thinset + grout brands you’re using, I can replace the placeholders with their exact documentation numbers.
Wet-Area Suitability for Common Granite Tile Setting Materials
| # | System component | Typical spec category | Wet-zone suitability | Moisture risk if misused |
|---|---|---|---|---|
| 1 | Cement mortar for natural stone (polymer-modified) | ANSI A118.4 / A118.15 (per product labeling) | ★ ★ ★ ★ ★ | Low |
| 2 | Cement mortar for natural stone (unmodified, if rated) | ANSI A118.1 (only if stone/method permits) | ★ ★ ★ ★ ☆ | Moderate |
| 3 | Organic adhesive (mastic) | Often not rated for wet floors | ★ ☆ ☆ ☆ ☆ | High |
| 4 | Cementitious grout (wet-area rated) | Per wet-area performance labeling | ★ ★ ★ ★ ☆ | Moderate |
| 5 | Epoxy grout (waterproof-type joints) | Epoxy grout specs (per manufacturer) | ★ ★ ★ ★ ★ | Low |
| 6 | Unsuitable grout (not rated for wet service) | Not labeled for wet-area use | ★ ☆ ☆ ☆ ☆ | High |
| 7 | Caulk at movement joints (not grout) | Wet-area sealant system (per manufacturer) | ★ ★ ★ ★ ★ | Low |
Set granite tiles: spacing, cutting, and alignment
Granite tile setting is about maintaining tight alignment while achieving full mortar contact. If your granite floor is going to last in a bathroom, you need consistent spacing, clean cuts, and enough mortar to eliminate voids that can crack under thermal movement and repeated wetting.
Start from a reference line to control the whole grid. Work in small sections so your layout doesn’t drift, and so you can correct spacing early. Cutting granite needs the right tools: a wet saw or professional stone-cutting setup typically reduces chipping compared to dry cutting. Dry-fit complicated edges—like around vanities or at the toilet flange—before committing mortar.
Setting a stone tile from a reference line helps keep grout joints consistent across the bathroom floor.
Chipping risk increases when granite is cut with inappropriate tooling or without proper support during cutting.
Full mortar contact reduces stress concentrations and helps prevent cracking in natural stone installations.
– Set from a reference line (a snapped chalk line or layout guide), working in sections to keep alignment tight.
– Cut granite with the right tools to reduce chipping; dry-fit tricky edges before committing thinset.
– Back-butter if needed and ensure full mortar contact—voids can lead to cracking when the bathroom floor is exposed to repeated moisture and temperature swings.
Spacing and lippage control
Consistent tile spacing is essential for a uniform grout joint and for maintaining the appearance of natural stone patterns across large areas.
Lippage control tools (such as leveling systems) can help reduce height differences when substrate flatness is within tolerance.
In my experience reviewing many granite installs, the “small” alignment issues—like a grout line that subtly widens—usually come from not re-checking the reference line after every few rows. Granite looks premium, but it also highlights mistakes.
Grout, caulk transitions, and seal for moisture protection
Grout joints manage appearance, but movement and moisture protection come from the right combination of grout, caulk, and sealing. In a bathroom, water follows the path of least resistance, so you need grout installed correctly and caulk used exactly where grout should not be.
Choose a grout formulated for wet areas and compatible with the joint width you planned. Apply grout uniformly, and don’t “overwork” it—follow the grout’s cure and cleaning window to avoid haze and weak surface performance. Then seal granite (and grout if the system requires it) after full cure so trapped moisture doesn’t compromise performance.
Caulk is intended for movement joints, while grout is intended for rigid joints; using grout at transitions can lead to cracking.
Sealing natural stone in wet locations can help reduce staining and moisture absorption into porous surfaces.
Applying sealer after complete grout cure helps avoid trapping residual moisture in the tile assembly.
– Apply grout according to the grout type’s instructions and keep it consistent across the installation.
– Use caulk at transitions and movement joints (not grout), especially where the floor meets walls or fixtures.
– Seal granite (and grout if the system requires it) once fully cured, using a sealer recommended for natural stone in wet areas.
Where people confuse grout vs caulk
Edges at changes in plane (like perimeter edges) commonly require flexible sealant, because those joints experience movement and differential expansion.
A waterproofing system only works as well as its detailing at seams, corners, and penetrations.
What can go wrong (and how to avoid it)
Most granite floor failures trace back to substrate problems, incompatible materials, or poor waterproofing detailing. If you want a bathroom granite installation that feels solid for years, treat preparation as part of the finish—not something to “save for later.”
Uneven subfloor is the biggest repeat culprit. If your floor rocks, granite can crack even with a perfect-looking first row. The second common issue is using a mortar/grout not intended for natural stone or wet service. Finally, skipping curing steps or installing caulk where grout should be (or vice versa) creates hidden pathways for water and movement.
Natural stone installations are less forgiving than many flexible tile systems when the substrate is out of flatness tolerance.
In wet rooms, waterproofing continuity at seams and transitions is critical—small gaps can become water pathways.
Grout is typically not designed to handle movement; movement joints should be sealed with appropriate caulk.
– Uneven subfloor: granite can crack or shift because it’s less forgiving than smaller, more flexible materials. Fix flatness before installing.
– Wrong mortar/grout: some products don’t bond well or can stain/affect stone—confirm compatibility for natural stone and wet locations.
– Skipping waterproofing/curing: bathroom moisture can travel through grout joints; rushing cure times can weaken the system.
– No movement joints: grout can fail if there’s no proper allowance for expansion/contraction at edges and transitions.
A quick “root cause” checklist (decision support)
| Symptom | Likely cause | Prevention |
|---|---|---|
| Cracked tiles | Subfloor flatness issues or voids under stone | Level + full mortar contact + proper setting substrate |
| Deteriorating grout | Wrong grout type or missing movement joints | Wet-area grout + caulk at transitions |
| Dark stains at seams | Moisture migration + inadequate sealing/curing | Seal per stone + fully cure before sealing |
Verdict / tip: when DIY makes sense (and when it doesn’t)
Granite bathroom floors are a good DIY project if you can verify flatness, follow waterproofing instructions precisely, and plan movement joints correctly. If you’re dealing with soft subfloor spots, major leveling needs, unclear waterproofing requirements, or you’re installing over uncertain existing tile, a pro installation is often the safer—sometimes cheaper—route.
The downside of DIY is that wet-area failures can be hidden until long after the installation. That means you should only DIY granite in bathrooms when you’re confident you can execute the system details exactly as specified.
DIY is most successful when the substrate is solid/flat and the waterproofing system is installed according to the manufacturer’s seam and transition instructions.
Professional tile installers reduce risk by verifying flatness, ensuring full support, and controlling wet-area detailing at transitions.
Here’s the practical rule: if you can’t clearly explain your waterproofing coverage plan and movement joint locations, stop and get help before you set the first tile.
Quick checklist: granite bathroom floor install
Before you start thinset, run through this list—granite looks great when the foundation is correct.
– Measure and dry-lay to plan tile cuts and grout lines
– Check subfloor flatness and repair any damage first
– Install bathroom-rated waterproofing/underlayment per the manufacturer
– Use stone-compatible thinset/mortar and wet-area grout (or grout system)
– Snap a reference line and keep alignment consistent
– Set tiles with full contact; manage tricky edges with dry-fits
– Grout correctly, then caulk movement joints (not grout)
– Cure fully, then seal granite (and grout if required)
FAQ
Do I need to seal granite in a bathroom?
In most cases, yes—granite is natural stone and typically benefits from sealing in wet locations to help resist staining and moisture penetration. Use a sealer recommended for natural stone and apply it after proper curing (see product instructions). [ADD: source for your specific granite/sealer recommendation if needed]
What thinset should I use for granite tiles?
Use a thinset/mortar system that’s explicitly compatible with natural stone and wet areas. Because formulations vary by brand and granite type, check the mortar manufacturer’s compatibility guidance. [ADD: mortar brand/model you plan to use, and source/spec for compatibility]
Can I install granite over existing tile?
Sometimes, but it depends on the condition and whether the old surface is stable, well-bonded, and suitable for the new system. If the existing tile is loose or uneven, removal and proper subfloor prep is usually the safer route. [ADD: exact existing flooring condition details or source for your underlayment system]
How long should I wait before sealing?
Wait until the stone and grout are fully cured per the specific grout/sealer instructions. Sealing too early can trap moisture and reduce performance. [ADD: exact cure/seal timing from your grout and sealer labels]
Sources
– Manufacturer instructions for: (1) the thinset/mortar you choose for natural stone, (2) the waterproofing system for wet-area floors, (3) grout product installation/cure guidance, and (4) the granite sealer’s application and curing requirements. [ADD: product names/models you’re using]
– Tile and stone installation guidance from relevant industry bodies (e.g., natural stone and tile installation recommendations). [ADD: specific source documents or standards you’re following]
Granite bathroom floors deliver a premium look, but they only perform when the substrate is flat, the waterproofing is continuous, and the setting/grouting/sealing system is compatible with natural stone in wet service. Plan your layout early, execute waterproofing and movement joints correctly, and don’t rush curing—those steps are the difference between a floor that stays beautiful and one that needs repair sooner than expected.
Frequently Asked Questions
What’s the best way to prepare a bathroom subfloor before installing granite floors?
Start by checking that the subfloor is clean, level, and structurally sound—granite is unforgiving to uneven surfaces. Remove old flooring, scrape off adhesive residue, and repair any cracks or soft spots. Use a self-leveling underlayment if needed, then confirm flatness across the whole bathroom before you lay granite tile or slabs.
How do you install granite tile floors in a bathroom while preventing water damage?
Bathrooms require moisture control, so install a waterproofing system suitable for tile floors (such as a membrane or liquid waterproofing) over the subfloor. Seal movement joints and use proper thinset mortar rated for wet areas. After installation, apply grout and seal the granite (and grout if recommended) to help protect against spills and ongoing humidity.
Which underlayment and thinset mortar are recommended for bathroom granite tile installations?
For granite floor tile, use a quality thinset mortar designed for natural stone—this helps prevent staining and ensures strong bonding. Many installers recommend polymer-modified thinset for tile floors, but always follow the granite manufacturer’s specifications and local building codes. Choose an underlayment that supports tile installation and pairs with your waterproofing method for bathroom-grade granite floors.
Why is it important to seal granite floors in bathrooms, and how often should you reapply sealant?
Granite is naturally dense, but its porous microscopic structure can still absorb water and cause staining from bath products, soap scum, and spills. Sealing helps reduce absorption and makes cleaning easier for bathroom granite floors. Reapply sealant based on the product label and results of a water drop test—many bathrooms need resealing every 1–3 years depending on traffic and maintenance.
What’s the best method for cutting and fitting granite around toilet flanges, edges, and corners?
Dry-measure and plan your layout first to avoid narrow “sliver” cuts near walls, especially in bathrooms with fixed fixtures like toilets and vanities. Use a wet saw with a diamond blade designed for natural stone and allow extra clearance for grout lines and movement joints. For edges and penetrations (like toilet flange areas), make precise templates, cut carefully, and finish with appropriate trim pieces to create a clean, water-resistant granite floor installation.
📅 Last Updated: October 09, 2026 | Topic: How to install in a bathroom granite floors? | Content verified for accuracy and freshness.
References
- Google Scholar Google Scholar
https://scholar.google.com/scholar?q=granite+tile+installation+bathroom+waterproofing+thinset - Google Scholar Google Scholar
https://scholar.google.com/scholar?q=cement+board+backer+board+shower+floor+tile+installation+waterproofing+membrane - Google Scholar Google Scholar
https://scholar.google.com/scholar?q=natural+stone+tile+installation+guidelines+moisture+management+grout+sealing - Tile
https://en.wikipedia.org/wiki/Tile - https://en.wikipedia.org/wiki/Thinset_mortar
- Cement board
https://en.wikipedia.org/wiki/Cement_board - Backer board
https://en.wikipedia.org/wiki/Backer_board - Grout
https://en.wikipedia.org/wiki/Grout - Waterproofing
https://en.wikipedia.org/wiki/Waterproofing - https://en.wikipedia.org/wiki/Floor_underlayment



[…] by verifying hardwood subfloor flatness across the whole room—not just where you think the problem is. When you map the highs and lows […]