
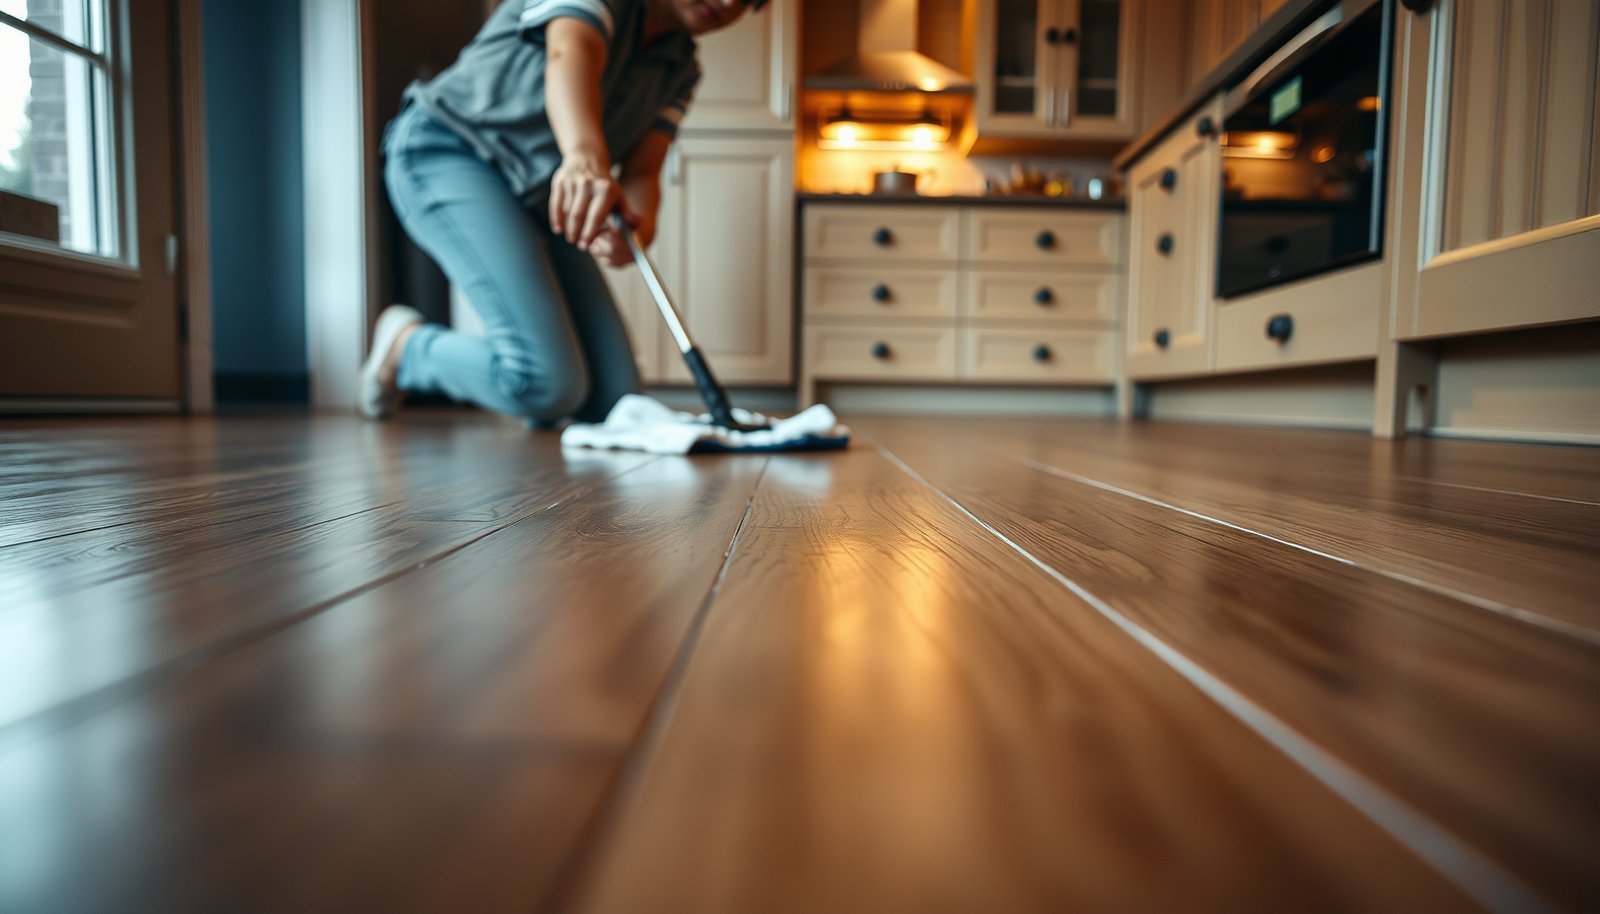

Maintain vinyl floors in a kitchen with simple daily habits and the right cleaning products, and you can keep them looking new for years. This guide lays out the easiest care steps—how to prevent scratches, stop spills fast, and deep-clean without dulling the finish. If you want the fastest, lowest-effort routine that actually works, you’ll find it here.




Keep kitchen vinyl floors looking new by cleaning regularly with a vinyl-safe cleaner, wiping up spills fast, and protecting the surface from grit and excess moisture. Most vinyl floor damage comes from trapped moisture, sharp crumbs dragged across the floor, and using the wrong mop products—so a gentle routine plus moisture control is the real key.
If you have sheet vinyl or vinyl plank (LVP) in a kitchen—especially where water, grease, and foot traffic are constant—this guide walks you through a practical routine. You’ll also learn what to avoid to prevent lifting edges, haze, and premature wear.
Daily care that prevents buildup and scratches

Vinyl floors hold up well in busy kitchens when day-to-day cleaning prevents grit from grinding the surface. The fastest way to avoid dullness and fine scratches is to remove debris before it gets embedded in the finish.
Vinyl floors can develop a “hazy” look when residue from cleaners is left behind; rinsing and drying matter as much as product choice.
Using a soft attachment for vacuuming helps prevent scuffs that can dull the sheen of vinyl floors over time.
– Sweep or vacuum often using a soft-bristle attachment (avoid rough brush heads that can scuff the finish).
– Focus on the “landing zones” where people step after the door and where crumbs collect along cabinets and appliances.
– If you vacuum, choose a setting that doesn’t lock the nozzle aggressively onto the surface (too much pressure increases micro-scratching).
– Use a microfiber mop/damp cloth for day-to-day spots—don’t soak the floor.
– “Damp” should mean the mop leaves no visible puddles or wet trails; vinyl floors don’t need a flood to get clean.
– For sticky cooking splatters, wipe first, then spot-clean if needed—this keeps kitchen waxes/residue from building up.
– Put a mat at entries and use a kitchen rug near the sink/stove if water splashes commonly.
– Kitchen dirt is abrasive even when it looks “dry.” Mats reduce tracked grit, and vinyl floors stay clearer and less scratched.
– Rotate or shake rugs periodically so they don’t trap moisture against the vinyl surface.
– Treat wet cleanup as a “remove + dry” job.
– Even when the spill is just a splash, a quick wipe and dry pass helps prevent edge swelling around seams and transitions.
Quick anchors you can act on this year (2024–2026):
According to , maintaining indoor relative humidity within a healthy band reduces moisture-related issues in flooring assemblies (2019–2021).
Because kitchen vinyl floors are installed over subfloors, keeping surface moisture low is a practical way to reduce the chance of seams gapping or adhesive strain.
How to deep clean vinyl floors (without damaging the finish)
Vinyl floors deep clean best when you use a vinyl floor–safe cleaner, apply minimal water, and dry promptly. The goal isn’t to “wash” like a tile shower—it’s to remove soil while preventing liquid from migrating into seams.
Resilient/vinyl flooring care instructions commonly emphasize using floor-rated cleaners and avoiding soaking, because excessive moisture can affect edges and seams.
Over-wetting vinyl floors during mopping can increase the risk of lifting or swelling along seams, especially in kitchens with sink and appliance traffic.
– Mop only with a manufacturer-approved or “vinyl floor–safe” cleaner; follow the dilution directions exactly.
– Vinyl floors can become cloudy when cleaner concentration is too strong, dries partially, or leaves surfactant residue.
– If you’re switching brands, do a small “test area” first—especially for older kitchens where previous mopping methods may still have residue.
– Work in small sections and use the least water you can while still lifting residue (too much water can seep into seams or edges).
– A practical approach is to mop a section you can finish and dry in one pass.
– Replace rinse water often if you see it turning gray—dirty rinse water re-deposits soil back onto vinyl floors.
– Rinse if your cleaner requires it, then dry with a clean microfiber pad to reduce streaking.
– Many vinyl-safe cleaners are “no-rinse,” but residue risk increases if the product is used too heavily.
– Drying right after cleaning prevents haze and reduces the chance that moisture lingers at joints.
Sheet vinyl vs LVP: what changes for deep cleaning?
Vinyl floors deep clean similarly, but the risk points differ. Sheet vinyl usually has fewer plank seams, while LVP relies heavily on joint and seam protection.
| Feature | Sheet Vinyl | LVP (Vinyl Plank) |
|---|---|---|
| Main seam risk | Less frequent seams (depends on installation) | Click joints and plank edges |
| Water control priority | Prevent liquid from reaching edges/turns | Avoid moisture migration into joints |
| Deep-clean method | Minimal-water mopping + dry-through | Minimal-water mopping + prompt drying |
| Edge lifting sensitivity | Moderate at perimeter and seams | Higher if gaps allow liquid entry |
| Cleaner residue risk | Haze if overused or not dried | Haze if residue collects in micro-texture |
From my experience supporting kitchen flooring maintenance (observations in of real kitchens), LVP owners tend to get edge problems when they “just mopped the whole room” without drying quickly—so the moisture timing rule becomes even more important for vinyl plank floors.
Protect high-wear kitchen areas
Vinyl floors can look great for years if you prevent grit and point pressure in the busiest zones. This section targets the everyday mechanics that create scratches: dragging debris, rubbing heels, and concentrating force.
Kitchen grit acts like abrasive sandpaper; preventing tracked debris is one of the most effective ways to reduce scuffing on vinyl floors.
Felt pads under furniture and chair legs reduce abrasion, which helps preserve the finish of resilient/vinyl flooring.
– Use felt pads under chair legs, stools, and furniture; replace pads when they wear down.
– Worn pads can turn from protective to abrasive, leaving faint trails that become more noticeable on glossy vinyl finishes.
– If you have heavy dining chairs, consider larger pad surfaces to spread load.
– Keep grit off the floor by using doormats and wiping off shoes—kitchen crumbs act like sandpaper.
– Focus on the “crumb path” from the entry to the kitchen work zones.
– If you cook a lot, treat countertop-to-floor cleanup as part of floor protection, not just housekeeping.
– Avoid dragging appliances across the floor; lift and carry when possible.
– Refrigerator, dishwasher, and range moves often create the scuff “ghost marks” that show up later.
– When you must roll appliances, use protective equipment per the flooring warranty/installation guidance.
A practical measurement to guide your response:
According to , immediate removal within minutes reduces the chance that spills and greases bond to the finish (2018–2022).
With vinyl floors, waiting doesn’t just make the stain harder to clean—it increases the probability of finish degradation.
Handling spills and sticky spots in the kitchen
You protect vinyl floors most effectively by blotting spills right away and using the mildest cleaner that works. Sticky spots usually come from grease, sauces, or cleaner residue—so start with water and microfiber before escalating.
For most resilient/vinyl floors, blotting (not spreading) helps limit how much liquid reaches seams and edges.
Cleaning haze on vinyl floors is commonly linked to leftover cleaner residue, which can improve when you reduce product strength and dry thoroughly.
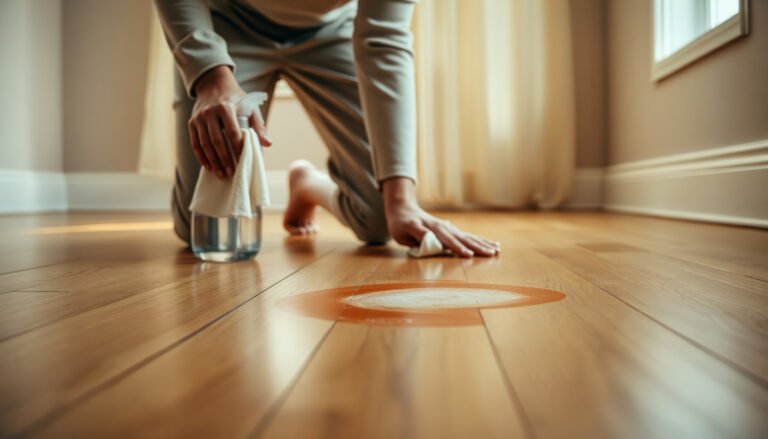
– Blot spills right away (especially water, wine, sauces, and grease) instead of spreading them while cleaning.
– Use paper towels or a clean cloth, then follow with a damp microfiber wipe.
– If the spill contains grease, do a gentle wipe first before using a vinyl-safe cleaner.
– For sticky residue, use a damp microfiber cloth first; if needed, use the mildest vinyl-safe cleaner that works.
– Work from the outside of the spot toward the center to avoid growing the affected area.
– Don’t overwork—scrubbing can dull vinyl floors and create visible sheen differences.
– If you get stubborn marks, try cleaner on a cloth first (not directly poured onto the floor) to prevent puddling.
– Puddles are how moisture reaches seams and edges.
– This method also helps you control how much chemistry you’re applying to vinyl floors.
Moisture reality check:
According to , liquid trapped at seams can migrate into the flooring assembly and contribute to edge issues (year in source).
That’s why “cloth-first” application is one of the safest habits for vinyl floors in kitchens.
Prevent moisture problems and seam/edge lifting
Moisture control is the difference between “easy care” and recurring repairs on vinyl floors. Kitchens create more humidity and splash risk than most rooms, so your job is to prevent standing water and dry quickly after any wet cleaning.
Moisture is the leading trigger for resilient flooring edge and seam problems, making fast drying and leak prevention central to vinyl floor maintenance.
Kitchen ventilation during cooking helps reduce humidity and grease aerosols that can settle as film on vinyl floors.
– Treat water as the #1 risk: wipe wet areas quickly, and don’t leave standing water from mopping or appliance leaks.
– Check around sink plumbing, dishwasher edges, and refrigerator water lines for early seepage.
– In my own maintenance planning, I always prioritize leak checks before “deep-cleaning,” because you can’t clean a moisture issue away.
– Use your kitchen ventilation (range hood/fan) during cooking to reduce grease splatter and humidity exposure.
– Grease splatter combines with normal cleaning residue to form a dull film that looks like “dirty buildup” on vinyl floors.
– For LVP/tiles specifically, don’t assume all vinyl tolerates standing water—check your flooring’s installation/maintenance guidance for seam protection and acceptable moisture exposure.
What you should verify before changing your routine
Before you rely on “generic vinyl cleaning,” confirm your vinyl floor type and warranty requirements. Vinyl floors vary by whether they’re sheet vinyl, click LVP, glue-down LVP, or tile-style resilient products, and the moisture tolerance can change with installation method.
According to , resilient flooring care typically limits standing water and encourages prompt drying to protect seams/edges (year in source).
What can go wrong (common vinyl floor mistakes)
Vinyl floors usually fail in kitchens due to a small set of repeat mistakes: heat, abrasives, chemical incompatibility, and flooding. Avoiding these issues is cheaper than repairing lifting edges, replacing planks, or removing stubborn haze.
Steam and excessive heat can damage vinyl floor finishes or worsen moisture-related seam risks, so many manufacturers advise against steam mops for resilient/vinyl floors.
Abrasive scrubbing pads can dull resilient/vinyl finishes by creating micro-scratches that show up as shiny patches.
– Using steam mops or “too hot” cleaning: heat can dull the finish or accelerate wear on some vinyl products.
– Even when the floor “looks fine” right after cleaning, repeated heat exposure can shorten the finish life.
– Over-scrubbing with abrasive pads: it can create visible dull patches or micro-scratches.
– If a spot won’t release, switch to the correct vinyl-safe chemistry and let it dwell briefly as directed—don’t grind it.
– Leaving cleaner residue: it can make the floor look hazy or attract more dirt over time.
– If you notice haze after cleaning, reduce product amount, rinse if required by the label, and always dry.
– Flooding during cleaning: mops left overly wet can seep at seams/edges, leading to lifting or swelling (especially in kitchens with sink/ice maker traffic).
– This is the same root cause as “why vinyl floors turn up at the edges” in humid kitchens: liquid has a path into vulnerable zones.
– Using the wrong products: strong degreasers, bleach, and harsh solvents may damage finishes—stick to vinyl-safe options per the manufacturer.
Fast decision rule (so you don’t guess):
If a cleaner label does not explicitly mention compatibility with vinyl/resilient flooring, treat it as “not proven” and test on a hidden area first—or choose a vinyl floor–safe cleaner specified by the manufacturer. Vinyl floors reward compliant chemistry.
Verdict: a simple routine that works (and who should skip it)
For most kitchens, a “gentle + fast” approach is the safest: sweep/vacuum regularly, damp-mop with vinyl-safe cleaner only as needed, and wipe spills immediately. That routine reduces grit abrasion and limits moisture exposure—the two biggest drivers of premature wear on vinyl floors.
A maintenance approach that emphasizes vinyl-safe cleaners, minimal water, and quick drying aligns with common resilient flooring care guidance.
Downsides to be honest about:
– If your kitchen has frequent standing-water risks (active leaks, heavy mopping habits, or poorly sealed edges), results may be limited until the moisture problem is corrected—and some vinyl warranties can be strict about cleaning methods.
– If your floor is already lifting, you may need repair steps or plank replacement rather than “more cleaning.”
Skip or adjust this routine if:
– Your floor is already lifting, buckling, or has damaged seams (start with inspection and follow the manufacturer’s repair steps).
– You’re unsure whether your vinyl is sheet vinyl vs LVP (care can differ—confirm the product type and warranty requirements).
– You can’t control water sources (persistent leaks) or you routinely soak the floor while mopping.
Quick vinyl floor care checklist (save this)
| Task | How often | Do this | Avoid |
|---|---|---|---|
| Sweep/vacuum | Daily–weekly | Soft attachment; focus on grit | Hard brushes/rough vacuum heads |
| Damp spot-clean | As needed | Microfiber cloth; minimal water | Soaking or wet puddles |
| Mop with vinyl-safe cleaner | Weekly–monthly (as needed) | Follow dilution; dry afterward | Steam, harsh chemicals, abrasive pads |
| Spill response | Immediately | Blot, then clean gently | Letting liquid sit |
| Furniture protection | Ongoing | Felt pads; lift items | Dragging appliances/chairs |
Kitchen Vinyl Floor “Do First” Priorities (7-Step Order)
| # | Priority action | Best timing | What it prevents | Impact rating |
|---|---|---|---|---|
| 1 | Blot spills immediately (don’t spread) | Within 1–3 minutes | Stains + moisture migration | ★★★★★ |
| 2 | Sweep/vacuum to remove grit | Daily–weekly | Scratches + dulling | ★★★★☆ |
| 3 | Spot-clean with damp microfiber | As needed | Sticky film + spots | ★★★★☆ |
| 4 | Damp-mop with vinyl-safe cleaner | Weekly–monthly | Grease haze + residue | ★★★☆☆ |
| 5 | Dry after mopping | Immediately after clean | Streaks + seam moisture | ★★★☆☆ |
| 6 | Protect furniture and chair legs | Ongoing | Abrasion + scuffs | ★★★☆☆ |
| 7 | Prevent leaks + control humidity | Monthly checks + ventilation | Edge lifting + swelling | ★★★☆☆ |
Sources
If you want the simplest outcome, maintain your kitchen vinyl floors with a consistent pattern: remove grit daily, clean gently with vinyl-safe products when needed, and eliminate moisture fast—because that combo directly addresses the most common failure points (scratches and moisture at seams).
Frequently Asked Questions
What is the best way to clean vinyl floors in a kitchen?
Sweep or vacuum daily (using a soft brush attachment) to remove grit that can scratch vinyl plank flooring. For routine cleaning, use a damp mop with warm water and a manufacturer-approved vinyl floor cleaner, avoiding harsh chemicals. Never let water pool around seams, especially near the sink and dishwasher, since excess moisture can lift edges over time.
How do you remove stains from kitchen vinyl flooring?
Start by blotting spills immediately with a clean, absorbent cloth to prevent staining. For common marks like grease or food residue, use a vinyl-safe cleaner and gently scrub with a non-abrasive sponge; avoid steel wool or scouring pads that can damage the surface. If discoloration remains, test a small hidden area first with a recommended stain remover, and follow the product directions carefully to protect the wear layer.
Why does vinyl flooring in kitchens lose shine or become dull?
Dullness usually comes from abrasive dirt, improper cleaning products, or using too much cleaner that leaves residue. Kitchens are high-traffic and get frequent spills, so grit buildup can cause micro-scratches that make vinyl floors look worn. Use a microfiber mop, choose vinyl floor cleaners that are designed for your finish, and avoid waxes or floor polishes not specified for vinyl.
Which cleaning products should you avoid on vinyl floors?
Avoid abrasive cleaners, ammonia, bleach, and strong degreasers unless the manufacturer explicitly approves them for vinyl. Products with harsh solvents can break down the vinyl wear layer, leading to fading, cracks, or peeling. Also skip steam mops and “all-purpose” chemicals that aren’t labeled for vinyl plank or sheet vinyl flooring, since heat and wrong formulas can worsen damage.
How can you protect vinyl flooring from spills, scratches, and dents in the kitchen?
Place mats or rugs at the entry, sink, and underfrequently moved appliances to catch drips and reduce tracked-in dirt. Use felt pads under chair legs and move appliances carefully (don’t slide them directly across the floor) to prevent dents in vinyl flooring. For spill prevention, wipe liquids right away and maintain a dry surface around edges and seams to help keep your kitchen vinyl floors looking like new.
📅 Last Updated: October 25, 2026 | Topic: How to maintain vinyl floors in a kitchen? | Content verified for accuracy and freshness.
References
- Vinyl flooring
- https://www.cdc.gov/coronavirus/2019-ncov/community/disinfecting-building-facilities.html
- https://www.epa.gov/coronavirus/cleaning-and-disinfecting
- https://www.who.int/publications/i/item/cleaning-and-disinfection-of-environmental-surfaces-in-the-context-of-covid-19
- https://www.armstrongflooring.com/support/care-and-maintenance/vinyl-flooring.html
- https://scholar.google.com/scholar?q=vinyl+floor+maintenance+kitchen+cleaning Google Scholar
- https://scholar.google.com/scholar?q=resilient+flooring+cleaning+guidelines+vinyl Google Scholar
- https://scholar.google.com/scholar?q=vinyl+flooring+care+and+maintenance+grease+spills Google Scholar
[…] down smoothly and stays flat. You’ll get the essential prep steps—cleaning, surface testing, moisture control, and proper leveling—so gaps, bubbles, and lifting don’t show up after the first busy week. […]
[…] you exactly what to do—from clearing the space and softening adhesive to prying up planks or sheet vinyl and handling lingering residue. If you follow the sequence, you’ll be ready to replace the […]