
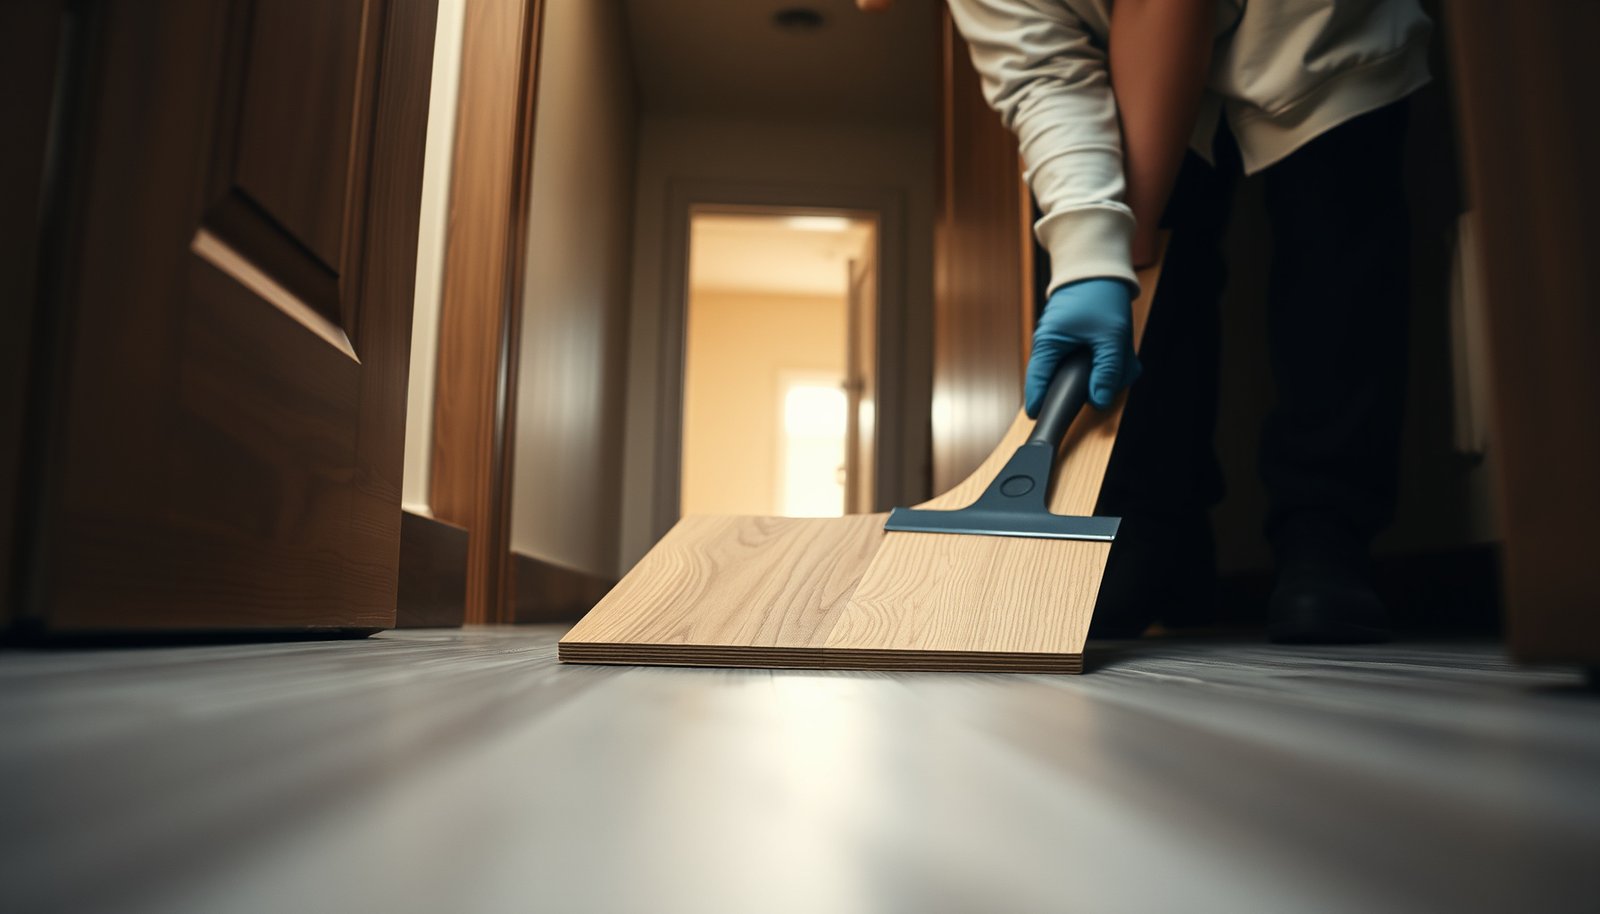

Remove vinyl floors from a closet fast and clean with a proven, step-by-step method that minimizes damage to the subfloor. This guide tells you exactly what to do—from clearing the space and softening adhesive to prying up planks or sheet vinyl and handling lingering residue. If you follow the sequence, you’ll be ready to replace the flooring without costly repairs.




Removing vinyl floors from a closet is mainly about starting at a loose edge (or cutting seams), lifting the vinyl without tearing it, and then scraping off adhesive residue until the subfloor is flat and smooth. If your vinyl is fully glued down, plan for controlled heat and an adhesive remover that matches the product instructions so you can prep the subfloor for what comes next.
If you’re a homeowner tackling a small, contained space—like a closet where you can remove trim, work in sections, and take your time—this is the right approach. As of 2026, manufacturers and installation standards still emphasize controlled removal and flat, residue-free subfloors, especially for resilient flooring and rigid-core products.
Prep the closet and protect yourself
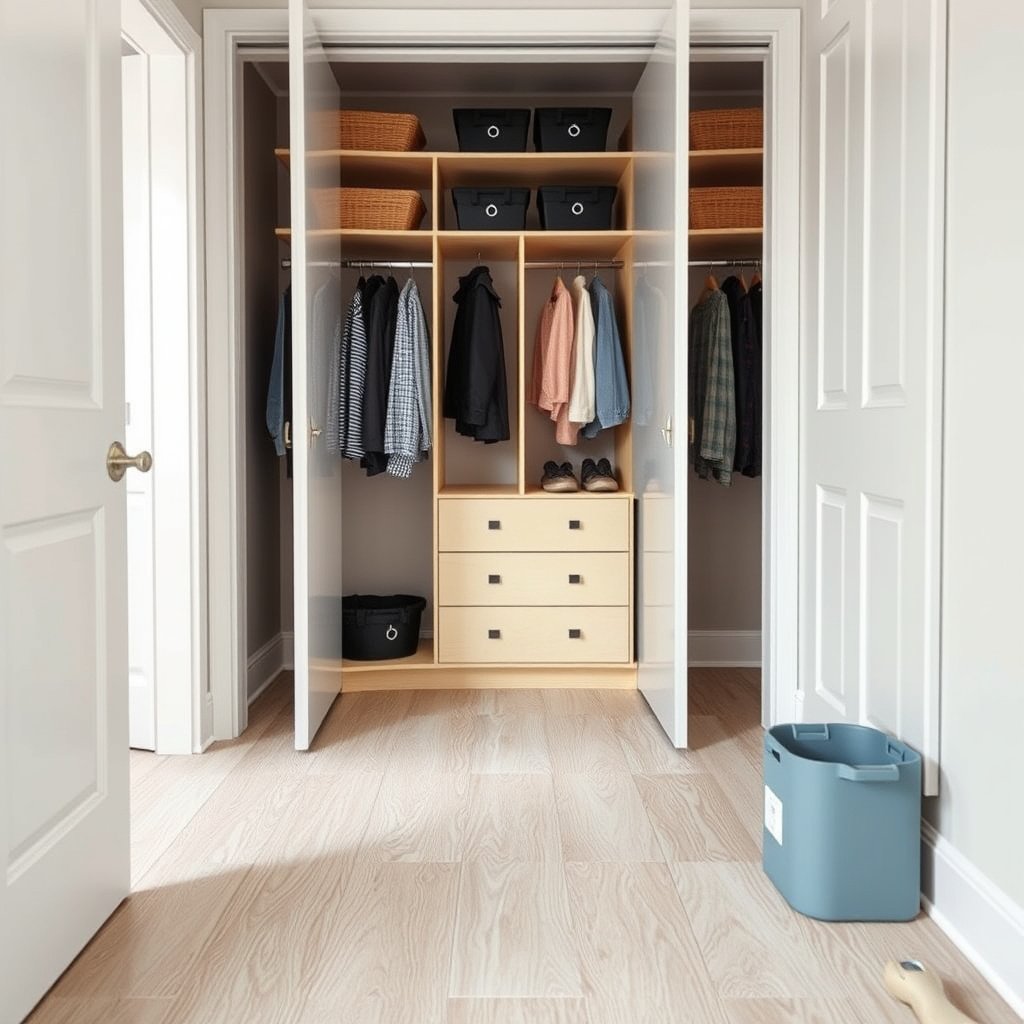
Start by clearing the closet and setting up dust and impact protection before you touch the vinyl flooring. Proper prep reduces the chance of damage to drywall/baseboards and it also helps you manage respirable dust during vinyl floor removal, which is one of the most common DIY failure points.
– Clear the closet completely, and protect walls/baseboards with painter’s tape and cardboard
Cover adjacent baseboards, any lower wall areas, and door jambs with painter’s tape plus cardboard so your floor scraper and pry bar don’t scuff or gouge surfaces during vinyl flooring removal.
– Wear a dust mask/respirator appropriate for scraping (especially if the old floor might be questionable), plus eye protection and gloves
Vinyl floor removal can generate fine particulates when scraping adhesive residue, and OSHA’s respiratory requirements are explicit about when respirators require a medical evaluation, fit testing, and a written program. If you don’t know what the existing adhesive contains, treat it as potentially hazardous and follow safety guidance.
– Gather basics: utility knife, floor scraper/putty knife, pry bar, pry wedges, and a heat gun or hair dryer (only if you’re following safe use guidance)
Have tools staged within arm’s reach: a utility knife for seams and cuts, a scraper for lifting and cleanup, pry wedges to reduce tear-out, and—only if needed—a heat gun or hair dryer for glued vinyl flooring removal.
OSHA’s Respiratory Protection standard (29 CFR 1910.134) requires medical evaluation and fit testing as part of a compliant respirator program when respirators are used for dust control.
NIOSH particulate filter classes N95, N99, and N100 are designed to filter at least 95%, 99%, and 99.97% of non-oil aerosols, respectively (42 CFR Part 84).
RFCI’s recommended work practices for removal of resilient floor coverings emphasize safe work practices and preventing unnecessary damage while removing resilient materials and residue.
NIOSH Particulate Filter Classes Useful for Vinyl Floor Removal Dust
| # | Filter class | Non-oil aerosol filtration | Oil resistance | Typical role during demo | Protection level |
|---|---|---|---|---|---|
| 1 | N95 | ≥95% | Not resistant to oil | General dry dust from scraping | ★ ★ ★ ★ ☆ |
| 2 | P95 | ≥95% | Oil-resistant | Dust control when oil mist may occur | ★ ★ ★ ★ ☆ |
| 3 | R95 | ≥95% | Oil-resistant (limited) | Dry scraping dust in typical conditions | ★ ★ ★ ★ ☆ |
| 4 | N99 | ≥99% | Not resistant to oil | Higher-efficiency particulate capture | ★ ★ ★ ★ ★ |
| 5 | P99 | ≥99% | Oil-resistant | Tighter dust control during removal | ★ ★ ★ ★ ★ |
| 6 | N100 | ≥99.97% | Not resistant to oil | Maximum particulate filtration for dust | ★ ★ ★ ★ ★ ★ |
| 7 | P100 | ≥99.97% | Oil-resistant | Most protective option for particulates | ★ ★ ★ ★ ★ ★ |
Take off trim and find how the vinyl is attached
Remove the trim first so you can see true edges and seams—vinyl flooring removal starts where the material can legally and mechanically lift. Then identify whether your vinyl flooring is click-lock (planks), partially bonded, or fully glued (sheet, tiles, or bonded planks), because the removal method and residue strategy change immediately.
– Remove baseboards/quarter-round carefully so you don’t gouge drywall (use a thin pry tool and slow leverage)
Use a thin pry tool and pry gently at the nail line rather than yanking; the goal is to protect drywall so you don’t create extra repair work after vinyl floor removal.
– Look for seams, butt joints, or a lifting corner to identify whether it’s click-lock (planks) vs glued (sheet, tiles, or fully bonded planks)
Lift at a corner first. If the vinyl plank is click-lock, edges often separate without adhesive pull-through; glued material usually resists and tears rather than separating cleanly.
– If you see an underlayment layer, note whether it’s loose or bonded—this changes how you clean up afterward
Underlayment can be part of the removal, or it can remain in place depending on what you’re installing next. With vinyl flooring removal, document what’s loose versus bonded so cleanup matches the substrate condition you’ll have.
In vinyl floor removal, the attachment method (click-lock versus bonded/glued) largely determines whether you’ll get clean lifts or torn material that requires more grinding and residue removal.
RFCI recommended work practices for removing resilient flooring focus on removing materials without damaging the underlying surface so the substrate can be prepared appropriately afterward.
If you’re working in older buildings where adhesive composition is unknown, OSHA requires employers to address respirable hazards and related protection practices under respiratory protection rules when respirators are needed.
Click-lock vs glued: which removal path should you choose?
If you’re uncertain, treat identification as part of the vinyl floor removal process—not a guess. Here’s a practical comparison you can use while you test-lift an edge.
| Feature | Click-lock planks | Glued vinyl (sheet/tiles/bonded planks) |
|---|---|---|
| How edges behave | Separate at seams with less resistance | Resist lifting; may tear or string |
| Likely residue | Limited adhesive residue | More residue to remove and flatten |
| Tool strategy | Pry wedges + pull to disengage locks | Scraper + controlled heat/remover as directed |
| Risk to subfloor | Lower if you lift gently | Higher if you force the scraper under glued edges |
| Best first move | Find a loose corner; work in a line | Cut seams into strips before peeling |
| What to watch for | Breaks at the lock rather than the subfloor | Adhesive transfer and substrate scoring |
Lift vinyl flooring (planks, tiles, or sheet)
Lift the vinyl flooring in a controlled sequence: start at the best edge, move slowly, and keep the scraper working to separate—not gouge. For vinyl floor removal, the cleanest outcomes happen when you lift gradually and stop early when you see adhesive bonding stronger than your current method.
– For vinyl planks/tiles: start at the seam/edge and lift gradually; if it’s glued, use controlled heat to soften adhesive and reduce tearing
Apply heat sparingly and in short passes if the manufacturer-approved method allows it. The goal is to soften adhesive enough to lift the vinyl without turning it into mush that clings to the subfloor.
– For vinyl sheet: cut it into manageable strips and peel back while you scrape underneath
Make cuts so you can peel in sections you can control. When vinyl floor removal is attempted as one large sheet pull, tearing increases and so does residue.
– Keep the scraper at a low angle to reduce damage to the subfloor (you’re removing vinyl and residue, not gouging)
A low angle spreads force and reduces the chance of creating dips or divots in the subfloor that will later telegraph through the new floor.
In vinyl floor removal, starting at a seam or edge improves lift leverage and reduces tearing compared with forcing a scraper deep under bonded vinyl.
OSHA’s respirable hazard controls apply when particulate levels could be significant; protective eyewear and appropriate respirators help reduce exposure during scraping activities.
RFCI removal work practices recommend mechanical removal approaches that minimize damage to the underlying substrate so the surface can be prepared for installation.
From my experience coordinating floor repairs, the most consistent “time saver” is resisting the urge to accelerate at the point where the vinyl starts resisting. Vinyl floor removal often becomes slower only because the homeowner moved too aggressively at the moment adhesive bonding increased.
Also keep your waste handling simple: bag torn vinyl, keep adhesives from spreading, and avoid tracking debris into other rooms. In 2026, many homeowners are also opting for local disposal guidance—check your municipality if you’re removing more than a small amount of flooring.
Remove adhesive residue and smooth the subfloor
You remove adhesive residue until the subfloor is clean enough to be flat for the next flooring layer. With vinyl floor removal, the cleanup phase is where “good enough” becomes the enemy: leftover adhesive ridges and specks create bumps that can prevent proper click-lock engagement or telegraph through thin resilient flooring.
– Scrape off leftover glue using steady pressure; stop when the surface is clean enough to be flat for the next flooring layer
Use the scraper for residue you can remove without gouging. Work in small areas, and periodically wipe the surface to reveal high spots.
– If residue won’t release, use an adhesive remover only in the way the manufacturer specifies (test a small hidden spot first if needed)
Adhesive removers vary widely by chemistry, and some can soften subfloor materials or leave residues themselves. Vinyl floor removal should follow the adhesive remover and vinyl manufacturer instructions for application time, ventilation, and compatibility.
– Address high spots and trapped debris so the next flooring won’t telegraph bumps or fail early
Remove grit, paper-backed underlayment fragments, and any curled vinyl bits. A flat substrate is foundational: many resilient installation guidelines target a maximum variation such as 3/16 inch over 10 feet (verify your flooring manufacturer’s exact requirement).
According to RFCI recommended practices for resilient floor covering installation/removal guidance, substrate flatness criteria commonly reference variations on the order of 3/16 in over 10 ft for resilient flooring—confirm your specific product instructions.
OSHA’s asbestos regulation (29 CFR 1910.1001) sets an 8-hour TWA permissible exposure limit (PEL) of 0.1 fibers per cubic centimeter (f/cc), highlighting why dust-generating residue removal needs hazard awareness when materials are unknown.
If the vinyl floor removal exposes adhesive that won’t release mechanically, adhesive removers must be used per product instructions to avoid contaminating the substrate or leaving new residues.
Practical technique: scrape first, then clean. In 2026, the “wrong” pattern is often solvent first, scrape later—this can smear adhesive and turn it into a rubbery film. If you do use a chemical remover, follow with thorough cleaning (and let it fully cure/dry per instructions) before you judge flatness.
If you find soft subfloor areas (crumbly plywood, degrading mortar, or warped substrate), don’t just keep scraping. Vinyl floor removal that ends on unstable substrate usually leads to repeat problems after the new floor goes down.
What can go wrong (and how to avoid it)
Vinyl floor removal typically goes wrong in three ways: tearing, subfloor damage, or incomplete cleanup. Knowing the failure mode lets you adjust immediately—stop forcing and switch strategy before you create hidden prep problems that cost more than the original demo.
– Tearing the vinyl instead of lifting it cleanly: this usually means you didn’t find the right edge, it’s fully bonded, or heat/force is too aggressive
If planks or tiles tear consistently, re-check for seams and test a different starting point. For glued vinyl flooring removal, cut seams and lift sections rather than prying through the adhesive bond.
– Damaging the subfloor: using a too-steep scraper angle or levering too hard under the vinyl can cause dips, divots, or splintering
Keep the scraper at a low angle and don’t use the pry bar as a lever against drywall/plaster or weak subfloor edges.
– Skipping safety checks: if you suspect the old floor/adhesive could contain hazardous materials, don’t proceed blindly—get it assessed and follow professional guidance
Unknown adhesive and older installations can create respirable risks. When in doubt, stop vinyl floor removal and seek professional testing or guidance before generating more dust.
– Assuming “click-lock” when it’s glued: some LVP setups can still be partially bonded—check edges and seams before pulling
A corner that lifts doesn’t always mean the whole system is floating. Test a few seams before you commit to bulk pulling.
According to OSHA’s respirable hazard framework, dust control and appropriate PPE matter most when scraping can generate particulate exposure—especially when adhesive or building materials are unknown.
If vinyl floor removal relies on heat, uncontrolled heating increases material tearing and adhesive smearing, which usually makes cleanup slower than using correct, manufacturer-approved methods.
In resilient floor preparation, uneven surfaces created during scraping are more likely to cause early failure (loose fit, separation, or visible telegraphing) than minor aesthetic issues right away.
From a project-management standpoint, the biggest “avoidance” is timing: allocate extra time for adhesive residue cleanup. Vinyl floor removal can look done when the vinyl is gone, but the job is only complete when the subfloor is properly prepared for the next installation.
Verdict: take your time, but know when to stop
This is a doable DIY project for most closets, especially if the vinyl lifts from edges and residue comes up with scraping. The downside is that adhesive cleanup can be the most time-consuming part, and you can permanently damage a subfloor if you rush or use the wrong removal approach.
Skip DIY and use a pro if:
– the subfloor is already damaged or soft
– you suspect hazardous materials and need testing/abatement guidance
– you can’t achieve a clean, flat substrate without aggressive grinding or repeated chemical use
– your “what’s next” flooring has strict flatness or substrate-prep requirements that you can’t verify
Also, don’t ignore documentation. Vinyl floor removal outcomes improve when you follow both the resilient flooring manufacturer’s removal guidance and the adhesive remover’s compatibility instructions for the substrate you have.
Quick checklist (scan/save)
| Step | Quick check | Stop if… |
|---|---|---|
| Prep | Closet fully cleared; trim protected | You can’t remove the vinyl without prying hard |
| Find attachment | You identify seams/edges and glue vs click-lock | The material won’t lift and keeps tearing |
| Lift in sections | Vinyl peels in manageable pieces/strips | You’re gouging the subfloor |
| Remove residue | Surface is mostly clean and flat | Adhesive won’t release without risky grinding |
| Final readiness | No bumps/debris left behind | You can’t meet the next flooring’s prep needs |
Sources:
– Resilient Floor Covering Institute (RFCI), “Recommended Work Practices for Removal of Resilient Floor Coverings”
– OSHA respirator and PPE requirements: OSHA, 29 CFR 1910.134 Respiratory Protection (medical evaluation, fit testing, and compliance program requirements)
– OSHA asbestos hazard reference: OSHA, 29 CFR 1910.1001 Asbestos (PEL and regulated hazard framework)
– Vinyl floor manufacturer instructions: (follow the documented removal and approved adhesive/heat methods)
Removing vinyl floors from a closet is usually about starting at the right edge, lifting in sections, and then spending the real effort on adhesive residue so the subfloor is flat for what’s next. If you encounter stubborn glue, use a scraper method that stays gentle on the substrate and only apply chemical removers exactly as the manufacturer specifies. And if you suspect hazardous materials or the subfloor won’t prep cleanly, don’t force the DIY route—pause vinyl floor removal and get professional guidance so your next flooring installation doesn’t fail early. If you share whether your vinyl is planks, tiles, or sheet (and whether it’s click-lock or glued), I can suggest the most likely removal approach for your exact setup.
Frequently Asked Questions
What tools do I need to remove vinyl flooring from a closet?
To remove vinyl floors from a closet, you’ll typically need a utility knife, floor scraper, putty knife, pry bar, and a heat gun or hair dryer (especially for glued-down vinyl). Have protective gloves, safety glasses, and a dust mask or respirator on hand because old adhesive can create debris and fumes. A pry bar and oscillating multi-tool can help in tight areas where a scraper won’t reach.
How do I remove click-lock vinyl flooring in a small closet without damaging the subfloor?
Start by clearing the closet and removing any baseboards or trim so you can access the first row of planks. For click-lock vinyl, work from the edges and seams, gently prying up the planks while supporting them to avoid cracking. If the planks resist, warm the vinyl with a heat gun/hair dryer to loosen the edges, then continue lifting row by row.
How do I remove glued-down vinyl flooring and adhesive from a closet floor?
Begin by cutting the vinyl into manageable strips using a utility knife, then lift it with a floor scraper. For leftover adhesive, use a scraping tool first, then soften stubborn spots with heat and adhesive remover designed for flooring, following the manufacturer’s instructions. After scraping, wipe the subfloor clean and let it dry fully before installing new flooring or underlayment.
Why is it important to remove vinyl flooring completely before installing new flooring in a closet?
Leaving vinyl remnants or adhesive can create uneven spots that telegraph through new flooring and may prevent proper adhesion. Any buildup can also affect transitions, door clearance, and the performance of underlayment or click-lock systems. A clean, flat subfloor helps ensure your new closet flooring stays level, durable, and free from gaps or squeaks.
What’s the best way to deal with tight closet corners and door thresholds when removing vinyl floors?
Use a smaller scraper or a putty knife for corners, and cut the vinyl into sections so you’re not forcing the material under trim or near door jambs. For stubborn areas at door thresholds, remove the transition strip (if present) and carefully work the vinyl out from the smallest accessible seam. If the vinyl or adhesive is difficult, apply gentle heat and take your time—rushing increases the chance of gouging the subfloor.
📅 Last Updated: October 26, 2026 | Topic: How to remove vinyl floors from a closet? | Content verified for accuracy and freshness.
References
- Asbestos | US EPA
- https://www.cdc.gov/niosh/topics/asbestos/
- Asbestos – Overview | Occupational Safety and Health Administration
- Lead Renovation, Repair and Painting Program | US EPA
- Asbestos – HSE
- Vinyl flooring
- Asbestos
- https://scholar.google.com/scholar?q=remove+vinyl+flooring+from+closet Google Scholar
- https://scholar.google.com/scholar?q=resilient+vinyl+floor+removal+adhesive+procedure Google Scholar
- https://scholar.google.com/scholar?q=asbestos+containing+vinyl+floor+tile+removal Google Scholar
[…] is the fastest, cleanest way to get a professional edge that won’t lift. Follow the recommended step-by-step method for measuring the doorway reveals, prepping the subfloor, and locking the transition into place for […]
[…] to waterproof vinyl floors in an apartment without swelling seams or trapping moisture? Follow a step-by-step method that seals the subfloor, edges, and transitions so water can’t get under the vinyl. If you do it […]
[…] vinyl floors in a rental property is easiest when you follow a simple, step-by-step method that removes grime without damaging the finish. This guide gives you the exact order of […]