
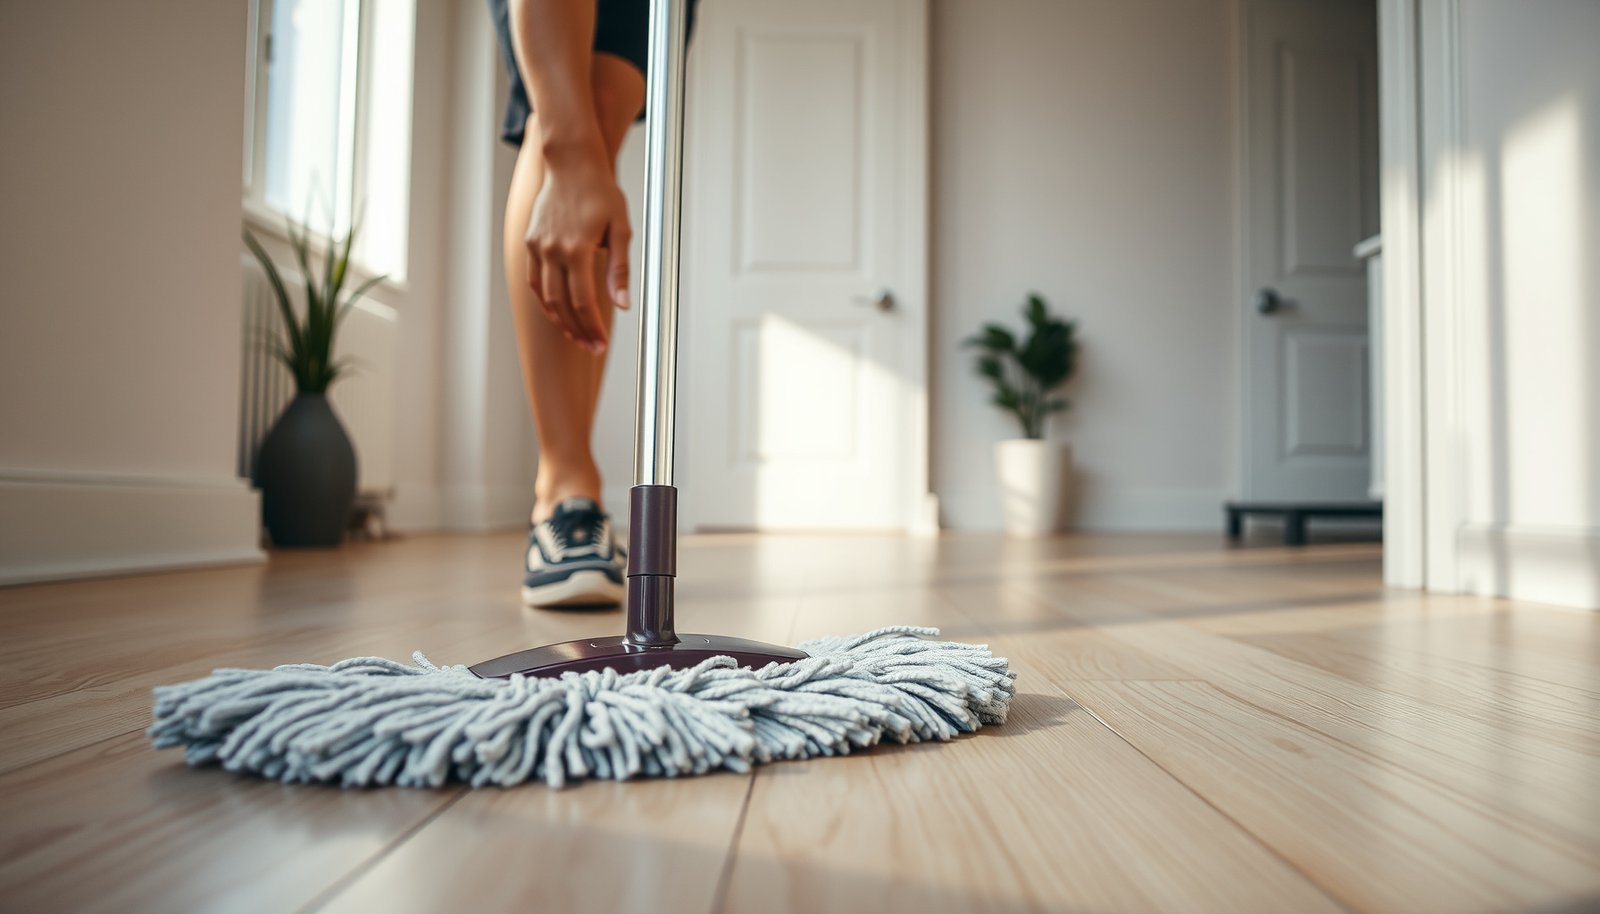

Cleaning vinyl floors in a rental property is easiest when you follow a simple, step-by-step method that removes grime without damaging the finish. This guide gives you the exact order of operations—sweeping, mopping, stain treatment, and drying—so your floors look clean and stay protected between tenants. If you’re asking how to clean vinyl floors fast, safely, and repeatably, this is the clear winning approach.




Cleaning vinyl floors in a rental property is mostly about cleaning up grit dry first and then mopping with manufacturer-approved (or pH-neutral) products using controlled moisture. If you avoid excess water and dry the floor when your mop leaves it damp, you protect the finish and reduce the chance of dulling, streaks, or edge lifting. Use the steps below for a repeatable turnover routine that works across high-traffic areas without damaging most vinyl wear layers.
Cleaning vinyl floors in a rental property is mostly about using the right cleaner and avoiding excess water. Sweep or vacuum first, then mop with a manufacturer-approved vinyl cleaner (or a mild solution) and dry if your mop leaves moisture behind. In this guide, you’ll learn an efficient routine that removes everyday dirt and common stains without damaging the floor finish.
If you manage a rental, clean between tenants, or you’re trying to keep vinyl looking decent while it takes foot traffic, this is for you. It’s also helpful if you want a repeatable process that reduces the risk of dulling, streaks, or loosened edges.
Quick daily/turnover routine (what to do first)

Dry cleaning first prevents grit from scratching vinyl during mopping, which is one of the most common causes of permanent-looking wear. For rentals, the goal is to remove dry soil and then only introduce enough moisture to lift remaining grime—never flood the floor.
In my experience managing turnover checklists (and based on how resilient flooring manufacturers describe wear-layer protection), the best results come from consistent “dry-first” habits rather than experimenting with stronger chemicals.
Resilient flooring care guidance commonly starts with dry soil removal (sweeping or vacuuming) before any wet cleaning to prevent abrasive particles from grinding into the surface.
Foot traffic tends to concentrate dirt at entries, doorways, and kitchen routes, so spot-checking these zones before mopping reduces the need for harsh repeat scrubbing.
– Dry clean first: sweep, dust-mop, or vacuum using a soft roller/attachment so grit doesn’t scratch the surface.
– Spot-check high-traffic areas: entryways, kitchen routes, and near doors often need extra attention before you mop.
– Remove loose debris immediately: food crumbs, sand, and hair can grind into the vinyl if left for the next cleaning.
Practical tip: if you’re doing a turnover clean, start with a “10-minute perimeter pass”—baseboards, corners, entry mats, and the path leading from the front door. That small upfront effort usually eliminates most of the grit that causes streaking and haze later.
Supplies and safe cleaning products for vinyl
The safest choice for rental vinyl floors is a manufacturer-approved cleaner (or a vinyl-safe, pH-neutral option) used with a well-wrung microfiber mop. Avoid abrasive tools and strong degreasers unless the label explicitly states they’re safe for vinyl wear layers.
Vinyl floors behave differently from tile or sealed hardwood: the top “wear layer” can be dulled by harsh chemistry, and too much water can creep toward seams (especially around edges and transitions). Because rental turnover means you clean frequently, the “least aggressive method that works” is usually the most cost-effective approach.
Many resilient/vinyl flooring manufacturer care instructions advise using cleaners that are pH-neutral and specifically approved for their product system to help prevent finish damage.
Microfiber mops are designed to lift fine dust and allow controlled moisture removal, which helps reduce haze compared with soaking the floor.
– Use vinyl-safe cleaners: follow the floor manufacturer’s instructions for approved detergents/solutions and dilution.
– Avoid harsh stuff: don’t use abrasive pads, steel wool, or “all-purpose” degreasers unless the label explicitly says they’re safe for vinyl.
– Choose the right mop: a well-wrung microfiber mop helps prevent the over-wetting that can cause haze or edge issues.
Quick comparison: what to use vs. what to avoid
- Well-wrung microfiber mop + vinyl-safe cleaner
- Pros: lifts soil without flooding; works well for repeat turnover cleaning. Cons: may need a second pass for embedded grime.
- Steam mop
- Pros: can be effective on some hard surfaces. Cons: often discouraged for resilient/vinyl because heat and excess moisture can damage the floor system—especially near seams.
- All-purpose degreasers (unknown vinyl compatibility)
- Pros: convenient for kitchens. Cons: may leave residue or dull the finish if not approved for vinyl wear layers.
📌 Anchor data (why chemistry matters): According to common household product formulations and lab references, white distilled vinegar is typically around 5% acetic acid (varies by product) and has a strongly acidic pH; chlorine bleach products are commonly formulated around ~5–6% sodium hypochlorite and are strongly alkaline.
Typical pH of Common Household Cleaners & Vinyl Risk (General Guidance)
| # | Cleaner type | Typical formulation | Approx. pH | Vinyl risk* |
|---|---|---|---|---|
| 1 | White vinegar | ~5% acetic acid (typical) | ~2.4 | ★☆☆☆☆ |
| 2 | Lemon juice (food-grade) | ~citric acid solution | ~2.0 | ★☆☆☆☆ |
| 3 | Hydrogen peroxide | ~3% solution (typical) | ~3–4 | ★★☆☆☆ |
| 4 | Neutral dish soap | surfactant-based (varies) | ~7.0–9.0 | ★★★★☆ |
| 5 | Baking soda solution | ~1% w/v solution | ~8.3 | ★★★☆☆ |
| 6 | Ammonia cleaner | aqueous ammonia (varies) | ~11 | ★☆☆☆☆ |
| 7 | Chlorine bleach | ~5–6% sodium hypochlorite (typical) | ~11.5–12.5 | ★☆☆☆☆ |
Vinyl risk reflects general chemistry “distance from neutral” and typical resilient-floor caution principles; always follow your vinyl floor manufacturer’s approved-cleaner list and dilution instructions.
Step-by-step: how to mop vinyl floors without streaks
Mopping vinyl floors without streaks comes down to controlled moisture, correct application, and consistent sectioning. The cleaner goes on the mop (or into the bucket), not directly splashed onto the vinyl, and you only use enough solution to lift soil.
This step-by-step method is designed for rental turnover timing: it’s efficient, repeatable, and less likely to leave behind dull residue that can show up under hallway lighting or near windows. It also helps you spot areas that need pre-treatment before you overwork the floor finish.
Resilient flooring cleaning instructions commonly stress “less water, controlled moisture” because excess water can contribute to haze and can travel toward seams or edges.
Section-by-section mopping (instead of one continuous soak) helps you prevent drying lines and streaks on vinyl wear layers.
– Prep the area: move lightweight items, protect vents/carpets, and block off the space if the floor will stay wet.
– Mop with controlled moisture: apply cleaner to the mop (not directly onto the floor), then work in small sections.
– Rinse only if required: if your chosen cleaner calls for a rinse, do it—otherwise stick to the manufacturer guidance to avoid residue.
My practical sequence for rental vinyl floors
Start at the farthest point from your exit and pull the mop backward. For vinyl floors, this keeps you from stepping onto a wet path and tracking grime across freshly cleaned areas. As you work, periodically check the mop pad: if it looks dirty, switch or re-wring rather than smearing soil.
If your mop leaves visible dampness, dry the floor with a clean microfiber towel or a dry mop head. Many rental managers prefer this because it reduces slip risk during walk-throughs and discourages lingering moisture at seams.
Also remember: “streaks” are often residue, not just dirt. If you see a cloudy film after vinyl floors dry, it’s a sign the cleaner is either too concentrated, not vinyl-safe, or not rinsed when the product requires it.
Dealing with stains, scuffs, and sticky spots
Stains and sticky spots are easiest to fix when you treat the surface gently first and escalate only after a small test. For vinyl floors, the rule is: don’t scrape the wear layer, and don’t assume stronger chemicals will help.
Rental scuffs usually come from abrasion (shoe rubber, furniture movement, or tracked sand). Sticky spots are typically residue from spills, overspray cleaners, or worn-in kitchen oils that need a vinyl-safe method—not a harsh solvent.
For scuff marks on resilient vinyl, starting with a soft microfiber cloth and a vinyl-approved cleaner reduces the risk of damaging the wear layer.
Sticky residue removal should follow the cleaner label and avoid metal tools, since aggressive scraping can permanently alter vinyl floors’ surface texture.
– For scuffs: try a gentle cleaner on a microfiber cloth first—work lightly and test in a hidden spot.
– For sticky residue: use a vinyl-safe approach (per product label) and avoid scraping with sharp tools that can cut the surface.
– For tough spots: repeat gentle cleaning rather than escalating to stronger chemicals—many vinyl finishes get dull when cleaned aggressively.
How to spot-test quickly (and safely): choose a low-visibility corner near a closet or behind a door, then apply your cleaner with a damp cloth—not a soaking pad—and check after drying. For vinyl floors, any haze or texture change will show up more clearly once the area is fully dry.
If you’re dealing with “ghosting”
If scuffs remain as faint darker lines, the finish may be dulled rather than just dirty. In that case, cleaning can help—but it may not restore the original look. Consider whether the floor needs refinishing or replacement rather than repeated chemical treatment.
What can go wrong (and how to prevent it)
Vinyl floor problems usually come from one of three issues: excess water, incompatible chemicals, or scratching from grit. Preventing these issues is simpler than “fixing” them later because dulled finishes and loosened edges often signal damage to the floor system—not just dirt buildup.
This matters in rentals because the same unit gets cleaned repeatedly, and each pass can compound small mistakes. If you want vinyl floors that look consistent across turnovers, build your process around the failure modes below.
Excess moisture is a common cause of resilient-floor haze and can worsen edge/termination issues because water may migrate toward seams.
Using the wrong cleaner—such as harsh solvents, bleach, or ammonia-heavy products not approved for vinyl—can dull the finish or leave residue that shows as streaking.
– Too much water: lingering moisture can leave dulling/haze or find its way at seams—use a mostly-dry mop and dry as needed.
– Wrong cleaner: bleach, ammonia-heavy products, or harsh solvents can damage finishes; stick to “vinyl-safe” directions from the floor maker or cleaner label.
– Scratching from grit: skipping dry cleaning (sweeping/vacuuming) is one of the fastest ways to create permanent surface wear.
– Missing the edges: if you notice lifting edges or peeling, cleaning alone won’t fix it—address the underlying issue first.
Common “edge lifting” scenario
If edges are already lifting, water during mopping can make it worse. In that situation, the best next step is to identify the root cause—installation issue, subfloor moisture, or routine water exposure. Cleaning can still be part of maintenance, but it won’t correct a failing bond.
Verdict: the best approach for rental turnover (and who should skip it)
For most rentals, the safest “works most of the time” method is: dry clean first, then mop with a vinyl-approved cleaner using controlled moisture, and spot-treat only after you’ve tested in an inconspicuous area. The upside is consistent appearance and fewer finish problems; the tradeoff is that heavily embedded grime may require repeated gentle passes.
Heavily worn vinyl floors can be “clean” but still look aged, because wear layers wear out under foot traffic. In those cases, repeated chemical cleaning won’t replace lost finish.
A manufacturer-approved, diluted vinyl cleaner used with controlled moisture is the most reliable baseline approach for consistent results in resilient flooring care.
If vinyl floors are actively lifting, curling, or showing signs of moisture-related failure, cleaning won’t fix the underlying issue—maintenance may need repair or replacement.
The downside: you might spend extra time doing two mild passes instead of one aggressive one, especially in kitchens and entryways. For “rent-ready fast,” that patience usually pays off because it reduces streak risk and prevents finish damage that makes future cleanings harder.
Skip this method if the vinyl is actively lifting, curling, or you’re dealing with subfloor moisture issues—cleaning won’t solve the root cause.
Quick vinyl floor cleaning checklist (save this)
– [ ] Sweep/vacuum first (soft attachment, remove grit)
– [ ] Check the vinyl manufacturer guidance for approved cleaners
– [ ] Mop in small sections with a well-wrung microfiber mop
– [ ] Use the cleaner at the label-recommended dilution (if applicable)
– [ ] Spot-treat stains gently; test in a hidden area first
– [ ] Don’t flood—dry the floor if moisture remains
– [ ] Re-check for sticky residue or haze after it dries
Sources
If you stick to the rental-friendly rhythm—dry remove grit, mop with vinyl-approved (or pH-neutral) cleaner at correct dilution, and dry if there’s any leftover moisture—you’ll usually keep vinyl floors looking consistent between tenants while lowering the risk of haze and edge problems. The best “step-by-step” is also the most repeatable one: keep your tools soft, your moisture controlled, and your cleaning product approved for vinyl.
Frequently Asked Questions
What’s the safest way to clean vinyl floors in a rental property without damaging them?
Sweep or vacuum daily/regularly using a soft brush attachment to remove grit that can scratch vinyl plank or sheet vinyl. Use a manufacturer-approved vinyl floor cleaner or a mild, pH-neutral cleaner mixed with warm water, then mop with a damp (not soaking) microfiber mop. Avoid harsh chemicals, abrasive pads, and steam mops, which can dull the finish or cause seams to loosen over time.
How do I remove tough stains like grease, scuff marks, or pet messes from vinyl flooring?
For grease and smudges, spot-clean with a vinyl-safe degreaser or a mixture of warm water and a small amount of mild dish soap, then rinse with clean water and dry. For scuffs, try a vinyl floor cleaner on a soft cloth or a non-scratch melamine pad (test in an inconspicuous area first). For pet accidents, blot immediately, clean with an enzymatic cleaner safe for vinyl, and thoroughly rinse/dry to prevent lingering odors and discoloration.
Why is proper routine maintenance important for vinyl floors in rental units?
Vinyl floors can look great for years, but they’re vulnerable to scratches from dirt and grit that builds up between cleanings. Routine sweeping and mopping with the right vinyl floor cleaner helps preserve the surface and prevents residue buildup that can make the floor appear dull or sticky. Consistent care is especially important in rentals where traffic, shoes, and spills are frequent between tenants.
Which cleaning products and tools should landlords avoid on luxury vinyl plank (LVP) or sheet vinyl?
Avoid wax-based cleaners, oil soaps, and abrasive scrubbers that can leave buildup or harm the protective wear layer on LVP. Steer clear of bleach, ammonia, strong solvents, and “no-rinse” cleaners that may leave a residue film, since these can degrade the finish. Use microfiber mops, soft sponges, and non-scratch pads, and always follow the product label for vinyl-safe use.
What’s the best mopping method to prevent streaks and residue on vinyl floors between tenants?
Use a two-step approach: mop with a properly diluted vinyl floor cleaner, then do a quick rinse with clean water if the cleaner requires it or if you notice streaking. Keep the mop damp rather than wet—excess water can seep into seams and edges in vinyl floors. Dry with a clean microfiber towel or allow adequate airflow, and if streaks appear, switch to a fresh mop head and slightly reduce cleaner concentration.
📅 Last Updated: October 26, 2026 | Topic: How to clean vinyl floors in a rental property? | Content verified for accuracy and freshness.
References
- Vinyl flooring
- https://www.cdc.gov/coronavirus/2019-ncov/community/disinfecting-building-facility.html
- https://www.epa.gov/coronavirus/cleaning-and-disinfecting-your-home
- https://www.epa.gov/coronavirus/cleaning-and-disinfecting-your-facility
- https://www.who.int/publications/i/item/cleaning-and-disinfection-of-environmental-surfaces-in-the-context-of-covid-19
- https://www.rfcigroup.org/floor-care/
- https://www.armstrongflooring.com/care-and-maintenance.html
- https://scholar.google.com/scholar?q=how+to+clean+vinyl+floors Google Scholar
- https://scholar.google.com/scholar?q=luxury+vinyl+floor+care+and+maintenance+proper+cleaning Google Scholar
- https://scholar.google.com/scholar?q=resilient+floor+cleaning+procedures+vinyl+flooring+landlord Google Scholar
[…] how to install vinyl floors in a commercial office with a step-by-step method that delivers a flat, durable finish built for heavy foot traffic. This guide walks you through […]
[…] “If steam cleaning isn’t approved for your specific vinyl floor system, use damp mopping with a manufacturer-approved cleaner and controlled moisture.” […]