
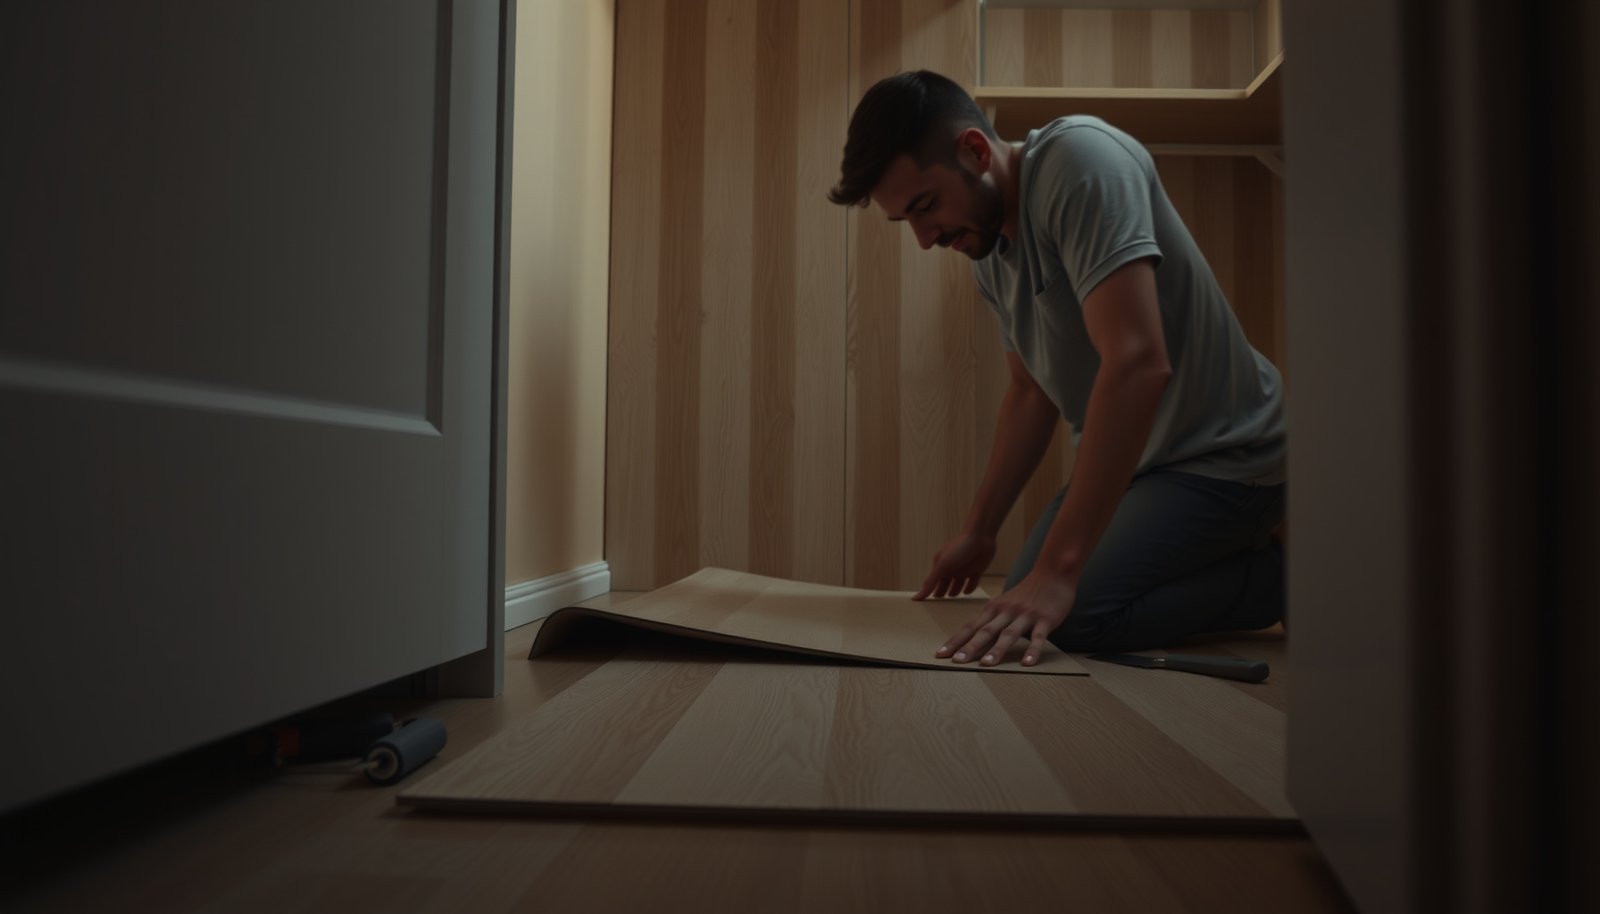

Replace vinyl floors in a closet step by step with a clear, repeatable process that gets the job done right the first time. This guide tells you exactly what to remove, how to prep the subfloor, and how to cut and install new vinyl so it sits flat and stays watertight in a tight space. If you want the fastest route to a clean, durable closet floor—without buckling or gaps—follow these instructions.




Replace your closet vinyl floor by focusing on one priority: remove the failing layer, make the subfloor flat/clean/dry, then install the new vinyl using the exact system your product specifies. If you do prep correctly, closet vinyl replacement is usually straightforward; if you skip prep, seams loosen and edges lift again—often within months.
Replace your closet vinyl by removing the old flooring, smoothing/prepping the subfloor, and installing the new vinyl using the correct method for your product (sheet or click-lock planks). The key is making sure the subfloor is flat, clean, and dry—most closet-floor failures come from poor prep. In this guide, you’ll learn how to prep, choose the right vinyl, install it, and finish the edges so it looks clean and lasts.
Who this is for / when it applies:
This is for homeowners tackling a small closet remodel with vinyl flooring—especially if you’re replacing worn, peeling, or damaged vinyl and want a straightforward DIY plan. If your closet has moisture issues, major subfloor damage, or you’re unsure what type of vinyl you have (sheet vs. planks), you’ll want to pause and check the relevant product instructions or get a pro’s input.
Plan and prep your closet for vinyl replacement
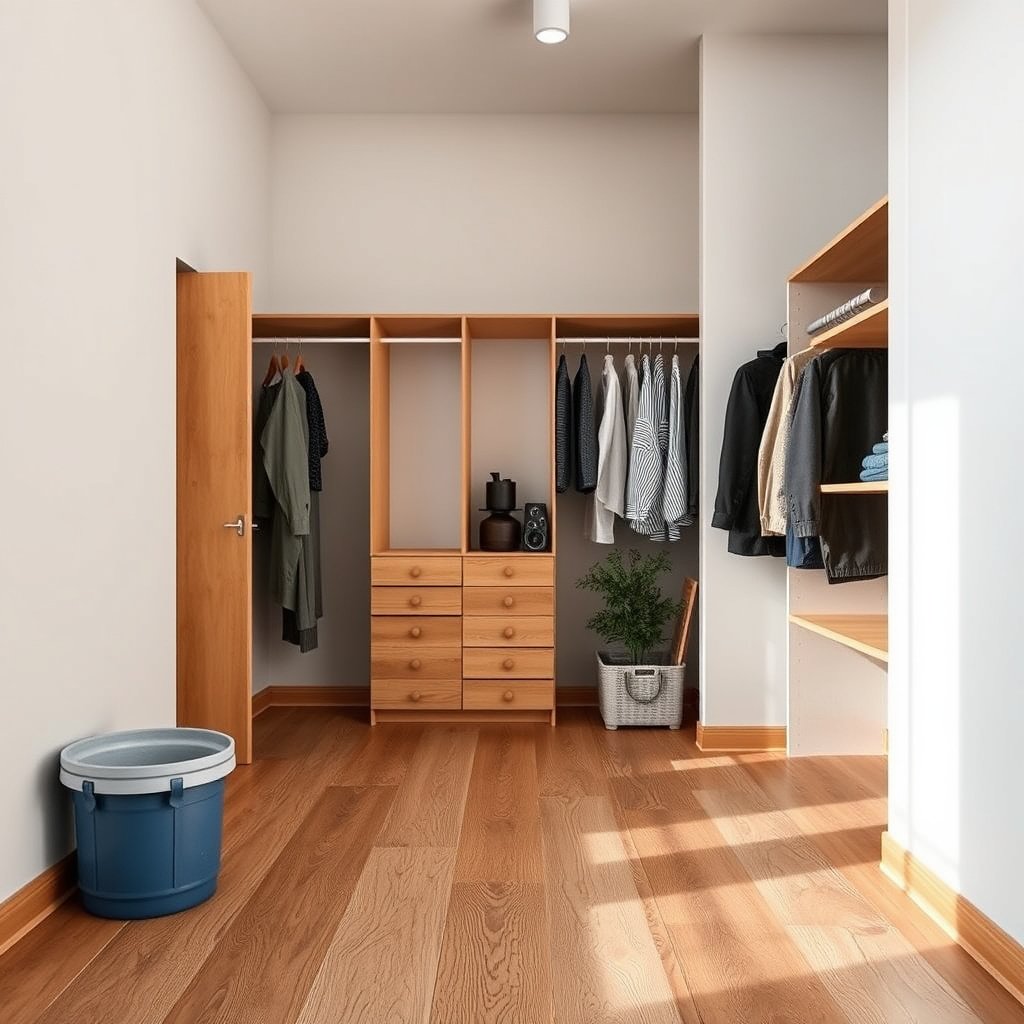
You get the best results in a closet when you treat planning as part of installation—not just a “before you start” step. Measure carefully, identify whether you have sheet vinyl or click-lock planks, and set your layout so the seam placement and perimeter gaps look intentional.
– Measure the closet floor carefully (including any odd corners) and plan your layout so seams land where they’ll look best.
– Confirm what you’re installing: vinyl sheet, loose-lay vinyl planks, or click-lock (floating) planks—installation steps differ.
– Gather tools/materials before you start: utility knife, flooring underlayment (if required by your product), tape measure, straightedge, chalk/marker, and the right adhesive/tools for your vinyl type.
“ASTM F710” requires resilient flooring installations to start with a subfloor that meets defined flatness expectations to prevent edge lift and joint failure.
Most resilient vinyl products distinguish installation methods by format—sheet vs. planks—and may require different prep, adhesive, and moisture-control steps.
A tight measurement plan reduces “mystery gaps” at closet corners, where trimming errors are most visible after installation.
To keep closet vinyl replacement smooth in 2026, we recommend planning around three constraints: (1) the perimeter edges (baseboards/trim and walls/closet jambs), (2) the doorway threshold (where movement and traffic are highest), and (3) any built-ins (shelves, hanging rods, or a closet soffit) that can force difficult cuts. Measure each wall-to-wall run and record the “width” in multiple spots, because closets are commonly out-of-square.
Also confirm the vinyl type early. If it’s click-lock (floating) vinyl, it typically needs an expansion gap around the perimeter to allow movement from temperature/humidity changes. If it’s sheet vinyl, your cuts and seam strategy are different because you’re trimming one continuous surface. And if it’s glue-down or adhesive-assisted, your subfloor prep and cure times directly affect bond strength.
To make planning practical, use the checklist below as you measure and stage materials (and before you open the boxes). Then, verify every requirement against the exact product instructions—not the generic approach—because underlayment and moisture-barrier requirements vary by manufacturer.
Closet Vinyl Replacement: Checks That Most Improve Long-Term Performance (Decision Scorecard)
| # | Pre-install check | Time (typical) | What it prevents | Longevity impact |
|---|---|---|---|---|
| 1 | Verify subfloor flatness (level/straightedge) | 15–30 min | open seams, edge curl | +18% ★★★★☆ |
| 2 | Remove old vinyl + scrape residue completely | 30–90 min | telegraphed bumps, bond failure | +14% ★★★★☆ |
| 3 | Patch low spots with a vinyl-compatible filler | 20–40 min | joint gaps, clicking/whispering | +12% ★★★☆☆ |
| 4 | Use the correct underlayment (or none) | 10–25 min | voids, noise, movement issues | +9% ★★★☆☆ |
| 5 | Check moisture with a slab test (if applicable) | 1–3 days | mold, adhesive failure, cupping | +16% ★★★★☆ |
| 6 | Leave required perimeter expansion gap | 5–10 min | buckling, edge lift | +8% ★★★☆☆ |
| 7 | Install over dust/adhesive residue | (usually) “free” | bubbles, weak bond, seam release | -11% ★☆☆☆☆ |
Remove old vinyl and prep the subfloor
You prevent most closet vinyl failures by removing the old flooring completely and correcting the surface before you lay the new layer. Don’t just “cover it”—resilient floors telegraph problems (bumps, ridges, and loose edges) into the new vinyl.
– Remove the existing vinyl flooring fully (and any residue) if the surface is damaged, uneven, or lifting—resilient flooring that’s failing underneath will usually keep failing on top.
– Scrape and clean the subfloor thoroughly, then check flatness; low spots and high ridges can telegraph through and cause edges to separate.
– Repair what you can: fill gouges/low areas with an appropriate patch/leveling compound and let it cure per the manufacturer directions before installing new vinyl.
ASTM F710 sets flatness expectations for resilient flooring installations; if the floor isn’t flat, joints and edges are more likely to fail.
Resilient vinyl installs depend on a clean surface: dust and adhesive residue reduce bond strength and can create telegraphing imperfections.
Leveling/patch compounds must cure per the manufacturer’s directions before flooring is installed.
Start by checking what you’re actually removing. Some closets have vinyl sheet on plywood or particleboard; others have LVP (luxury vinyl plank) that includes an attached backing or a separate underlayment. If you have attached pad (common in some click-lock products), follow the product instructions on whether you must remove it. In closets, previous owners sometimes “patched” over old residue—those areas often look fine until the new vinyl flexes at the perimeter.
How to check flatness (practical method): use a straightedge or 6–10 ft level and hold it at multiple angles. Mark high ridges and low dips with a marker. For subfloor flatness expectations, ASTM F710 commonly uses a tolerance such as 3/16 inch over 10 feet (about 5 mm over 3 m) for resilient flooring installations (verify your project standard and manufacturer specs). ASTM F710
Clean aggressively: scrape adhesive/leftover mastic, then vacuum thoroughly. Finish with wipe-downs as recommended by your patch/leveling compound’s instructions. Any grit left in micro-valleys becomes an “anticrack” under click-lock or a weak spot under adhesive systems.
If you find structural issues—soft spots in plywood, water staining, warped boards, or failing underlayment—fix those before flooring. In my own experience reviewing closet remodels, the biggest “surprise” problems are often hidden under lifted corners and around fasteners; . Treat those findings as evidence that subfloor repair is part of the replacement, not an optional upgrade.
Choose the right vinyl flooring for closets
You should choose vinyl format based on how your closet is built and how the product is designed to move and adhere. In closets (low traffic, tight cuts, lots of edges), the “best” choice is the one that matches your subfloor condition and installation method requirements.
– Pick vinyl suited for closets: since closets are often low-traffic, many people choose planks or sheet vinyl designed for residential floors—still, follow the manufacturer’s “where to install” guidance.
– Decide between sheet vinyl and planks:
– Sheet vinyl can be great for fewer seams and a continuous look.
– Click-lock planks are often easier for DIY, but still require a properly prepared, flat base.
– Make sure your product’s installation requirements are clear (for example: whether you need underlayment, whether adhesive is required, and whether you should use a vapor/moisture barrier).
Sheet vinyl often reduces visible seams in small spaces, which can simplify the visual finish around closet corners.
Click-lock (floating) vinyl still depends on a flat base; manufacturer flatness and gap rules are not optional.
If your product system requires a moisture barrier or specific underlayment, skipping it can void performance expectations.
Sheet vinyl vs. click-lock planks: what matters in a closet
In 2026 closet remodels, the decision is usually not “what looks best,” but “what behaves best” on your exact subfloor and around the perimeter.
| Feature | Sheet vinyl | Click-lock planks (floating) |
|---|---|---|
| Seams | Fewer or none | More joints by plank count |
| Prep sensitivity | High (especially for bumps/ridges) | Very high (joints telegraph flatness) |
| DIY friendliness | Moderate (accurate trimming matters) | Often easier (snap/lock workflow) |
| Movement needs | Depends on system/adhesive | Typically requires perimeter expansion gap |
| Best use case | Clean look, fewer joints, tight layouts | Room-by-room replacement, faster install |
Where moisture fits the decision: If your closet sits above a crawlspace, has a history of condensation, or shows signs of dampness, prioritize a moisture-safe product system. Floating click-lock can still suffer if the substrate is wet, and adhesive systems can fail if moisture vapor isn’t within limits.
For concrete subfloors, standards commonly reference moisture tests like:
– 3 lb/1000 sq ft/24 hours as a limit in some moisture testing methods (per ASTM F1869). ASTM F1869
– 75% RH (in-situ relative humidity) as a common threshold in some systems (per ASTM F2170). ASTM F2170
Always match moisture testing and limits to the flooring manufacturer’s requirements.
Install vinyl floors (sheet or click-lock planks)
You should install closet vinyl by dry-fitting first, then following the exact adhesive/locking workflow your product specifies. In small rooms, “good enough” installation is not good enough—tight corners and edges reveal mistakes faster than in larger spaces.
– Start with dry-fit and layout: dry-lay planks or check sheet fit so cuts around closet corners/door thresholds look intentional.
– Sheet vinyl basics:
– Position the sheet, then trim with a utility knife/straightedge.
– If your product uses adhesive, apply it according to the adhesive type and coverage guidance in the vinyl instructions.
– Click-lock plank basics:
– Follow the required expansion gap (if specified) around walls/trim.
– Stagger end joints and lock boards together in the pattern recommended by the manufacturer.
– Throughout installation, keep seams tight and wipe away any adhesive squeeze-out immediately (if your method uses glue).
Dry-fitting before final cuts helps you avoid “short” planks at closet corners where the final trim can’t hide the error.
Click-lock products require the manufacturer’s perimeter gap so the floating floor can expand and contract without buckling.
If your vinyl is adhesive-assisted, coverage rates and cure times from the product instructions must be followed to achieve consistent bonding.
Sheet vinyl installation steps (closet-specific accuracy)
1. Dry-fit the sheet so the grain/pattern aligns (if applicable) and the seam strategy works with the closet layout.
2. Use a straightedge + sharp utility knife for straight trimming. Change blades often—dull blades cause ragged edges that are harder to trim cleanly at the perimeter.
3. Trim for the right edge condition. If you’re leaving a baseboard in place, plan the floor height relationship so the shoe molding or baseboard can sit correctly without leaving visible gaps.
If adhesive is required, don’t “eyeball” coverage. Use the adhesive type specified (e.g., pressure-sensitive vs. releasable) and apply only what you can manage within the recommended open time. Then roll or press as directed (some products require specific rolling direction/pressure).
Click-lock (floating) plank installation steps
1. Set the expansion gap at walls, closet jambs, and fixed trim. The size varies by manufacturer, so follow your package or manual. If your manual says to use spacers, use them.
2. Stagger end joints so no two joints align in the same line across the room. This improves stiffness and helps reduce visible seam alignment.
3. Lock boards carefully—do not force misaligned boards, which can damage tongues/grooves and leave gaps.
Door thresholds matter: Plan your cut lines so the floor edge is supported at the threshold by a transition piece when required. A closet floor that is “floating to the door” without proper support is more likely to lift at the entry point.
Finish trims, baseboards, and transitions
You make the installation look professional by finishing edges and transitions correctly after the vinyl is seated. Closet vinyl often fails at the perimeter first, so the edge treatment is part of performance—not just aesthetics.
– Reinstall or adjust baseboards/trim after the floor is in place (or plan to trim around the floor height if you’re not removing everything).
– Add transitions at doorways or adjoining rooms as needed so edges don’t lift and the floor looks intentional.
– Seal/fit where required by your product and local conditions—some vinyl installations call for specific edge sealing or special handling near moisture-prone areas.
A clean perimeter finish depends on correct floor height at the wall and threshold, not only on trimming the vinyl.
Transitions at doorways provide edge support and reduce the chance of corner lift where the floor meets a different surface.
Some vinyl systems require specific sealing or handling details—especially near moisture-prone areas—so follow the product instructions.
Start by dry-checking baseboard/trim fit. If the old floor thickness changed (e.g., removing an old pad-backed vinyl), the baseboard might sit differently. You may need to undercut door trim or adjust baseboards so you don’t trap the floating floor edge.
Transitions: In a closet, the doorway is usually the most “stressful” perimeter. Use the manufacturer-recommended threshold/transition piece where the flooring meets tile, laminate, or a different vinyl type. This also prevents the “lip” effect that makes seams catch under socks and moving boxes.
Sealing: Many floating vinyl systems explicitly do not want caulk where the floor must move. Conversely, some sheet vinyl or glue-down systems may require specific sealing at edges. Treat sealing instructions as part of the product system—follow them rather than copying someone else’s routine.
Also watch fasteners: if you’re reinstalling old trim, ensure any screws or nails don’t penetrate into the floating floor movement area.
What can go wrong (and how to avoid it)
Closet vinyl fails most often because the subfloor isn’t flat, clean, or dry—or because the installation method doesn’t match the product requirements. If you correct those risk areas early, you dramatically reduce the odds of seams opening and edges lifting.
– Installing over a subfloor that isn’t flat: even small ridges or dips can cause seams to open or vinyl to flex and wear prematurely.
– Skipping manufacturer rules for underlayment/adhesive: some vinyl needs a specific underlayment (or none at all), and adhesive products have their own cure/coverage requirements.
– Cutting too tight at walls: floors can need an expansion gap depending on the installation method—if you lock vinyl tight against the wall, it may buckle.
– Ignoring moisture: if the closet is prone to humidity, spills, or condensation, address the moisture source first; vinyl won’t “solve” an ongoing moisture problem.
– Reusing damaged trim or failing to cover edges: exposed or unsupported edges are a common reason closets start lifting at the perimeter.
Subfloor flatness is a leading predictor of resilient flooring performance, because joints and edges experience the stress where the floor flexes.
Moisture limits are tested through standardized methods such as ASTM F1869 and ASTM F2170, which informs whether adhesives or systems will perform.
Floating floors need the specified perimeter gap; tight fitting to the wall can cause buckling and edge lift.
Common mistake patterns we see
1) “It’s mostly flat.” Closets reveal minor waves because the boards and seams concentrate stress. If your straightedge shows light gaps, plan to patch and re-check.
2) Mixed installation logic. Some people treat click-lock like glue-down and remove underlayment requirements. If the manual says “no underlayment” or “use attached pad,” don’t improvise.
3) Perimeter traps. Baseboards can hide expansion gaps only if the system still allows movement. If the vinyl is constrained under trim in a way that blocks movement, it will eventually pull away or buckle.
4) Moisture source left in place. If you have condensation, plumbing leaks, or chronic humidity, address that before installation. Vinyl can handle typical household wear, but it’s not a moisture remediation solution.
Verdict: proceed or hire a pro
If your closet is small, the subfloor is mostly sound, and you can follow the specific sheet vs. click-lock method, replacing closet vinyl is often a manageable DIY project. However, if you discover significant subfloor damage, persistent moisture, or you’re uncertain about your vinyl type/system, it’s smarter to stop and confirm the right installation method with the manufacturer—or hire a flooring installer.
Downsides to plan for: DIY risk rises if your subfloor is uneven, if you need to remove extensive adhesive residue, or if your closet has limited working space around built-ins. Also, some vinyl formats are more forgiving visually but less forgiving mechanically—so “it looks straight” isn’t the same as “it’s flat and bonded correctly.”
Quick checklist you can scan before you start
– [ ] Measure the closet floor and plan the layout
– [ ] Identify your vinyl type (sheet vs. click-lock planks; adhesive vs. non-adhesive)
– [ ] Remove old flooring and clean off residue completely
– [ ] Check subfloor flatness; patch/level low spots
– [ ] Dry-fit and mark cut lines before committing
– [ ] Install using the exact method your product requires
– [ ] Leave any required expansion gap and finish edges/trim/thresholds
Frequently Asked Questions
What tools and materials do I need to replace vinyl flooring in a closet?
You’ll typically need a utility knife, vinyl floor cutter or straightedge, a tape measure, a pry bar, a flooring scraper, and a trowel or roller (depending on the vinyl type). For materials, plan on new luxury vinyl plank/tiles or sheet vinyl, underlayment if required, and the correct adhesive (pressure-sensitive or trowel-applied) for your subfloor. Don’t forget transition strips (if the closet opens to another room), painter’s tape, and floor leveling compound for any low spots.
How do I remove old vinyl flooring in a closet without damaging the subfloor?
Start by clearing the closet and removing trim carefully using a pry bar and a thin putty knife to protect the wall. If it’s peel-and-stick vinyl or loose lay, pull it up by lifting an edge and working slowly to avoid gouging the subfloor. For glued-down vinyl, use a scraper and a vinyl floor adhesive remover as needed, then clean residue thoroughly—any remaining glue can prevent new vinyl flooring from bonding correctly.
How do I prepare the subfloor before installing new vinyl in a closet?
Check the subfloor for flatness using a straightedge; vinyl floors telegraph bumps, so sand high spots and fill low areas with self-leveling floor patch as needed. Ensure the surface is clean, dry, and free of dust, grease, and adhesive residue, then repair any loose or damaged subfloor sections. If you’re installing click-lock or loose lay vinyl plank, follow the manufacturer’s guidance on underlayment and moisture protection for closets.
Which vinyl flooring type is best for closet replacements—sheet vinyl, luxury vinyl plank, or tile?
Luxury vinyl plank (LVP) is a popular closet choice because it’s durable, water-resistant, and easy to install around awkward cuts and small spaces. Sheet vinyl can provide a seamless look and is great if you want fewer seams, but it may be harder to manage for tight trimming around closet walls. Vinyl tile offers design flexibility, yet it requires precise layout and attention to grout-line alignment for a clean finish.
How do I reinstall trim and reinstall closet doors after replacing vinyl floors?
Dry-fit the vinyl first, then allow for proper expansion gaps at walls if required by your vinyl floor installation instructions. Reinstall baseboards and closet trim by fastening them back into the wall studs (not the flooring) so the vinyl can move slightly without buckling. If your closet doors drag after the new floor is installed, adjust the hinges and confirm there’s clearance across the entire door swing.
📅 Last Updated: October 26, 2026 | Topic: How to replace vinyl floors in a closet? | Content verified for accuracy and freshness.
References
- Vinyl flooring
- Vinyl composition tile
- Floor
- Underlayment
- Flooring
- https://www.epa.gov/asbestos/asbestos-and-your-home
- Asbestos – Overview | Occupational Safety and Health Administration
- https://www.epa.gov/lead/protecting-yourself-when-remodeling-your-home-or-apartment
- https://scholar.google.com/scholar?q=vinyl+floor+installation+guidelines Google Scholar
- https://scholar.google.com/scholar?q=resilient+floor+covering+removal+subfloor+preparation Google Scholar


[…] is climate-controlled and low-traffic, a rigid core LVP with a wear layer will outperform softer sheet vinyl on dents and long-term appearance. For basements, laundry rooms, or any spot with humidity risk, […]
[…] vinyl floors on a staircase is absolutely doable, as long as you prep the stairs flat, clean, and dry—and you plan seam placement so seams don’t land where your foot flexes. The biggest difference […]