
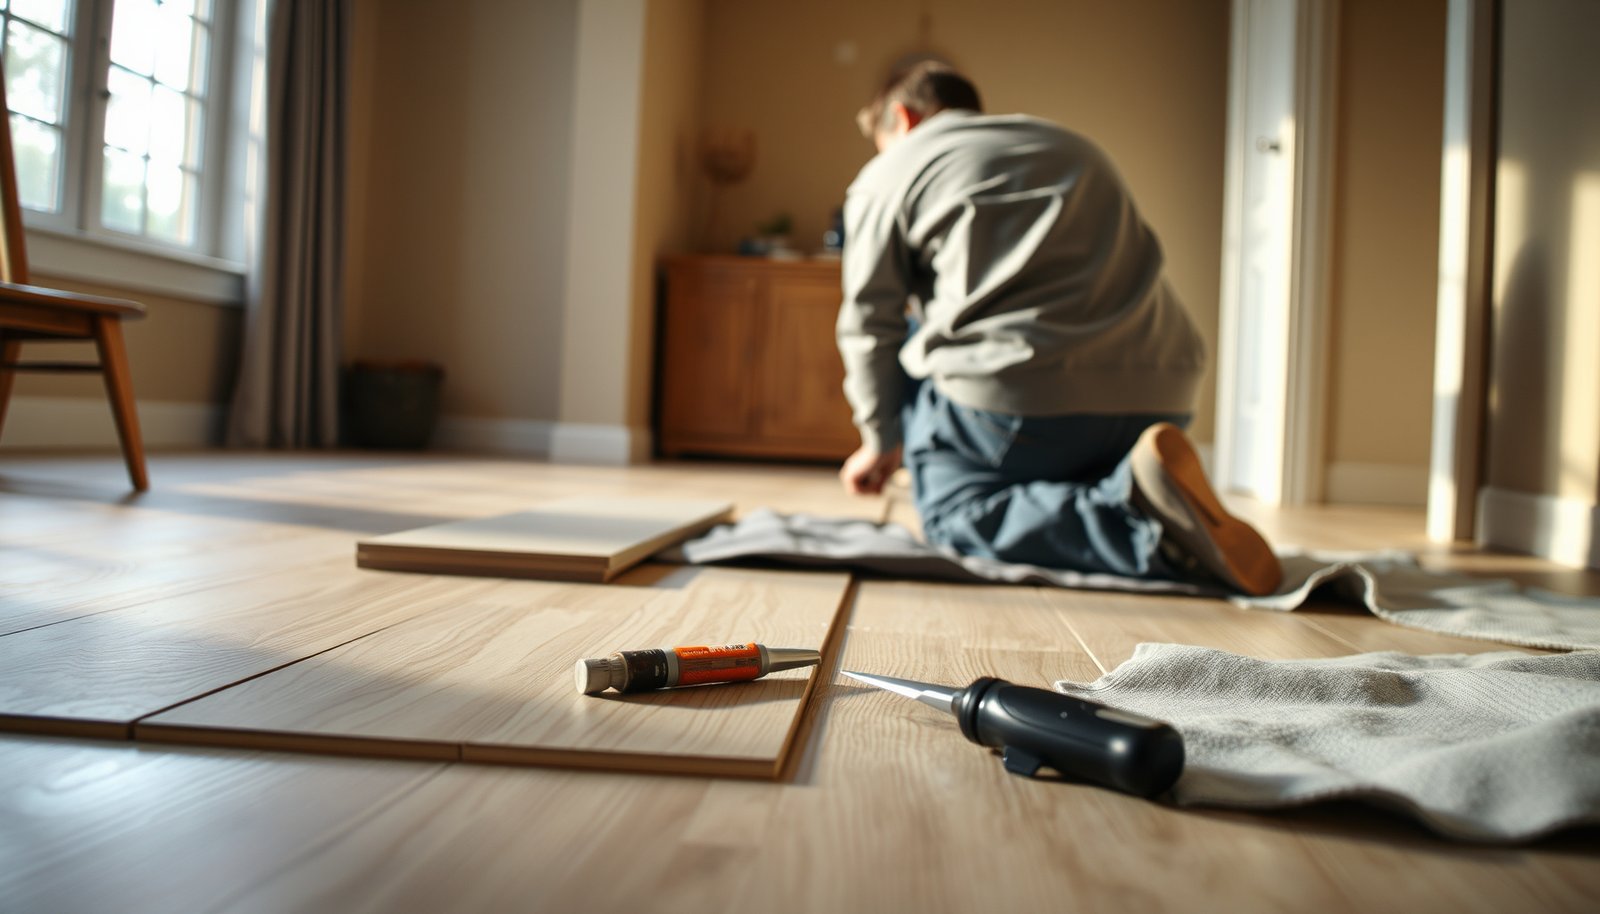

Replacing vinyl floors in a dining room is a straightforward weekend project when you follow the right prep and layout steps. This step-by-step guide shows exactly how to remove the old vinyl, prep the subfloor, fit the new planks or sheets, and finish the edges for a clean, durable result. If your goal is a smooth, professional-looking dining space without guessing, this is the playbook to use.




Replacing vinyl floors in a dining room is mostly about doing three things in the right order: remove the old flooring, prep the subfloor so it’s flat and dry, and then install the new vinyl with correct seam and expansion-gap planning. Replacing vinyl floors in a dining room usually comes down to three things: remove the old flooring, prep the subfloor so it’s flat and dry, then install the new vinyl with the right layout and seams. If you follow the new floor’s installation instructions (especially for expansion gaps and adhesive/tape, if applicable), the process is straightforward and you can avoid most common failures like bubbling or gaps.
If your dining room has existing vinyl (including vinyl plank) and you want a new surface—either click-lock/floating or glue-down—this walkthrough focuses on the operational order that most often prevents rework. It’s written for homeowners, remodelers, and anyone coordinating a dining-room vinyl flooring upgrade where the finish needs to stay crisp around chairs, cabinet bases, and transitions to adjacent rooms.
Prep your dining room and choose the right vinyl
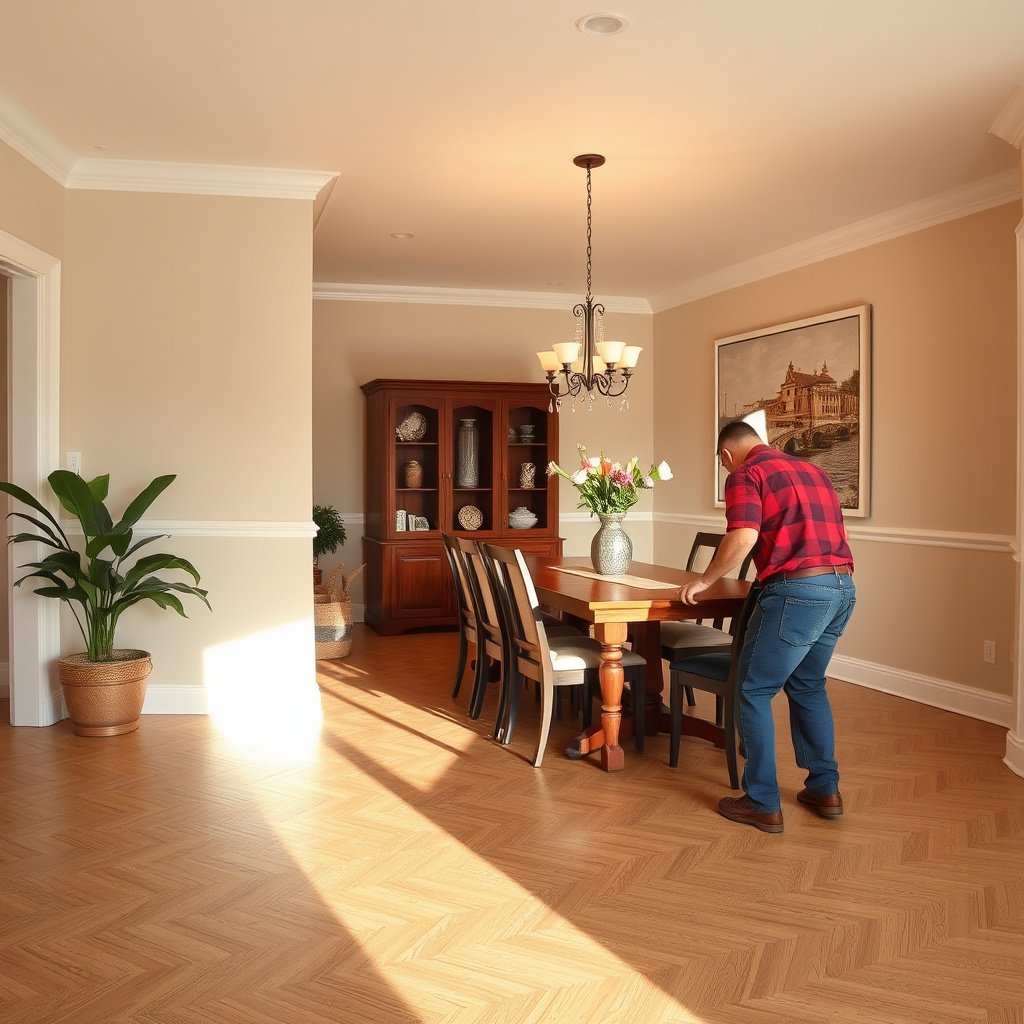
Prepping and choosing the vinyl first is the fastest way to prevent problems later, because click-lock (floating) and glue-down vinyl have different subfloor, underlayment, and adhesive expectations. Start by confirming which installation system you’re actually buying, then plan the layout so the dining room’s longest sight line gets the cleanest seam pattern.
Click-lock vinyl is sensitive to “movement” and needs an approved underlayment (if any), while glue-down vinyl relies on adhesive bonding to a properly cleaned subfloor.
A planned seam layout—especially along the longest dining-room wall—reduces visible short pieces and makes transitions around doorways and furniture look intentional.
Most resilient flooring standards emphasize flat, firm preparation before installation (see ASTM F710), because dips and ridges can create joint stress that shows up later in vinyl floors.
Confirm the installation method before you buy anything
Start with the exact product type you’re installing:
– Click-lock / floating vinyl planks: typically lock together and float over an underlayment (or directly over a suitable base, if the manufacturer says so).
– Glue-down vinyl (sheet or tile, depending on product): requires adhesive specified by the manufacturer and a bond-ready surface.
Why it matters: the same subfloor can work for one method but cause failure for the other. Glue-down vinyl often fails when adhesive can’t grip—because residue remains, the surface is dusty, or moisture conditions aren’t within the manufacturer’s limits.
Measure and plan visual lines (this is where dining-room installs succeed)
In a dining room, the most “seen” areas are usually the longest uninterrupted wall and the route from the entry into the main seating zone. Mark out plank or sheet direction so the design reads straight, not skewed.
Then plan where seams land relative to fixed objects:
– Keep plank seams from lining up awkwardly with chair-table “traffic lanes.”
– Avoid making tiny filler strips at primary sightlines—shift the start line instead.
– If your product includes specific layout rules (common with patterned products), follow them exactly.
Add only the approved materials
Buy what the manufacturer calls for. That includes:
– Transitions (reducers, T-moldings, edge trims) for doorways and openings.
– Trim pieces where the floor abuts built-in surfaces.
– Underlayment, only if the manufacturer allows it for click-lock vinyl floors (and only the one they approve).
If you’re unsure, treat “manufacturer approval” as a hard requirement. Underlayment choices can change the feel of floating vinyl and can interfere with locking performance.
Remove the old vinyl flooring safely
Removing old vinyl is not just about speed—it’s about preventing leftover adhesive ridges, backing texture, and contaminants from telegraphing into your new dining-room floor. Remove it cleanly, and stop when the subfloor is uniform and sound, not when the old layer is merely “mostly gone.”
If you leave adhesive ridges or vinyl-backed texture behind, resilient flooring can “print” those irregularities after installation.
For glue-down vinyl, a scraper plus careful heat (only if the manufacturer’s guidance and your flooring type allow it) helps release material without gouging the substrate.
A thorough post-removal vacuum is a bonding step for glue-down vinyl, because dust and residue can weaken adhesive contact (ASTM F710 concepts).
Clear the room and control what interferes
Begin with complete clearance:
– Remove chairs, dining table, and loose furniture.
– Decide whether baseboards come off. Many installs remove them to maintain proper expansion-gap coverage and trim fit, but some products allow different approaches—check your new vinyl’s instructions.
– Remove threshold pieces that block removal or will prevent a correct transition.
Cut and peel with attention to the subfloor
Use a sharp utility knife to cut manageable sections. If the vinyl is glue-down, you may need:
– A flooring scraper designed for resilient removal
– Heat and/or adhesive remover—only if it won’t damage the substrate
Avoid gouging, because the subfloor’s surface profile becomes the foundation for vinyl floors. Any deep divots or chunks left behind usually require patching and sanding anyway.
Dispose and clean like adhesion depends on it—because it does
After removal:
– Sweep and vacuum thoroughly.
– If you’re installing glue-down vinyl, treat cleanup as part of the adhesive system. Dust, adhesive dust, and residue can all reduce bond quality.
From my experience supporting homeowners during installs, the “almost clean” subfloor is where the most visible problems begin—especially the first time you notice faint ridges after the new vinyl is rolled out.
Check and prep the subfloor (level, clean, dry)
Subfloor prep is the make-or-break step for dining-room vinyl replacement because vinyl floors follow the substrate’s condition more than many homeowners expect. Inspect flatness and stability first, then clean and dry in a way that matches the installation method and your specific vinyl manufacturer’s requirements.Most resilient-floor prep guidance prioritizes a flat, firm, and contaminant-free surface (see ASTM F710), because unevenness can stress seams and locks.
Glue-down vinyl depends on adhesive working as designed—so the subfloor must be dry, clean, and prepared exactly as specified by the vinyl product documentation.
If moisture is out of spec, vinyl can bubble, curl at edges, or develop adhesive failure even when the surface looks “clean.”
Inspect for flatness, firmness, and damage
Check for:
– Soft spots (especially on wood subfloors)
– Swelling, delamination, or loose boards
– High ridges (old adhesive, underlayment seams) and low depressions (dips)
Vinyl is flexible, but severe dips and sharp ridges can cause joint separation, clicking sound changes, or visible “peaking” at seams.
Level using the right materials and method
Leveling approach depends on what you’re installing over:
– Wood subfloors: fix loose boards, then use a patch system designed for wood where appropriate.
– Concrete slabs: use a patch/feather finish intended for concrete.
If you’re working with concrete and moisture is a concern, resilient flooring guidance typically aligns with moisture testing and preparation practices. Use the appropriate method and follow the vinyl manufacturer’s moisture requirements (and document them).
> According to ASTM F710, resilient floor preparation focuses on ensuring suitable surface conditions (flatness, dryness/absence of contaminants) before installation ().
> According to ASTM F2170, in-situ concrete relative humidity testing uses RH measurements from probes installed in the slab ().
> According to ASTM F1869, calcium chloride testing estimates moisture vapor emission rates in “lb/1000 sq ft/24 hr” ().
Clean again right before installation
For glue-down vinyl, you generally cannot “fix” poor cleaning with extra adhesive. Vacuum and wipe using the process recommended by your vinyl manufacturer (some specify a particular cleaner or require dry wiping only). Let the surface dry completely.
Install the new vinyl flooring (planks or sheets)
Installation success in a dining room depends on layout accuracy and strict adherence to the product’s installation steps, especially expansion gaps and seam handling. Install in a controlled sequence: dry-fit/lay out, start the first row correctly, and finish cuts cleanly around doorways and fixed furniture points.
The first row (and its straightness) controls the entire look of vinyl plank seams in a dining room—take time to snap a reference line.
Many vinyl floors require an expansion gap around walls and fixed objects; skipping it can lead to tenting or buckling as temperatures change.
For glue-down vinyl, follow the manufacturer’s adhesive spread/trowel approach so you achieve the intended contact and open-time performance.
Plan the first rows with the right constraints
Start with a dry lay (or at least a dry layout check) to confirm:
– Direction and seam rhythm for planks
– Pattern alignment for sheets (if your vinyl is patterned)
– Cut strategy for doorways and dining-room entry thresholds
Then begin installation:
– Click-lock: lock planks per the product’s profile and avoid forcing joints.
– Glue-down: spread adhesive using the specified method and timing. Don’t “guess” coverage or open time.
Maintain spacing and stagger seams (planks) or cut precisely (sheets)
Key details:
– Expansion gap: keep required spacing around walls and fixed objects (your vinyl instructions should specify the size).
– Plank seam staggering: maintain the minimum stagger distance required by the product.
– Sheet flooring: focus on accurate cuts around vents, door openings, and dining-room fixtures so seams don’t land where they’ll be stressed by movement.
Keep transitions and furniture placement in mind
Dining rooms often have:
– Heavy table legs and chair rolling (if you use wheels)
– Cabinets or built-ins with tight clearances
Pre-plan around these so you don’t end up with a cut edge that’s likely to be stressed or exposed.
Finish seams, transitions, and trim
Finishing is where a dining-room vinyl floor looks “professionally installed” rather than “new but unfinished.” Your goal is to prevent pinching at trim, avoid forcing edges under mismatched thicknesses, and use transitions so rooms meet cleanly.
Transitions protect vinyl floors from being restrained—especially at doorways—so edges can accommodate thermal movement.
If you reinstall baseboards, confirm they won’t trap the vinyl or remove required expansion space behind them.
Some glue-down vinyl systems require rolling/pressing with a specified roller or method to improve bond contact.
Install transitions where floors meet other surfaces
Common dining-room transitions:
– Doorways to hallways or adjacent rooms
– Steps (if present)
– Transitions to tile or carpet
Use transition pieces designed for your flooring thickness. Don’t let the vinyl edge get forced against trims that aren’t compatible.
Reconsider baseboards based on manufacturer guidance
Leaving baseboards off can look cleaner, but only if the product’s trim method supports it. If baseboards go back on, ensure you maintain expansion requirements and avoid “pinching” the floor.
Roll/press if your vinyl calls for it
Some glue-down vinyl products specify rolling after installation. Follow the exact method and timeline in your documentation—rolling too soon or with the wrong technique can affect adhesive set-up or joint behavior.
Common causes of adhesive/moisture testing confusion (and how to avoid them)
Even when a vinyl floor is installed correctly, moisture-related failures can occur if testing doesn’t match the substrate. The following standards are frequently referenced in resilient flooring moisture and prep workflows:
Resilient/Vinyl Floor Subfloor Checks (Common ASTM Methods)
| # | Standard / Method | Validates | Typical Output | Dining-Room Relevance |
|---|---|---|---|---|
| 1 | ASTM F710 | Surface readiness | Flatness + cleanliness + condition | ★★★★★ |
| 2 | ASTM F2170 | Concrete RH in-situ | Relative Humidity (%) | ★★★★☆ |
| 3 | ASTM F1869 | Moisture vapor emission | MVER (lb/1000 sq ft/24 hr) | ★★★★☆ |
| 4 | ASTM E303 | Flatness measurement | Deviation over straightedge lengths | ★★★☆☆ |
| 5 | ASTM E1155 | Subsurface testing | Concrete moisture/relative condition inputs | ★★★☆☆ |
| 6 | ASTM D4263 (plastic sheet) | Spot moisture indication | Condensation/visual moisture | ★★☆☆☆ |
| 7 | ASTM E96 | Material vapor transmission | Water vapor transmission rate | ★★★☆☆ |
What can go wrong (and how to avoid it)
Most vinyl flooring failures in dining rooms come from subfloor issues (moisture, flatness, contamination) or from skipped installation requirements like expansion gaps and adhesive/open-time steps. If you troubleshoot by category—substrate, moisture, layout, and mechanical fit—you can prevent bubbling, gaps, and seam peaking.
Bubbles under vinyl typically point to moisture vapor pressure problems or adhesive/substrate mismatch—not a “vinyl quality” issue.
Gaps at walls are usually expansion-gap mistakes; squeezing vinyl against trim can cause tenting as temperatures fluctuate.
Click-lock floors can show joint peaking when ridges or unevenness exist under the first rows; leveling and cleanup are preventive maintenance.
Common failure modes and practical prevention
Here’s a comparison that helps you diagnose root cause faster:
| Issue | Most common cause | What to do instead |
|---|---|---|
| Bubbles/lifting | Moisture or adhesive/substrate incompatibility | Test moisture (concrete) and use manufacturer-approved adhesive method |
| Gaps at walls/trim | Expansion gaps skipped or too small | Leave required spacing around fixed objects |
| Uneven feel / peaking seams | Underlayment mismatch or subfloor ridges | Remove high spots; patch lows; vacuum residue |
Don’t let “it seems flat” become the assumption
Even with floating vinyl, small ridges can matter—especially near seam lines and the first row. If you feel bumps when walking on the floor area with vinyl removed, that tactile feedback is often a warning that level/clean prep still needs improvement.
Also, if you’re using thresholds and transitions, confirm their thickness and attachment method won’t press the vinyl edges. In dining rooms, those transitions often sit under or near chair-table movement paths, so any mechanical restriction shows up faster.
Quick checklist + verdict (should you DIY?)
Verdict/tip: DIY replacement is realistic if your subfloor is mostly solid, you can spend time on leveling/cleanup, and you’re comfortable following the vinyl manufacturer’s exact install method. Skip the DIY approach (or hire a flooring pro) if you find major subfloor damage, chronic moisture issues, widespread adhesive residue that won’t be removed safely, or if your dining room has many tricky cuts around posts/irregular cabinetry.
Save-and-scan checklist
| Step | What to verify | Done? |
|---|---|---|
| Measure & plan | Plank/sheet direction, seam layout, doorway transitions | ☐ |
| Remove old flooring | No loose edges; scrape ridges/adhesive safely | ☐ |
| Subfloor check | Flat/firm; no soft spots; patched and smooth | ☐ |
| Moisture/cleanliness | Dry surface; vacuum/wipe per instructions | ☐ |
| Install method | Click-lock vs glue-down follows product steps | ☐ |
| Expansion gaps | Correct spacing at walls/fixed objects | ☐ |
| Finish details | Transitions/trim installed without pinching | ☐ |
| Final press/roll (if required) | Done per manufacturer guidance | ☐ |
Frequently Asked Questions
What’s the best way to replace vinyl flooring in a dining room with minimal mess?
Start by clearing the dining room and removing furniture, baseboards, and any transition strips to expose the full floor area. For a replacement vinyl floor, score the existing vinyl into manageable sections and pull it up to reduce tearing and airborne dust. If you’re installing over a concrete subfloor, vacuum thoroughly and check for flatness since bumps and ridges can telegraph through new vinyl.
How do I remove old vinyl flooring and prep the subfloor correctly before installing new vinyl?
Remove the vinyl by lifting edges, using a utility knife to cut sections, and scraping off leftover adhesive or residue. Then clean the subfloor thoroughly and repair damage by filling low spots with a compatible patching compound and sanding high areas. For best results, verify the subfloor is dry and level—vinyl flooring installation requires a smooth, solid base for proper adhesion and click-lock performance.
Which type of vinyl flooring is easiest to replace in a dining room—peel-and-stick, click-lock, or glue-down?
Peel-and-stick and click-lock vinyl are often the easiest for DIY because they reduce the need for full-spread adhesive, which can be messy and time-consuming. Click-lock vinyl is especially convenient if you want a floating floor that’s faster to install and easier to replace later. Glue-down vinyl can be more secure for heavy foot traffic, but it requires careful adhesive selection and precise subfloor prep to avoid bubbles or loosening.
Why does my vinyl floor feel uneven or separate after replacement, and how can I prevent it?
Uneven vinyl replacement usually comes from poor subfloor leveling, debris left under planks, or installing over a surface that’s not smooth and clean. Floating vinyl can separate or develop gaps if the perimeter expansion space is too small or if the room isn’t acclimated to the flooring’s recommended temperature. To prevent issues, use a level to check flatness, follow manufacturer acclimation times, and leave the required expansion gap around walls and cabinets.
How much does it cost and how long does it take to replace vinyl flooring in a dining room?
The cost depends on the vinyl type, underlayment needs, and whether you must remove old adhesive or repair the subfloor; labor can also vary if you hire a flooring contractor. A typical DIY vinyl replacement in a dining room often takes a weekend, but the timeline increases if you’re leveling the subfloor or installing transitions and trim. For accurate planning, measure the room, account for waste (often 10% for cuts), and factor in drying time for patches and curing time for any adhesive.
📅 Last Updated: October 25, 2026 | Topic: How to replace vinyl floors in a dining room? | Content verified for accuracy and freshness.
References
- Vinyl flooring
- https://en.wikipedia.org/wiki/Vinyl_plank_flooring
- Flooring
- Lead Renovation, Repair and Painting Program | US EPA
- Asbestos | US EPA
- Lead – Overview | Occupational Safety and Health Administration
- https://www.cdc.gov/nceh/lead/default.htm
- https://scholar.google.com/scholar?q=how+to+replace+vinyl+flooring+subfloor+preparation Google Scholar
- https://scholar.google.com/scholar?q=vinyl+flooring+installation+guidelines+vinyl+plank+sheet Google Scholar
- https://scholar.google.com/scholar?q=safely+remove+resilient+flooring+lead+asbestos+practices Google Scholar
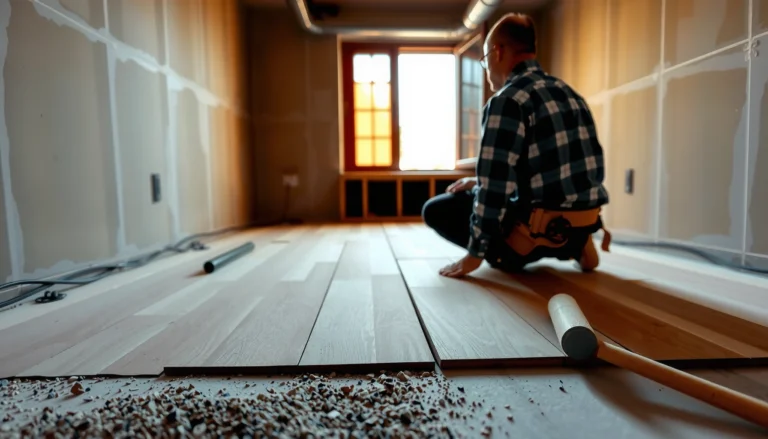
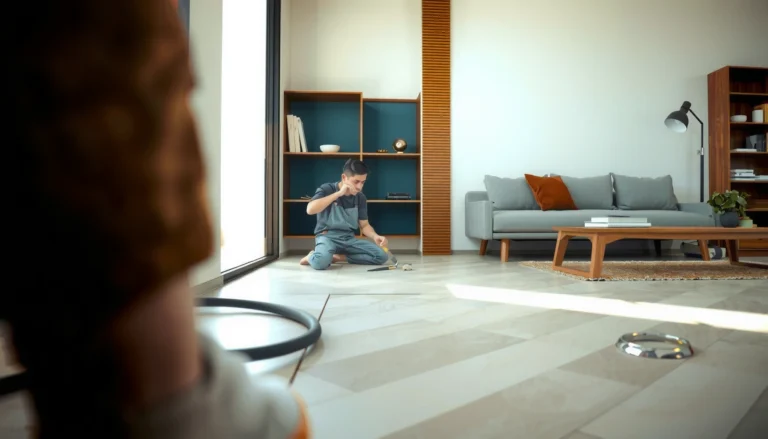
[…] or surface grime that interferes with patch adhesion and can also prevent proper bonding for glue-down vinyl. If you’re sanding or grinding, vacuum again—dry dust is the enemy of a consistent […]