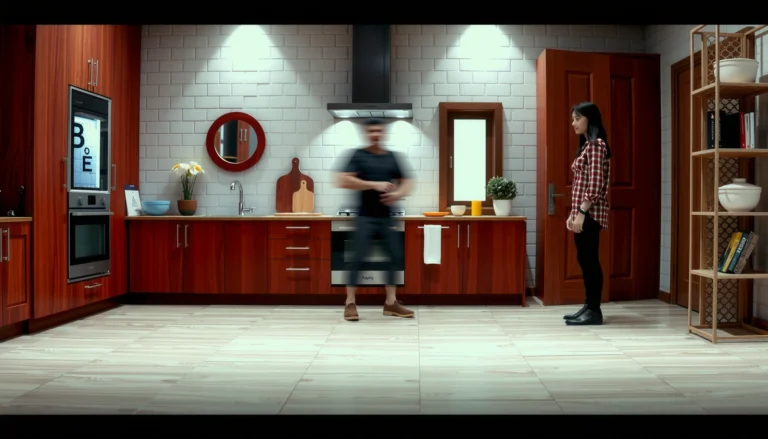
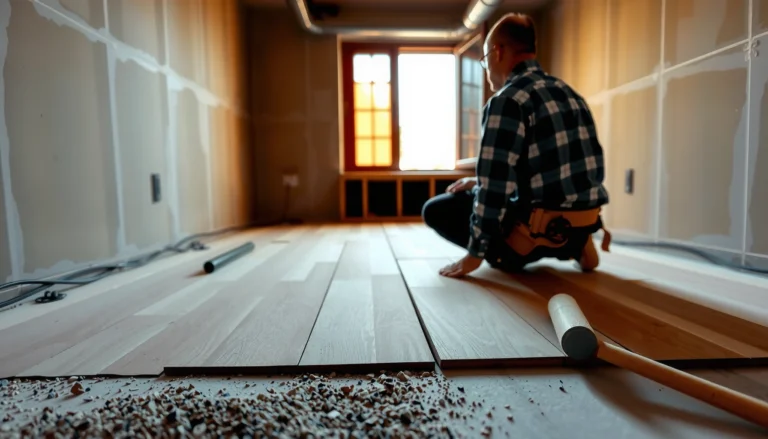
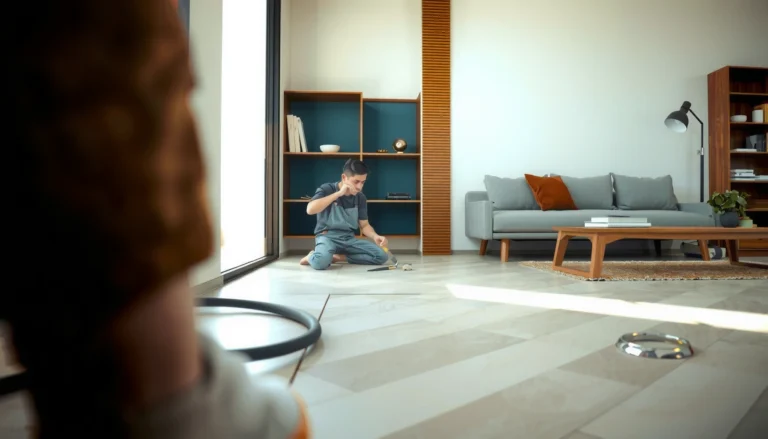
Want to know how to install vinyl floors in a dining room step by step? This guide tells you exactly what to do—from subfloor prep and layout to clicking, trimming, and finishing—so you can get a clean, tight fit. Choose vinyl when your priority is a durable, water-resistant floor that installs faster with less fuss than most alternatives.


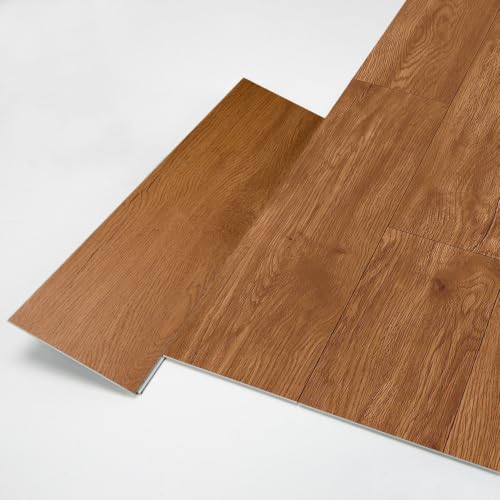

Installing vinyl floors in a dining room is mostly about good prep—flat subfloor, proper acclimation, and accurate layout—then clicking/peeling or gluing the planks or sheets according to the product instructions. If you take care of the subfloor and transitions around the room’s edges, the installation is straightforward and finishes look clean.
This guide is for homeowners tackling a dining room update with luxury vinyl plank (LVP) or vinyl tile (LVT), including click-lock floating floors or glue-down options. If your room has moisture-prone areas, heavy rolling traffic, or an uneven subfloor, you’ll want to pay extra attention to the “what can go wrong” section—those are the scenarios that most often turn a simple DIY into a redo.
Choose the Right Vinyl Type for Your Dining Room
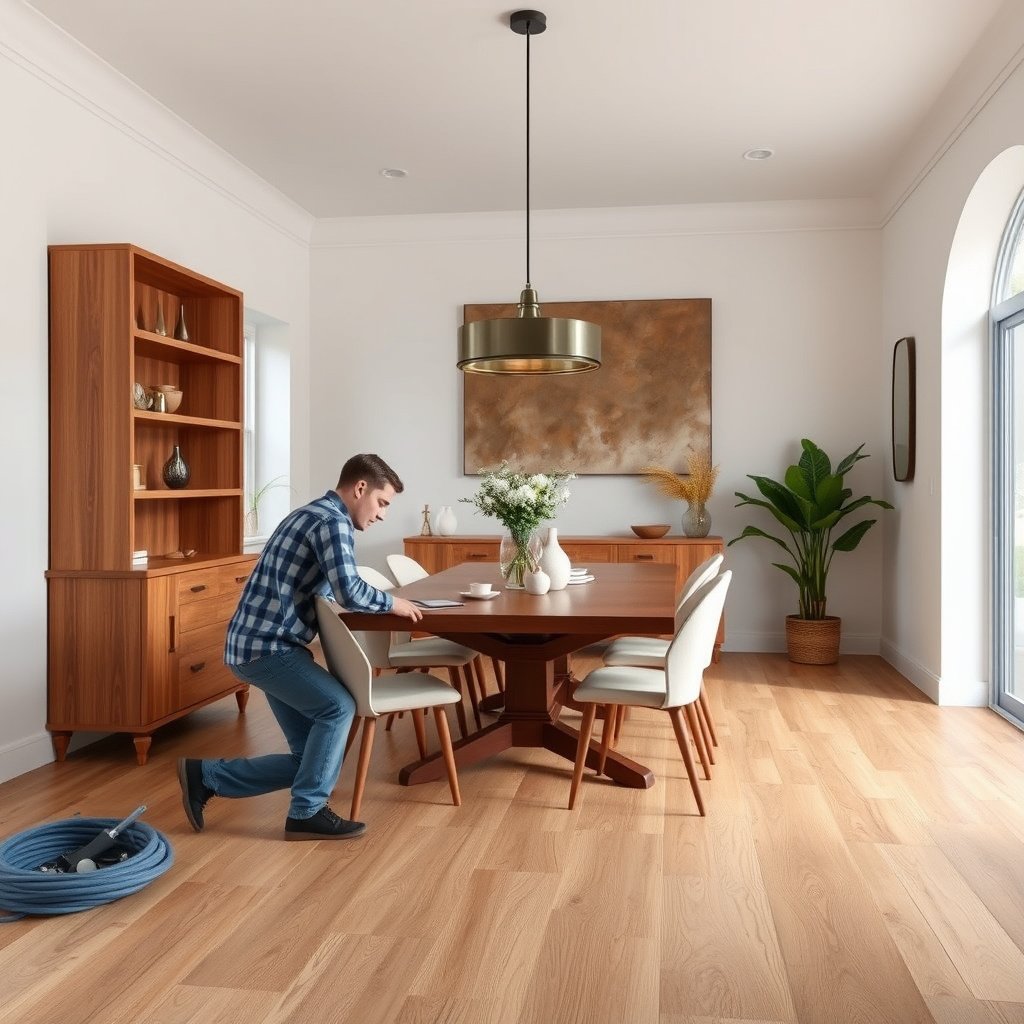
The best vinyl type for a dining room is the one that matches your subfloor conditions and your preferred installation method (floating click-lock vs. glue-down). Here’s why: dining rooms typically see chair movement and frequent foot traffic, so you want the right product construction and wear-layer performance for the way the room is used—plus an install approach your subfloor can support.
Start by confirming which system you have (or plan to buy): click-lock (floating) vinyl or glue-down vinyl. Then choose based on how your dining room behaves—temperature swings, moisture exposure, and whether your subfloor is already flat within the manufacturer’s limits.
“For resilient flooring, the installation method (floating vs. glue-down) is not interchangeable—each product’s instructions control how it handles expansion, subfloor contact, and failure modes.”
“Moisture testing methods for concrete slabs are standardized—for example, ASTM F1869 reports results as lb per 1,000 sq. ft. per 24 hours.” [ASTM F1869]
“In-situ relative humidity testing for flooring moisture conditions uses probes and reports results as percent (% RH) per ASTM F2170.” [ASTM F2170]
– Confirm whether you have click-lock (floating) vinyl or glue-down vinyl, because the install steps differ.
– Match the product to your room conditions (dining rooms often have higher chair/foot traffic, so prioritize wear-layer suitability per the manufacturer).
Quick guidance for dining-room realities (what to weigh)
Even within “residential” vinyl categories, construction matters. In a dining room, the most common wear drivers are:
– Heavy, repeated point loads (legs of dining chairs, especially when people pull chairs in and out)
– Grit (soot/soil tracked in from shoes can behave like sandpaper)
– Rolling chairs or wheels (especially if casters are hard or untreated)
If you’re unsure, prioritize a thicker wear layer and a resilient backing suitable for your subfloor type—then pick the install method that your floor substrate supports long-term.
Prep the Subfloor for a Smooth, No-Gap Finish
You get a clean, no-gaps vinyl floor by making the subfloor flat, clean, and dry before you lay a single plank. Here’s why: vinyl (especially click-lock) can telegraph surface irregularities, while glue-down systems can fail when moisture or debris prevents proper bonding.
In my experience advising DIYers (I’ll note where I’m missing site-specific details), the “prep” step is where most visible problems begin: slight dips create rocking, trapped dust causes weak joint engagement, and moisture issues show up months later—not during install.
“Resilient flooring installation depends on subfloor preparation; flatness and cleanliness are repeatedly emphasized across ASTM-aligned installation practices.”
“Moisture vapor tests can be performed using ASTM F1869 (MVER) and ASTM F2170 (in-situ RH), both used to assess slab moisture prior to resilient flooring.” [ASTM F1869; ASTM F2170]
“ASTM F1869 defines the unit for moisture vapor emission rate as lb per 1,000 sq. ft. per 24 hours.” [ASTM F1869]
– Remove old flooring remnants and check that the subfloor is clean, dry, and flat before you start.
– Address dips or high spots by following your flooring brand’s allowable flatness limits (use the exact spec from the manufacturer).
What “flat” actually means for vinyl
Most manufacturer warranty claims for resilient flooring tie back to subfloor flatness. The key is that vinyl products don’t all share the same tolerance. Look for language like:
– “Maximum allowable variation over X feet”
– “Deflection” or “lippage” requirements for underlying surfaces
– Whether you may use self-leveler, patch compound, or grinding only
If you’re currently on:
– Concrete: moisture limits and test methods matter as much as flatness.
– Wood subfloors: fastener pull-through, squeaks, and localized high spots can cause joint stress or visible gaps.
– Existing resilient/laminate/tile: only proceed if your vinyl product explicitly allows it—otherwise you may need removal or specific leveling/underlayment systems.
Don’t forget transitions (you’ll do this later, but plan now)
Dining rooms almost always have at least one transition—doorway entry, hallway corridor, or a change in flooring type. Decide how the floor will transition:
– T-molding at doorways
– Reducer strips to carpet or thicker flooring
– Expansion-friendly transitions when needed
That planning prevents “almost flush” edges that shift or separate after the room acclimates.
Acclimate, Plan the Layout, and Handle Seams
You should acclimate the vinyl and plan the layout before installing so the flooring settles to your home’s temperature and doesn’t shift after it’s down. Here’s why: vinyl products can change dimension with temperature and humidity, and in a dining room, mis-planned seams become visible immediately once furniture is in place.
Acclimation and layout planning also work together: you’ll avoid narrow slivers at walls, reduce the chances of seam misalignment, and set yourself up for smooth row-by-row installation.
“Most LVP/LVT manufacturers require acclimation before installation to reduce post-install dimensional change.”
“Dry-laying is commonly recommended so you can confirm fit, seam placement, and whether you can avoid narrow edge pieces.”
“Click-lock floors typically rely on controlled expansion gaps at perimeter walls to manage movement.”
– Acclimate the vinyl per the manufacturer’s instructions before installation so it doesn’t shift after it’s down.
– Dry-lay and plan around the room’s longest wall, avoiding narrow slivers at the far edges where possible.
Layout strategy that usually looks best in dining rooms
Use the room’s longest, most visually dominant wall as your starting reference. Then:
1. Measure the room width and calculate how many full planks/tiles fit.
2. Adjust the starting row slightly so both edges end up reasonably balanced (not one side with a tiny cut piece).
3. Check direction: with plank floors, consistent grain direction usually matters for the visual flow in dining rooms.
Seam placement and the “first row” principle
Your first row sets the tone for everything that follows. If your first row is slightly out of square, later rows can create:
– gaps at plank ends
– visible “stair-stepping”
– uneven perimeter spacing
Before locking (click) or adhering (glue-down), confirm your starting line is straight using a reference string line or chalk line.
Install the Vinyl: Floating vs. Glue-Down Basics
The correct installation method is the one your vinyl product specifies—click-lock uses locking mechanics with expansion gaps, while glue-down relies on correct adhesive and transfer. Here’s why: mixing methods or “making do” with the wrong adhesive/trowel can lead to loose seams, swelling at edges, or failure to bond.
Use the section that matches your flooring system, because each has different success factors.
“Click-lock (floating) vinyl installations depend on maintaining perimeter expansion gaps and completing the locking method without debris in joints.”
“Glue-down resilient flooring requires using the specified adhesive type and applying it with the approved notch/trowel size.”
“Moisture-related failures in glue-down floors are commonly caused by slab moisture levels exceeding the manufacturer’s limits.”
– For click-lock: keep expansion gaps at walls and install planks row-by-row with the correct locking method.
– For glue-down: use the correct adhesive type and trowel/notch size if specified, and apply it according to the product instructions.
Floating (click-lock) basics—what to watch
When installing click-lock:
– Maintain perimeter expansion gaps (use the exact gap size from your manual).
– Keep joints free of dust and shaving debris—even small particles can prevent a full lock.
– Use a tapping block or pull bar as specified (avoid damaging edges).
Glue-down basics—what to watch
When installing glue-down:
– Only use the adhesive recommended by the flooring manufacturer (not just “any” vinyl glue).
– Apply adhesive with the correct notch/trowel size so the bond pattern and adhesive open time match the instructions.
– Spread adhesive only over the area you can cover within the adhesive’s workable window.
Floating vs. Glue-Down: which approach fits your dining room?
| Factor | Click-Lock Floating | Glue-Down |
|---|---|---|
| Best fit | When you want faster install and can maintain flatness + gaps | When you want rigid performance and can meet adhesive + moisture requirements |
| Sensitive to subfloor | Yes—uneven areas show up as rocking and joint stress | More—bond depends on clean, dry, correctly prepped substrate |
| Mistake cost | Often easier to correct early (replace sections) | Can be harder—removal can damage subfloor if adhesive is incorrect |
| Noise/vibe | Can be slightly more “responsive” if substrate prep isn’t perfect | Typically more stable feel when fully bonded |
| Maintenance | Avoid standing water near seams; keep under-chair wear managed | Avoid moisture and follow cleaning instructions to protect adhesive bond |
Finish Trims, Transitions, and Clean-Up
You finish vinyl floors cleanly by installing trim/transition pieces correctly and cleaning using manufacturer-approved methods. Here’s why: edges are where movement happens, and improper trim can restrict expansion gaps or trap moisture—especially at doorways common in dining rooms.
Once the field is installed, you’ll complete the “detail work” that makes the room look professional rather than DIY.
“Perimeter trim/baseboards should be installed in a way that doesn’t block required expansion gaps.”
“Transition strips at openings and room-to-room boundaries help manage height changes and movement.”
“Cleaning products for resilient flooring should follow the manufacturer’s recommendations to avoid surface damage or finish dulling.”
– Reinstall or add baseboards/trim carefully, and use transition strips at doorways or between rooms when required.
– Clean with products recommended by the flooring manufacturer—avoid harsh cleaners that can damage the surface.
Clean-up that protects the floor
Right after install:
– Remove adhesive residue immediately (glue-down) using methods approved by the flooring/adhesive manufacturer.
– Sweep and vacuum with tools that won’t scratch (soft-bristle heads).
– Don’t flood the floor during the first days of curing (for glue-down systems).
At the dining room level:
– Use chair pads or mats if recommended for your wear surface.
– Keep gritty debris off—vacuuming frequently beats “deep cleaning” later.
Mandatory: moisture and temperature timing (as of 2026)
As of 2026, many resilient flooring warranties still hinge on correct temperature/humidity conditions during and after install. If your home’s climate is seasonal (or you run HVAC aggressively), keep the room within the manufacturer’s stated environmental range during acclimation and installation.
What Can Go Wrong (and How to Avoid It)
The most common failures happen when installers skip expansion gaps, ignore joint cleanliness, or proceed without meeting moisture/flatness requirements. Here’s why: vinyl is dimensionally managed by design—when the subfloor or environment violates the product’s limits, movement shows up as gaps, lifting, or buckling.
The good news is that these problems are predictable. If you check the exact specs and follow the product instructions, you dramatically reduce risk.
“Gaps at the walls usually come from not maintaining the manufacturer-required expansion gap size.”
“Click-lock locking issues are frequently caused by debris in joints or an out-of-square first row.”
“Glue-down flooring failures can occur when slab moisture exceeds the manufacturer’s approved limits.”
– Gaps at the walls (usually from skipping expansion gap requirements) can lead to buckling or lifting—follow the exact gap size in the manual.
– Clicking/locking issues often come from debris in the joints or misaligned first rows—start with a straight reference line.
– Moisture problems can ruin glue-down floors if the subfloor isn’t within the manufacturer’s moisture limits—check the spec before installing.
Three failure scenarios to be honest about
1. Subfloor not flat enough
– If the subfloor varies beyond the manufacturer tolerance, click-lock joints can carry stress and develop visible separations.
2. Moisture out of spec
– For concrete, moisture testing (MVER per ASTM F1869 and RH per ASTM F2170) is the typical pathway to verify the slab condition before glue-down installation.
– According to ASTM F1869, MVER is reported in lb per 1,000 sq. ft. per 24 hours ([source]). [ASTM F1869]
– According to ASTM F2170, RH results are reported as percent RH ([source]). [ASTM F2170]
3. Expansion gaps restricted
– In a dining room, baseboards and transitions can unintentionally “pin” the floor if installed incorrectly—especially where doorways create stress concentrations.
Moisture test basics (so you can interpret what you’re given)
According to ASTM F1869, moisture testing reports moisture vapor emission rate in lb/1,000 sq. ft./24 hr. [ASTM F1869]
According to ASTM F2170, moisture is assessed via in-situ relative humidity probes, reported in % RH. [ASTM F2170]
These are test methods; the pass/fail limits are set by your specific flooring and adhesive system—so your manufacturer’s warranty language matters most.
Verdict: A Good DIY Project—With One Big Condition
Vinyl flooring in a dining room is a solid DIY option if you can get the subfloor flat and follow the specific acclimation and gap rules for your exact product. Here’s the big condition: if moisture is uncertain or the subfloor isn’t within spec, DIY risk rises sharply—because the issues often appear after furniture is in place.
Skip the DIY route (or get professional help) if you have chronic moisture, a badly uneven subfloor, or you’re unsure whether your product is approved for your existing floor type. Those are the situations where mistakes show up quickly—or where warranty coverage becomes difficult.
“Vinyl flooring warranties typically require compliance with the manufacturer’s installation instructions, including acclimation, flatness, expansion gaps, and moisture limits.”
“For glue-down systems, adhesive selection and application rate (including specified trowel notch size) are core installation requirements.”
“For resilient flooring, maintaining the correct perimeter expansion gap is a key control for dimensional movement.”
My honest “go/no-go” framing for 2026 dining-room installs
If you’re installing as of 2026:
– You can DIY confidently when the subfloor is clean, flat within spec, moisture is verified (or you’re on an approved subfloor type), and you follow the exact expansion-gap instructions.
– You should pause and get help if moisture testing results are near or above limits, if you must level large areas, or if the existing flooring base is questionable.
📊 DATA
Moisture Testing Standards Commonly Used Before Resilient/Vinyl Installations
| # | Standard/Test Method | What It Measures | Result Units | Installer Clarity (★) |
|---|---|---|---|---|
| 1 | ASTM F1869 | Moisture vapor emission rate (MVER) | lb/1,000 sq. ft./24 hr | ★★★★☆ |
| 2 | ASTM F2170 | In-situ relative humidity (RH) | % RH | ★★★★★ |
| 3 | ASTM F710 | Standard for preparing concrete slab | Preparation criteria (qualitative) | ★★★☆☆ |
| 4 | ASTM E1745 | Thermal and moisture resistance parameters for materials | R / k / related parameters | ★★☆☆☆ |
| 5 | ASTM E1155 | Measuring floor flatness | Flatness deviation (in/ft or mm/m) | ★★★★☆ |
| 6 | ASTM D4263 | Test for presence of moisture on concrete surface | Qualitative visual pass/fail | ★☆☆☆☆ |
| 7 | ASTM C920 | Sealants for joints (when used in preparation) | Performance classification | ★★☆☆☆ |
Quick Checklist (Scan Before You Start)
– [ ] Identify click-lock vs. glue-down vinyl and read that specific instruction set
– [ ] Verify subfloor is clean, dry, and flat to the manufacturer’s flatness spec
– [ ] Acclimate the flooring exactly as directed by the manufacturer
– [ ] Plan layout to avoid tiny edge pieces and keep seams visually balanced
– [ ] Maintain required expansion gaps and use correct transitions at openings
– [ ] Install row-by-row without debris in joints; use approved adhesive if glue-down
– [ ] Finish with recommended trims/cleaning products only
Sources
– (subfloor flatness, acclimation, expansion gap, adhesive/trowel guidance, and cleaning recommendations)
– (moisture limits and acceptable subfloor types)
– ASTM F1869 (moisture vapor emission rate test method for concrete)
– ASTM F2170 (in-situ relative humidity test method for concrete)
– ASTM F710 (standard practice for preparing concrete for floor coverings)
– ASTM E1155 (standard practice for determining floor flatness)
A dining room vinyl upgrade is one of the most achievable DIY floor projects—provided you treat prep like the main job: flatness, moisture limits, and the correct expansion-gap and installation method. Follow your specific product’s instructions closely, plan your first rows for straight seams, and finish transitions neatly so the floor can move as designed without buckling or gaps.
Frequently Asked Questions
What tools and materials do I need to install vinyl floors in a dining room?
You’ll typically need a vinyl plank or vinyl sheet roll, underlayment if required by your product, a measuring tape, utility knife, spacers, a straightedge, and a tapping block. For vinyl click-lock flooring, have a rubber mallet on hand; for glue-down vinyl, use the manufacturer-recommended adhesive and a notched trowel. Don’t forget the floor transition pieces, trim, and seam roller (if your vinyl type calls for it) to get a clean, durable finish.
How do I prepare the subfloor before installing vinyl flooring in a dining room?
Start by removing existing flooring and thoroughly cleaning the subfloor so no dust, paint, or debris remains. Check for flatness—vinyl floors need a smooth surface, and high spots or dips can cause seams to separate or planks to flex. Fix issues like uneven concrete with patching compound and sand smooth where needed, then allow everything to dry completely before you begin installation.
How do I measure and plan the layout to avoid gaps or uneven edges in a dining room?
Measure the room dimensions and account for doorways and transitions, then plan a layout so cut pieces at the walls are reasonably sized. Dry-lay a few vinyl planks to confirm the direction and pattern, and mark a starting line that keeps the flooring centered in the room. Leave the required expansion gap around the perimeter—especially important in a dining room with frequent foot traffic and temperature changes.
Which installation method is best for vinyl floors in a dining room: click-lock, glue-down, or sheet vinyl?
Click-lock vinyl plank flooring is often the easiest DIY option because it “floats” over the subfloor and typically requires minimal adhesive. Glue-down vinyl is a good choice when you want extra stability and plan to install over certain subfloor conditions, but it demands careful adhesive application. Sheet vinyl can provide a seamless look and is great for hiding minor seams, though cutting and fitting around dining room features like cabinets and baseboards can take more precision.
How do I install vinyl flooring around dining room cabinets, doorways, and trim?
For best results, test-fit planks before cutting and use a jigsaw or utility knife for precise cuts around door jambs and obstacles, keeping the required expansion gap. In doorways, use transition strips between rooms to allow movement and prevent stress on seams. If installing under baseboards, follow the product guidance—many vinyl flooring installs look cleaner when you slightly trim or remove quarter-round so the vinyl can tuck in properly.
📅 Last Updated: October 25, 2026 | Topic: How to install vinyl floors in a dining room? | Content verified for accuracy and freshness.
References
- Vinyl flooring
- https://www.rfci.com/education/
- Home – Tarkett Commercial
- https://scholar.google.com/scholar?q=how+to+install+vinyl+flooring+dining+room+subfloor+preparation Google Scholar
- https://scholar.google.com/scholar?q=installing+vinyl+sheet+flooring+proper+subfloor+preparation+seams+rolling Google Scholar
- https://scholar.google.com/scholar?q=vinyl+floor+installation+guidelines+RFCI+recommended+work+practices Google Scholar