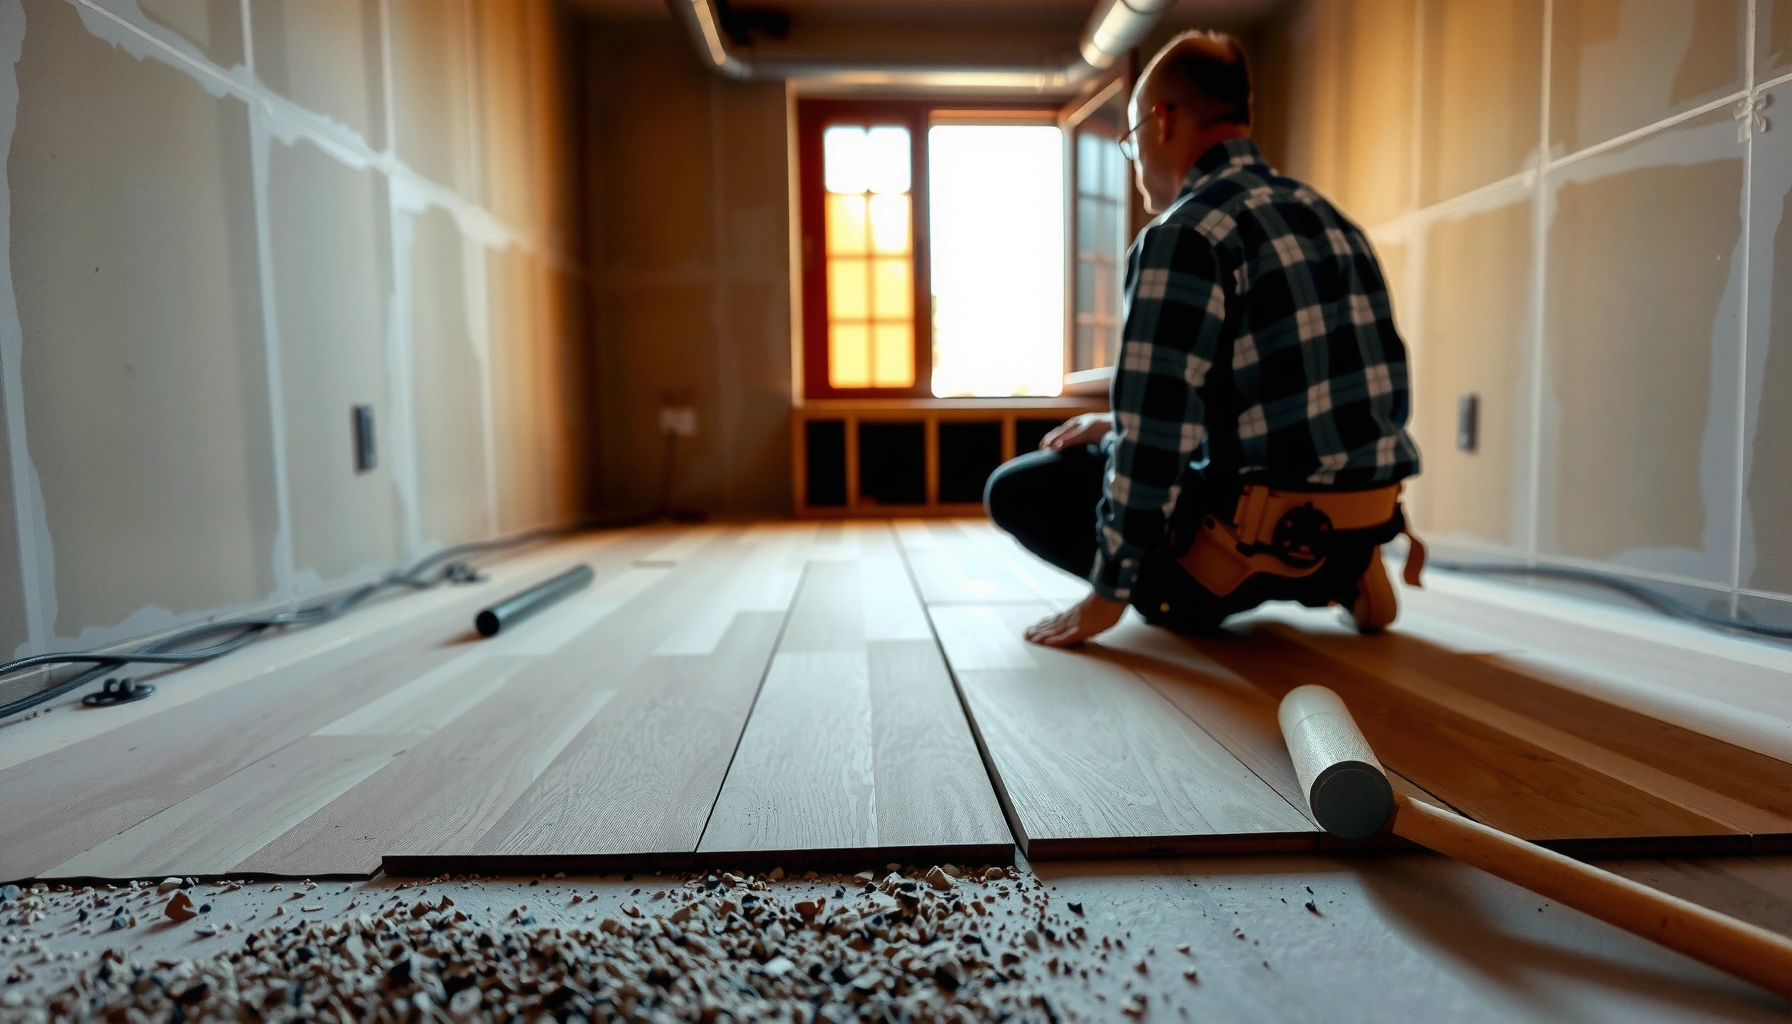

Want to install basement floors without professional help? If your subfloor is solid, level, and dry, you can usually complete the job yourself with the right prep, moisture control, and flooring method. This guide gives a clear, step-by-step path to get the results that hold up—covering exactly what to check, how to lay it, and how to avoid the most common DIY failures.



You can install basement floors yourself, but only if you treat moisture control and slab flatness as first-priority steps—not afterthoughts. Start by testing for below-grade moisture risk, choose a flooring system rated for basements, and then follow the manufacturer’s installation instructions precisely (especially vapor barrier/underlayment and expansion gap requirements).
This guide is for homeowners tackling basement flooring as a DIY project—especially if you want to avoid paying for professional labor. It’s written to help you plan the prep, pick materials wisely, and avoid common install problems that show up later.
Plan for moisture and subfloor condition first
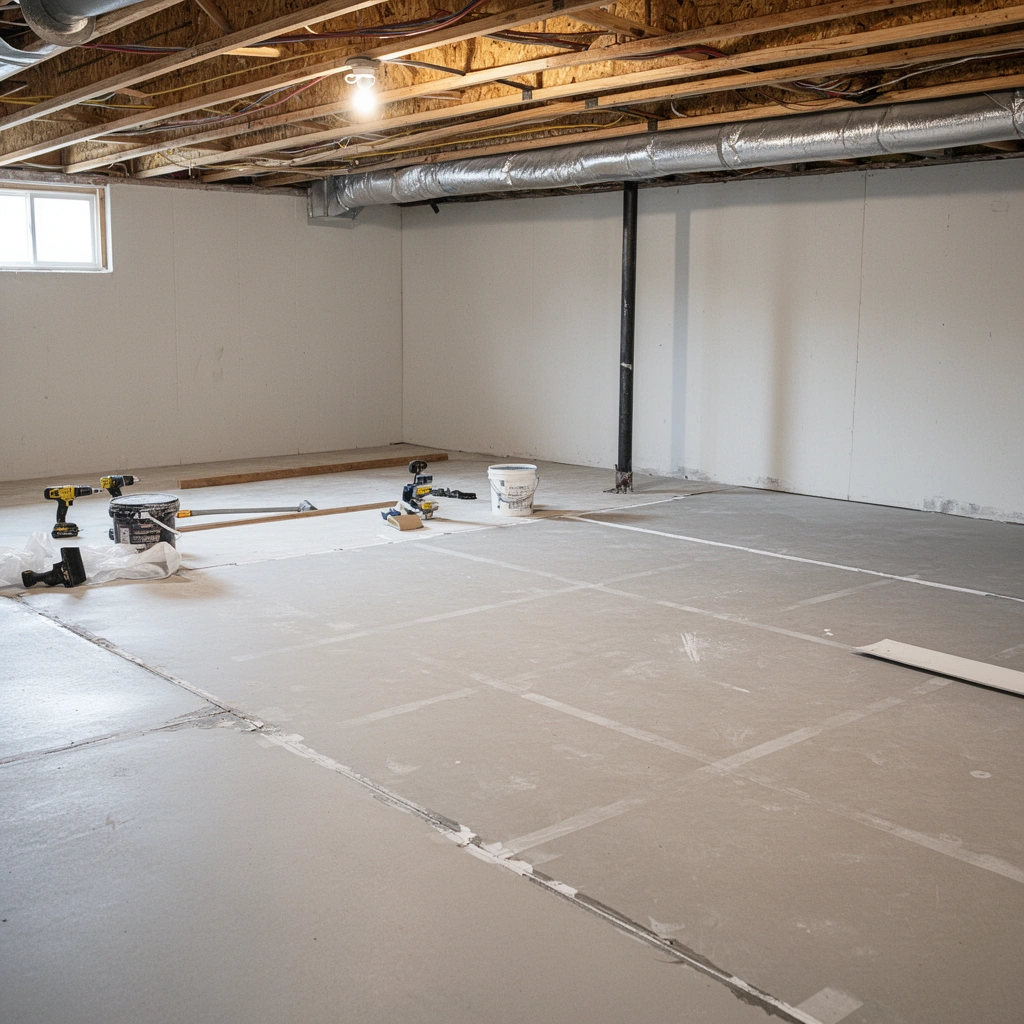
The best DIY basement floor projects succeed because the installer controls moisture and verifies flatness before any boards or tiles go down. Moisture is the #1 reason below-grade flooring fails early—so you measure first, then select a floor type that matches that risk.
Moisture management for below-grade slabs is typically required because vapor drive through concrete can reach finished surfaces even when the floor “looks dry.” EPAASTM F2170 measures in-situ concrete relative humidity (RH), which is designed specifically to evaluate slab moisture conditions for floor coverings. ASTM InternationalASTM F1869 measures moisture vapor emission rate (MVER) expressed in lb/1000 ft²/24h, another method used to predict moisture risk for flooring. ASTM International
Check for moisture sources before you pick flooring
Moisture in basements comes from multiple pathways: bulk water (leaks or seepage), capillary action inside masonry, and vapor diffusion through concrete. When you start with an actual moisture check, you can match the right flooring type and underlayment system rather than hoping the product “tolerates dampness.”
Recommended moisture-check method (the one I’d use to decide):
Use ASTM F2170 relative humidity (RH) probes if you want the most decision-grade data for modern floating and adhered floor systems. If you need a faster triage method, use the ASTM F1869 calcium chloride MVER test as a screening step. (Avoid relying on appearance alone—condensation can form seasonally and won’t always show up during a walkthrough.)
Practical notes:
– Look for obvious sources first: damp drywall near corners, recurring musty odors, efflorescence (white mineral deposits), staining, and condensation on cold surfaces.
– Verify grading and drainage: downspouts, exterior water control, and whether the basement ever collects water after rain.
Cold-climate reality: Basements often experience seasonal humidity swings. According to the U.S. Environmental Protection Agency, damp indoor environments increase conditions that support mold growth. EPA That’s why “it’s dry today” isn’t a moisture plan.
Confirm the slab/subfloor is sound and flat
Even if moisture is under control, DIY failures still happen when the slab is not flat enough for the chosen system. Concrete can have high spots, low spots, and surface contamination (paint overspray, drywall mud, adhesive residue).
What to do:
– Remove all debris, dust, sealers, and loose material.
– Patch cracks and spalls using a system compatible with concrete.
– Grind high spots rather than building up everything with thinset or underlayment.
– Clean thoroughly—most failures blamed on “product defects” are actually contaminants blocking proper adhesion or interfering with click-lock performance.
Decide whether you’ll need a vapor barrier/underlayment
Below-grade flooring typically needs a vapor control layer to limit moisture migration. The *exact* vapor strategy depends on:
– Flooring type (floating click-lock vs. glue-down vs. direct-attach/permitted systems)
– Manufacturer requirements (many restrict underlayment types or mandate a specific vapor barrier)
– Your measured slab moisture results
What to measure and record before shopping:
– Your moisture test results (method, date, units)
– Slab flatness behavior (visible ridges, known dips, patch locations)
– The basement temperature and humidity range during install
| Value you’ll want to document | Why it matters | What to capture |
|---|---|---|
| Slab moisture result | Determines whether the product can be installed | ASTM F2170 RH% or ASTM F1869 MVER units |
| Slab flatness | Controls joint performance, squeaks, and bonded failure | Measurements per manufacturer tolerances |
| Install-room conditions | Some adhesives/underlayments and floors require a range | Temperature and humidity during and after install |
Below-Grade Vapor Control: How Perm Ratings Translate to Barrier Strength
| # | Vapor permeance (perm) | Practical meaning | DIY suitability in basements | Risk signal |
|---|---|---|---|---|
| 1 | ≤ 0.05 | Very low permeation | Often appropriate for moisture-sensitive installs | Low |
| 2 | 0.06–0.10 | Low permeation | Good match for many below-grade requirements | Low |
| 3 | 0.11–0.25 | Moderate low permeation | May work if slab moisture is controlled | Medium |
| 4 | 0.26–0.50 | Moderate permeation | Use only if the flooring manual allows | Elevated |
| 5 | 0.51–1.0 | Higher permeation | Usually not adequate for moisture-sensitive systems | High |
| 6 | 1.1–2.0 | Very high permeation | Not recommended for below-grade barriers | Very high |
| 7 | ≥ 2.1 | Barrier is effectively limited | Treat as non-barrier for basements | Severe |
(Note: Perm values vary by product and thickness; always verify the vapor barrier/underlayment spec sheet you plan to use.)
Choose a DIY-friendly basement flooring option
The best DIY basement floors are the ones whose installation rules match your moisture conditions. If your slab is within the product’s allowed moisture limits, you can often use floating systems with the right underlayment/vapor strategy.
Floating (click-lock) floors are often DIY-friendly because they don’t require full-spread adhesive, but they still depend on moisture and flatness requirements. ASTM InternationalBelow-grade flooring products commonly require a specific underlayment and mandate perimeter expansion gaps to accommodate seasonal movement. ASTM InternationalGlue-down systems generally demand stricter slab surface conditions and compatible moisture/vapor control layers because adhesive failure can show up early. ASTM International
Prioritize products designed for below-grade use
Not every floor covering is intended for basement installations. The key is the manufacturer’s below-grade rating and moisture limit language. If the manual says “above grade only” or provides moisture restrictions you can’t confirm, DIY success drops sharply.
When you’re choosing:
– Look for language such as “below grade” / “for basements” in the specs.
– Confirm what the product expects for vapor barrier/underlayment.
– Check whether the product allows installation directly over concrete and under what conditions.
Pick the install method that fits your room
You generally have three pathways (when allowed by the product):
– Floating (click-lock): Boards “float” over the underlayment and rely on proper underlayment, flatness, and perimeter gap control.
– Glue-down: More sensitive to moisture, surface prep, cure times, and adhesive compatibility.
– Direct-attach systems (nail/staple) where permitted: Less common for basements due to moisture and direct fastening constraints; only do this if the manual explicitly allows it.
Match the material to temperature, expansion, and concrete compatibility
Concrete basements experience temperature swings. Floor materials respond differently:
– Wood and engineered wood may have tighter moisture/temperature requirements and risk dimensional change if conditions drift.
– Resilient vinyl/LVP (luxury vinyl plank) and laminate often rely heavily on the manufacturer’s below-grade installation instructions and underlayment choice.
Action step: Write down your basement’s typical seasonal temperature and humidity (at least approximate ranges) and compare them to the product requirements.
Gather the right tools and prep materials
You can reduce DIY risk dramatically by gathering tools that support accurate measurement, controlled cutting, and correct vapor/leveling systems. Under-specified prep is where many basement projects fail.
Underlayments and vapor barriers should match the flooring manufacturer’s requirements because incorrect systems can violate warranty terms and moisture-control design. ASTM InternationalSurface preparation for concrete floors matters for adhesion and performance; removal of contaminants and correction of flatness issues are fundamental installation steps. ASTM International
Minimum tool list (practical and job-specific)
At minimum, plan for:
– Measuring tape, square, chalk line (or laser level)
– Cutting tools suited to your flooring (e.g., utility knife and fine blades for vinyl; saw options for thicker products)
– Spacers for perimeter expansion gaps
– Shimming/leveling aids specified by the flooring manufacturer
– Cleaning supplies: vacuum with a fine filter, damp cleaning tools, and appropriate surface prep products
Prep materials you should not improvise
Use the underlayment/vapor barrier and leveling/patch products specified by the flooring manufacturer—or clearly rated for below-grade concrete. If the manual lists an allowable patch compound or primer, follow it. If it lists an underlayment thickness, don’t substitute.
Safety and workspace readiness
Basements are enclosed and dusty during cutting/patching. Have PPE on hand:
– Gloves, eye protection, and a dust mask/respirator
– Adequate ventilation and a safe cutting zone
– Dust containment strategy (tarps, vac attachments)
Step-by-step DIY installation process
If you want a basement floor that looks good and holds up, follow the workflow in the right order: condition the room, prep the slab, install vapor/underlayment correctly, then lay the flooring with correct gaps. The installation itself is often the easiest part—the prep determines the outcome.
Most basement floor failures trace back to moisture control and flatness rather than the visible flooring surface. EPAASTM F2170 uses in-situ probes to estimate slab moisture conditions relevant to floor coverings. ASTM InternationalPerimeter expansion gaps are essential because flooring materials expand and contract with temperature and humidity changes. ASTM International
Acclimate only if your product requires it
Many manufacturers require acclimation within a defined temperature/humidity range, but the exact conditions depend on the floor type and manual.
[ADD: acclimation conditions from your chosen product here, e.g., “Maintain 65–75°F and 35–55% RH for X days,” based on the manual you’re following.]
If your chosen product does not require acclimation, don’t invent it—just maintain the allowed install-room conditions during installation.
Lay out the room like a builder (not like a sprinter)
– Plan plank/tile direction based on light sources and sight lines.
– Dry-lay a few rows to confirm end-joint staggering and where cuts will land at doorways.
– Calculate waste: not everyone uses the same number, so follow your material’s guidance if provided; otherwise plan for a realistic margin.
Install in sequence (the order reduces rework)
A reliable sequence looks like:
1. Prep surface: grind high spots, patch low spots, remove contaminants, and vacuum thoroughly.
2. Install vapor barrier/underlayment (if needed): overlap/seal seams exactly as specified; tape/fasten only if allowed.
3. Lay rows/tiles: install from a controlled starting line, maintain consistent joints, and use spacers/perimeter gap tools.
4. Finish transitions and edges: door thresholds, vents, and wall interfaces should follow the manufacturer’s trim and spacing guidance.
Direct-attach warning: If you’re using an install method that requires fastening (or if your basement is very humid), double-check the allowed assembly. Many basements won’t tolerate direct-attach approaches.
What can go wrong (and how to prevent it)
Most basement DIY problems are predictable: moisture bypasses your design, the slab isn’t flat enough, or expansion gaps are wrong. If you can identify the failure mode early, you can prevent it with better measurement and stricter adherence to the manual.
Moisture-related failures can include warping, odor, and adhesive or coating breakdown when vapor control is inadequate. EPAConcrete flatness affects joint integrity and performance; installation guidelines require meeting specific substrate tolerances. ASTM InternationalSkipping required underlayment/vapor control steps can void warranties because it changes the engineered moisture protection layer. ASTM International
Moisture issues: the most expensive DIY “surprise”
Common mistakes:
– Skipping vapor control because the slab “feels dry”
– Using a floor that isn’t rated for below-grade moisture conditions
– Installing over unaddressed leaks or condensation
Preventive approach:
– Use your chosen moisture test method and record the results.
– Only proceed if the results are within your flooring product’s allowed limits (and if the manual requires additional vapor control, do it).
Uneven slab: small dips create big symptoms later
Even small high/low areas can cause:
– Gaps at joints
– Squeaks and clicking
– Loose edges (especially in floating systems)
– Poor adhesion (for glue-down)
Preventive approach:
– Level/patch to the manufacturer’s tolerances.
– Vacuum after every grinding/sanding step.
Wrong expansion gaps
Perimeter gaps are not optional. Without them, floors can buckle or lift when the basement warms up.
Preventive approach:
– Use the required spacer thickness.
– Don’t fill perimeter gaps with rigid caulk unless the manufacturer allows it.
Skipping manufacturer-specific steps
Underlayment types, overlap rules, and seam-taping methods vary by product. “It worked for my neighbor” is not a spec.
Preventive approach:
– Keep the manual open during install.
– Follow exactly how to handle transitions, stairs/thresholds, and any adhesive cure requirements.
Verdict: should you DIY your basement floors?
DIY basement flooring is realistic when you can (1) confirm slab moisture is within limits, (2) correct flatness issues before installation, and (3) follow the manufacturer’s vapor barrier/underlayment and expansion gap instructions exactly. If you do those three steps well, you can often avoid large labor costs while still achieving a professional-looking result.
That said, I recommend not DIY—or getting hands-on help—if any of these apply:
– Your moisture tests fail or show results outside the product’s allowed limits (you may need remediation, not just better underlayment).
– The slab is structurally problematic (active cracking, significant water intrusion, or evidence of ongoing seepage).
– You’re considering a strict glue-down system where cure times and substrate tolerances are tightly controlled.
– You can’t meet the flatness/cleanliness requirements documented by the flooring manual.
[ADD: your preferred hiring trigger and who should avoid DIY (e.g., “hire a flooring contractor if RH testing exceeds X or if the slab has chronic leaks”).]
[ADD: who should avoid DIY (e.g., “owners without time/ability to perform subfloor remediation or who can’t maintain temp/humidity during cure”).]
Quick scan checklist
– [ ] Confirm moisture risk and follow product moisture/vapor requirements (use your chosen ASTM method)
– [ ] Level/patch the slab; remove debris and contaminants
– [ ] Verify temperature/humidity conditions before and during install
– [ ] Acclimate only if the manufacturer requires it ([ADD: exact acclimation conditions from your chosen product])
– [ ] Plan layout and include waste factor
– [ ] Maintain required expansion/perimeter gaps
– [ ] Use the exact underlayment/vapor barrier system required by the flooring manual
– [ ] Install transitions/finishes per instructions
FAQ
Do I need a vapor barrier for basement floors?
Often yes, but it depends on your flooring type and the manufacturer’s below-grade requirements. Check the product instructions for vapor control design, moisture limits, and allowed underlayment systems. [ADD: source for the specific product’s below-grade/vapor guidance.]
Can I install floating (click-lock) floors over concrete?
Many floating floors are designed for concrete, but you usually must use the correct underlayment and verify moisture/vapor requirements. Check the manufacturer’s compatibility statement and slab condition requirements. [ADD: source for the compatibility statement from your chosen flooring brand.]
What’s the most common reason DIY basement floors fail?
Moisture issues and uneven slabs are the most frequent causes—either from skipping vapor control or not fixing flatness before install.
How flat does the concrete need to be?
Flatness requirements vary by flooring system and manufacturer. Use the installation spec for your specific floor product; if you don’t have it, don’t guess—look up the tolerance in the manual. [ADD: exact flatness tolerance from manufacturer documentation.]
Sources
– ASTM F2170 (Standard Test Method for Determining Relative Humidity in Concrete Floor Slabs Using in situ Probes)
– ASTM F1869 (Standard Test Method for Measuring Moisture Vapor Emission Rate of Concrete Subfloor Using Anhydrous Calcium Chloride)
– EPA (U.S. Environmental Protection Agency) Mold and dampness guidance relevant to indoor environmental health
– [ADD: Manufacturer installation instructions/manual for your chosen basement flooring product(s), including vapor barrier/underlayment requirements, expansion gaps, flatness tolerance, and moisture limits.]
– [ADD: Manufacturer spec sheets for the underlayment/vapor barrier system (if separate from flooring).]
– [ADD: Any official guidance relevant to below-grade moisture testing you plan to mention (e.g., manufacturer guidance for moisture meters or approved test methods).]
A successful DIY basement floor is less about the final click of the planks and more about the decisions you make before you start: test moisture properly, select a basement-rated flooring system, and follow the exact prep and underlayment/expansion rules in the manual. If you do those steps with discipline, your project can look great and perform for years—without turning into a costly redo.
Frequently Asked Questions
What basement floor types are easiest to install without professional help?
The easiest DIY options for basement floors are usually luxury vinyl plank (LVP), laminate (with proper underlayment), and engineered wood designed for below-grade conditions. For concrete basements, LVP over a compatible vapor barrier is popular because it’s forgiving and doesn’t require wet-set mortar. If you want true carpet, choose basement-rated padding to reduce mold risk and improve comfort. Always verify the basement has manageable moisture before selecting a finish.
How do I check for moisture and prevent basement floor problems before installing?
Start by inspecting for visible moisture, musty odors, and damp walls, then run a simple moisture test on the concrete slab (plastic sheet test or a concrete moisture meter). If the slab is damp, you’ll need a proper moisture barrier (often a 6-mil polyethylene layer or an approved epoxy moisture mitigation system) before installing floating floors. Also address potential water entry routes like cracks, foundation leaks, and gutters, because a vapor barrier alone can’t fix active leaks. Installing without handling moisture is one of the most common DIY causes of buckling, lifting, and mold.
How do I prepare concrete basement floors for a smooth DIY installation?
Begin by cleaning thoroughly—remove paint, adhesive residues, and dust—then repair cracks and fill low spots with a concrete patch compound. Grind high spots so the surface is flat, because uneven floors can cause LVP click joints to separate or laminate to fail. Use a straightedge to check flatness and allow patches to fully cure. Finally, install the correct underlayment or vapor barrier for your specific basement flooring type to protect the finish.
Which tools and materials do I need to install basement floors as a DIY project?
For most DIY basement floor installs, you’ll need measuring tools (tape measure and square), a flooring cutter or saw, spacers, and a tapping block for LVP or laminate. For concrete subfloors, preparation tools like a floor scraper, shop vacuum, and grinder (or leveling/patch materials) are critical. You’ll also need a vapor barrier or underlayment suitable for below-grade moisture conditions, plus transition strips for doorways and edges. Having the right underlayment and moisture barrier is as important as the cutting tools.
Best way to install floating basement floors without unevenness and gaps?
Use the manufacturer’s expansion-gap guidance and install on a flat, dry surface to prevent gaps and “tenting.” Acclimate the flooring in the basement for the recommended time, since basement humidity and temperature can affect planks or boards. Work from a chalk line to keep rows straight, stagger end joints properly, and avoid forcing boards together—adjust the subfloor or underlayment if seams don’t align. If you’re seeing movement, recheck moisture levels and flatness, because DIY basement flooring issues often trace back to moisture or an uneven concrete slab.
📅 Last Updated: October 11, 2026 | Topic: How to install without professional help basement floors? | Content verified for accuracy and freshness.
References
- Google Scholar Google Scholar
https://scholar.google.com/scholar?q=basement+floor+vapor+barrier+installation+over+concrete - Google Scholar Google Scholar
https://scholar.google.com/scholar?q=how+to+install+laminate+flooring+on+concrete+basement+humidity+moisture - Google Scholar Google Scholar
https://scholar.google.com/scholar?q=basement+slab+moisture+control+floor+coverings+DIY - Mold | US EPA
https://www.epa.gov/mold - Mold Cleanup in Your Home | US EPA
https://www.epa.gov/mold/mold-cleanup-your-home - https://www.cdc.gov/mold/default.htm
- Mold Clean Up Guidelines and Recommendations | Mold | CDC
https://www.cdc.gov/mold/cleanup.htm - Basement
https://en.wikipedia.org/wiki/Basement - https://en.wikipedia.org/wiki/Vapor_barrier
- https://en.wikipedia.org/wiki/Flooring