
Squeaks in herringbone floors aren’t something you have to live with—most can be fixed quickly by pinpointing the loose plank and securing it from below or through the top using the right fastener or adhesive. If the noise is caused by movement over a hollow spot, the fastest path is targeted shimming or injection to stabilize the subfloor. This guide answers exactly how to fix squeaks in herringbone floors with practical, minimal-disruption repairs.



If your herringbone floor squeaks, the fastest reliable approach is to locate the exact squeak spots, then secure the moving layer (usually the subfloor/joists) with additional fastening and re-test immediately. Once you understand whether your herringbone is nail-down, glue-down, or floating, you can choose a repair that stops the movement without damaging the finish or creating new problems.
If you’re dealing with squeaks that happen only when you step in certain places, this guide will help you pinpoint the cause and choose the right repair method for typical solid or engineered nail-down herringbone installs. If you’re unsure what your floor is (solid vs engineered, nailed vs glued vs floating), use the steps below to avoid making the problem worse.
Find what’s moving (and mark every squeak spot)
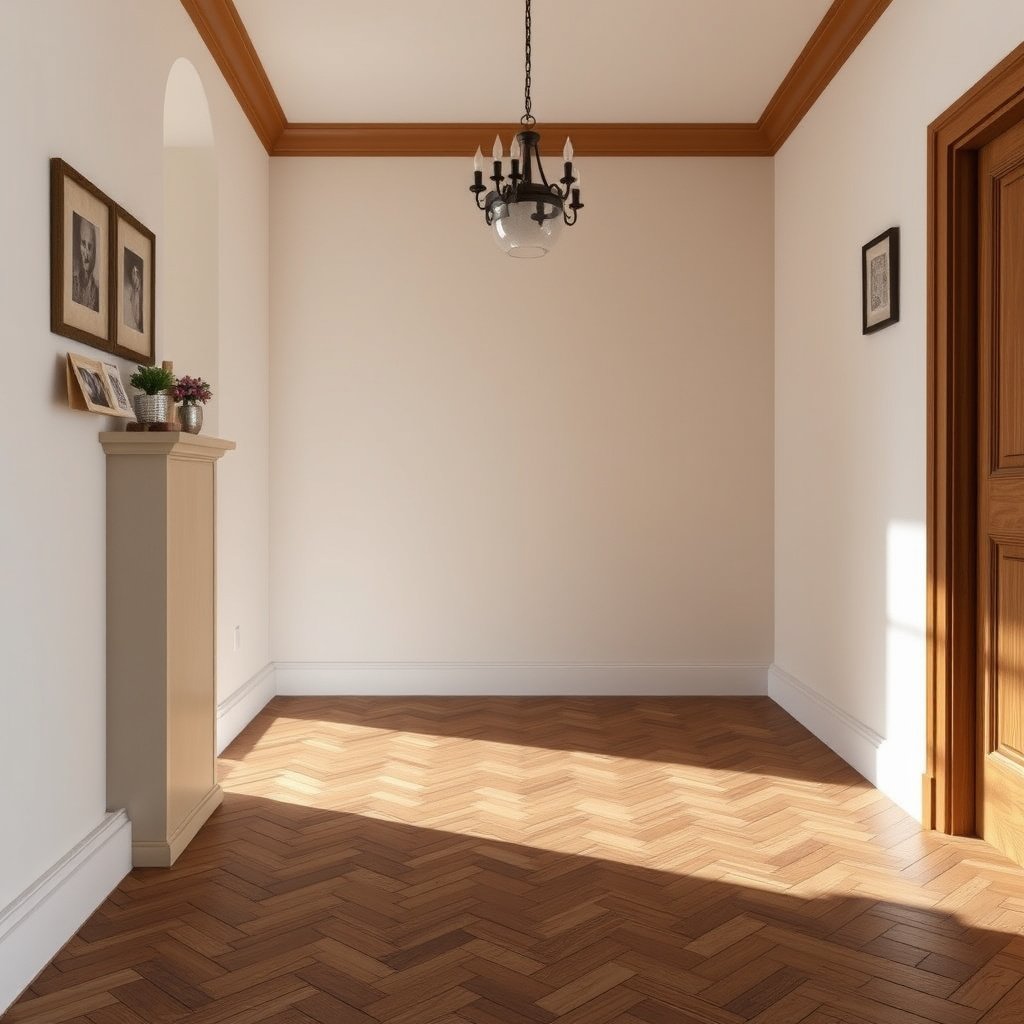
Most herringbone floor squeaks come from one moving interface: a plank shifts against the subfloor, or the subfloor shifts against the joists. Your first job is to identify which boards and which direction of movement are involved—then you can fix the correct layer.
When you walk the floor, do it systematically so you don’t “chase” noise. I like to start at one corner and work in a grid pattern, pressing on each suspect area for a few seconds, because it helps me build a consistent map of squeak locations rather than relying on memory. As of 2026, this matters even more because mixed materials (engineered herringbone over different underlayments) can behave differently within the same room.
You’re listening for two things: where the squeak occurs and how it changes with pressure. If the sound intensifies when someone steps from above, the squeak is often coming from a top-side connection loosening (plank-to-subfloor or subfloor-to-joist). If the squeak changes when someone applies light pressure from below (if you have a crawlspace/basement), the problem is more likely structural or underlayer separation.
Squeaks usually indicate movement at an interface, most commonly plank-to-subfloor or subfloor-to-joist.
Mapping squeak locations by stepping in a methodical grid makes the repair more targeted and reduces over-fastening.
Pressure tests from above versus below help distinguish surface friction from under-structure flex.
Press, walk, and mark like you’re diagnosing a mechanical system
– Press and walk the floor methodically to pinpoint the exact boards or spots that squeak. Use your body weight to reproduce the sound consistently, but keep the test gentle enough that you’re not cracking or flexing anything beyond normal use.
– Mark each location with painter’s tape or a small pencil mark so you don’t lose track while you move between tools and test locations.
– If possible, check whether squeaks change when someone presses from above vs when you push lightly from below. This single check can prevent you from fastening into the wrong layer.
What “good notes” look like (so you don’t miss the pattern)
For each squeak spot, note:
– Whether it squeaks every time you step there or only sometimes
– Whether it squeaks more with one direction of foot pressure
– Whether multiple adjacent boards squeak as a cluster (often points to subfloor/joist attachment)
A cluster of squeaks across several planks often signals a single underlying attachment problem rather than isolated plank defects.
Decide the floor type before you fasten anything

The fastest way to avoid making the problem worse is to correctly identify your installation method before you drive screws. Nail-down, glue-down, and floating herringbone floors each “want” different repair actions because the failure mechanism and allowable fastening paths differ.
As of 2026, many herringbone installations are mixed across a single home (e.g., engineered floating in one area, engineered nail-down in another). If you fasten the wrong way—especially into a floating system—you can create new movement points, dimpling, or damage to the surface finish.
Start by confirming:
– Solid vs engineered construction (often visible at the edge or under removed trim)
– Nail-down vs glue-down vs floating (often inferred from access points, installation notes, or the type of subfloor/underlayment)
Then plan your access:
– From the top if you can drive fasteners into the subfloor/underlayment (typical for many nail-down repairs)
– From underneath if joists are accessible (common in basements/crawlspaces)
Repair success depends on matching the fastener method to the floor’s installation type—nail-down repairs differ from floating repairs.
Driving screws into a system that is meant to float can create localized stress and new squeaks.
Nail-down vs glue-down vs floating: choose the correct “layer to stop”
Here’s a practical comparison you can use as you decide what to do next:
| Installation type | What’s usually moving | Most appropriate repair angle | Common “don’t do this” |
|---|---|---|---|
| Nail-down (solid or engineered) | Planks shift against subfloor; subfloor flexes on joists | Re-secure subfloor/joists with screws (pilot holes) | Don’t treat it like a floating floor |
| Glue-down | Bond separation or local edge lift | Targeted re-bonding per manufacturer instructions | Don’t assume screws fix the bond loss |
| Floating | Underlayment movement or clicking at joints | Address underlayment/subfloor issues; avoid random fastening | Don’t fasten through a system designed to “move together” |
Squeak Diagnostic Patterns for Herringbone Wood Floors
| # | Squeak signature | Most likely movement interface | First safe repair direction | Best match |
|---|---|---|---|---|
| 1 | Squeak repeats on a specific plank cluster | Subfloor-to-joist attachment at a localized area | Re-secure underlayer with screws through pilot holes | High for nail-down |
| 2 | Squeak changes when pressure is applied from below | Joist or subfloor flex (structural movement component) | Secure joists/subfloor from underneath if accessible | High for nail-down |
| 3 | Squeaks feel “clicky” at seams without under-structure flex | Top-side plank-to-plank friction and micro-gaps | Use manufacturer-approved friction-gap remedies | Moderate for nail-down/engineered |
| 4 | Squeak localizes near perimeter or vents | Expansion gap behavior or airflow-driven movement | Verify humidity range and perimeter clearance | High for all types |
| 5 | Squeak follows seasonal humidity changes | Dimensional movement causing stress at joints | Correct moisture/humidity stability first | High for all types |
| 6 | Squeak appears with visible edge lift | Localized bond/fastener separation | Follow glue-down or nail-down reattachment rules | Low without type ID |
| 7 | Wide-area creaking as you cross rooms | Underlayment/subfloor flex over a broader bay | Verify subfloor stability before spot repairs | Low for isolated fixes |
Gather the right parts (before you drill)
– Gather the right parts for the job: .
– Use the manufacturer’s guidance for:
– Screws (type, length, coating)
– Drill bit for pilot holes
– Any approved patch/repair products for the finish surface
Using the manufacturer-approved fastener type helps prevent finish damage and avoids drilling into the wrong sublayer.
Stop squeaks by securing subfloor/joists (most common fix)

Most nail-down herringbone squeaks stop when you re-secure the subfloor or underlayer to the joists in the squeak zone. The goal is movement reduction, not “over-tightening” the entire room.
This is the most common fix because wood flooring systems often behave like a stack: top planks, then a subfloor/underlayment, then joists. When one fastening point loosens, the surface can flex just enough to create friction and noise every time you step in that exact spot.
Work carefully around the finish. You’ll likely need to remove or protect any trim, transitions, or nearby topcoat features so you can access the subfloor attachment points.
Screws that reattach the underlayer to joists reduce micro-motion, which is the typical cause of localized creaks in wood flooring.
Re-test after each fastening to confirm the squeak is diminishing before adding more screws.
Fast, controlled steps (without turning the repair into new damage)
– Remove/avoid finishing damage around the squeak (work slowly, and pre-check you can hit the joist/subfloor where required).
– Add a small number of screws through the squeaky area to re-secure the subfloor/underlayer to the joists:
– Drill pilot holes
– Keep fasteners aligned with the framing path you expect
– Re-test after each screw or cluster so you don’t overdrive—movement reduction is the goal, not “tightening everything.”
Practical technique details that matter
– Pilot holes prevent splitting in subfloor layers and keep screws from wandering (which can miss the joist).
– Use the right screw depth strategy: drive screws only as far as needed to remove movement. Over-driving can dimpling in the finish layer, especially with softer top planks.
Pros/cons of the “secure subfloor/joists” approach (quick sanity check)
– Pros
– Often fixes localized squeaks fast
– Addresses the underlying motion path rather than just masking sound
– Works well for many nail-down installations
– Cons
– Requires access and accurate joist/subfloor alignment
– Too many fasteners can shift squeaks elsewhere or damage the surface
– Not appropriate if the floor is glue-down or floating without manufacturer approval
A targeted underlayer fastening plan is generally more predictable than adding fillers or friction products when the real issue is structural micro-motion.
Reduce friction between planks when the subfloor won’t move
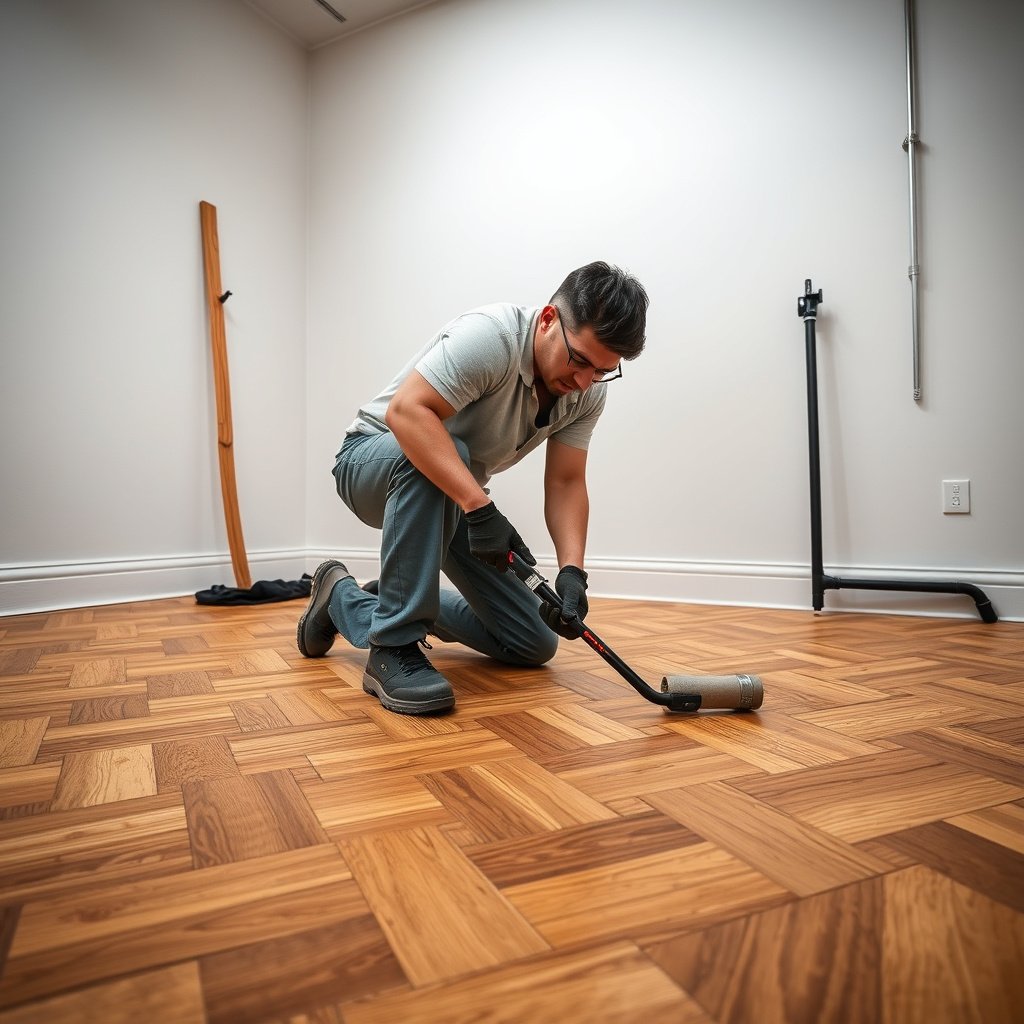
When the subfloor is already stable (or you can’t reach joists), squeaks may come from plank-to-plank friction or micro-gaps that open and close with each step. In those cases, your repair targets interface friction, not structure.
First, remove obvious sources of movement: small debris, dust, or nicked areas that can act like tiny sandpaper. Next, choose a manufacturer-approved solution compatible with your flooring’s construction and finish system. This is where flooring manufacturers differ: an additive safe for one engineered product may interfere with the coating or bonding chemistry of another.
As of 2026, more herringbone floors use layered finishes (matte urethane, aluminum oxide wear layers, or oil/modified oil). That finish type affects which “squeak powders,” lubricants, or fillers are compatible.
If the underlayment/subfloor doesn’t flex, squeaks often originate at plank seams due to friction or tiny gaps under load.
For friction-related squeaks, using a manufacturer-approved product reduces the risk of residue, discoloration, or bonding failure.
A controlled friction-reduction workflow
– Try a controlled approach first:
– Loosen/correct obvious debris
– Inspect seam lines for gaps, raised edges, or finish damage around squeak spots
– Then consider a manufacturer-approved repair method for your flooring type:
– material choice matters to avoid residue or bonding issues
– For engineered vs solid, follow the flooring’s guidance on compatible fillers, powders, or additives:
Where this approach helps most
This approach tends to work best when:
– Squeaks are limited to a small number of seams
– There’s no visible underlayer movement
– Repairs from securing subfloor/joists aren’t possible (or haven’t reduced noise)
Friction-and-gap remedies are most effective when the structure is stable and the squeak pattern aligns to seam loading rather than bay-wide flex.
Prevent squeaks from coming back (moisture + installation conditions)
Even after you fix the immediate noise, squeaks can return if the room environment or subfloor stability changes over seasons. Prevention is mostly about controlling moisture conditions and keeping the structure within the flooring system’s design limits.
Wood flooring is hygroscopic—meaning it exchanges moisture with indoor air. When relative humidity swings, boards expand or contract, which can reopen micro-gaps or change pressure against fasteners and seams. According to NWFA guidance, indoor relative humidity should typically be maintained within a recommended band such as 35–55% to reduce dimensional movement stress (NWFA guidance year ).
According to NWFA installation guidelines, subfloor flatness is commonly required to be within 3/16 in over 10 ft for many hardwood applications (NWFA document year ). This flatness requirement matters because a wavy subfloor can keep creating movement even after local fastening.
Squeaks can reappear when humidity-driven dimensional changes reopen seam stress after a repair.
Maintaining subfloor flatness and a stable indoor humidity range reduces the likelihood of renewed plank motion.
Moisture stability steps that pay off
– Verify the room’s humidity is within the manufacturer’s recommended range.
– Excessively dry or overly humid conditions can loosen boards or change expansion gap behavior.
– Ensure the subfloor is stable:
– If the subfloor flexes, fastening the top layer alone may not hold long-term.
– After any repair, let the room stabilize:
– Acclimation rules vary by manufacturer and product—check your specific warranty/installation instructions.
Installation conditions worth checking (fast)
– HVAC airflow: direct vents can create localized drying and expansion/contraction cycles.
– Perimeter clearance: if baseboards or cabinets compress the flooring, movement can convert into squeaks.
– Transition areas: stair treads and door thresholds can concentrate stress if not handled properly.
Hardwood systems need perimeter allowance so boards can expand and contract without concentrating stress at seams.
What can go wrong (common mistakes and edge cases)
Many squeak repairs fail for avoidable reasons: fastening in the wrong layer, driving screws without correct alignment, or ignoring broader subfloor issues. If you recognize these patterns early, you can stop and escalate appropriately.
The most common mistakes are structural and procedural, not “tool skill.” If the squeak is actually caused by widespread subfloor flex, a few spot screws may reduce one sound but leave the system still moving.
As of 2026, one more edge case is common: product discontinuity across rooms. If your herringbone isn’t uniform (different underlayment or install method), a one-size-fits-all approach creates mismatched repairs.
Fastening into material that isn’t part of the load path (or doesn’t bite into joists/subfloor) can fail to stop motion.
Using nail-down tactics on glue-down or floating systems can damage finishes or disturb designed movement.
Common mistakes to avoid
– Missing the joist/subfloor:
– Screws that don’t bite into structure may do nothing or create new squeaks.
– Wrong repair for the construction:
– Floating or glue-down floors often shouldn’t be treated like nail-down hardwood.
– Over-fastening:
– Too many screws or aggressive driving can cause dimpling, squeaks “moving” to nearby areas, or finish damage.
– Floor already failing:
– If you see lifting, delamination, or widespread gaps, you may need a broader repair—spot fixes won’t hold.
Limits of this guide (when you should stop DIY)
Stop and reassess if:
– Squeaks cover large areas rather than isolated spots
– You detect visible delamination, buckling, or repeated seam opening
– You can’t confidently determine whether your herringbone is nail-down vs glue-down vs floating
Widespread creaking often indicates structural flex or systemic failure rather than a single loose fastener.
Verdict / tip + scan-ready checklist
If your herringbone floor is nail-down and you can access the joist/subfloor (or a crawlspace), securing the subfloor/joists with screws is usually the most reliable route to quieting squeaks. Skip aggressive DIY if your squeaks are widespread, the subfloor is obviously loose, or your flooring is glue-down/floating and the manufacturer discourages drilling/fastening.
The “win condition” is straightforward: you identify squeak locations, apply fastening only where it affects the movement interface, and re-test after each change. That process is faster in practice than guessing, and it protects the floor’s finish.
For nail-down herringbone, re-securing the subfloor/joists is typically the most dependable squeak fix because it stops the movement source.
Spot repairs require accurate layer identification; otherwise, the squeak can shift or the finish can be damaged.
Quick checklist (save this):
| What you notice | Likely cause | Best first move |
|---|---|---|
| Squeak at specific spots that change with pressure | Local plank/subfloor movement | Mark spots, fasten where structure is behind it |
| Entire areas creek as you walk | Underlying subfloor flex | Re-check subfloor stability and joist attachment |
| Squeak varies with seasons/humidity | Expansion/contraction | Verify HVAC/humidity within manufacturer range |
| Squeak with visible lifting/delamination | Active flooring failure | Stop and assess broader repair needs |
When to call a pro: if you can’t access the underside, the squeak is in a large area, you suspect subfloor failure, or you’re not sure whether you have nail-down vs glue-down vs floating installation.
Frequently Asked Questions
What causes squeaks in herringbone hardwood floors?
Squeaks in herringbone floors are usually caused by small gaps between boards, movement from seasonal humidity changes, or loose fasteners that allow boards to rub. In many cases, nails or staples holding the herringbone pattern to the subfloor have loosened, or the underlayment/subfloor has shifted. Temperature and moisture swings can also cause the hardwood to expand and contract, creating friction that sounds like squeaking.
How do I fix squeaky herringbone floors without removing the planks?
Start by locating the squeak spots, then try dry methods like tightening access points where possible and testing whether the squeak is subfloor-related. One common approach is injecting a small amount of construction adhesive or wood flooring adhesive under the affected area through a tiny hole, then holding the board down with weights until cured. For surface squeaks, you can also use specialized floor patching/repair products to conceal the injection point after the adhesive sets.
How do I stop squeaks by securing loose boards in a herringbone floor?
If the squeak is from boards that have lifted or lost contact, you can fasten them back down using the correct technique for your flooring type. For nail-down engineered or solid hardwood, drive fasteners through the tongue/groove area where feasible, or use a careful screwing method that minimizes visible damage. Always pre-drill to avoid splitting and use a wood floor-approved adhesive when recommended, especially in high-friction areas of the herringbone pattern.
Which underlayment or subfloor issues should I check before repairing squeaks?
Before applying fixes, inspect the subfloor for movement, voids, or unevenness—these often cause repeated squeaks across the same area. Check for loose plywood, crumbling underlayment, or gaps between subfloor sheets, since movement at those joints can transfer up to the herringbone hardwood. If you find persistent squeaking after fastener repairs, addressing subfloor flatness and stability with leveling compounds or targeted subfloor reinforcement may be necessary.
Best way to prevent herringbone floor squeaks after repairs?
Maintain indoor humidity levels to reduce expansion and contraction—use a humidifier in winter and proper ventilation during dry seasons. Avoid placing rugs directly over narrow gaps without cushioning, and ensure heavy furniture uses felt pads to reduce localized stress. After repairs, protect the finish with manufacturer-recommended cleaners and avoid steam or excessive water, since moisture can loosen boards and bring squeaks back.
📅 Last Updated: October 15, 2026 | Topic: How to fix squeaks in herringbone floors? | Content verified for accuracy and freshness.
References
- Wood flooring
- Herringbone
- https://www.apaengineeredwood.org/knowledge-base/wood-floor-squeaks/
- https://scholar.google.com/scholar?q=how+to+fix+squeaky+wood+floors+subfloor+fasteners Google Scholar
- https://scholar.google.com/scholar?q=herringbone+hardwood+floor+creaking+squeaking+repair Google Scholar
- https://scholar.google.com/scholar?q=wood+floor+floorboard+squeak+causes+diagnosis+wooden+subfloor+screws Google Scholar