
Fixing cracks in LVP floors is straightforward if you follow the right step-by-step repair method, and this guide shows you exactly how to do it. You’ll learn how to diagnose the cause of the crack, prepare the area, and repair or replace the damaged plank so the floor looks and performs like it should. Get the correct verdict on what works for hairline splits versus cracked planks—without guesswork.




If your LVP is cracked, the durable fix is matching the repair to what’s moving under the surface—often a subfloor issue or a loosened/worn locking joint. Start by diagnosing whether the crack is only cosmetic or whether the plank is lifting/rocking; then either replace the plank (most cases) or use a compatible vinyl/LVP filler for minor surface cracking.
If your LVP is cracked, the fix depends on what caused it—start by checking whether the plank is lifting, the subfloor is loose, or the crack is only in the surface. For most DIY cases, you’ll remove the damaged area, re-level or re-secure the subfloor, then replace the plank (or use an appropriate crack filler only if it’s a minor cosmetic issue). This guide walks you through safe diagnosis first, then the right repair method for your crack type.
Who this is for / when it applies: This is for homeowners dealing with visible cracks in luxury vinyl plank (LVP) flooring—especially around seams, near furniture, or after temperature/humidity changes. If your floor is actively separating or rocking, you’ll want to follow the steps that address the underlying movement, not just the crack.
Identify the crack type (and what it usually means)

The fastest way to choose the right LVP crack repair method is to identify whether the damage is confined to the surface of one plank or is tied to joint separation and movement. In practice, cracks near seams, chair legs, or along plank edges usually point to stress at joints—often caused by flatness problems or an installation that lost its “tight fit” over time.
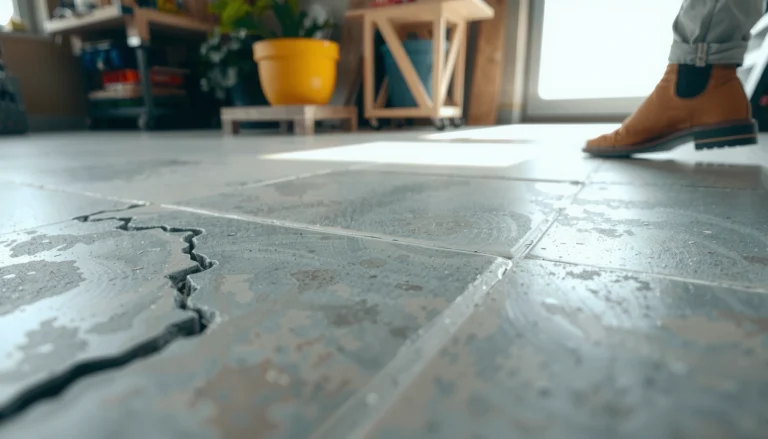
A crack that runs through one plank often indicates localized bending or subfloor movement under that spot, not just surface wear.
Seam cracks or gapping at plank edges usually mean the locking joint (or adhesive bond in glued LVP) has lost stability.
Determine whether it’s “surface-only” or “movement-related”
Start with a simple walk test around the damaged area (without jumping). Press on the plank with your hand and step lightly near it:
– Single-plank crack: The plank may be flexing over an uneven spot, debris, or a hollow area in the subfloor.
– Crack at a seam: The joint likely isn’t holding as intended—common causes include insufficient flatness, an undersupported underlayment, or a locking edge that shifted.
– Lifting or “tenting” edges: If the plank edge lifts, filler won’t fix the mechanical problem; you’ll need removal and reinstallation or subfloor correction.
Look for “cause clues” before you touch tools
Cracks are usually symptoms. Check for stressors that can concentrate load or change dimensions:
– Heavy point loads (appliances, safes, rolling chairs) can stress a seam or thin area of substrate.
– Moisture exposure (wet mopping, leaks, wet subfloor) can weaken the substrate and cause separation.
– Temperature/humidity swings can widen/contract plank joints if the floor lacks correct perimeter expansion space.
[ADD: insert the specific LVP type you’re working with—glued-down or floating/click-lock—so the rest of the steps match your installation system.]
To ground diagnosis in standards, note this: for resilient flooring, ASTM F710 is commonly referenced for subfloor flatness—3/16″ over 10 feet is a widely cited target for avoiding joint and plank stress (confirm exact requirements with your LVP manufacturer). ASTM F710 (installation flatness guidance)
Quick reference: typical failure patterns
Most LVP crack patterns fall into a few practical buckets:
– Crack + rocking: you have movement (subfloor/installation) and should prioritize correction.
– Crack with clean seams: it may be isolated to one plank and replacement is often straightforward.
– Repeated cracking in a zone: installation or substrate issues are likely broader than one plank.
Quick checks before you repair anything
Before repairing, verify the floor is stable, clean, and dimensionally “ready” for the fix. If you repair a moving problem (or patch while dust/moisture remain), the crack usually returns.
Dust, moisture, or debris in the joint zone can prevent proper locking or proper adhesion—so cleaning and drying comes first.
Subfloor flatness issues concentrate stress at seams, which is why correcting substrate geometry often stops future cracking.
Confirm the floor is clean and dry
– Vacuum thoroughly and wipe with a manufacturer-approved cleaner.
– Ensure the area is fully dry—vinyl products can trap moisture at seams, and many fillers/joint adhesives won’t cure reliably in a damp pocket.
Check for height issues (high spots and low spots)
A high spot can “pinch” the plank so it cracks under load; a low spot can create a flex point. Use a straightedge across the damaged zone and note whether the plank sits on a bump.
For resilient floors, many installers follow ASTM flatness targets (again, verify manufacturer specifics). ASTM F710
Identify glued-down vs. floating/click-lock
This one decision changes everything:
– Floating/click-lock LVP: typically relies on the locking mechanism; seam gapping often means the lock failed or the floor shifted.
– Glued-down LVP: cracking can be tied to adhesive bond failure, substrate contamination, or telegraphing imperfections.
[ADD: exact floor type you’re working with—glued-down vs floating/click-lock.]
[ADD: manufacturer/model installation system, if available, because plank removal method varies.]
Measure perimeter spacing if the crack is near the wall
If the floor was installed without the required expansion gap, seasonal movement can force joints open or crack planks. Many manufacturers specify a perimeter expansion gap on the order of ~1/4″ (6 mm) or similar—but always follow your specific LVP brand instructions. [ADD: your LVP manufacturer’s installation guide for expansion gap]
Fix method A: Replace the cracked plank (most reliable)
The best long-term fix for an LVP crack is usually to replace the damaged plank—especially when the plank is lifting, rocking, or the seam is separating. Replacement lets you remove the stress point and correct what caused the failure (debris, uneven substrate, or a compromised joint).
If a plank is flexing or lifting, replacing it is more durable than filling the crack because the mechanical failure remains.
Most click-lock repairs depend on correct alignment and re-locking pressure; removal technique determines whether you can restore a tight joint.
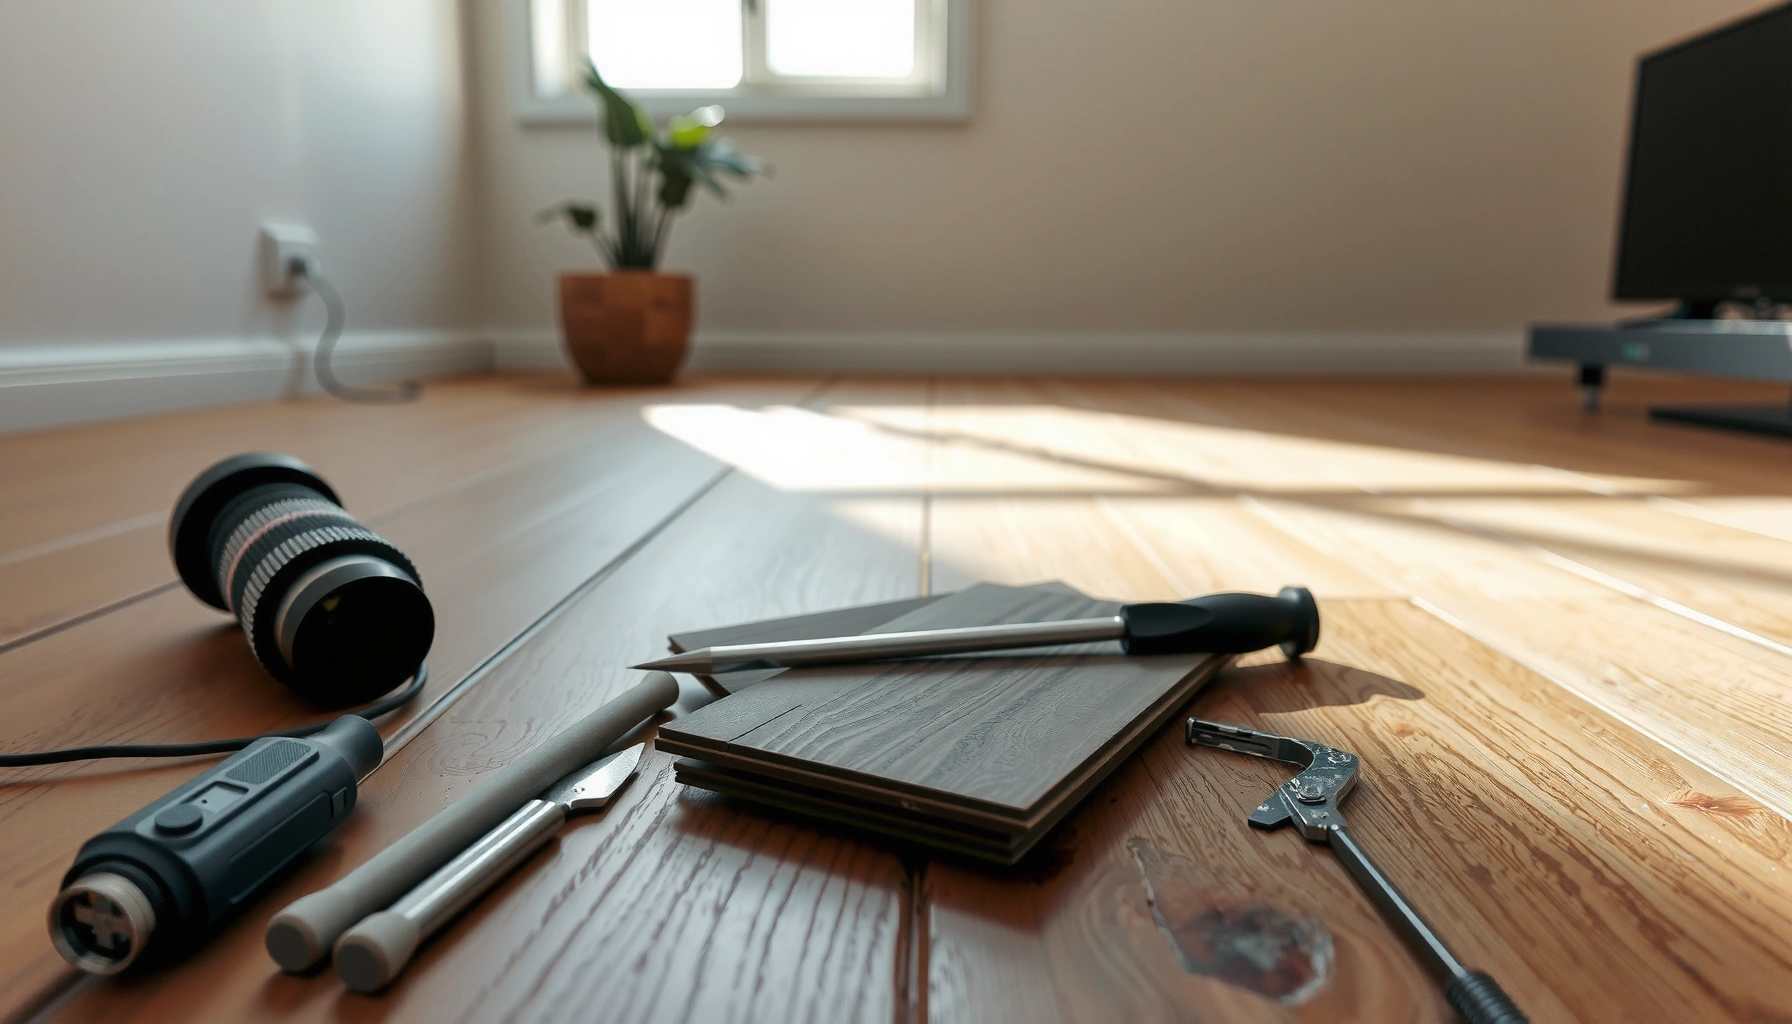
Step 1: Remove the damaged plank safely
Follow the manufacturer’s removal approach for your system:
– For click-lock, the goal is to disengage the locking edge without tearing adjacent boards.
– For glued-down, you may need controlled cutting to remove the plank while preserving surrounding planks and avoiding gouging the substrate.
[ADD: manufacturer/model or installation system, and the exact removal method from the installation guide.]
Step 2: Inspect and correct the subfloor (don’t skip this)
When we replace a plank without fixing the substrate, the same stress point usually returns elsewhere. Inspect:
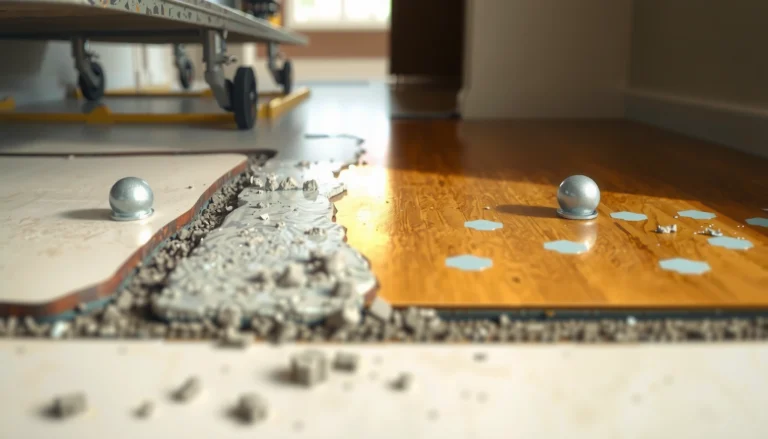
– Debris under the plank (including small stones, dried adhesive, or underlayment crumbs)
– Unevenness/voids (soft spots, “hollow” areas)
– Damaged underlayment (for floating floors)
– Moisture-related issues (dark spots, odor, swelling)
Then correct before reinstalling. For moisture investigations, many installers use ASTM moisture testing methods (e.g., ASTM F2170 for in-situ RH or ASTM F1869 for calcium chloride testing)—follow your floor manufacturer’s required limits. [ADD: manufacturer moisture/humidity limits source]
Step 3: Install the replacement plank properly
– Dry-fit alignment first.
– Ensure the replacement plank sits flat and the locking edges fully engage (for click-lock).
– Maintain the required perimeter expansion gap (if your installation method requires it).
– Avoid forcing the plank—forcing can create micro-gaps that later telegraph as seam cracks.
Pros/cons: Replacement vs. patching
| Approach | Best when | Tradeoffs |
|---|---|---|
| Replace cracked plank | Plank movement, seam gapping, rocking, or recurring cracks in the same spot | More labor; may require carefully removing adjacent planks and sourcing an identical plank |
| Patch/repair surface | Minor cosmetic cracking with no movement, seam separation, or joint stress | Doesn’t fix mechanical failure; wrong filler can leave discoloration or re-crack |
Fix method B: Repair minor surface cracking (when replacement isn’t necessary)
Patch/filler repairs can be acceptable when the crack is purely cosmetic and the plank is stable—meaning it isn’t lifting and the seam isn’t separating. If the crack is tied to movement, filler will usually fail again because it can’t stop flexing.
Only use LVP-compatible filler when the plank remains firmly seated and the crack doesn’t reopen under foot pressure.
Many fillers are not true “structural” repairs; they mainly cosmetically bridge the surface, so movement will still cause cracking.
Step 1: Confirm the plank is not moving
Do these checks:
– Step near the crack. The plank should feel solid, not springy.
– Look for seam gapping at the edges of the plank.
– Press along the joint lines with your fingertips—no “click” or lift should occur.
If you detect movement, treat it like a replacement scenario.
Step 2: Use a compatible crack filler/patch
Follow label instructions exactly for:
– Vinyl/LVP compatibility
– Application method (trowel/syringe)
– Build-up limits (avoid overfilling)
– Cleanup while wet
[ADD: filler brand/product name and the cure time from the label.]
[ADD: whether the product is paintable or stainable, if color matching matters.]
Step 3: Cure and protect the area
After curing:
– Avoid rolling loads over the repaired spot for the time specified.
– Keep moisture away during the recommended cure window.
– If the crack is near a high-traffic area, delay heavy use to reduce shrinkage-related re-cracking.
What can go wrong (common mistakes and edge cases)
Most DIY LVP crack fixes fail because the homeowner treats the symptom (the visible crack) instead of the mechanism (movement, seam failure, or substrate instability). If you see repeated cracking, active lifting, or moisture indicators, upgrade the diagnosis—not just the patch.
Filling a crack while the plank is still flexing often results in a re-cracked surface because the underlying movement persists.
Uneven substrates can “telegraph” stress to joints, so replacing one plank may not stop the cracking pattern.
Common mistakes to avoid
– Skipping subfloor correction: Even a perfect plank replacement can fail if the substrate remains uneven or unstable.
– Using the wrong repair for the wrong installation type: Glued-down and click-lock systems use different mechanics; removal technique and materials differ.
– Ignoring moisture: If the environment keeps drifting outside manufacturer requirements, LVP can separate early.
– Overfilling or using incompatible fillers: Some products can remain too flexible (or discolor) and won’t support the plank properly.
Moisture limits matter—use the manufacturer’s numbers
LVP isn’t one-size-fits-all. Moisture tolerance varies by product and system. Use your floor manufacturer’s documented limits, and test with accepted methods where needed. [ADD: manufacturer moisture/humidity limits and recommended testing standards]
When you should not proceed as a DIY repair
Skip DIY removal/patching if:
– You suspect active moisture intrusion (leaks, recurring dampness)
– Cracks span multiple planks or appear in a widening zone
– You see significant gapping that suggests failed locking fit across large areas
[ADD: when you should call a pro based on your situation—e.g., suspected moisture damage, widespread cracking, or unknown substrate condition.]
Verdict / tip: Choose replacement first; patch only for cosmetic issues
Replacement is usually the best way to fix cracks in LVP because it removes the damaged plank and lets you correct the real cause (uneven subfloor, loose installation, or movement). Patch/filler can work for minor cosmetic surface cracks, but it won’t handle cracked planks that are flexing or separating at seams.
Replacement typically restores both appearance and function by removing the stress point and re-establishing correct joint support.
Surface fillers are a cosmetic strategy; they are not a substitute for fixing unstable subfloor conditions or failing seams.
Downsides to be honest: replacement takes more time, may require a matching plank from leftover stock (or a close variant), and removal can be delicate—especially around cabinets, walls, or undercut trim. If the crack pattern is widespread or you suspect moisture, a professional assessment is the safer route.
Quick scan checklist (save this)
– [ ] Is the plank lifting or the seam separating?
– [ ] Does the plank feel loose when stepped on nearby?
– [ ] Are other nearby planks cracked or gapped?
– [ ] Is the subfloor clean, stable, and flat where the plank will be replaced?
– [ ] Are you using the correct method for glued-down vs. click-lock LVP?
– [ ] For filler/patch: is the damage purely superficial with no movement?
LVP Crack Diagnostics by Pattern (Typical DIY Outcomes)
| # | Observed crack pattern | Likely primary cause | Best repair choice | Expected durability |
|---|---|---|---|---|
| 1 | Single plank crack (no seam gap) | Local flex over uneven/substrate debris | Replace plank | High ★★★★☆ |
| 2 | Crack at a plank seam | Joint stress from movement/flatness | Replace affected plank(s) | High ★★★★☆ |
| 3 | Plank edge lifting (“tenting”) | Lock failure (floating) or bond failure (glued) | Remove & reinstall/replace | High ★★★★★ |
| 4 | Widening cracks after humidity changes | Insufficient expansion gap or substrate movement | Correct expansion + replace damaged area | Moderate–High ★★★★☆ |
| 5 | Minor surface crack only (stable plank) | Cosmetic wear / superficial impact | Vinyl-compatible filler (optional) | Medium ★★★☆☆ |
| 6 | Multiple adjacent planks cracked in a zone | Underlayment/subfloor flatness or installation movement | Investigate substrate; replace area | Low–Moderate ★★☆☆☆ |
| 7 | Cracks near moisture sources | Moisture intrusion or chronic high RH | Moisture diagnosis + replacement | Low ★☆☆☆☆ |
FAQ
Can I fix LVP cracks without replacing planks?
Sometimes—if the crack is purely cosmetic and the plank isn’t moving or lifting. If the crack is caused by flexing, seam separation, or subfloor unevenness, replacement is usually the durable fix.
Why do LVP planks crack near seams or high-traffic areas?
Cracks at seams often indicate joint stress from subfloor movement, insufficient flatness, improper locking fit, or inadequate expansion/spacing. High-traffic point loads can also concentrate stress in those spots.
What if I have click-lock LVP but can’t remove the cracked plank?
Removal can be challenging if the plank is tightly interlocked or if the floor has been installed under cabinets/walls. Use the manufacturer’s recommended removal method for your system ([ADD: manufacturer instructions]).
Will crack filler match the look of LVP?
Some fillers can blend decently, but color and texture match varies by plank finish and crack depth. Always test the filler on a spare plank piece or hidden area first ([ADD: recommended testing approach per product directions]).
Sources
– [ADD: Your LVP manufacturer installation guide for your LVP brand/model, focusing on: subfloor flatness, moisture/humidity limits, expansion gaps, and plank removal/replacement steps.]
– [ADD: Manufacturer instructions for the specific repair filler/patch product you plan to use, including compatibility with vinyl/LVP and curing/traffic limitations.]
– ASTM F710 (standard for installation practices and guidance on subfloor flatness for resilient flooring)
– [ADD: ASTM moisture test method used for your system—e.g., ASTM F2170 for in-situ RH or ASTM F1869 for moisture vapor emission]
In closing, fix LVP cracks by diagnosing whether the plank is stable or actively moving. Replace cracked planks when seams lift, joints separate, or the floor feels springy; use filler only for minor, non-moving cosmetic cracks. If you see widespread cracking, ongoing gapping, or moisture clues, pause the DIY repair and focus on substrate and environmental causes first.
Frequently Asked Questions
How can I fix a crack in my LVP floor without replacing the whole plank?
Start by cleaning the crack area and checking whether the plank is lifting at the edges. If the LVP crack is hairline and the plank is firmly adhered, you can often use an LVP-compatible repair filler and then wipe off excess before it cures. For click-lock LVP, avoid filling deep gaps that may prevent the joint from locking correctly; instead, address any subfloor movement first.
What should I do if the crack in my luxury vinyl plank is spreading?
A spreading crack usually indicates movement from an uneven subfloor, moisture, or improper installation. Remove baseboards or access the area and inspect for loose planks, gaps at seams, or high/low spots that cause flex. Fix the underlying issue—such as leveling the floor or correcting moisture—before repairing the crack with a vinyl floor patch or filler to prevent recurrence.
Which repair method is best for LVP cracks: filler, caulk, or patch kits?
For small surface cracks, an LVP floor repair filler or vinyl patch compound is typically the best choice because it blends better with the plank surface. For wider gaps at seams, a color-matched repair caulk may work if the joint can still flex slightly without pulling apart. If the damaged plank is noticeably loose, cracked through, or misaligned, replacing that plank is usually more reliable than trying to “mask” the problem with filler.
Why do LVP floors crack in the first place, and how do I prevent it after repairs?
LVP cracks often happen due to an uneven subfloor, insufficient acclimation, heavy point loads, or moisture that causes expansion and contraction. Prevent future damage by using proper underlayment as recommended, ensuring the subfloor is flat, and maintaining stable indoor humidity. Avoid dragging heavy furniture and use floor protectors to reduce stress on seams and joints.
How do I repair cracks in click-lock LVP compared to glue-down LVP?
Click-lock LVP cracks are frequently tied to joint issues or subfloor movement, so repairing may require checking alignment and ensuring the planks are fully engaged. For glue-down LVP, cracks can result from adhesive failure or moisture, so you’ll need to lift and re-secure the affected plank section if it isn’t bonded well. In both cases, clean the area thoroughly, use an appropriate LVP-compatible filler for surface damage, and replace the plank if the damage affects the locking or adhesion points.
📅 Last Updated: October 07, 2026 | Topic: How to fix cracks in LVP floors? | Content verified for accuracy and freshness.
References
- Google Scholar Google Scholar
https://scholar.google.com/scholar?q=how+to+repair+cracks+in+luxury+vinyl+tile+(lvt)+lvp - Google Scholar Google Scholar
https://scholar.google.com/scholar?q=resilient+floor+covering+cracking+causes+and+repair - Google Scholar Google Scholar
https://scholar.google.com/scholar?q=luxury+vinyl+plank+lvp+installation+defects+cracking+buckling+repair - https://en.wikipedia.org/wiki/Luxury_vinyl_tile
- https://en.wikipedia.org/wiki/Vinyl_flooring
- https://www.armstrongflooring.com/support/repairs-and-replacements/vinyl-flooring-repair.html
- https://www.karndean.com/en-us/support/repairs
- https://www.ny.gov/how-to-repair-a-floor-crack
- Google Scholar Google Scholar
https://scholar.google.com/scholar?q=How+to+fix+cracks+in+LVP+floors?