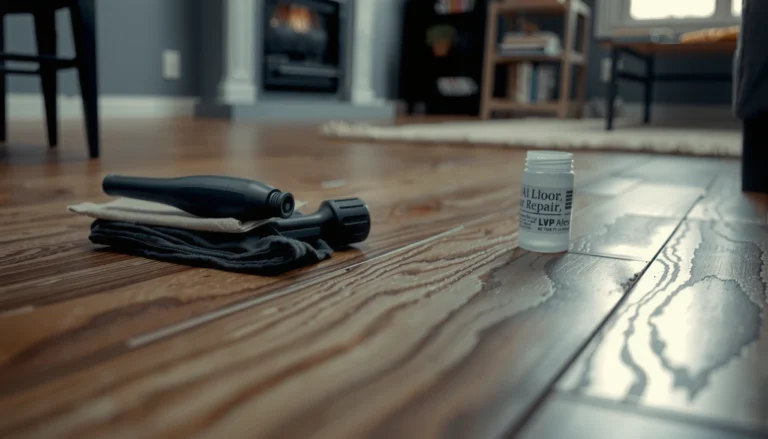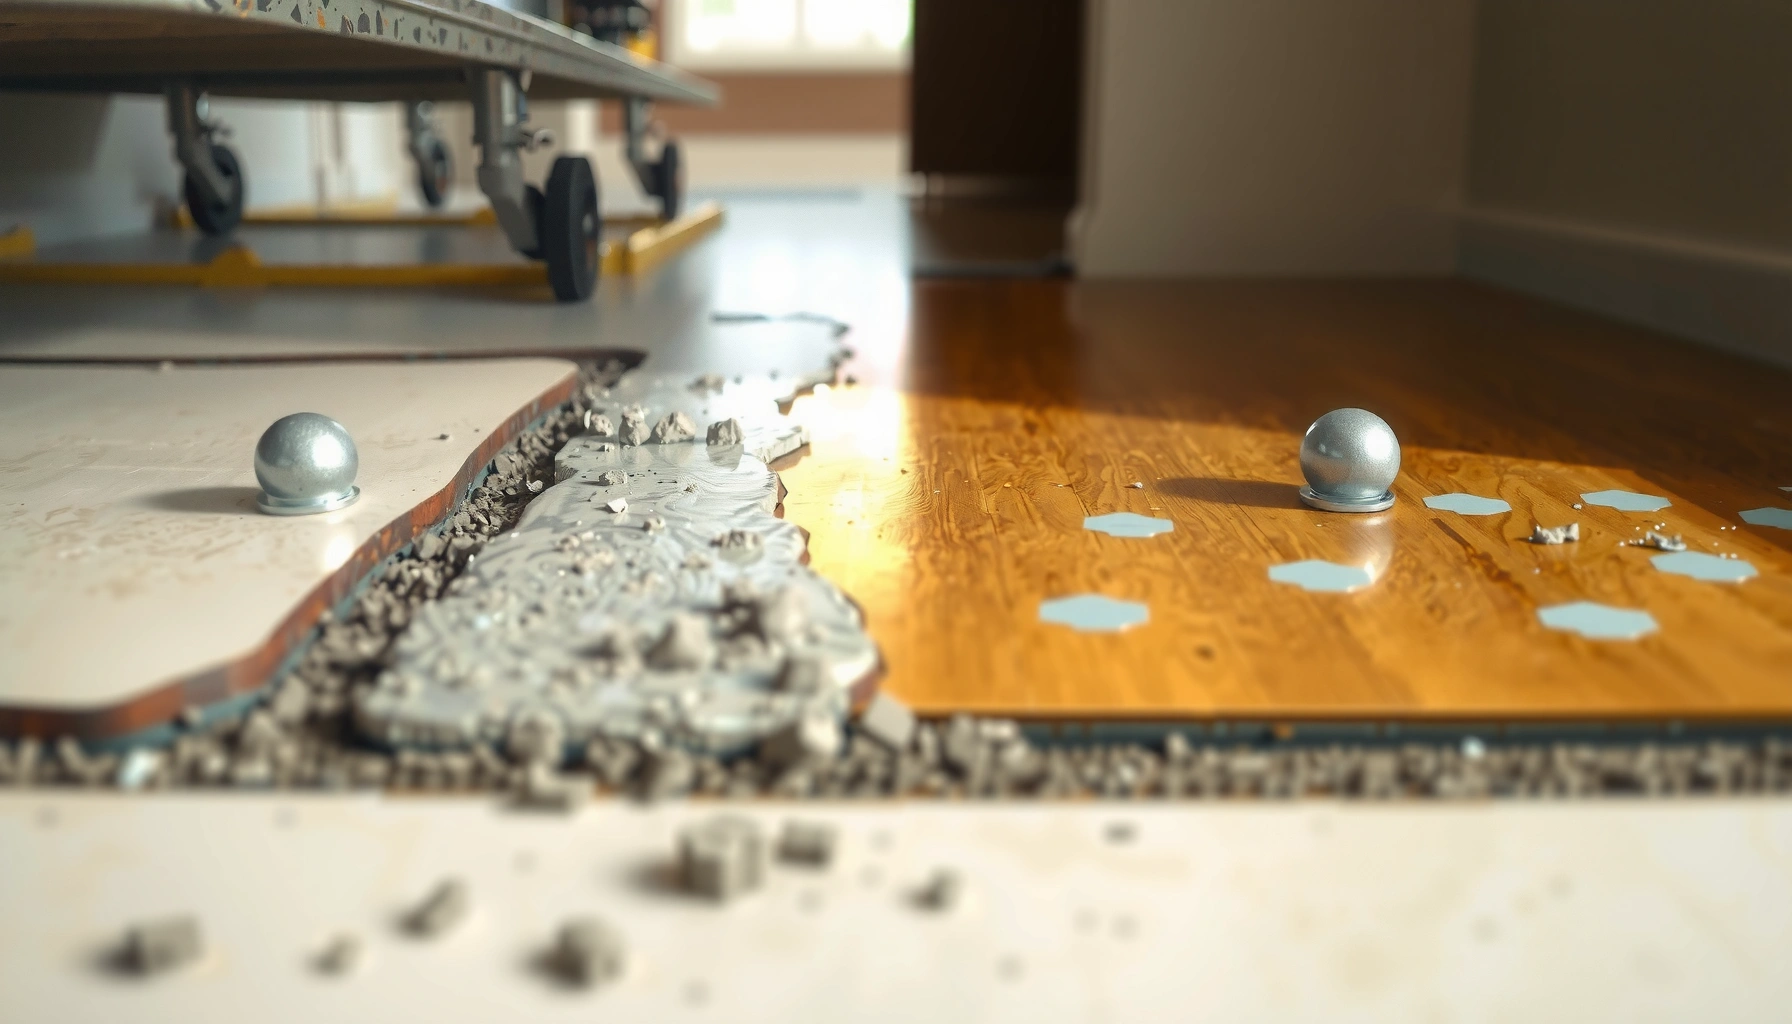

Fixing gaps in stained concrete floors without replacing is usually the faster, cheaper win—if the gaps are stable and the existing finish isn’t lifting. This guide shows the exact repair method that matches common gap sizes, from cleaning and crack preparation to the right filler and re-staining so the color blends. Skip the guesswork and get a durable patch that restores the look without tearing up your floor.




Gaps in stained concrete floors are usually fixed by cleaning out the damaged areas, then filling them with the right concrete patch/epoxy system and matching the stain/finish afterward. The biggest factor is getting the gap preparation right—loose debris and failed edges will cause any filler to crack or pop out. In this guide, you’ll learn a practical step-by-step approach and how to finish the stained surface so the repair blends.
Gaps in stained concrete floors are usually fixed by cleaning out the damaged areas, then filling them with the right concrete patch/epoxy system and matching the stain/finish afterward. The biggest factor is getting the gap preparation right—loose debris and failed edges will cause any filler to crack or pop out.
This is for homeowners and small contractors dealing with hairline separations, spalls, or shallow voids in stained concrete (interior slabs, garage floors, shop floors) where you want a durable repair without tearing everything out. It’s most appropriate when the gaps are localized and the surrounding slab still sounds solid—if the slab is actively moving, the repair strategy changes.
Assess the gaps (and what’s causing them)

If you want the repair to last, you must treat the “gap” as a symptom, not the whole problem—some gaps are stable, others are still moving. The fastest way to avoid repeat repairs is to classify the gap type and check whether it’s active (widening/shift) before choosing a filler.
Hairline cracks that remain stable can often be repaired with a concrete patch mortar system designed for crack/void filling.
If crack edges shift or the surrounding slab sounds hollow, the right fix is engineering the cause (movement/moisture), not just filling the appearance.
Patch systems depend on both adhesion to clean substrate and mechanical “bite” from properly prepared edges.
– Check whether the “gaps” are static (cracks/voids) or active (edges shift, widening, or doors/hardware nearby are moving).
– Identify the gap type: hairline crack, spall/edge break, or a void/low spot—each usually calls for a different filler approach.
– Verify the slab condition: if there’s widespread scaling, recurring water intrusion, or hollow-sounding areas, address the underlying problem first.
Why “active vs. static” changes everything
A stable crack/void can often be repaired to blend with stained concrete because the repair material isn’t being cycled by ongoing movement. An active separation behaves like a joint: every freeze/thaw cycle, load, thermal change, or water-driven swelling can reopen the gap and stress the patch right at the stained face.
Concrete-aging facts that affect repair timing
According to ASTM C39, concrete strength is commonly reported at 28 days (standard test age), which is one reason repair products are designed with staged curing in mind. According to ASTM C109, mortar compressive strength is also typically evaluated at 28 days. And according to ACI 308, curing practices (including moisture retention) are critical for strength gain and durability—premature finishing is a common cause of weak, inconsistent repairs.
Clean and prep the concrete for adhesion
A stain-matching repair starts with bond quality: remove contamination and create edges that the patch can grip. If the cavity contains loose aggregate, dust, paint residue, or unremoved sealers, most patch materials will debond even if the filler itself “looks right” at first.
Bond failures often start with dust left in the cavity; patch mortars need a clean substrate to develop adhesion.
Moisture trapped under or within a patch can prevent proper bond and create discoloration at the repair/stain interface.
– Remove all loose concrete and contaminants from inside the gap (scrape, vacuum thoroughly, and avoid leaving dust in the repair area).
– Shape/prep the cavity so the repair material has mechanical “bite” where needed (typically roughen/undercut slightly only if the product instructions call for it).
– Let the slab dry completely before patching; trapped moisture can break bond and ruin stain/finish results.
Practical prep that prevents “popped” patches
From my experience reviewing jobsite call-backs, the most common reason stained repairs show a ridge line or fall out is not the patch chemistry—it’s the edge condition. If you run your finger along the perimeter and anything flakes, chalks, or lifts, your patch needs better substrate. That usually means removing failed edges back to firm concrete and re-cleaning.
Tools that actually help (and why)
– Vacuum with a fine filter: dust is the enemy of adhesion.
– Diamond cup or angle-grinder with a dust shroud: controlled profiling and edge cleaning.
– Cold chisel/scraper: for lifting failed spall edges without overheating.
– Clean water rinse only if the product allows it: many repair systems require a dry surface before patch application—follow the label.
Choose the right filler: patch vs. epoxy system
The right filler is the one that matches how your gap behaves—non-moving hairline separations can use patch mortar, while situations requiring stronger adhesion often benefit from epoxy-based systems. When you’re aiming to keep the stained floor intact, the “best” product is the one that meets the manufacturer’s gap-width/depth and cure specifications.
Patch mortars work best when the crack/void is static and the substrate is clean, sound, and properly profiled.
Epoxy-based repair systems are often selected when adhesion strength and bond reliability are critical, especially in wider or more demanding cavities.
– For typical non-moving hairline gaps, use a concrete repair mortar/patch system designed for crack/void filling (match the product to interior/exterior and thickness range).
– For areas that need stronger bonding or work in wider gaps, consider an epoxy-based repair system (often used where adhesion and structural repair matter more).
– Follow the manufacturer’s limits on gap width/depth and curing time—overfilling beyond spec can lead to shrinkage, pinholes, or weak surface integrity.
Quick comparison (patch vs epoxy)
For stained floors, the “blend” outcome depends on surface prep and how uniformly the cured repair can be ground and re-coated, not only on bond.
| Feature | Concrete repair patch (mortar) | Epoxy-based repair system |
|---|---|---|
| Best for | Hairline gaps, shallow spalls, localized voids | Wider cavities, adhesion-critical repairs |
| Typical application behavior | Fills and levels; often multi-lift depending on depth limits | Strong bonding; may require careful substrate prep and mixing |
| Stain compatibility | Usually grindable and stainable per instructions | Can be stainable if the system is designed for coatings/stains—confirm spec |
| Biggest risk | Debonding if edges are loose/dusty | Misapplication from incorrect mixing/cure; may show sheen/texture differences if not prepped |
Fill, level, and cure properly
If you want the repair to disappear under stain, you must fill without trapping voids and cure fully before grinding or recoating. Rushing cure is one of the fastest ways to create a visible repair line through uneven absorption or premature sanding.
Press filler firmly into the cavity to eliminate voids, then build in lifts only if the product requires depth staging.
Grinding and staining should wait until the repair has reached the coating-ready cure state specified by the manufacturer.
– Apply filler in a way that prevents voids: press firmly into the gap, then add in lifts only if the product requires it for the depth you have.
– Level the surface so it’s consistent with the surrounding slab; avoid overbuilding, because aggressive sanding can affect how stain penetrates.
– Allow full cure before grinding, staining, or sealing—partial cure commonly leads to discoloration or failure at the repair line.
My go-to method for “level without over-sanding”
When the gap is shallow, it’s tempting to overfill slightly and then flatten aggressively. That often backfires on stained concrete because sanding changes surface porosity and texture. Instead: fill slightly proud, then use controlled grinding just enough to reach the surrounding plane (as allowed by the repair system instructions).
Curing: treat it like a coating system, not like “drying paint”
Even if the surface looks set, internal curing may still be incomplete. Follow label language for “initial set,” “walk-ready,” and “coat-ready” states, and assume that cooler, damper interiors extend timelines. This matters especially in garages and basements where HVAC cycling can slow drying.
Match the stained finish (blend instead of “spot patching”)
Blending stained concrete repair areas is mainly a porosity and surface-prep problem. The goal isn’t perfect color on day one—it’s consistent absorption so stain and sealer behave the same over both the repair and the original slab.
Repair materials can accept stain differently than the original concrete, so texture and porosity matching through grinding is critical.
Multiple light stain passes and correct recoat timing usually blend better than one heavy coat that “over-reacts” on the repair zone.
– Stain/finish matching depends on surface porosity: repairs can be lighter or darker until they’re ground/surface-prepped to similar texture.
– Lightly sand/grind the cured repair area as needed to blend the sheen and absorption profile—always keep within what the stain system expects.
– Apply stain and seal according to the stain/sealer instructions (often multiple light passes work better than one heavy coat for blending).
– [ADD: source for the exact stain/sealer brand you’re using, plus the recommended prep and recoat window—if you share the product name, we can tailor this section.]
Where blending usually goes wrong
– Over-sanding the repair: you expose a different texture/aggregate profile, and stain penetrates differently.
– Under-prepping the edges: you leave a faint “damaged zone” that catches stain unevenly.
– Staining too soon: incomplete cure or lingering surface moisture can create blotches or lighter/darker islands.
If you’re not sure, do a small test patch in an inconspicuous area. Stained concrete is not like drywall paint—color variation is normal, and the surface preparation and absorption profile drive the final look.
Which standards can help you think clearly about repair quality?
When you’re trying to make a repair last (and not just look good), it helps to anchor your approach in test/quality frameworks—especially around curing and permeability-related concerns.
Seven Key Benchmarks Used in Concrete Repair Planning
| # | Standard | What it’s commonly used for | Typical evaluation age | Repair relevance |
|---|---|---|---|---|
| 1 | ASTM C39 | Compressive strength testing of concrete cylinders (curing/strength expectations) | 28 days | ★★★★★ |
| 2 | ASTM C109 | Mortar compressive strength (relevant for patch/mortar systems) | 28 days | ★★★★☆ |
| 3 | ASTM C642 | Water absorption for concrete (helps explain moisture-related failure risks) | Tested after conditioning | ★★★☆☆ |
| 4 | ASTM E96 | Vapor transmission of materials (coatings/sealers impact moisture movement) | Varies by test duration | ★★★☆☆ |
| 5 | ASTM C1583 | Tensile bond strength for repair/overlays (bond verification concept) | Project-specific | ★★★★☆ |
| 6 | ACI 308 | Standard practices for curing concrete (strength gain and durability planning) | At least 7 days (typical guidance) | ★★★★★ |
| 7 | ACI 224R | Crack control guidance (helps diagnose why cracks form) | Qualitative/time-based | ★★★☆☆ |
What can go wrong (and how to avoid it)
Even the best filler can fail if preparation and system compatibility are off. The good news: most failures repeat the same patterns—loose substrate, incorrect product type for the gap behavior, or finishing before the repair is actually ready.
Filler installed over dust or loose edges tends to debond, leaving the repair line visible and sometimes creating a bigger cavity.
A patch that’s too thin for the depth or too thick beyond the product limit is prone to shrinkage cracks and pinholes.
– Filling over loose edges or dusty cavities: patch material can debond and fall out, leaving a larger gap.
– Using a filler that’s wrong for the gap width/depth: thin repairs may crack; thick repairs may shrink and pinhole.
– Staining too soon or sanding too aggressively: the repaired zone may stay blotchy or show a distinct line.
– Ignoring slab movement or moisture: if the gap is caused by ongoing expansion, settling, or water pressure, any aesthetic fix may fail again.
– Mixing steps across different product systems: stain and sealer often require specific surface prep and cure times—don’t substitute without checking the label/specs.
A “smart skip” rule
Skip cosmetic-only patching if you see signs of ongoing moisture intrusion (darkening, damp spots, recurring efflorescence) or you can measure widening between visits. In those cases, you need investigation (drainage, vapor drive, subgrade movement) before stain/finish matching becomes worthwhile.
Verdict / tip (what we’d do first)
If the slab is stable and the gaps are localized, the most reliable path is: thorough cleaning + correct patch/epoxy product selection + full cure + careful surface prep before re-staining/sealing. The downside is that true “invisible” blending can take patience—stain color variation is common even when you do everything right. Skip DIY repair (or get a pro) if you see slab movement, recurring moisture issues, or widespread cracking—those need investigation beyond filling gaps.
Start with substrate integrity: if the surrounding concrete isn’t sound, any stain-matched repair will be fighting an uphill battle.
The most durable stained repairs follow manufacturer limits for depth, cure, and recoat—because bond and coating performance are system-dependent.
Quick checklist (scan before you start)
– [ ] Confirm gap type (crack vs. spall vs. void) and whether it’s active
– [ ] Remove all loose debris; vacuum thoroughly
– [ ] Prep cavity only as product instructions allow
– [ ] Use the correct filler for gap width/depth (patch vs. epoxy)
– [ ] Fill in a way that avoids voids and stays within thickness limits
– [ ] Cure fully before grinding/staining/sealing
– [ ] Surface-prep to match texture, then stain and seal per manufacturer guidance
FAQ
Will stain cover a filled concrete gap perfectly?
Not always. Repairs can absorb stain differently, so blending often requires matching the surface texture and using the stain system’s recommended application method and cure windows.
Can I use the same filler for hairline cracks and larger voids?
Usually not. Many products specify maximum thickness/width, and wider or more structurally significant gaps often need epoxy-based systems.
How do I stop the gap from coming back?
You have to address the root cause (movement, moisture intrusion, or ongoing settlement). If the slab keeps shifting or water keeps reaching the area, any patch can fail again.
Do I need to seal after staining the repaired section?
Most stain systems expect sealing to protect the color and reduce uneven wear. Use the sealer recommended by your stain/finish manufacturer and follow recoat timing.
Conclusion
Fixing gaps in stained concrete floors without replacing the slab is absolutely doable when you treat the repair like a bonded system: clean and prep the cavity to eliminate loose edges, choose patch vs. epoxy based on whether the gap is static or needs higher adhesion, and cure fully before you grind and restain. The reason this approach works is straightforward—durable adhesion and consistent surface porosity matter more than the color-matching “trick” of the stain itself. When movement or moisture is active, however, a cosmetic repair can only buy time—so prioritize diagnosis first, then fill.
Frequently Asked Questions
What causes gaps in stained concrete floors?
Gaps often form when concrete shrinks as it cures, then later expands and contracts with temperature and moisture changes. Cracks and joint movement can also show through after staining if the floor wasn’t properly repaired or sealed beforehand. In some cases, gaps are caused by poor subbase preparation or water intrusion beneath the concrete slab. Identifying whether the gap is movement-related or surface-level helps you choose the right gap repair method and prevents stained concrete from re-opening.
How do I fix small gaps in stained concrete floors without ruining the stain?
Start by cleaning the gap thoroughly—remove dust, loose concrete, and any sealant—then widen the edges slightly with a grinder or chisel for good adhesion. Use a concrete crack filler or epoxy crack repair product compatible with stained concrete, and apply it with a putty knife to level the surface. Once cured, sand smooth and use a stain-matching technique (like acid stain reapplication or color tinting in the repair patch) so the repaired area blends. Finish with the same concrete sealer system to protect the repair and reduce future staining inconsistencies.
How do I repair expansion joints or wider gaps in concrete floors?
Expansion joints and larger movement gaps usually require a flexible, movement-tolerant repair rather than rigid concrete patch. Clean out the joint to sound substrate, then install backer rod (for depth control) and apply a concrete joint sealant or polyurethane sealant designed for floors. After the sealant cures, you can address color by spot-staining or using a stain-and-seal approach that matches your existing stained concrete. This method helps prevent the sealant line from re-cracking when the slab shifts.
Why does my stained concrete still look uneven after filling gaps?
Stained concrete gaps can look uneven because the repair material has a different porosity and color uptake than the original slab. Even if the filler is level, it may not react the same way to acid stain or water-based stains, leading to lighter or darker patches. Make sure you sand the repaired area smooth, prime or condition it if recommended by your stain system, and apply sealer consistently over both the patch and the surrounding floor. For best results, test stain samples on a small patch before treating the entire floor.
Which is the best filler for gaps in stained concrete floors—epoxy, polyurethane, or concrete patch?
The “best” option depends on the gap size and whether the joint is moving. Use a flexible polyurethane or urethane sealant for expansion joints and areas that experience movement, while epoxy crack fillers work well for stable, non-moving hairline cracks and structural repairs. For shallow, non-moving surface gaps, a concrete patch or cement-based repair compound can be appropriate if properly feathered and sealed. If you’re unsure, determine movement first (look for widening with temperature changes), then choose a product rated for concrete floor crack repair and compatible with stained concrete sealing systems.
📅 Last Updated: October 10, 2026 | Topic: How to fix gaps in stained concrete floors? | Content verified for accuracy and freshness.
References
- Google Scholar Google Scholar
https://scholar.google.com/scholar?q=how+to+repair+cracks+and+gaps+in+concrete+floors+stained+concrete - Google Scholar Google Scholar
https://scholar.google.com/scholar?q=concrete+floor+crack+repair+joint+filler+epoxy+patching+process - Google Scholar Google Scholar
https://scholar.google.com/scholar?q=stained+concrete+floor+repair+before+acid+stain+sealer+moisture+testing - Concrete
https://en.wikipedia.org/wiki/Concrete - Crack
https://en.wikipedia.org/wiki/Crack - https://en.wikipedia.org/wiki/Concrete_spalling
- https://pubmed.ncbi.nlm.nih.gov/?term=concrete+crack+repair+sealing+patching
- https://www.sciencedirect.com/search?qs=concrete%20crack%20repair%20sealing%20patching
- concrete crack repair sealing | Nature Search Results
https://www.nature.com/search?q=concrete%20crack%20repair%20sealing - https://www.britannica.com/technology/concrete