

Want to install flooring over tile slate floors without lifts, grout cracks, or uneven transitions? This step-by-step guide gives you a clear, proven method that works when your slate tile is solid, sound, and properly prepped—so you can move forward confidently. You’ll learn exactly what to check first, how to level and prep the surface, and how to install the new floor with the right underlayment and fastening approach.




If you want to install new flooring over existing slate tile, the safest path is to confirm the tile is firmly bonded and the surface is flat enough for your specific flooring system—then build the right underlayment/moisture control stack on top. The main work is not “covering” the tile; it’s preventing movement and height problems so your new floor stays quiet, level, and intact.
This guide is for homeowners and remodel teams working in kitchens, entryways, bathrooms, and other areas where slate tile is staying in place. It’s especially helpful when you’re prioritizing less demo, better comfort underfoot, and clean transitions—while still protecting against future shifting or cracking between layers.
Check slate tile condition and flatness first
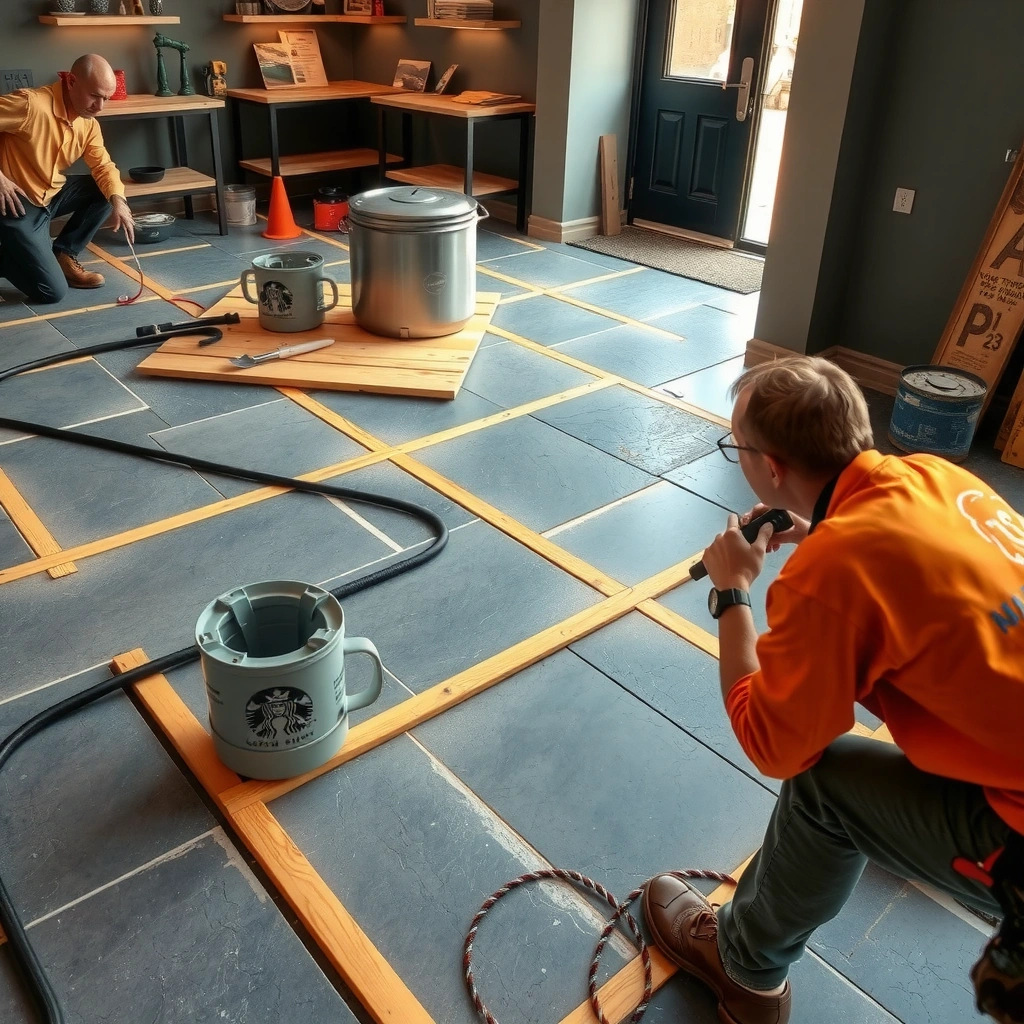
Installing over tile slate starts with one decision: whether the existing tile is stable and flat enough to serve as a substrate. If tiles move, you’ll effectively transfer that instability into the new flooring system—regardless of how good your underlayment is.
If a tile is “hollow” or moves under pressure, it will telegraph into the new floor as noise, joint separation, or cracking—especially with floating installations.
Flatness is measured against the tile surface, not the room—use a straightedge across tile faces and grout joints to find ridges that create point loading.
Before you cover slate tile, inspect for water intrusion signs (dark staining, efflorescence, soft grout) because trapped moisture becomes a long-term risk.
Here’s what to do in practice:
Verify tile stability (no loose or hollow units)
Press on multiple tiles (including corners) and lightly tap with a knuckle or the handle end of a small tool. Any tile that flexes, clicks, or sounds hollow is a red flag. In my experience with remodeling jobs that kept existing tile, the “small” loose spots were often the ones that later caused the most callbacks—because new flooring expands/locks and forces those weak areas to behave differently.
What to look for:
– Tiles that rock or move under hand pressure
– Grout that’s cracked widely (not just hairline shrinkage)
– Edges that feel raised compared to surrounding tile
Confirm flatness with a straightedge (and plan to fix high spots)
Use a long straightedge (commonly 6–10 ft / 1.8–3 m) and check across grout lines and tile tops. High ridges are the usual failure trigger for floating floors (click-lock) because planks need continuous support to avoid deflection at joints.
According to industry practice for resilient and laminate systems, many manufacturers target subfloor flatness around 3/16 in over 10 ft (≈4.8 mm over 3 m), though your exact product may differ. [ADD: source for manufacturer flatness tolerance over existing tile]
Inspect for cracks, water damage, and deteriorated grout
Slate tile can be durable, but the grout system and substrate underneath can fail first. Before installing anything on top:
– Look for recurring dampness, dark staining, or smell in wet areas (bathrooms, entries)
– Check for crumbling grout or sand loss
– Confirm there isn’t an ongoing water leak (a floor covering won’t “solve” plumbing)
If you find active water issues, address the source before thinking about underlayment or vapor barriers—covering the problem typically delays it, not prevents it.
Clean, prep, and address joints between tiles
You can’t “underlayment your way” out of contamination. Proper prep over slate tile means cleaning thoroughly, flattening transitions, and filling the right gaps with compatible materials.
Slate and grout surfaces trap wax, soap residue, and dust that interfere with adhesion and reduce underlayment performance over time.
Low spots and grout joints should be filled or leveled with floor-approved patch/leveling products designed for the type of flooring you’re installing.
Moisture control over tile depends on the new flooring and moisture conditions—vapor barriers are not one-size-fits-all.
Deep-clean for bond and noise control
Start with removal of:
– Soap scum (common in bathrooms)
– Wax or floor finish residues
– Construction dust/crumbs left from previous work
Then re-vacuum, and wipe with a clean, residue-free method recommended for stone/tile (avoid products that leave film). A clean substrate reduces squeaks in floating systems because grit is often what creates tiny movement points.
Fill low spots and transition gaps—don’t “just skim coat”
If your straightedge reveals dips between tiles or along grout lines, use a floor-appropriate patching/leveling compound compatible with both:
– The tile substrate (and grout chemistry)
– The flooring installation method you’re using (floating vs glue-down)
Even if your new floor is floating, a rough or soft base can cause telegraphed imperfections and joint stress.
Decide on vapor control based on manufacturer requirements
Some flooring products specify a vapor barrier layer even when installing over tile. Others require a specific underlayment with integrated moisture resistance. If you’re working in basements, slab-on-grade, or damp climates, assume moisture will try to move—then follow the written spec for your exact product.
According to common installation guidance, moisture testing and vapor control should align with the new floor’s ASTM-based testing standards and substrate limits. [ADD: source for moisture testing standard referenced by your flooring manufacturer]
Choose the right installation method for what you’re installing
The installation method determines how strict your slate tile surface must be. Floating floors usually need the flattest results to avoid joint failures, while glue-down methods are more sensitive to adhesive/substrate compatibility.
Floating click-lock floors rely on an underlayment layer for comfort and sound reduction, but they still require the tile surface to meet flatness tolerances.
Glue-down or thinset/adhesive systems are only as strong as the substrate preparation—tile surfaces must meet adhesive manufacturer requirements.
Height transitions at doorways matter more when tile is thicker than the room’s original subfloor build-up.
Floating floors (click-lock): follow underlayment thickness and moisture specs
If you’re installing a floating system, confirm:
– The underlayment thickness range allowed over “hard tile”
– Whether a separate moisture barrier is required over tile slate
– That seams are installed correctly (overlap/tape as required)
Floating systems are popular because they’re faster and less disruptive than full removal. But they are less forgiving of ridges—especially at grout joints.
Glue-down / adhesive applications: confirm tile suitability first
For glue-down systems, you need to ensure:
– The adhesive is approved for use over tile/stone
– The tile surface meets required cleanliness and profile
– Any manufacturer-mandated primers or surface prep steps are followed
If your slate tile is glossy or has residue, adhesion may fail early even if the floor “looks fine” during the first months.
Plan height changes and transitions early
Slate tile can create a noticeable step at doorways or into adjacent rooms. Before you install anything:
– Measure finished height vs thresholds
– Plan reducers/transition strips sized for the exact height difference you’ll create
A smooth transition is also functional: it reduces impact loading at the threshold, which is a common point of failure.
Install with correct underlayment, spacing, and transitions
You’ll get the best outcome when you treat slate tile as a rigid substrate that still needs a engineered “top system”: underlayment, spacing rules, and properly detailed transitions.
Underlayment must be installed flat with seams handled exactly as directed; wrinkles and trapped air create localized low support.
Even though tile doesn’t expand like wood, your new floating product does—expansion gaps around walls and fixed objects are still required.
Transitions protect edges: a reducer strip or edge profile prevents impact and joint stress where floors meet carpet, hardwood, or different heights.
Underlayment installation (do it like the manual)
Install underlayment/underlayment panels exactly per the manufacturer:– Keep layers flat (no bunching, no “roll-up” during install)
– Tape seams if specified
– Maintain any required overlap or seam spacing
Expansion gaps: keep them consistent
Floating flooring still needs room to move due to temperature and humidity swings. Maintain expansion gaps around:
– Walls
– Cabinets (if the product is allowed to float up to fixed cabinetry per the manual)
– Pipes and posts
– Any other fixed boundaries
Use transitions that match height and traffic patterns
At minimum, plan for:
– Doorways (where movement and impact concentrate)
– Areas where you meet different floor heights
– Edges that would otherwise be exposed
What can go wrong (and how to avoid it)
Installing over tile slate fails for predictable reasons: instability, unevenness, wrong moisture control, and poor debris management. Most problems are preventable if you verify conditions and follow specs closely.
Loose tile underneath can cause clicking, movement, and separation—fixing it before install is the only reliable remedy.
Small ridges can create point loading; over time, that stress can crack grout lines (for rigid systems) or break joints (for floating systems).
Missing or mismatched moisture control can trap water vapor and lead to odor, moldy conditions, or adhesive breakdown.
Common failure modes (and the fix)
– Loose tile beneath the new floor: Reset or replace loose tiles before any underlayment goes down.
– Uneven tile surface: Grind/level high spots and fill low areas so the substrate meets the new floor’s flatness tolerance.
– Wrong underlayment or missing moisture control: Use underlayment and vapor barriers that match your flooring manufacturer’s written guidance.
– Incompatible patching compounds: Patchers not intended for floor leveling can debond or crack under load.
– Debris trapped under planks: Vacuum and inspect again right before installing the new layer.
Comparison: floating vs glue-down over tile slate
Use this quick contrast to choose the most realistic risk profile for your project.
| Aspect | Floating / Click-lock over tile slate | Glue-down over tile slate |
|---|---|---|
| Flatness sensitivity | High (joint integrity depends on support) | High (bond depends on substrate profile & prep) |
| Moisture strategy | Often needs manufacturer-approved vapor barrier | Often requires specific adhesive system & moisture limits |
| Edge detailing | Expansion gaps + transitions are critical | Joint/edge failures can come from adhesive issues |
| Substrate defects | Telegraphed noise/deflection if ridges remain | Failure can occur if adhesion is compromised |
Verdict: do it if tile is solid and you follow the flooring specs
Installing new flooring over tile slate can be a practical choice when the existing tile is firmly bonded and you can bring the surface close enough to the new product’s flatness and moisture requirements. It’s typically less disruptive than full demo and can improve comfort and sound—provided you get the substrate prep right.
That said, there are clear downsides. If you discover widespread loose tiles, major height differences, or signs of ongoing water intrusion, covering tile is often the wrong priority. In those cases, fixing the underlying substrate problem (or planning selective removal) is the safer long-term approach.
Quick checklist before you start
Best Fit Flooring Choices Over Solid, Flat Slate Tile (Practical Suitability)
| # | Flooring type | Typical installation approach | Moisture control complexity over tile | Suitability rating |
|---|---|---|---|---|
| 1 | Click-lock laminate (with approved underlayment) | Floating | Medium | ★★★★☆ |
| 2 | Luxury vinyl plank (LVP) click-lock | Floating | Medium | ★★★★☆ |
| 3 | Engineered hardwood (floating or click variants) | Floating | Medium–High | ★★★☆☆ |
| 4 | Rigid core vinyl (enhanced locking system) | Floating | Medium | ★★★★☆ |
| 5 | Porcelain/ceramic over-tile (rare; often requires thinset system) | Bonded (thinset) | High | ★★★☆☆ |
| 6 | Carpet over pad (with leveling where needed) | Direct + underlay | Low–Medium | ★★★★☆ |
| 7 | Glue-down LVT/LVP (adhesive system required) | Glue-down | High | ★★★☆☆ |
> Note: This suitability table reflects the general “fit” of common methods over rigid tile, but the final answer always comes from your flooring manufacturer’s installation instructions for over tile/stone.
FAQ
Can I install over slate tile without removing it?
Often yes, if the existing tile is firmly bonded and you can achieve an acceptable flatness level for your new floor type. If tiles move or the floor has pronounced height variation, partial removal or re-setting is usually the safer route.
Do I need a vapor barrier when installing over tile?
Sometimes, but it’s product- and condition-specific. Always follow the written moisture/vapor control requirements for your flooring system rather than relying on general rules.
What’s the biggest risk when installing over tile slate?
Unevenness (high grout ridges or raised tiles) and unstable tiles are the most common causes of noise, joint failure, and cracking. Moisture control mistakes can also create long-term odor or microbial issues in enclosed layers.
Floating floors or glue-down—what’s more forgiving over tile?
Floating installations are often more forgiving of minor substrate irregularities when paired with the right underlayment and within the product’s flatness tolerance. Glue-down systems are more sensitive to substrate profile, cleanliness, and adhesive compatibility.
Sources
– [ADD: Manufacturer installation instructions for your specific flooring type—floating/click-lock, glue-down, engineered wood, laminate, or resilient vinyl]
– [ADD: Manufacturer guidance on allowable subfloor flatness tolerances over tile]
– [ADD: Underlayment and moisture barrier manufacturer installation instructions for use over tile/stone]
A practical way to think about this project is “system compatibility,” not “surface coverage.” If your slate tile is stable and you meet the flatness and moisture requirements for your chosen flooring method, installing over it can save time and reduce demo. If the tile is loose, the surface is significantly out of plane, or moisture issues exist, treat prep (or targeted removal) as the real installation—because that’s what protects your new floor from shifting, clicking, or failing.
Frequently Asked Questions
What prep work is required before installing over tile slate floors?
Start by thoroughly cleaning the slate tile to remove soap scum, dust, grease, and any wax or sealers that could prevent proper adhesion. Inspect for loose or cracked tiles and repair them first, because unstable slate will cause grout and underlayment failure. Next, roughen the surface (lightly abrade) and vacuum well to improve bonding for thinset, self-leveler, or underlayment materials.
How do you install new flooring over slate tile without removing the existing tiles?
In most cases, you can install over tile slate by using a suitable underlayment system and setting materials designed for bonding to ceramic/stone surfaces. Use a manufacturer-approved thinset or leveling compound if you need to flatten lippage and create a smooth transition, and then install your chosen flooring (such as LVP, engineered wood, laminate, or carpet). If you’re using a floating floor, follow a flatness guideline and install the correct underlayment and moisture barrier for tile-over-tile installs.
How do you handle uneven slate tile and grout lines before installation?
Uneven slate tile is a common issue because natural stone often has thickness and height variations, plus raised grout lines. Use a flatness check (2–3 ft straightedge) and grind high spots, then fill low areas and grout depressions with a patch or self-leveling underlayment rated for use over tile. This step is critical—poor flatness can lead to gapping, clicking-joint separation, or premature wear in LVP and laminate flooring.
Why is moisture testing and vapor control important when installing over slate floors?
Slate tile is generally stable, but moisture can still migrate from beneath the slab or through subfloors, especially in basements or ground-level rooms. Before installing over tile slate floors, check moisture conditions and use an appropriate vapor barrier or underlayment system based on your flooring type and local climate. Proper moisture management helps prevent mold, adhesive failure, and cupping or warping in wood-based flooring materials.
Which installation method is best for specific flooring types installed over tile slate?
For waterproof products like LVP, choose a floating installation with an underlayment/vapor barrier system designed for hard-surface substrates and ensure the tile floor is clean, stable, and sufficiently flat. For engineered wood or tile-on-top installations, use the right thinset mortar and follow manufacturer guidance for bonding over existing stone or tile. For laminate, a floating click-lock system typically works best, but you must meet flatness requirements and use the correct underlayment to handle the tile slate texture.
📅 Last Updated: October 09, 2026 | Topic: How to install over tile slate floors? | Content verified for accuracy and freshness.
References
- https://en.wikipedia.org/wiki/Tile_flooring
- Slate
https://en.wikipedia.org/wiki/Slate - Thinset
https://en.wikipedia.org/wiki/Thinset_mortar - https://en.wikipedia.org/wiki/Grout
- https://en.wikipedia.org/wiki/Floor_underlayment
- https://www.britannica.com/technology/tile
- https://www.britannica.com/science/slate-rock
- Google Scholar Google Scholar
https://scholar.google.com/scholar?q=installing+tile+over+existing+tile+floor - Google Scholar Google Scholar
https://scholar.google.com/scholar?q=slate+floor+installation+thinset+grout+subfloor+requirements - Google Scholar Google Scholar
https://scholar.google.com/scholar?q=cementitious+backer+board+tile+installation+over+existing+floor+tile