


Replacing vinyl floors in a kitchen is a straightforward DIY project when you follow the right sequence for removing the old planks, prepping subfloor conditions, and installing the new material correctly. This step-by-step guide tells you exactly what to do—from tools and measurements to adhesive or click-lock installation and finishing details around cabinets and edges—so your floor lays flat and lasts. If you want a clean, durable kitchen result without costly mistakes, this is the process to use.




Replacing vinyl floors in a kitchen is usually a “remove → prep → install → finish” project. If you take time to get the subfloor flat and follow the vinyl manufacturer’s acclimation/installation instructions, the new floor typically lays cleanly and performs reliably—especially in a room with heat, moisture swings, and heavy traffic.
Replacing vinyl flooring in a kitchen is a very common DIY (or “DIY with help”) upgrade because vinyl is forgiving and often tolerates imperfect minor cosmetic differences better than many hard-surface options. Still, kitchens punish mistakes: trapped debris under planks, uneven subfloors, or missing expansion space at cabinets and walls can lead to gaps, squeaks, and seam separation.
This is for homeowners (or DIY helpers) who already have vinyl flooring, want to swap it out in a kitchen, and are okay doing careful measuring, trimming, and surface prep. If your old flooring is glued down, the prep work (and any safety testing for older materials) matters more than the actual “lay the vinyl” part.
Plan your kitchen vinyl replacement
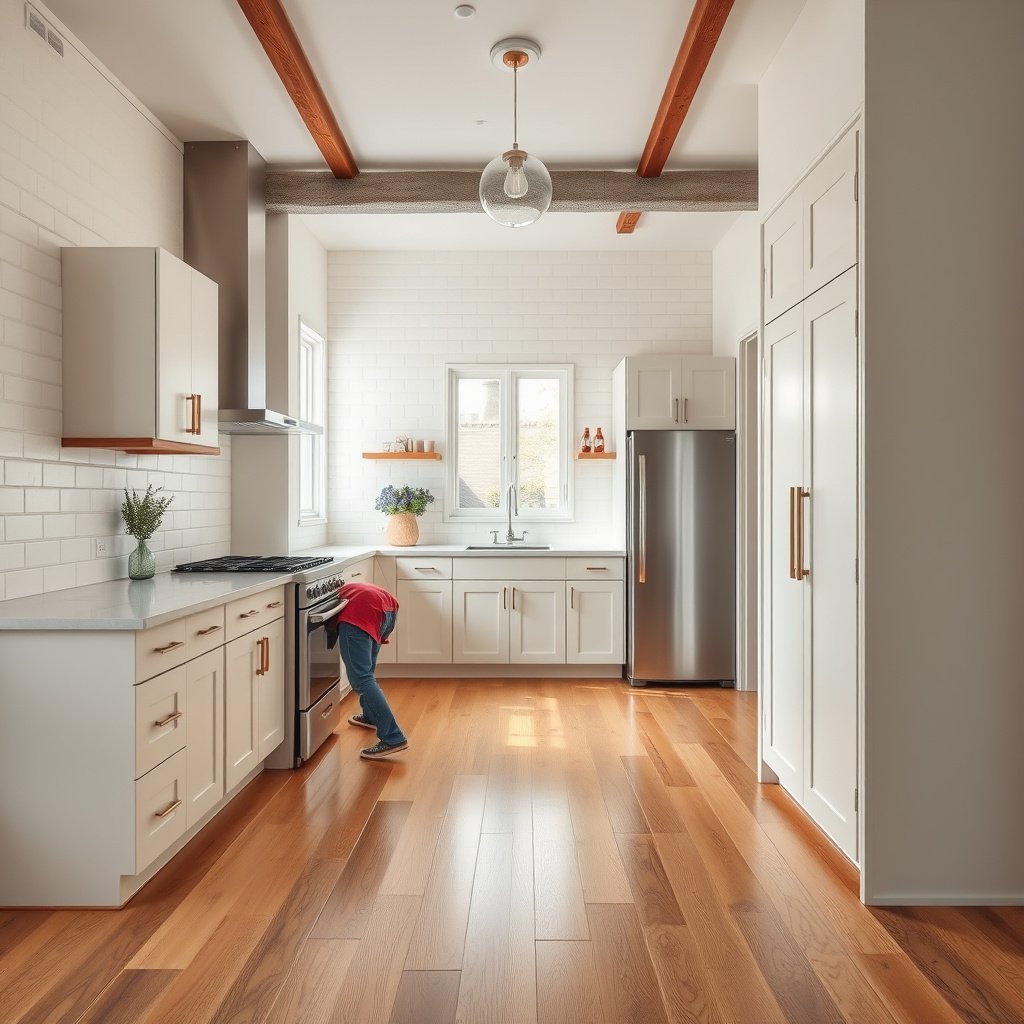
Choose the correct vinyl type up front—click-lock plank, glue-down plank, or vinyl sheet—because your removal and installation method will differ from the start. Then confirm acclimation, expansion-gap, and subfloor requirements in the product guide before you touch the old floor.
A kitchen vinyl replacement goes smoother when you confirm the flooring type (click-lock vs glue-down vs sheet) before removal, because each type has a different underlayment and bonding requirement.
Most vinyl warranty coverage assumes you followed the manufacturer’s acclimation and expansion-gap instructions; skipping those steps is a frequent reason for disputes after installation.
As of 2026, many residential vinyl products still require an expansion allowance around fixed objects (walls, cabinets, islands) to prevent buckling during temperature swings.
– Confirm what you’re installing (vinyl plank click-lock vs glue-down vinyl plank vs vinyl sheet), because removal and installation steps differ.
– Measure the kitchen and plan the layout so seams/edges land where they look best and don’t fall in tight traffic paths.
– Read the manufacturer instructions for acclimation, expansion gaps, and subfloor requirements before you remove anything ().
Before you calculate cut sizes, decide where you’ll start your first row. In kitchens, the “best-looking” layout is often also the “most stable” layout: keep seams out of the heaviest cast/rolling paths (dishwasher zone, main walkway) and avoid tiny sliver cuts at the opposite wall that can become weak points over time.
Quick comparison: click-lock vs glue-down (what changes in your plan)
Click-lock and glue-down vinyl both aim to create a flat, supported surface—but the way they tolerate movement is different. That difference drives how you plan joints, transitions, and cleanup of the existing adhesive.
| Feature | Click-lock vinyl plank | Glue-down vinyl plank/sheet |
|---|---|---|
| Primary bonding | Mechanical interlock at seams | Adhesive bond to subfloor |
| Subfloor tolerance sensitivity | Ridges can telegraph and stress seams | Unevenness can break adhesive transfer |
| Removal complexity | Often easier; planks lift up if intact | Usually harder; adhesive removal is critical |
| Typical “watch-out” | Seams not fully engaged (gaps) | Wrong adhesive method/coverage (lifting) |
Safety and compliance targets to keep in mind while planning removal
Kitchen floors sometimes sit on older adhesives and coatings. Before you scrape, grind, or dry-clean residue, review safety rules—especially for lead paint and crystalline silica dust.
According to the EPA, the Lead Renovation, Repair and Painting (RRP) Rule applies to target housing and child-occupied facilities built before 1978 (2010).
According to OSHA, the permissible exposure limit (PEL) for respirable crystalline silica is 0.05 mg/m³ (50 µg/m³) as an 8-hour time-weighted average (2016).
According to the U.S. EPA, HEPA filters are designed to capture at least 99.97% of particles at 0.3 microns (use your referenced guidance year).
Numeric Safety Thresholds that Affect DIY Resilient Floor Removal (U.S.)
| # | Regulatory target | Numeric requirement | Where it shows up in a kitchen vinyl swap | Compliance impact |
|---|---|---|---|---|
| 1 | EPA RRP Rule scope (target housing) | Built before 1978 | Scraping/removing residue in older kitchens may trigger RRP dust-control rules | High ★★★★★ |
| 2 | Renovator certification cycle | 5 years | Use EPA-certified renovators when required for larger disturbance projects | High ★★★★★ |
| 3 | Lead dust clearance (floors) | 40 µg/ft² | If clearance sampling applies after disturbance, floors must meet this threshold | Critical ★★★★☆ |
| 4 | OSHA silica PEL (respirable crystalline silica) | 0.05 mg/m³ (50 µg/m³) TWA | Grinding/removing old adhesive/residue can generate silica dust | Critical ★★★★☆ |
| 5 | OSHA lead action level (airborne) | 30 µg/m³ TWA | Dry scraping/grinding older coatings can exceed exposure thresholds | Critical ★★★★☆ |
| 6 | OSHA lead PEL (airborne) | 50 µg/m³ TWA | If exposure controls aren’t used, DIY removal can cross this limit | Critical ★★★★★ |
| 7 | Asbestos NESHAP notification timing | At least 10 working days before activity | Unexpected asbestos discovery can force notification/controls | High ★★★★☆ |
> Note: This table is meant to remind you that vinyl flooring removal can trigger dust-control rules. Always follow your local requirements and the applicable EPA/OSHA guidance.
Remove the old vinyl flooring safely
Yes—you can remove old vinyl yourself more safely when you control dust, handle residue correctly, and treat older kitchens as potentially hazardous. Your vinyl replacement quality often depends less on lifting planks and more on what you do with adhesive and debris underneath.
For resilient flooring removal, dust control (HEPA vacuuming and wet methods where appropriate) is typically the difference between a clean install and a contaminated surface.
If you plan to scrape or grind, evaluate potential lead/asbestos risk first—because controls and legal requirements change before you disturb older materials.
– Disconnect appliances as needed, protect cabinets/walls, and remove baseboards/quarter round carefully so you can reuse or replace them cleanly.
– For click-lock vinyl: lift and pull rows in sequence (start from a manageable edge). For glued-down vinyl: you’ll usually need scraping and adhesive removal.
– If the kitchen is older, treat the job as potentially hazardous: check for asbestos/lead risks before grinding/scraping anything, and follow required rules ().
Practical removal sequence (what to do first, second, third)
1. Clear and protect: Move appliances (or at least disconnect and mask edges), cover cabinet faces, and pull floor transitions carefully so you can reinstall trim neatly.
2. Document existing conditions: Take photos of layers and any transitions. This helps you replicate the “as-built” layout if you later need to adjust thresholds or underlayment.
3. Remove per vinyl type:
– Click-lock vinyl plank: lift rows in sequence to avoid breaking locks.
– Glue-down vinyl: expect adhesive removal—residual glue bumps can prevent new vinyl from sitting flat.
When “older kitchen” changes your risk level
In my experience helping homeowners plan a vinyl flooring replacement, the biggest mistake isn’t the tool—it’s assuming the old adhesive and base layers are harmless. If your home is older, you should assume lead and asbestos are possible until testing (or documentation) confirms otherwise.
According to the EPA, the RRP Rule covers work that disturbs painted surfaces in target housing built before 1978 (2010).
If you find unknown patching, mastic, or stubborn residue, slow down and verify the removal approach before switching from scraping to grinding.
Prep the subfloor for new vinyl
The fastest route to long-lasting vinyl is a subfloor that’s flat, smooth, and free of loose material or incompatible adhesive residue. When the surface isn’t flat, vinyl can telegraph ridges or fail at seams even if installation looks neat.
Vinyl flooring behaves like a “thin finish” over the substrate—if the subfloor has ridges or lumps, those uneven points often show up after installation.
For resilient floor covering installs, manufacturers commonly require a flat base and specify approved patch compounds and moisture conditions before you lay vinyl.
– Remove all loose material, high spots, and remaining adhesive that could prevent the new flooring from sitting flat.
– Level and smooth the surface: vinyl wants a flat base, not “mostly okay.” Use a patch/feathering compound that matches the product instructions ().
– Let the subfloor reach the required moisture/condition stated by the manufacturer (often measured or documented with a testing method) before installation ().
What “flat enough” means in real terms
Flatness affects both click-lock engagement and glue-down transfer. If you can feel or see ridges, you’ll likely feel them later underfoot—especially in kitchens where you stand, cook, and roll appliances.
Use the specific tolerances from your product guide, such as: . Treat this as a hard requirement, not a suggestion.
Moisture isn’t just a problem for wood
Even if your subfloor is plywood or OSB, kitchens create moisture risk through sink splashes, dishwashing humidity, and seasonal HVAC changes. Concrete slabs can also carry moisture that affects adhesive cure and long-term performance.
As of 2026, many manufacturers still require documented moisture results before resilient vinyl installation, not just “it seems dry.”
Install vinyl flooring (plank or sheet)
You’ll get the best results by installing in a controlled sequence: fit-check first, install row-by-row (or sheet-by-sheet), and maintain the required expansion gaps. For glue-down floors, adhesive method and coverage matter as much as alignment.
A dry fit (fit check) helps you confirm row direction, seam placement, and cut widths before any plank is permanently engaged or any adhesive is spread.
Expansion gaps are not optional in most vinyl instructions—vinyl floors move with temperature, and tight perimeter edges can buckle.
– Dry-lay or “fit check” first, then install row-by-row, keeping edges aligned and maintaining required expansion gaps around the perimeter.
– Click-lock plank: engage planks correctly and avoid forcing seams; glue-down plank/sheet: use the adhesive and trowel/notch method required by the flooring manufacturer.
– Keep transitions (doorways, hall openings, and between rooms) planned so you don’t end up with unsupported edges.
Click-lock plank install: what to watch
Click-lock systems rely on proper seam engagement—not just dropping planks in place. Work slowly enough that each seam fully locks before you move to the next board.
In kitchens, I recommend planning around fixed cabinets: most vinyl guides require expansion space at walls and often specify how to handle toe-kicks and cabinet bases. Follow your guide exactly, because “common practice” varies by brand.
Glue-down install: what to watch
Glue-down vinyl typically requires:
– approved adhesive,
– the correct trowel/notch size (to achieve proper adhesive transfer),
– correct open time (the window where adhesive is ready for bonding).
If you use the wrong adhesive or wrong trowel spacing, you can get uneven bonding that causes lifting at edges—often where foot traffic is highest.
Install sequence tip that prevents rework
As a rule, complete one section cleanly before moving to the next. That means:
1. confirm alignment,
2. check expansion spacing,
3. cut accurately at obstacles,
4. keep transitions supported.
Finish around cabinets, transitions, and fixtures
Finishing is where kitchen vinyl replacement becomes “professional-looking” or “frustratingly off.” Cut openings with correct clearances, reinstall trim after the vinyl is in place, and use the right transition strips so edges stay supported.
Correct clearance around vents and fixtures helps prevent floor binding and allows vinyl to expand/contract without pushing against fixed objects.
Transitions need solid support; unsupported vinyl edges at doorways can peel or separate faster in kitchens.
– Cut openings (around vents, cabinets, and door jambs) using measurements from the subfloor and allow the needed clearance so the floor can expand/contract as required.
– Reinstall baseboards/trim after the vinyl is in place (or follow your product guide if it requires a different finishing approach).
– Use the right transition strips for different floor heights and keep edges supported—especially under thresholds.
Cabinets: remove or “float around”?
Many homeowners can replace kitchen vinyl without removing cabinets if the floor can slide under/around fixed base areas and the manufacturer permits that approach. However, some layouts (or certain underlayment requirements) can make full removal or partial cabinet loosening the cleaner solution.
Follow your flooring guide’s instructions on perimeter and fixed-object expansion.
What can go wrong (and how to avoid it)
Most vinyl failures in kitchens come from three root causes: subfloor flatness problems, incorrect installation method (especially for glue-down), and missing expansion space. If you address these early, you typically avoid the need to redo work later.
If the subfloor isn’t flat, vinyl can telegraph ridges and create stress points that show up as gaps at seams.
Skipping manufacturer-specified expansion gaps can lead to edge buckling when indoor temperatures rise.
Using the wrong adhesive or adhesive application method for glue-down vinyl can prevent proper bond transfer, resulting in lift over time.
– Subfloor isn’t flat enough: vinyl can telegraph ridges or fail at seams; fix high/low spots before installing.
– Wrong glue/adhesive method (for glue-down): using an unapproved adhesive or wrong coverage/trowel setup can cause lifting or uneven bonding.
– Skipping expansion gaps: if you trap the floor tight at walls/cabinets, it may buckle when temperatures change.
A fast “symptom → likely cause” mapping
| Symptom you notice | Most likely cause | Best prevention step |
|---|---|---|
| Seam gaps appear after a few weeks | Planks not fully engaged or subfloor ridges | Engage seams correctly and verify flatness before install |
| Edges curl at perimeter | Missing expansion allowance | Maintain expansion gaps at walls and fixed objects |
| Glue-down areas feel hollow/loose | Wrong adhesive, improper trowel coverage, or insufficient open time | Use the approved adhesive + correct trowel/notch method |
| Raised bumps after installation | Debris/adhesive residue under floor | Scrape/clean thoroughly and flatten with approved patch/feathering |
Verdict: when DIY makes sense (and when to skip it)
DIY makes sense when you can achieve a flat subfloor, take careful measurements, and follow acclimation/adhesive/expansion-gap instructions precisely. Skip DIY (or hire help) if you discover potential asbestos/lead hazards during removal, can’t get the subfloor flat to the product’s tolerance, or your kitchen layout requires complex transitions you don’t feel confident building—because those problems usually cost more to fix later.
DIY is most reliable when you treat vinyl replacement as a surface-prep project first and an installation project second.
If older flooring removal might expose lead or asbestos-containing materials, you should stop and follow testing and safety requirements before continuing.
From what I see most often when homeowners plan a kitchen vinyl replacement, the work that usually goes sideways is not cutting the planks—it’s getting the base truly flat and clean, especially after glued-down residue removal.
Quick scan checklist (print/save)
| Step | Quick check | Target outcome |
|---|---|---|
| Plan | Vinyl type confirmed (click-lock vs glue-down vs sheet) | Correct method for your flooring |
| Measure | Layout + seam placement mapped | Clean pattern, minimal awkward cuts |
| Remove | Old flooring and loose adhesive fully addressed | No movement or debris under new vinyl |
| Prep | Flatness + smoothness verified | Vinyl lies flat without rocking |
| Install | Expansion gaps maintained | No buckling at edges |
| Finish | Transitions/trim installed correctly | Supported edges, neat perimeter |
Conclusion
A successful kitchen vinyl replacement comes down to disciplined preparation: choose the right vinyl type, confirm acclimation and expansion requirements, remove safely, and build a truly flat, clean subfloor. Install carefully according to the manufacturer’s method (especially for glue-down), finish with proper clearances and supported transitions, and you’ll dramatically reduce the odds of seam gaps or edge buckling—problems that are costly to correct after the fact.
Sources
– RFCI (Resilient Floor Covering Institute) – Recommended work practices for removal of resilient floor coverings (use for safety/handling guidance).
– EPA – Lead Renovation, Repair, and Painting (RRP) Rule (for safety requirements when disturbing painted surfaces in older homes).
– OSHA – Lead and silica/respiratory hazard guidance relevant to dust control during removal.
– Your vinyl flooring manufacturer’s installation guide – For acclimation, subfloor condition/flatness, expansion gaps, adhesive/roller requirements (if glue-down), and trimming/finishing rules.
If you tell me whether your vinyl is click-lock plank, glue-down plank, or sheet vinyl, and what the subfloor is (plywood, OSB, concrete), I can tailor the order of steps and the main “watch-outs” to your situation.
Frequently Asked Questions
What tools and materials do I need to replace vinyl flooring in a kitchen?
You’ll typically need a utility knife, floor scraper/putty knife, a straightedge, tapping block, a measuring tape, and a notched trowel (if using adhesive). For vinyl plank or click-lock vinyl, have a rubber mallet, spacers, and a pull bar on hand; for sheet vinyl, you may need a seam roller and a floor roller. Choose matching underlayment (if required), the right vinyl flooring underlay, transition strips, and the correct adhesive or seam tape based on your subfloor type.
How do I remove old vinyl flooring and prep the subfloor for a new kitchen installation?
Start by clearing the kitchen, removing baseboards or cutting them away carefully, and disconnecting appliances as needed. Peel up loose vinyl first; for glued-down vinyl, use heat or a floor scraper to remove residual adhesive without gouging the subfloor. After removal, clean thoroughly, check for high spots or dips, and level the surface with a suitable floor patch or self-leveling compound before installing new vinyl flooring.
How do I handle common kitchen flooring issues like moisture, uneven subfloors, and old glue?
Kitchens are prone to spills and humidity, so verify the subfloor is dry and intact before installing vinyl flooring. If the subfloor is uneven, use leveling compound to create a flat surface—vinyl can telegraph bumps and cause joints to separate. For old glue, remove as much as possible and use a proper smoothing method so the new kitchen vinyl flooring adheres correctly; if moisture is suspected, consider a moisture barrier compatible with your vinyl type.
Which vinyl flooring type is best for kitchen replacement: click-lock vinyl plank or glued-down vinyl sheet?
Click-lock vinyl plank is often easier for DIY kitchen flooring replacement because it can float over many subfloors and usually requires less adhesive work. Glued-down vinyl sheet can provide a more seamless, water-resistant finish and may be ideal for high-traffic areas where you want fewer seams. The best choice depends on your subfloor flatness, your comfort level with installation, and how much you need seam minimization in areas near sinks and dishwashers.
Can I replace vinyl kitchen floors without removing cabinets, and how should I measure and cut around them?
In many cases, you can leave cabinets in place, but you’ll need to plan carefully to avoid damaging cabinet bases and ensure consistent flooring transitions. Measure the room in sections, account for expansion gaps if your vinyl flooring manufacturer requires them, and cut planks or sheet vinyl to fit around doorways, cabinets, and heating vents. Use the manufacturer’s guidelines for underlayment and edge finishing, then install trim or transition strips so the new vinyl floor looks clean and professional where it meets cabinet edges.
📅 Last Updated: October 25, 2026 | Topic: How to replace vinyl floors in a kitchen? | Content verified for accuracy and freshness.
References
- Vinyl flooring
- Asbestos | US EPA
- Asbestos – Overview | Occupational Safety and Health Administration
- https://www.cdc.gov/niosh/topics/asbestos/
- https://www.armstrongflooring.com/support/how-to-guides.html
- https://www.rfci.com/standards-guidelines/
- https://scholar.google.com/scholar?q=replace+vinyl+flooring+kitchen+step-by-step Google Scholar
- https://scholar.google.com/scholar?q=install+luxury+vinyl+plank+vinyl+tile+underlayment+subfloor+preparation Google Scholar
- https://scholar.google.com/scholar?q=resilient+floor+covering+removal+asbestos+work+practices Google Scholar


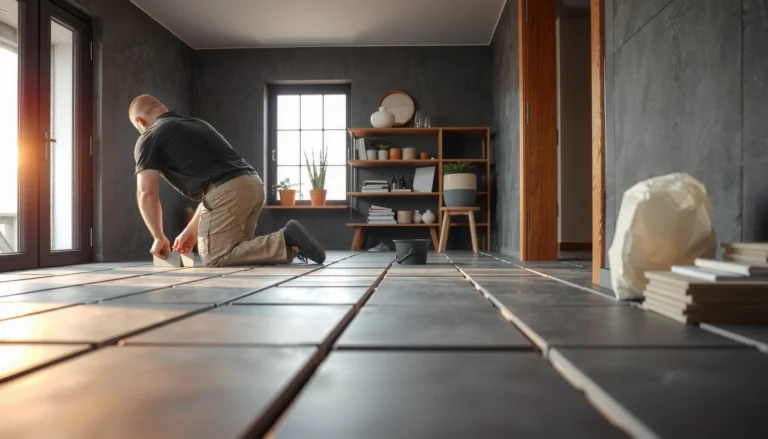
[…] Protect transitions and openings (door jambs, plumbing penetrations) and plan how you’ll maintain expansion gaps around the perimeter once you start laying […]