
Want to remove paint from herringbone floors without damaging the wood? The safest winning approach is careful, solvent-assisted stripping controlled by spot tests—so you lift the paint while preserving finish, grain, and joints. This guide tells you exactly what to use, how long to apply it, and how to confirm you’re not softening or stripping the surrounding wood.



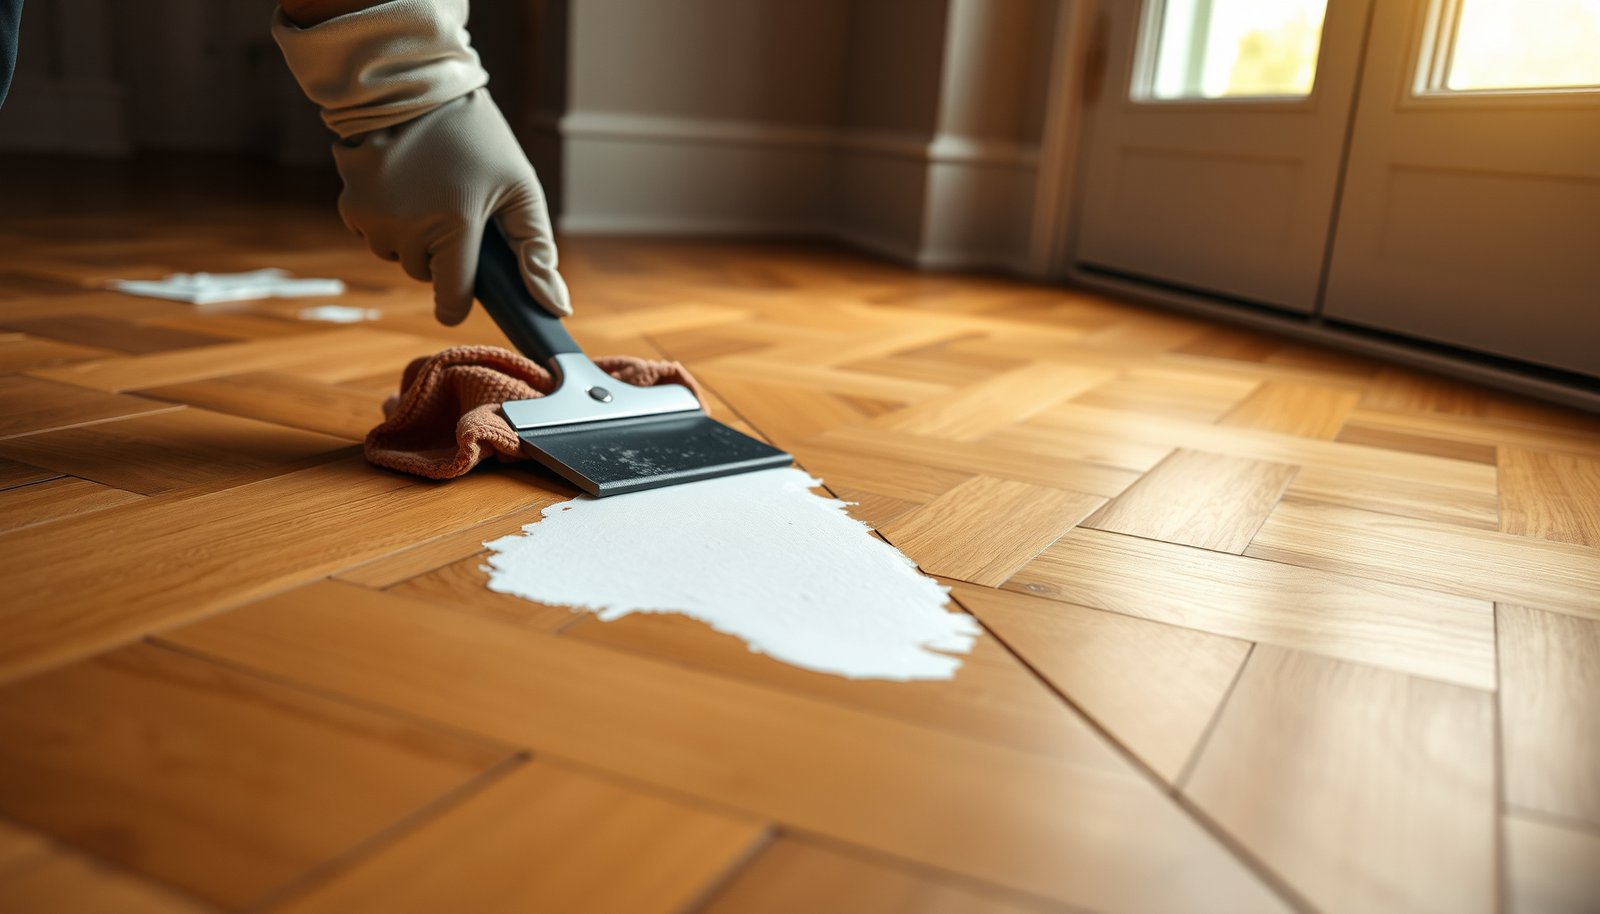
If you want clean paint removal on herringbone hardwood, the safest order is gentle mechanical scraping first (plastic razor), then a paint-type-matched chemical softener, and finally spot-sanding only where needed. Work slowly and protect the surrounding finish so you don’t gouge the wood between blocks or create dull, mismatched patches—especially as of 2026 when more floors have modern, film-forming topcoats.
Herringbone floors are visually “busy” by design, so any damage—scratches, haze, or uneven sheen—shows up fast. This guide is for homeowners and contractors tackling paint spills, overspray, or paint layers that have hardened on top of existing finishes. If the paint is older/unknown, you’ll also need lead-safe precautions and dust control before you sand.
Prep the floor and protect the herringbone pattern
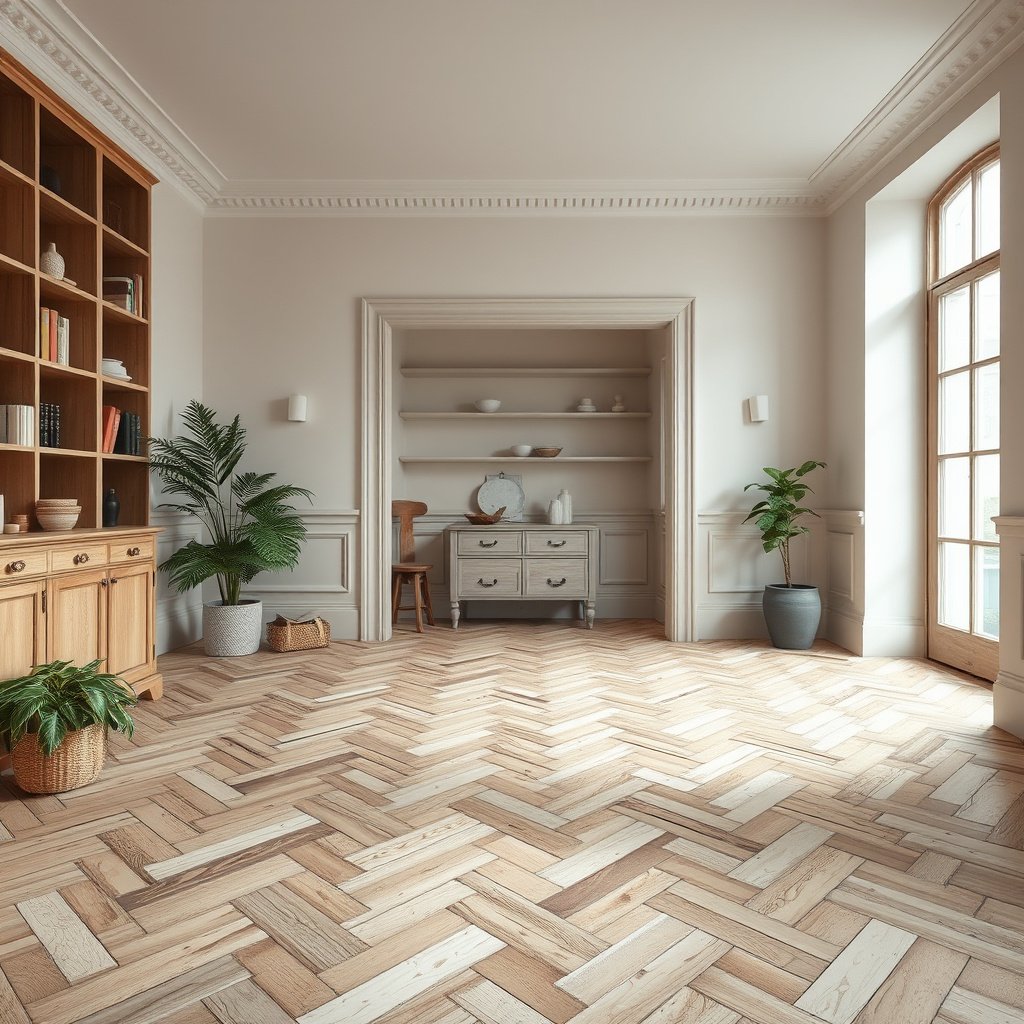
To prevent gouges and finish damage, isolate the work area first and keep chemicals off the untouched boards. A careful setup reduces cross-contamination (paint/stripper residue spreading) and limits sheen changes across the herringbone pattern.
Masking a border and covering baseboards reduces the chance that stripper overspray will soften adjacent wood finish.
Ventilation and proper PPE are not optional when using paint strippers and solvents; follow the product label and SDS for specific respirator requirements.
HEPA vacuuming between passes helps prevent paint dust from grinding into the grain during the next scrape.
Start with the basics, but don’t rush: herringbone requires clean lines and consistent handling.
– Clear the area, ventilate well, and cover nearby baseboards/walls with painter’s tape and plastic sheeting.
– Protect the floor finish around the paint:
– Mask off a border around the painted patch (think “contain the chemistry” rather than “cover everything”).
– Keep solvents/strippers off adjacent boards and joints; even a small puddle can dull a varnish.
– Wear PPE appropriate to the products you use (gloves, eye protection; add a respirator if the label requires it).
– If you’re working in a pre-1978 home (or you don’t know the paint age), plan for lead dust controls as described later in this post and follow EPA lead-renovation guidance.
From my field experience: Even small preparation habits prevent the “mystery haze” effect that shows up after the final coat.
Identify the paint type and existing floor finish
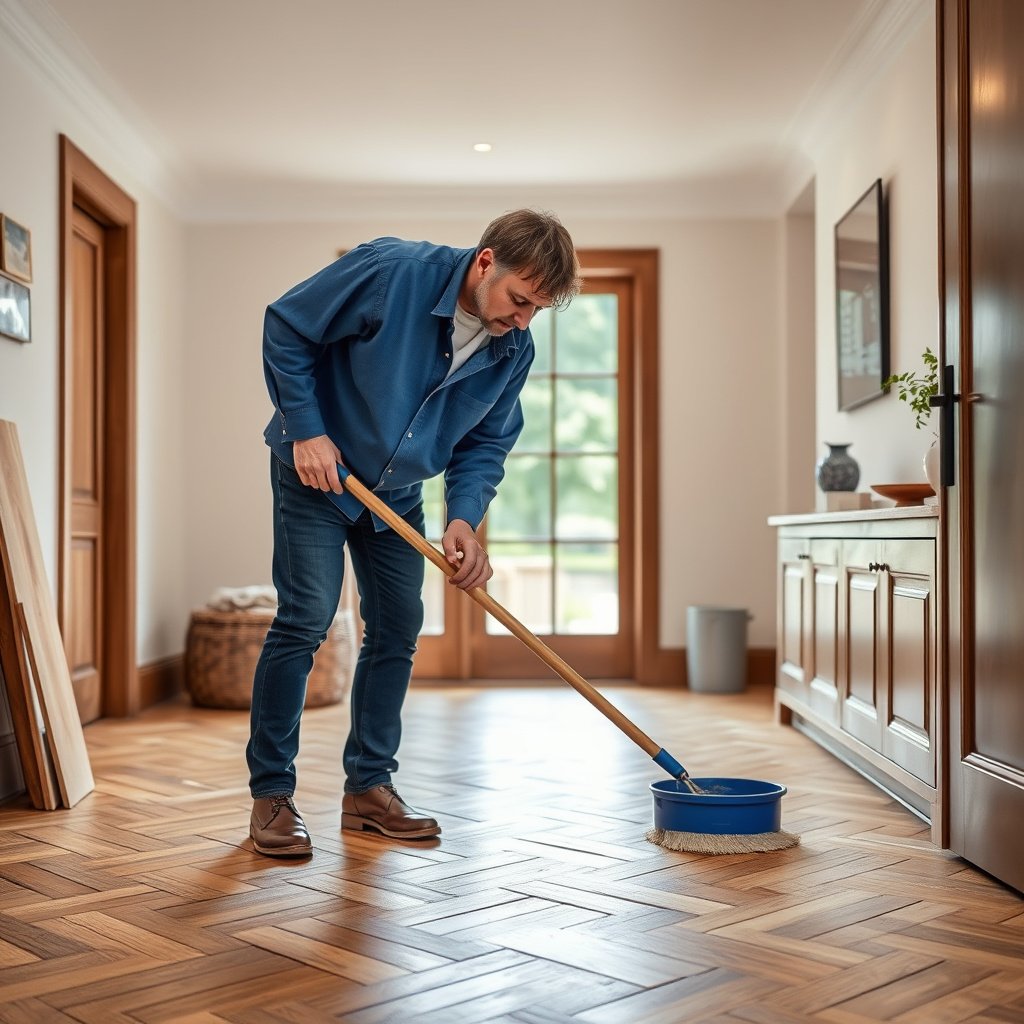
The fastest path to safe removal is to identify what you’re removing (water-based vs. oil-based paint) and what the paint is sitting on (bare wood vs. a finished topcoat). Once you know those two variables, you can choose the least aggressive scraper/solvent route that still works.
Paint chemistry matters: water-based coatings usually soften with water/alkaline methods, while oil-based coatings typically require stronger solvents or gel removers.
If paint sits on top of varnish or polyurethane, you may need chemical softening and careful scraping rather than aggressive sanding.
If you suspect pre-1978 paint, treat it as potentially lead-containing and use lead-safe work practices to control dust.
Before you apply anything broadly, do two targeted checks.
– Water-based vs oil-based changes what works:
– Test a small spot with the mildest approach first (for example, gentle dampening + plastic scraping for water-based residue).
– Escalate only if the paint doesn’t soften or release.
– Check whether the paint is:
– On top of a finish (varnish/polyurethane film): you can often remove it with controlled scraping plus a compatible remover.
– Soaked into bare wood: you may have to remove stained material more aggressively (typically sanding later), and “spot fixes” may still blend imperfectly.
– If there’s any chance the paint is older/unknown:
– Especially in homes built before 1978, treat it as potentially hazardous and follow lead-safe practices rather than assuming it’s safe to dry-sand or power-grind.
– This matters because dust exposure is the primary risk during paint removal, not just contact with paint chips.
Quick scenario map (tool choice by condition)
Use this as a practical decision guide before you escalate to sanding or chemicals:
| What you’re seeing | Most likely approach | Why |
|---|---|---|
| Fresh paint sits as a film (no deep absorption) | Plastic scraping + water-based cleaner/appropriate solvent test | Less mechanical penetration is usually needed on a surface layer |
| Dry paint chips, but edges remain stuck | Plastic scraping → label-matched chemical softener | Chemicals loosen residue without immediately cutting deeper wood fibers |
| Paint looks integrated or stained into grain | Mechanical removal first, then controlled spot-sanding | Staining often won’t lift cleanly—sanding levels the surface so finish can match |
| Unknown paint age + fine dust haze present | Lead-safe controls; avoid dry sanding; use HEPA vacuum methods | Dust control is critical; sanding can spread contamination |
Lead risk benchmarks that affect your workflow
If paint might be lead-containing, your removal plan changes. According to OSHA’s lead standard, the action level is 30 µg/m³ (8-hour TWA) and the PEL is 50 µg/m³ (8-hour TWA) for airborne exposure during lead work (OSHA 29 CFR 1926.62 (Lead) — action level and PEL). HUD clearance standards (commonly referenced in U.S. lead hazard control programs) specify dust clearance levels such as 40 µg/ft² for floors, 250 µg/ft² for interior windowsills, and 500 µg/ft² for window troughs (HUD Lead regulations on clearance standards, 24 CFR Part 35).
Remove paint mechanically (safest first pass)
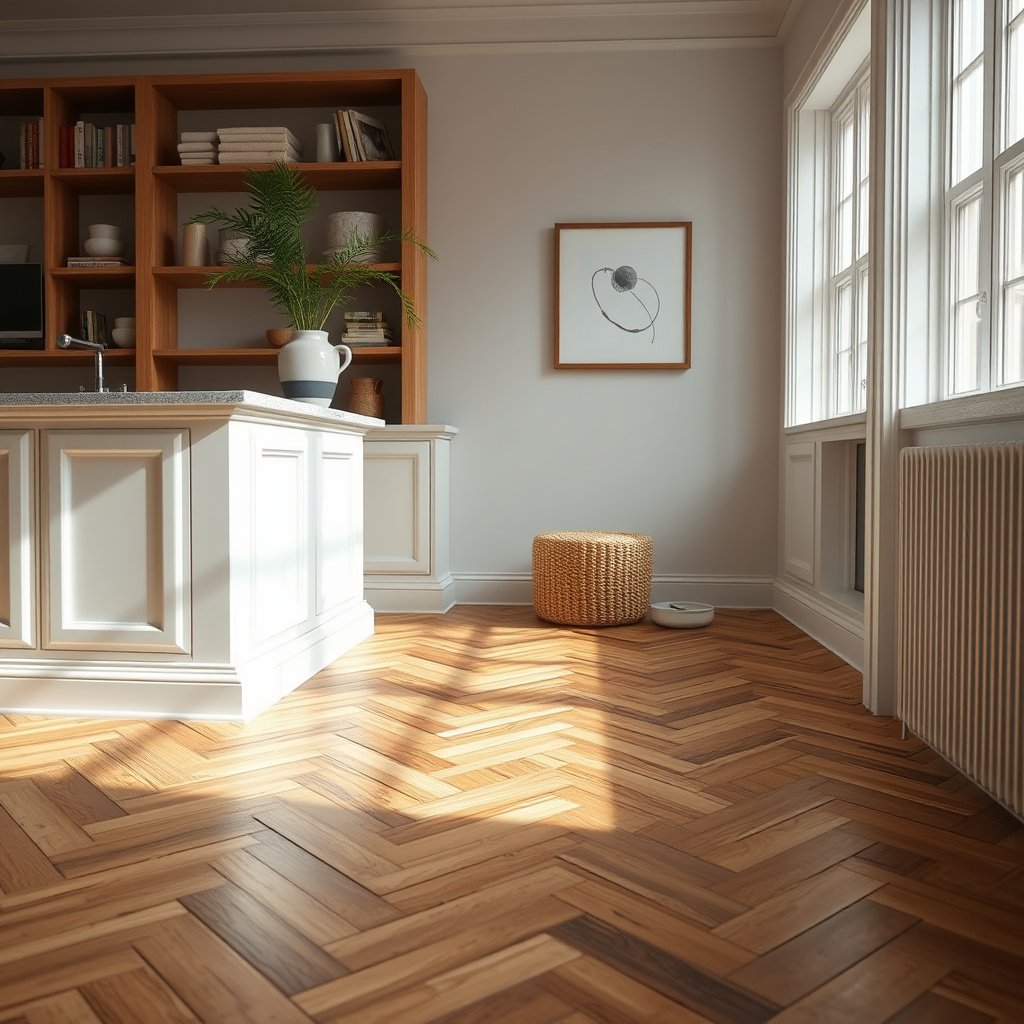
Mechanical removal should be your first full step because it avoids chemical compatibility problems and reduces the chance of finish haze. On herringbone specifically, you’re trying to remove paint without carving the wood between blocks, so you need control over angle and pressure.
Keeping a plastic blade nearly flat is the safest way to lift paint without cutting the wood fibers.
Removing paint in thin layers reduces the risk of levering tools into the gaps of a herringbone pattern.
Vacuuming debris between passes prevents paint particles from acting like abrasive grit on the next scrape.
Follow this process:
– Start with a plastic scraper/razor to lift loose paint flakes.
– Keep the blade nearly flat to the floor.
– Use small, controlled strokes rather than prying motions.
– For thicker buildup, use controlled passes rather than force:
– Remove paint in layers instead of trying to “peel it all at once.”
– If the paint resists, stop and switch to chemical softening rather than increasing pressure.
– Vacuum debris between passes so you can see what’s left:
– A shop vac is okay for bulk debris, but a HEPA vacuum is preferred when dust control matters.
Mechanical method: pros/cons (why this step matters)
| Approach | Pros | Cons |
|---|---|---|
| Plastic razor scraping | Low risk of gouging; best for fresh or partially adhered paint | Limited on thick, fully cured paint; may need repeat cycles |
| Layer-by-layer mechanical removal | Improves visibility; reduces leverage into joints | Time-consuming; requires frequent cleanup |
| Avoiding metal blades | Lower likelihood of carving between herringbone blocks | Some paint may stay behind until softened with compatible chemicals |
Use the right chemical method to soften remaining paint
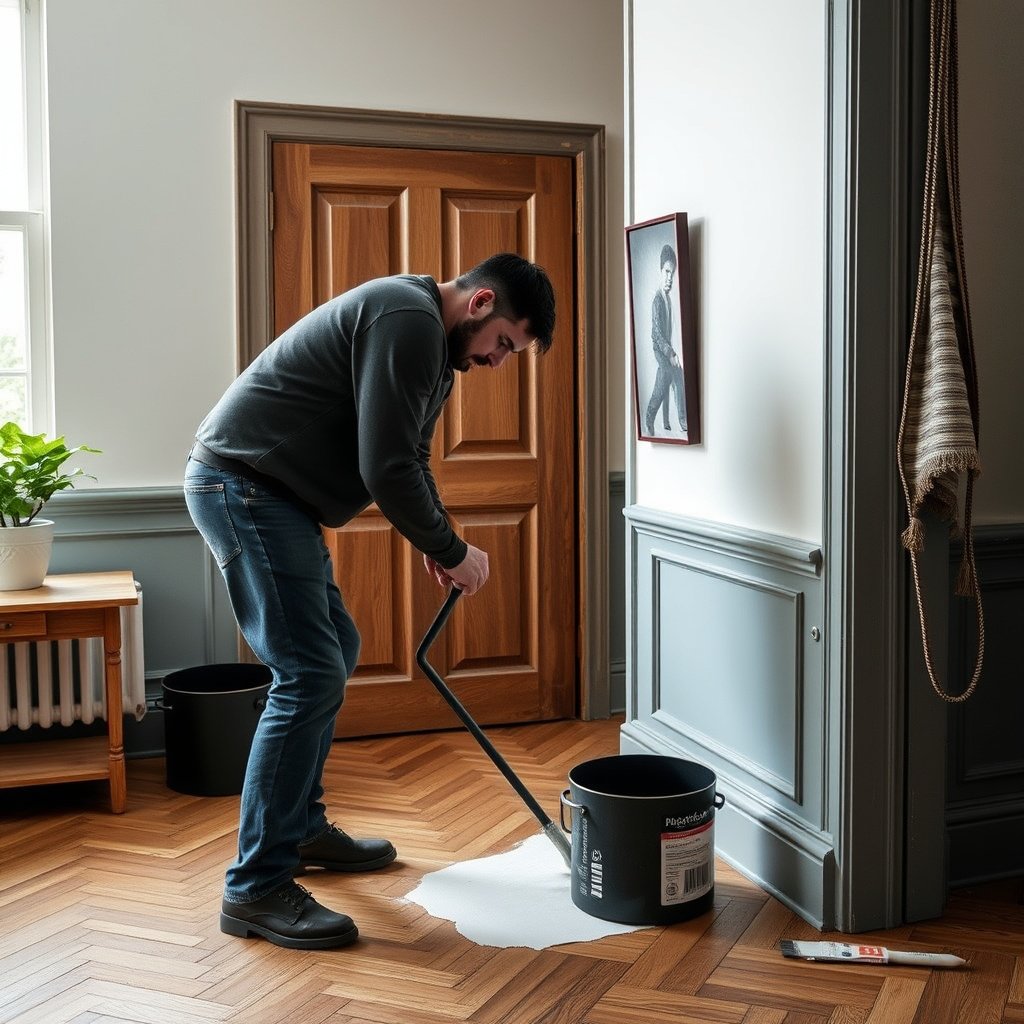
When scraping alone stalls, a label-matched chemical remover can loosen the bond without grinding deeper into the floor. The key is choosing the remover based on paint type and maintaining compatibility with the existing floor finish.
Use only removers/solvents specified for the paint chemistry and compatible with wood floors to reduce finish haze.
Follow the label dwell time precisely—over-waiting increases the chance of dulling or lifting existing coatings.
Apply sparingly and remove softened paint immediately using plastic tools to limit spread into the herringbone joints.
Work like this:
– Choose a product based on the paint type and label instructions:
– Look for “paint remover/stripper” or “solvent” compatibility with wood and your floor finish category.
– If you’re unsure about your finish (e.g., unknown polyurethane vs. varnish), do a test patch first.
– Apply sparingly with a brush or disposable cloth:
– Avoid flooding the area; herringbone joints can act like channels for liquid.
– Wait exactly as directed on the label:
– Don’t assume “more time” improves results.
– The goal is to soften paint to liftable consistency—not to attack the topcoat.
– After softening, remove loosened paint with a plastic scraper again:
– Repeat only as needed before you move to sanding.
Practical note: If chemical softening leaves sticky residue or cloudy patches, you’re dealing with either compatibility issues or incomplete removal—don’t jump to aggressive sanding. Re-clean and reassess first, then consider spot-sanding later.
Sand and refinish only where the paint was removed
To keep the herringbone pattern uniform, you should spot-sand only the area that needs leveling and blend it into the surrounding sheen. After paint removal, the goal is a smooth surface that accepts topcoat without a visible patch.
Spot-sanding in the direction of plank grain reduces visible cross-scratches on herringbone hardwood.
Thorough vacuuming plus a dust-appropriate tack wipe prevents rough “grit inclusions” when you apply a topcoat.
Matching sheen is as important as matching color—otherwise the repair reads as a dull rectangle.
Follow these steps:
– If scraping/chemicals leave staining or a rough sheen:
– Spot-sand carefully using fine-grit paper in the direction that matches the plank grain.
– Use a light touch and re-check often to avoid sanding through thin finish layers.
– Clean thoroughly:
– Vacuum first, then use a tack cloth appropriate for wood dust.
– Avoid leaving stripper residue—topcoat adhesion can fail if residue remains.
– Match the sheen/finish as closely as possible:
– Refinish only the patch if the surrounding finish is stable.
– If sheen mismatch becomes obvious, you may need a slightly broader blend than you planned.
Grit progression that minimizes dull spots (scan-friendly)
Use this as a practical ladder for spot-sanding after paint removal—higher grit generally means gentler abrasion.
Spot-Sanding Grit Levels for Hardwood Paint Touch-Ups (Common Practice)
| # | Sanding stage | Grit (mesh) | Best for | Wood-safety* |
|---|---|---|---|---|
| 1 | Initial leveling (only if needed) | 80 | High paint ridge removal | ★★☆☆☆ |
| 2 | Blend after scraping | 100 | Reducing minor ridges | ★★★☆☆ |
| 3 | Smoothing before fine finish | 120 | Evening sheen transitions | ★★★☆☆ |
| 4 | Spot refinement | 150 | Preparing for clear coat/topcoat | ★★★★☆ |
| 5 | Final surface blend | 180 | Reducing micro-scratches | ★★★★☆ |
| 6 | Pre-topcoat prep | 220 | Light scuff for adhesion | ★★★★★ |
| 7 | Last scuff before coating | 240 | Ultra-light smoothing | ★★★★★ |
What can go wrong (and how to avoid it)
Even with the best approach, paint removal can cause visible damage on herringbone floors if you use the wrong tool, wrong dwell time, or skip cleaning steps. The goal is to recognize failure modes early so you can correct before refinishing.
Metal blades and high-angle scraping can carve the wood between herringbone blocks, creating permanent lines.
Incompatible strippers can turn varnish cloudy or lift edges, so always test in a small, hidden area first.
Dry paint residues can re-dry darker after solvent dries, so clean thoroughly before you topcoat.
Common issues and how to avoid them:
– Gouges and lines:
– Cause: metal blades, prying, or too-steep blade angle.
– Fix: switch to plastic and keep the blade nearly flat; use low force.
– Finish haze or peeling:
– Cause: stripper/solvent incompatibility with the existing topcoat.
– Fix: stop, test a smaller area, and verify compatibility per SDS/product label.
– Staining:
– Cause: paint residue re-drying darker or penetrating grain.
– Fix: clean thoroughly; vacuum and tack wipe; do spot-sanding only after residue removal is confirmed.
– Health risk (unknown paint):
– Cause: lead dust from sanding/scraping and inadequate containment.
– Fix: if paint could be lead-containing, avoid dry sanding and follow EPA/OSHA lead-safe guidance and local requirements rather than “winging it.”
If you’re working in an older home in 2026 and the paint age is uncertain, this is where it’s worth pausing. and discuss containment, testing, and dust-control expectations with a qualified pro.
Verdict / tip
For most herringbone floors, the safest removal plan is mechanical removal first, then a paint-type-appropriate chemical softener, and only then spot-sanding and refinishing where the surface truly needs it. The downside of this “safest-first” method is time: older or thick paint often needs repeat soften → lift → clean cycles, and you may not get a 100% invisibility patch if the underlying finish is worn unevenly.
If your floor has a delicate, thin, or heritage finish you can’t confidently identify, or if the paint covers a large area, consider pausing and getting a pro opinion before you commit to chemicals or sanding. Spot-testing small areas is essential before any remover or solvent, and it’s especially important when you’re trying to preserve the clean geometry of the herringbone pattern.
| Quick checklist (scan/save) | Do this | Stop if… |
|---|---|---|
| Paint removal order | Scrape (plastic) → soften (label-matched chemical) → scrape again | You start cutting wood or widening damage |
| Protection | Mask edges, cover baseboards, ventilate | Strong fumes overwhelm ventilation |
| Clean between steps | Vacuum debris; wipe only as label directs | Paint dust spreads to clean areas |
| Final restoration | Spot-sand if needed; match sheen/topcoat | Patch becomes more visible after topcoat |
| Safety | PPE + follow product SDS/label | You’re unsure about hazardous/unknown paint |
Sources
– EPA (U.S.): Guidance and rules related to lead-based paint risk during renovation/repair/painting (use when paint is old/unknown).
– OSHA (U.S.): General requirements for PPE and respirator usage when working with hazardous chemicals.
– Product Safety Data Sheets (SDS) & manufacturer labels: For the specific stripper/solvent you choose—application method, dwell time, cleanup, and finish-compatibility details.
Frequently Asked Questions
What’s the safest way to remove paint from a herringbone wood floor without damaging the finish?
Start by identifying whether the paint is latex or oil-based, since oil-based paint typically needs stronger solvents. Begin with the gentlest method—warm water and mild detergent for fresh latex—then move up to a regulated wood-safe paint remover or gel stripper designed for hardwood. Avoid harsh scraping that can lift the wood grain; use plastic scrapers and keep working in small sections to protect the herringbone pattern and clear finish. Always test any chemical in an inconspicuous area first and finish by cleaning residue and fully drying the floor.
How can I remove dried paint from herringbone floors if the paint is in the grooves?
For paint that has settled into the herringbone seams, use a combination of careful softening and targeted agitation. Apply a gel paint stripper or manufacturer-recommended remover, let it dwell for the required time, then remove softened paint with a plastic scraper while using a soft nylon brush to work into the groove lines. After stripping, wipe with a clean cloth dampened with the correct solvent or water (depending on the product), then repeat if any paint remains. Finish by sanding lightly only if necessary and matching the floor’s existing sheen with refinishing.
Which tools and solvents work best for removing paint from herringbone hardwood without gouging?
The best results usually come from using plastic scrapers, microfiber cloths, and soft nylon brushes to avoid scratches in the wood’s V-grooves. For solvents, water-based methods are best for fresh latex, while oil-based or enamel paint may require mineral spirits, denatured alcohol, or a hardwood-safe paint remover/stripper. Avoid steel wool and aggressive blades that can permanently mark the finish or catch on the herringbone edges. Use ventilation, wear gloves, and follow product directions closely to reduce damage and residue.
How do I remove paint overspray from a herringbone floor while keeping the original stain and sheen?
Overspray often sits as a thin film, so start with the least aggressive approach: try a mild detergent wash and a paint-safe cleaning solution to lift the residue. If it’s still bonded, use a specialized gel remover or a controlled solvent wipe, applying sparingly so you don’t flood the seams between boards. Work slowly, keep the product dwell time short, and wipe frequently to prevent streaking or lifting of the existing stain. After removal, clean thoroughly and evaluate whether spot refinishing or a light screen-and-recoat is needed to blend the sheen.
Why should I avoid sanding first when removing paint from herringbone floors, and what’s the alternative?
Sanding first can grind paint deeper into the wood pores and seams, making the problem larger and increasing the risk of uneven levels between herringbone blocks. Instead, soften and lift paint chemically (gel stripper for stubborn paint, or appropriate solvent for specific paint types), then scrape gently and clean residue thoroughly. If some staining remains after paint removal, you can do a controlled spot sanding later once the paint is fully removed. This approach keeps the herringbone pattern crisp and reduces the chance you’ll need full-floor refinishing.
📅 Last Updated: October 15, 2026 | Topic: How to remove paint from herringbone floors? | Content verified for accuracy and freshness.
References
- Paint stripper
- Lead paint
- https://www.epa.gov/lead/renovating-repairing-and-painting-program
- https://www.epa.gov/lead/lead-based-paint
- https://www.cdc.gov/lead/index.html
- Lead – Overview | Occupational Safety and Health Administration
- Working safely with lead – HSE
- https://scholar.google.com/scholar?q=remove+paint+from+wood+floor+sanding+chemical+stripping Google Scholar
- https://scholar.google.com/scholar?q=herringbone+floor+paint+removal+wood+refinishing Google Scholar
- https://scholar.google.com/scholar?q=lead-based+paint+wood+floor+removal+safe+work+practices+dust+control Google Scholar