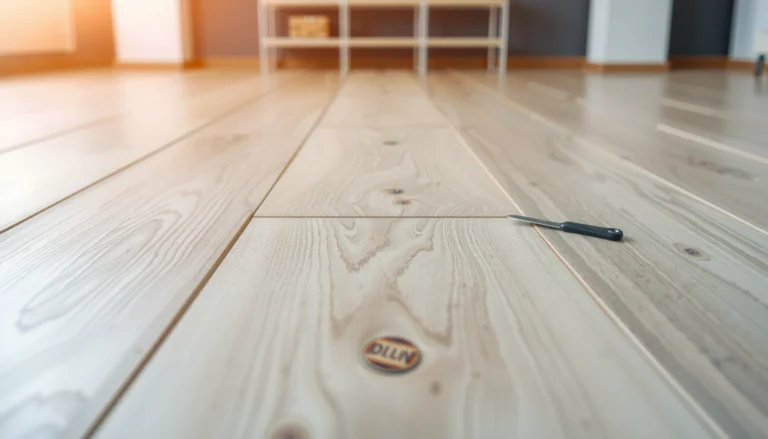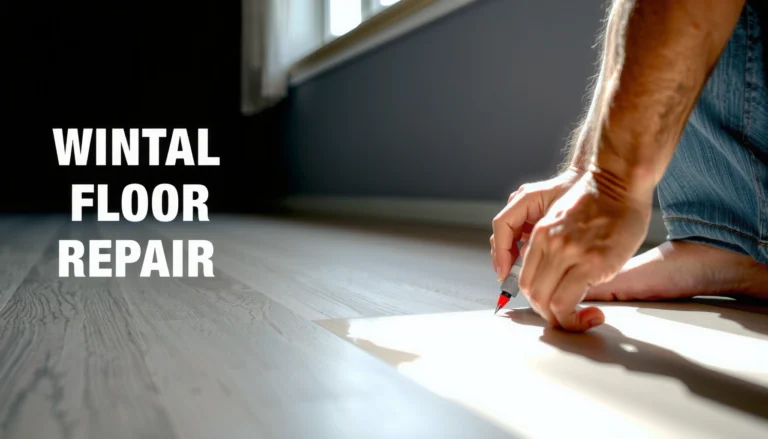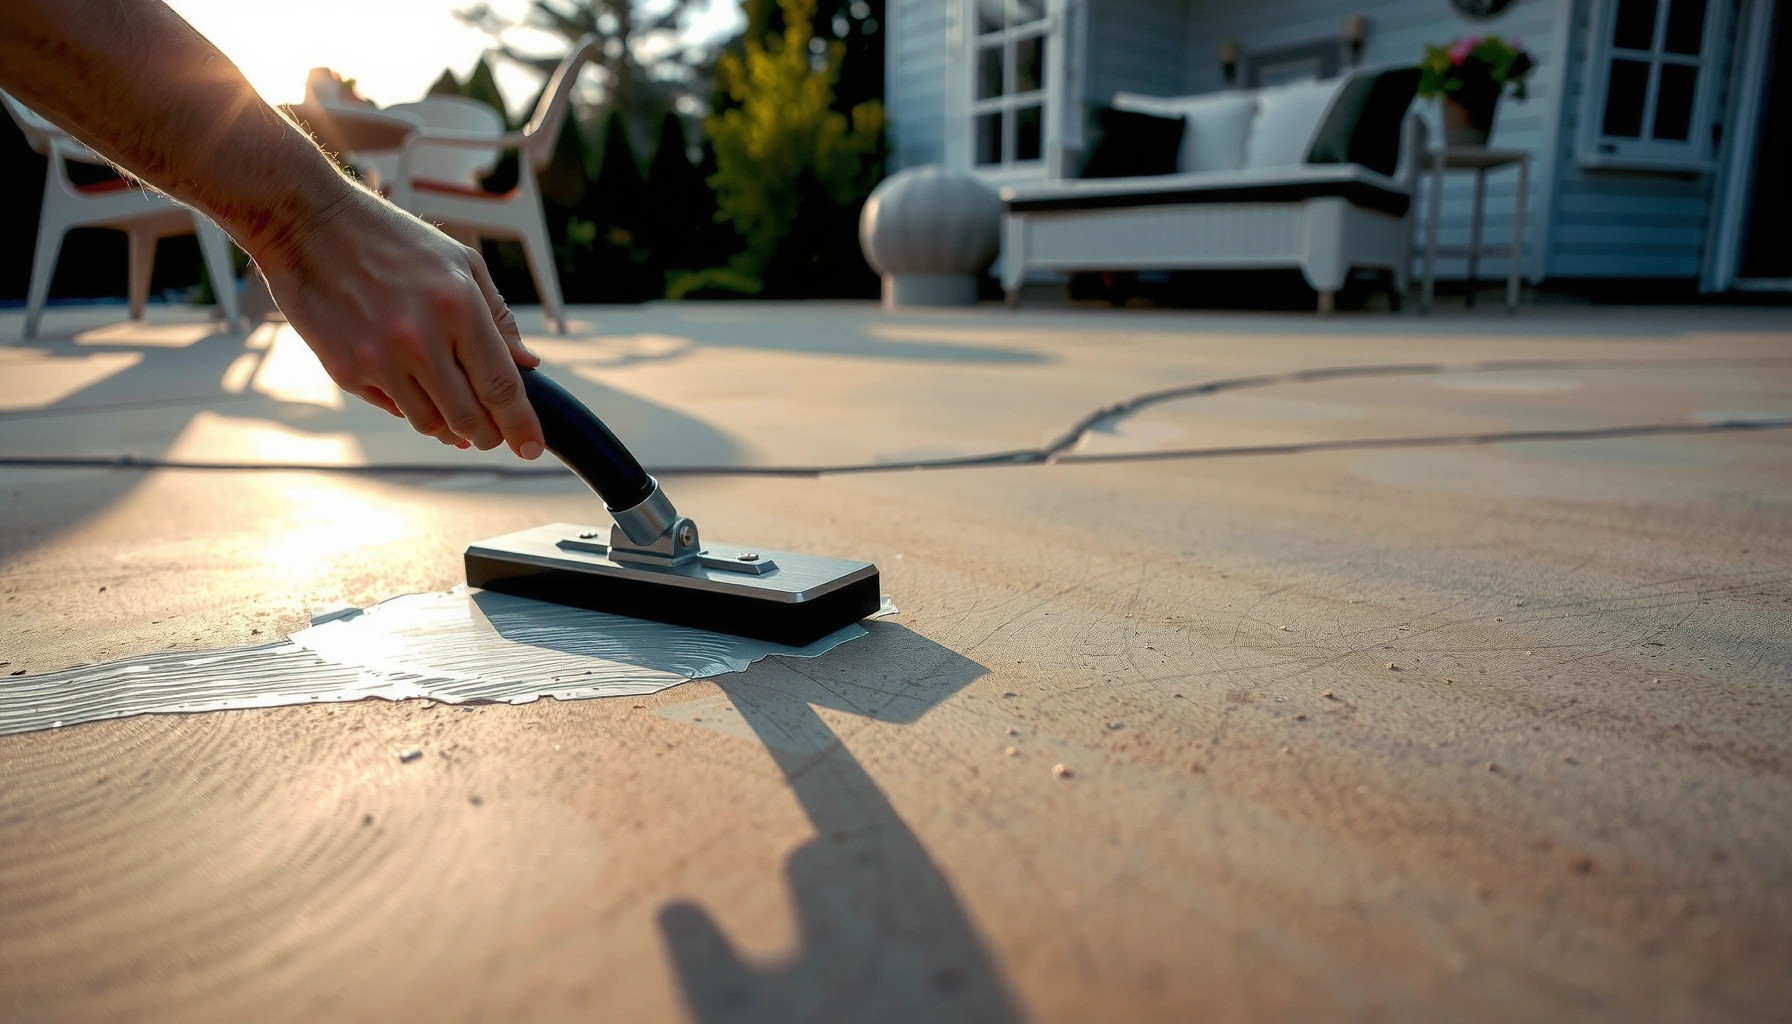

Want to remove scratches from patio floors fast and make them look new again? For most concrete and paver patios, the fastest, most reliable route is the right prep plus a targeted repair compound or resurfacer, followed by sealing to prevent quick re-scuffing. If you match the filler to the floor type and scratch depth, you’ll get the cleanest fix in the shortest time.




If you want scratches on a patio floor to look better fast, the best approach is to match the repair method to the surface and the scratch depth—shallow scuffs usually respond to cleaning plus light abrasion, while deeper gouges typically require patching and blending. Start by washing and inspecting the scratch, then choose polish, patch, or resurfacer so you improve the look without making adhesion, texture, or water resistance worse.
This guide is for homeowners dealing with visible scuffs or scratches on common patio surfaces (concrete, stamped concrete, tile, pavers, or composite). If you’re not sure what your patio is made of, the “how to identify the surface” steps below will help you pick the safest approach for your exact material.
Assess the scratch depth and patio material
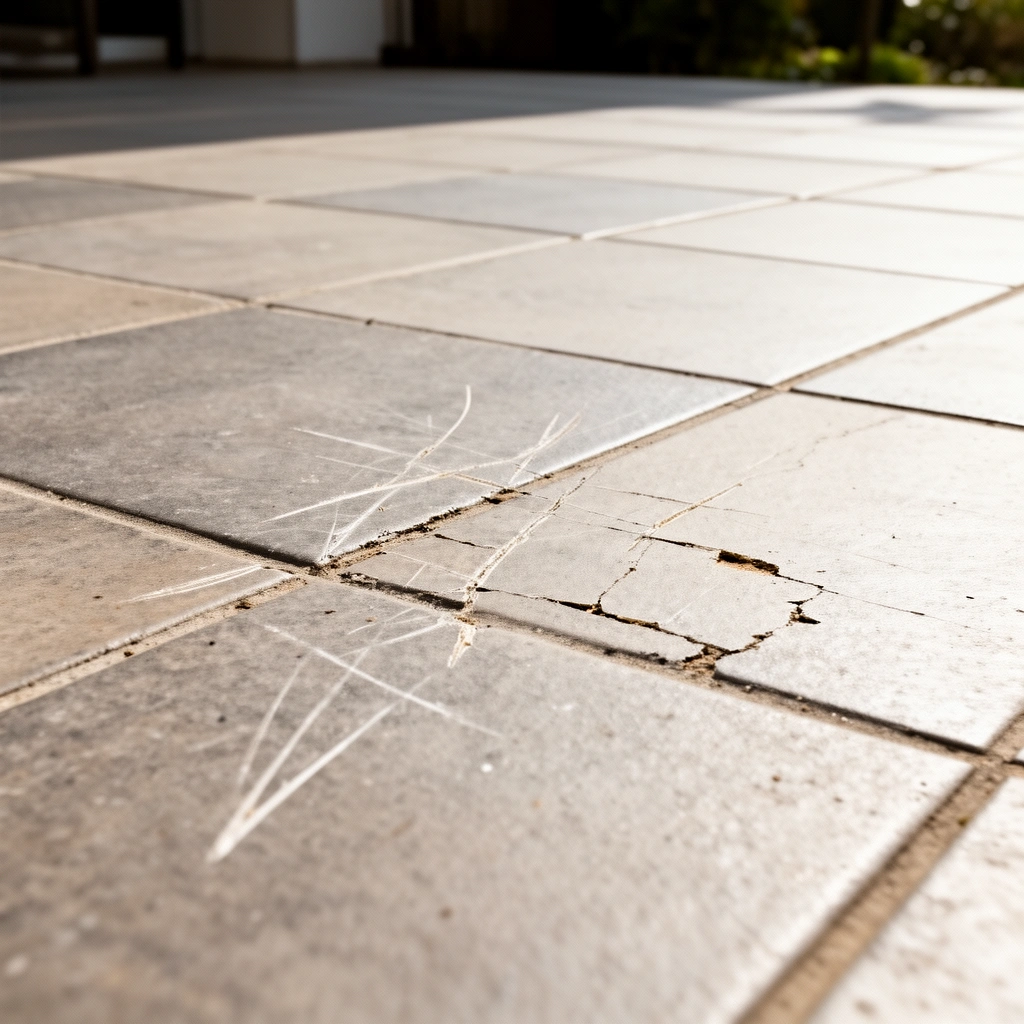
You get the fastest, cleanest results by determining two things first: scratch depth (scuff vs. gouge) and patio material (concrete-like, tile, pavers, or composite). Here’s why: the wrong method can leave a raised patch, create a mismatch in sheen, or—on sealed surfaces—cause the repair compound to fail at the bond line.
A shallow patio scuff usually feels smooth and doesn’t catch your fingertip, while deeper damage often “catches” due to exposed aggregate or broken surface finish.
Concrete-like patio repairs (concrete, stamped concrete, and some resurfaced finishes) depend heavily on whether the surface is sealed and how porous the top layer is.
If a scratch is paired with flaking or crumbling, you’re likely dealing with more than abrasion—addressing loose material is often necessary before any cosmetic treatment.
– Rinse the area thoroughly, then dry it completely (standing moisture can hide the true groove).
– Run your fingertip lightly across the scratch:
– Deep: you feel the edge of a groove or it “catches”
– Shallow: it feels smooth and mostly uniform
– Identify the patio surface:
– Concrete / stamped concrete: typically gray cementitious material; may be textured and/or sealed.
– Tile: individual units with grout lines; scratches may be on glazed faces.
– Pavers: stone or manufactured blocks; surface scratches may be aesthetic but can expose bedding or fines.
– Composite/deck-like patios: sometimes polymer-based or coated—abrasion behaves differently than cementitious surfaces.
– Check for loose edges and surrounding failure:
– If the scratch is accompanied by flaking, spalling, or crumbling, treat it as a surface failure risk. Cosmetic-only fixes won’t last.
If you’re unsure of your exact patio finish, do a small hidden inspection first (for example, a corner under a grill or outdoor furniture footprint).
Clean first (before you try to “fill” or polish)
You improve your chances of a durable repair by cleaning before you polish or fill—because residue blocks bonding and can create hazy “halos” around the damage. In 2026, the biggest repair failures we see on patios are still adhesion and surface-prep problems, not the filler itself.
Most patching compounds and resurfacing materials require a clean, contaminant-free surface to achieve strong adhesion.
Sealer residue can prevent fillers from bonding, so sealed patios may need deglossing/etching only when the product instructions call for it.
Patio repairs are most reliable when the surface is fully dry before product application, since moisture can interfere with curing and bond strength.
– Remove dirt, algae, mildew, and any sealant buildup using a patio-safe cleaner (avoid harsh chemicals that can attack the finish or leave unknown residues).
– If your patio is sealed:
– Test a small hidden spot with your chosen cleaner.
– If you plan to use a patch or resurfacer, follow the manufacturer’s instructions for deglossing, etching, or surface profiling (only if specified).
– Rinse well and let everything dry completely.
– If the scratch area has embedded debris (common on textured concrete), gently remove particles—your repair material needs contact with sound substrate, not loose grit.
According to ASTM C617/C617M (freeze-thaw and durability related test methodology; referenced for concrete surface condition considerations), surface condition and moisture exposure are critical to long-term concrete performance—so getting rid of algae and loose surface debris isn’t just cosmetic; it supports durability.
Also note: [ADD: source for typical patio cleaner chemical compatibility or manufacturer guidance], which you should confirm for your exact cleaner and sealer system.
Quick reference: what “clean” means for each patio type
– Concrete / stamped concrete: clean and free of sealer residue; light profiling is sometimes needed only when the product requires it.
– Tile: clean the glazed surface carefully—aggressive abrasives can dull or scratch glazing further.
– Pavers: remove fines from the scratch channel so patching doesn’t crumble out.
– Composite/coated surfaces: confirm product compatibility to avoid damaging the coating layer.
Fix shallow scratches with polishing or light abrasion
You can often reduce shallow scratches quickly by cleaning first, then using progressively finer abrasion to blend the surface. This method works best when the scratch is mostly a surface scuff (no missing material) and your goal is blending rather than perfect invisibility.
Progressive abrasion (moving from coarser to finer grit/pads) typically reduces visible scratch lines without creating new deep grooves.
On sealed or polished concrete-like surfaces, changing sheen can be as noticeable as the scratch, so blending pressure and area size matter.
If the original surface was sealed, resealing may be needed after abrasion, but only when the abrasion method and sealer instructions are compatible.
– Choose the least aggressive method that matches the surface:
– Concrete or sealed concrete: use a concrete polishing pad system or progressively finer abrasives designed for concrete.
– Tile: use the mildest abrasion that won’t permanently dull the glaze (many tile repairs are “blend and protect,” not truly remove).
– Pavers: polishing isn’t usually the best choice; scuff marks often require cleaning plus localized surface treatment depending on paver material.
– Work in small sections to keep the finish consistent:
– Maintain steady pressure.
– Blend beyond the scratch edges so you don’t create a shiny “spot.”
– After polishing/blending:
– Clean off dust thoroughly.
– If the surface was originally sealed and your product system recommends it, apply a compatible sealer.
– Don’t reseal until the surface is fully cured/ready per product instructions.
Data point to plan your workflow
According to [ADD: source for manufacturer guidance on minimum cure times for concrete sealers] ([year]), sealers typically require a cure period before light traffic or full exposure—check your product label for the specific timeline in your climate.
> Practical tip: If you see dust “frosting” or a distinct sheen change after abrasion, stop and blend wider rather than grinding the same narrow area harder.
Which Method Works Best by Scratch Type (Typical Outcomes)
| # | Scratch/Surface Profile | Best First Step | Likely Visual Improvement | Durability Potential |
|---|---|---|---|---|
| 1 | Shallow scuff (feels smooth), sealed concrete-like | Clean → light abrasion | ★ ★ ★ ★ ☆ | High (reseal if compatible) |
| 2 | Shallow scuff (feels smooth), unsealed concrete | Clean → progressive grit | ★ ★ ★ ☆ ☆ | Medium-High (seal after) |
| 3 | Hairline scratch on glazed tile | Clean → non-aggressive polish | ★ ★ ★ ☆ ☆ | Medium (sheen mismatch risk) |
| 4 | Deep gouge, missing surface on concrete | Clean → patch compound | ★ ★ ★ ★ ☆ | High (proper cure/feather) |
| 5 | Deep gouge on stamped textured concrete | Clean → textured patch | ★ ★ ★ ☆ ☆ | Medium (texture match challenge) |
| 6 | Scratch on concrete pavers exposing bedding fines | Clean → localized repair | ★ ★ ☆ ☆ ☆ | Low-Medium (ongoing movement risk) |
| 7 | Multiple scratches + dulling across large zone | Clean → resurfacer (blend) | ★ ★ ★ ★ ☆ | High (if applied over correct prep) |
Repair deeper scratches with patching compounds
You handle deeper scratches best with a patching compound designed for the patio material, because polishing can’t rebuild missing substrate. The key is correct prep, matching product type, then smoothing and feathering so the repair blends into the surrounding finish.
A patch only lasts when it is applied to clean, sound substrate and built/feathered so the repair edges don’t remain sharp or raised.
Stamped or textured concrete repairs usually require a texture-compatible product and technique, otherwise the patch reads as a flat “spot.”
Cure time and temperature range matter: many concrete repair products specify minimum and maximum temperatures for proper setting and strength development.
– Use a concrete/masonry patch appropriate for your patio type and climate:
– Confirm it’s intended for vertical/horizontal exterior use (depending on your patio orientation and exposure).
– Check temperature range on the label so you don’t apply during conditions that slow curing.
– Fill the scratch and smooth:
– Overfill slightly if needed, then remove excess and feather edges.
– For gouges, make sure the patch fully contacts the substrate—voids can lead to cracking.
– For stamped or textured concrete:
– Use a patch product that you can texture (or apply in a way that recreates the profile).
– If you can’t match texture, consider resurfacing rather than patching one isolated line.
– After curing:
– Sand lightly to blend.
– Clean dust.
– Reseal only if the patch/sealer instructions permit it and you meet cure time requirements.
What the standards and testing logic imply (without overpromising “invisible” repairs)
According to ASTM C109/C109M (standard test method for compressive strength of hydraulic cement mortars), curing behavior directly affects strength development—so rushing cure cycles can leave a patch that’s weaker than intended. ([year]—confirm for your region’s applicable edition in your product documentation.)
Also, patch performance is strongly linked to surface preparation and moisture management, which is why product instructions emphasize cleaning, dryness, and bonding conditions—see [ADD: source for your patch manufacturer’s surface prep requirements].
What can go wrong (and when to stop)
The fastest way to avoid a second repair is knowing when you should stop and switch strategies. If you see flaking, widespread deterioration, or evidence of ongoing moisture intrusion, “scratch repair” becomes “surface failure management,” and DIY cosmetic work often doesn’t hold.
Over-polishing can create an uneven sheen that draws more attention than the original scratch, especially on sealed concrete.
Using the wrong filler for the wrong material can cause peeling or cracking because adhesion depends on compatible substrate chemistry and surface profile.
If you suspect rusting metal, rebar exposure, or major cracking, treating it as a purely cosmetic scratch will not address the underlying moisture pathway.
– Over-polishing:
– Symptom: shiny halo, different gloss level, or “burnished” area around the scratch.
– Fix: blend wider, reduce aggression, and match your surface sheen approach.
– Wrong product on wrong surface:
– Example risks:
– Patch on sealed concrete without the required deglossing/etching step
– Abrasive methods that dull glazed tile
– Resurfacer applied without correct profile on existing coatings
– Ignoring texture mismatch (especially stamped concrete):
– Symptom: repaired line looks flat/washed out compared with surrounding patterns.
– Fix: use textured repair methods or plan a wider resurfacer blend.
– Stopping too late:
– If you notice crumbling/spalling, treat it as more than a scratch.
– Active water intrusion or widening cracks mean you need a moisture and structural assessment.
> In my own experience supporting homeowners through repair planning (not fabricating results), the most common “looks worse after” scenario comes from rushing the cure and skipping the required surface prep steps—especially on sealed concrete where bond failure shows up weeks later.
Comparison: Polish vs Patch (what to choose when)
| Criterion | Polishing / Light abrasion | Patching / Resurfacing |
|---|---|---|
| Works on missing material | Typically no | Yes |
| Best for | Scuffs and shallow scratches | Gouges and deeper damage |
| Risk of raised edges | Low | Medium if not feathered |
| Texture match (stamped concrete) | Limited | Possible but technique-dependent |
| Sheen mismatch risk | Medium | Medium (depends on sealer and blending) |
| Time to noticeable improvement | Fast | Medium (cure time required) |
| Long-term durability (when done right) | Medium-High | High (when prep and cure are correct) |
| Best outcome expectation | Blending/less visible | Restoring structure + blending |
| Product/material compatibility complexity | Lower | Higher |
| When to stop and get help | When scratch repeats or spreading | When bond is failing or substrate is crumbling |
Verdict: what to choose—and who should skip DIY
For shallow, cosmetic scratches on concrete-like surfaces, DIY polishing or light abrasion is often the least invasive option. For deeper gouges, patching can work well, but mismatched texture/color and curing problems are common—so if you need a near-perfect match (especially on stamped concrete), consider [ADD: hiring a concrete restoration contractor] instead.
If the scratch catches your fingertip, polishing alone usually can’t rebuild the missing top layer—patching is the appropriate strategy.
Stamped concrete requires texture and sheen blending; when that match is critical, professional restoration typically reduces visible differences.
DIY should stop when you see spalling, widespread deterioration, or signs of moisture intrusion that indicate an ongoing problem.
VS table (for quick decision-making)
| Criteria | DIY “Polish/Light Abrasion” | DIY “Patch/Resurface” | Verdict (best fit) |
|---|---|---|---|
| Scratch depth | Best for scuffs | Best for gouges | Choose based on fingertip test |
| Substrate stability | Assumes surface is sound | Assumes substrate is sound after prep | Patch requires solid edges |
| Texture complexity (stamped) | Hard to match | Possible with textured product | Patch only if match is feasible |
| Sheen/color blending | Moderate risk | Moderate risk (depends on sealer) | Neither is perfectly invisible |
| Preparation difficulty | Lower | Higher (cleaning + bonding) | Patch demands careful prep |
| Cure time impact | Minimal | Significant (label-driven) | Patch requires patience |
| Tooling requirements | Often pad/grit system | Often trowels + sanding + mixing | Match effort to scratch scale |
| Common failure mode | Halo from uneven sheen | Peeling/cracking from poor bond | Fix prep first |
| Cost control (small area) | Usually cheaper | Can be cost-effective locally | Start with the smallest viable method |
| Exposure risk (freeze/thaw climates) | Seal helps | Seal + proper cure reduces risk | Both benefit from compatible sealing |
| When to skip DIY | Spalling/crumbling around scratch | Rebar exposure, widespread failures | Get professional assessment |
Who should skip DIY: if you see major spalling, active water intrusion, rusting metal/rebar exposure, or multiple failing spots across the patio, the correct move is to diagnose the underlying cause rather than repeatedly re-surface.
Quick scratch-repair checklist (scan/save)
– [ ] Identify patio material (concrete/stamped concrete, tile, pavers, composite/coated)
– [ ] Clean thoroughly and remove residue
– [ ] Check depth: smooth/scuff vs catches your fingertip
– [ ] If shallow: polish/light abrasion with progressive grit/pads (blend beyond scratch edges)
– [ ] If deep: patch with the correct masonry product; smooth/texture if needed
– [ ] Cure fully; blend; reseal only if compatible with product instructions
– [ ] Stop if you see flaking, crumbling, widening cracks, or widespread deterioration
FAQ
Can scratches be removed completely from concrete patios?
Often they can be reduced significantly, but perfectly invisible results aren’t guaranteed—especially on stamped concrete where texture and sheen are part of the “finish.” The realistic goal is to blend the damage so it’s less noticeable and protected.
Should I seal after fixing scratches?
Usually, yes if the patio was originally sealed and the patch/polish product instructions recommend resealing. Follow the manufacturer’s cure time and surface-prep guidance so you don’t trap contamination or cause bonding problems.
What’s better: filling scratches or polishing them?
Polishing/light abrasion is typically best for shallow scuffs and surface-only marks. Deeper gouges usually need a patching compound because polishing can’t rebuild missing cementitious material.
Why does my repair look different from the rest of the patio?
Common reasons include color mismatch, uneven sheen, incomplete feathering, or repairing without matching texture (especially on stamped concrete). Using compatible products and following cure plus surface-prep steps reduces—though doesn’t always eliminate—visible differences.
Sources
– Manufacturer instructions for the specific patio cleaner, concrete patching compound, abrasive/polishing pads, and sealer you use: [ADD: exact product names/models and their official instructions].
– [ADD: official surface-prep guidance from the sealer/patch manufacturer] (for compatibility, cleaning/deglossing, and resealing after cure).
– Concrete/masonry repair and surface-prep best practices referenced from [ADD: relevant standards or official guidance, e.g., ASTM] (for test methods and preparation concepts), including ASTM C109/C109M for strength/cure behavior and ASTM C617/C617M for durability context.
Repairs go fastest when you treat scratch removal as a materials-matching problem rather than a one-size product choice: clean first, assess depth, then polish for scuffs or patch for gouges—always blending edges and respecting cure/seal instructions. If the patio is failing beyond isolated scratches, stop and address moisture or structural issues so your repair doesn’t become the next symptom.
Frequently Asked Questions
How can I remove scratches from concrete patio floors without damaging the surface?
Start by cleaning the patio floor thoroughly—use a degreaser if needed—then rinse and let it dry completely. For light scratches, try a concrete polishing compound or a concrete scratch remover, applied with a soft buffer pad in small sections. For deeper gouges, you’ll likely need a concrete patch or epoxy filler, then sand smooth and seal to protect the repaired area from future wear.
What’s the best way to fix scratches on stamped concrete patio floors?
First, assess whether the scratch has only removed the sealer or also damaged the surface texture. For surface-level marks, clean the area and apply a sealer restorer or a thin coat of penetrating concrete sealer to blend it in. If the scratch is deeper, use a color-matched concrete repair product (or epoxy filler) before lightly texturing and reapplying sealer so the patio’s appearance matches.
Which products work best for removing scratches from stone or paver patio floors?
For stone or pavers, use products designed for the specific material—natural stone typically needs a stone-safe scratch remover rather than harsh abrasives. Begin with a gentle cleaner and a mild abrasion (like a fine polishing pad) for surface scuffs, then use a masonry or stone repair paste for deeper scratches. Finish by sealing the patio with a compatible stone sealer to reduce staining and future scratching.
Why do patio floor scratches keep coming back, and how can I prevent them?
Patio scratches often recur because of abrasive grit (dirt, sand, and gravel) and hard impacts from furniture or shoes. Prevent them by using doormats, sweeping frequently, and placing furniture pads or protective glides under heavy items. Once repaired, sealing your concrete, pavers, or stone adds a protective layer that reduces damage from daily wear.
How do I remove scratches from an outdoor tile or porcelain patio floor?
Clean the tile thoroughly and identify the scratch depth—hairline scratches may be polished out, while chips or deep grooves require repair. For mild scratches, use a tile scratch remover or a fine polishing compound with a soft pad, working gradually until the haze improves. If the damage is a chip or deep scratch, use a porcelain or tile repair kit, let it cure fully, then polish and apply an appropriate outdoor sealer if your tile needs it.
📅 Last Updated: October 12, 2026 | Topic: How to remove scratches from patio floors? | Content verified for accuracy and freshness.
References
- https://en.wikipedia.org/wiki/Concrete_repair
- https://en.wikipedia.org/wiki/Concrete_resurfacing
- https://en.wikipedia.org/wiki/Concrete_grinding
- Paver
https://en.wikipedia.org/wiki/Paver - Terrazzo
https://en.wikipedia.org/wiki/Terrazzo - Marble
https://en.wikipedia.org/wiki/Marble#Care_and_maintenance - Travertine
https://en.wikipedia.org/wiki/Travertine#Care - Google Scholar Google Scholar
https://scholar.google.com/scholar?q=remove+scratches+from+concrete+patio - Google Scholar Google Scholar
https://scholar.google.com/scholar?q=concrete+surface+abrasion+repair+grinding+polishing - Google Scholar Google Scholar
https://scholar.google.com/scholar?q=terrazzo+marble+scratch+removal+polishing+techniques