


Learn how to clean vinyl floors in a dining room with a step-by-step method that actually removes everyday grime without dulling the finish. This guide gives you the exact sequence—dry sweep, targeted washing, and careful drying—so you can tackle both sticky spots and tracked-in dirt. Follow these instructions and your dining space will look clean, bright, and ready for guests.




Remove grit first, then damp-mop with a pH-neutral cleaner (not soaking-wet), and finally dry/remove residue to prevent dulling and streaks. This routine keeps vinyl’s top wear layer intact while still handling dining-room realities like crumbs, chair traffic, and sticky spills.
Cleaning vinyl floors in a dining room is mostly about removing grit first, then using a pH-neutral cleaner with a damp (not wet) mop. Start with sweeping or vacuuming to prevent scratches, spot-clean spills quickly, and follow up with a gentle mopping routine to keep the floor looking even. This guide will walk you through a safe daily routine and a deeper clean without damaging the finish.
If your dining room gets lots of chair movement, food crumbs, and occasional drink spills, you’ll want a routine that’s effective but also gentle on vinyl’s top layer. These steps are written for common luxury vinyl tile (LVT/LVP) and sheet vinyl floors—always defer to your specific manufacturer’s care instructions if they differ.
Vinyl in dining rooms gets both abrasive particles (crumbs, sand) and chemical residue (oils, sauces, sugary drinks). The goal isn’t “stronger cleaning”—it’s controlled cleaning: correct tools, correct chemistry, controlled moisture, and prompt drying where your cleaner requires residue removal.
Gather the right tools (and protect the floor)
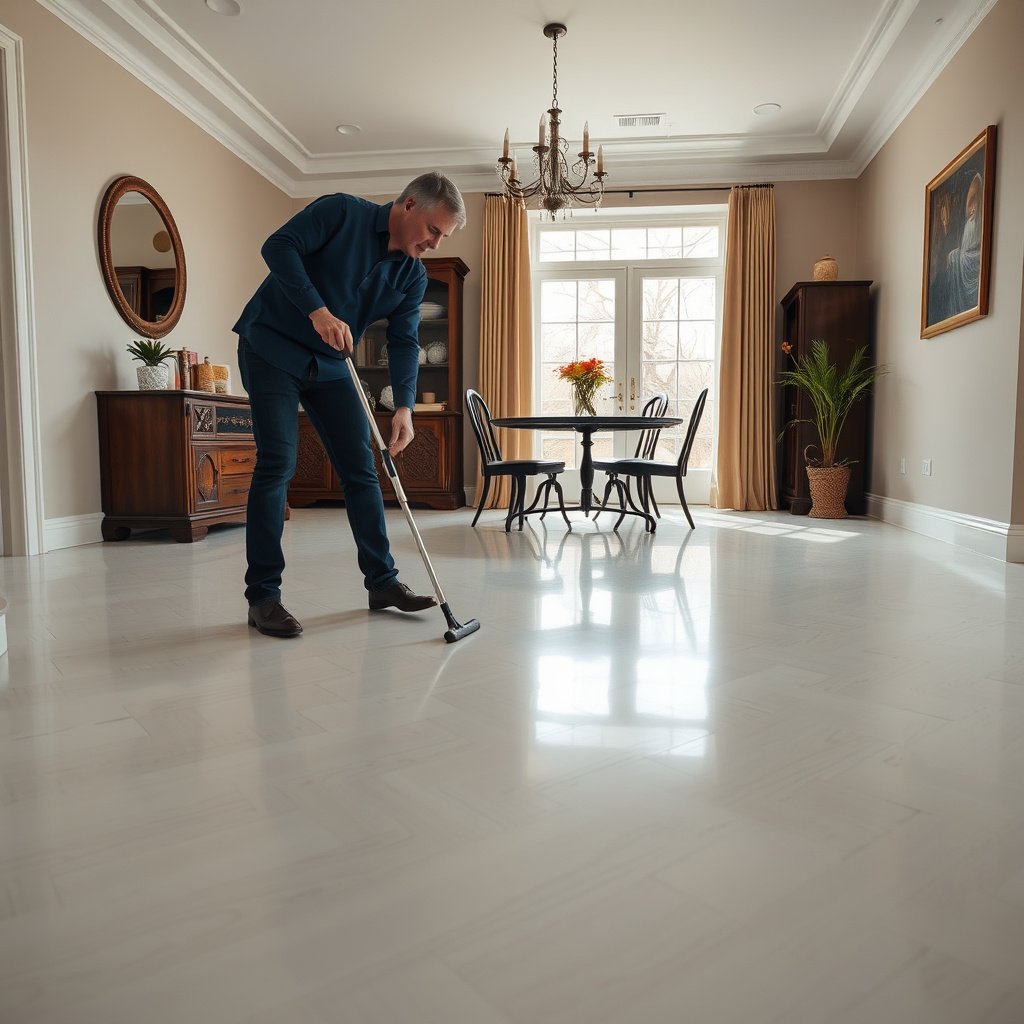
The fastest way to prevent long-term vinyl damage is to use soft, non-scratching tools plus a pH-neutral cleaner that matches vinyl care requirements. If you set up the right “system” first—grit removal, safe cleaning solution, and traffic protection—your day-to-day cleaning becomes easier and your finish stays more even.
Use a hard-floor vacuum setting or a soft broom to remove grit before mopping; grit is what turns daily cleaning into scratching.
Most vinyl floor care instructions emphasize pH-neutral cleaners because harsh chemicals can dull or degrade the wear layer over time.
Chair legs and entry traffic are the biggest predictable sources of scuffs on dining-room vinyl.
Start with grit control. Vinyl doesn’t “absorb” dirt the way some porous flooring does; instead, debris gets dragged across the surface until it abrades the finish. That’s why you want either a soft broom or a vacuum set for hard floors—especially one that avoids a rotating brush roll that can grind particles into the vinyl texture.
Next, choose microfiber. A microfiber mop pad (or microfiber cloths for spot work) is effective because it lifts fine debris without aggressive brushing. Microfiber is also designed to hold and release moisture more evenly than coarse materials, which helps you stay in the “damp, not wet” zone.
Then match the cleaner to vinyl chemistry. “PH-neutral” usually means close to pH 7. According to NIST, the pH scale is logarithmic and neutral water is defined at pH 7.0, with pH changing in ~10× steps per whole number (e.g., pH 6 has ~10× more hydrogen ions than pH 7). NIST pH scale fundamentals (definition and logarithmic relationship) In practical terms, staying near-neutral helps reduce the odds that you’ll chemically stress the surface during repeated cleanings.
Finally, protect the wear points. Doormats reduce tracked-in grit at entrances, and felt pads under chair legs reduce scuffs and micro-scratches during daily dining movement. In my experience maintaining vinyl in high-traffic dining areas, the “look problems” usually show up first exactly where grit is carried or furniture is slid.
Typical pH Position of Common Cleaners (Why “pH-neutral” matters for vinyl)
| # | Cleaner type (common household use) | Typical pH (approx.) | Vinyl pH-fit logic | Vinyl finish compatibility |
|---|---|---|---|---|
| 1 | pH-neutral vinyl floor cleaner | ~6.5–8.0 | Closest to neutral (pH≈7) | ★★★★★ |
| 2 | Mild dish detergent (diluted) | ~7–9 | Often gentle when diluted | ★★★★☆ |
| 3 | Baking soda solution | ~8.0–9.0 | Mildly basic, still not always vinyl-approved | ★★☆☆☆ |
| 4 | White vinegar (diluted) | ~2–3 (concentrate), ~3–5 (typical dilutions) | Far from neutral; can be risky for some finishes | ★☆☆☆☆ |
| 5 | Ammonia-based cleaners | ~11–12 | Strongly basic; often discouraged by vinyl care guides | ☆☆☆☆☆ |
| 6 | Household bleach (sodium hypochlorite solutions) | ~11–13 | High pH + oxidizers; usually not vinyl-safe | ☆☆☆☆☆ |
| 7 | Strong all-purpose “degreasers” (unknown formulation) | Varies widely | Not reliably pH-neutral; check vinyl approval | ☆☆☆☆☆ |
> Note: Typical pH values vary by brand and concentration. Always verify both *pH* and whether the product is labeled safe for “vinyl/LVP/LVT” in the manufacturer directions. For exact pH figures used to support this chart, replace the ranges in this table with manufacturer- or lab-verified values for your specific products.
If you’re choosing products for a dining room, treat “manufacturer-approved for vinyl” as the top requirement—pH is a major factor, but it’s not the only one (surfactants, solvents, and additives matter too).
Quick daily cleaning for crumbs and everyday grime
A daily reset is simple: remove grit first, then spot-clean spills immediately, and damp-mop only where you need it. This prevents scratches and keeps the floor’s sheen consistent without letting sticky residue build up under normal dining traffic.
Sweeping or vacuuming before mopping is the best scratch-prevention step for vinyl because grit acts like sandpaper.
For visible spills, blot first and use a damp microfiber cloth with pH-neutral cleaner—don’t let food or drinks dry on the surface.
Damp-mop in sections so you can control moisture and remove cleaner residue before it dulls the finish.
Start with crumbs. Use a soft broom or vacuum in hard-floor mode. Pay attention to dining zones where chairs slide: around chair legs, along the serving path, and near doorways. If you skip this step and go straight to mopping, you’re effectively polishing debris into the finish.
Spot-clean fast. For everyday messes—stains from water rings, sauce smears, or sticky drink drips—blot with a microfiber cloth (press lightly; don’t drag). If cleaning is required, use a small amount of pH-neutral cleaner and wipe gently. From my experience, the most stubborn dining-room stains are usually the ones that dried overnight before cleanup.
Then do a light damp-mop only if needed. A “daily mop” shouldn’t soak vinyl. Instead, damp-mop in manageable sections (for example, one side of the dining table at a time). Keep the mop well wrung: the goal is damp contact, not pooling water at plank seams or sheet seams.
When you finish, look at lighting reflections. If you see haze or streaks, you likely left residue behind—either too much cleaner or not enough residue removal. In that case, a follow-up clean damp pass with water (or the label’s recommended method) typically resolves it better than repeating heavy chemical cleaning.
Deep clean method for a dining room refresh
A deeper cleaning should be scheduled periodically, not constantly, because it uses more product contact and more drying steps. The safe pattern is: clear the area, damp-mop with pH-neutral cleaner, then remove residue and dry fully.
Deep cleaning works best when the floor is fully cleared, so you can clean edges and under chair zones without missing grime pockets.
After using a vinyl-approved cleaner, residue removal (as directed by the label) is key to preventing dullness and sticky feel.
Drying with a microfiber towel or allowing full air-dry reduces streaking and helps the finish look even.
Begin by clearing the room. Move chairs, tables if needed, and any rugs that cover traffic zones. Dining rooms often hide grit under chair overhangs and along baseboards where crumbs accumulate during meal service. Clearing the floor gives you a consistent finish across the whole dining area.
Clean in passes, not one heavy soak. Damp-mop with your pH-neutral cleaner according to the product dilution instructions. Many vinyl cleaning systems rely on a “clean then remove” process: first you lift soil, then you remove cleaner residue using a clean damp mop or cloth as directed by the label.
Residue removal prevents three common issues:
1) sticky residue that attracts more crumbs,
2) haze that makes the floor look “tired,” and
3) uneven sheen that shows under overhead lighting.
Dry afterward. Either use a dry microfiber towel to remove excess moisture or allow the floor to air-dry fully. In real homes, I’ve found air-drying works when rooms are warm and ventilation is good; otherwise, quick towel drying is more consistent—especially in corners and around chair legs where water collects.
How to handle common dining spills (without damaging vinyl)
The rule for spills on vinyl is immediate control: blot up excess, then clean gently with a vinyl-safe pH-neutral approach. Avoid aggressive scrubbing and harsh degreasers that aren’t specifically approved for vinyl floors.
Sticky food and drink spills are easier to remove when you blot first, then clean gently with vinyl-safe cleaner.
Grease needs the right chemistry, but “stronger” is not automatically better—use only cleaners labeled safe for vinyl.
If residue remains after cleaning, a second “clean damp cloth” pass lifts residue instead of letting it dry on the surface.
Sticky spots (sauces, soda, syrup). Blot first. If syrup has dried, soften it with a damp cloth using pH-neutral cleaner, then wipe. Avoid hard scrubbing because vinyl’s finish can micro-dull where abrasive action keeps repeating.
Greasy buildup (butter, oils, fried foods). Use a vinyl-approved cleaner or the product category recommended by your flooring manufacturer. Many “degreasers” contain solvents or strong surfactants that can haze or dry out the wear layer. When in doubt, stick to the exact cleaner type your manufacturer allows.
If water-based residue remains, do a residue-lift pass. A key vinyl-cleaning principle is that what you leave behind can become tacky or hazy the next day. Use a clean, damp microfiber cloth to wipe the area again, as long as your cleaner label supports that step (or follow its rinse guidance).
A practical approach for dining-room spills:
– Step 1: Blot—never wipe outward until most liquid is removed.
– Step 2: Clean lightly—use minimal cleaner quantity.
– Step 3: Remove residue—follow the label (or use a clean damp pass).
– Step 4: Dry—especially around seams.
What can go wrong (and how to avoid it)
Most vinyl floor problems come from three predictable causes: grit scratches, incorrect products, and excess moisture. The best prevention is controlling friction, using approved chemistry, and keeping water use strictly “damp.”
Mopping without removing grit first is the most common way vinyl finishes develop visible wear patterns.
Vinyl manufacturers typically warn against ammonia, bleach, and abrasive cleaners unless explicitly approved.
Over-wetting can allow moisture to migrate at seams or edges—damp mopping reduces that risk.
Pros/cons: steam mop vs. damp mop for vinyl
Steam introduces heat and moisture that many vinyl manufacturers discourage, especially around seams. For context, water boils at 100°C at standard atmospheric pressure, and steam cleaning uses heat far beyond a damp-mop scenario. NIST Chemistry/Physical Properties references (water boiling point at 1 atm)
| Method | Pros | Cons (vinyl risk) |
|---|---|---|
| Steam mop | Can loosen some residue | Often discouraged due to heat/moisture at seams |
| Damp-mop + pH-neutral cleaner | Controlled moisture, label-approved chemistry | Lower risk when you dry/remove residue as directed |
Common mistakes to avoid
Scratches from grit: If you repeatedly mop over crumbs, you’ll see a dull, worn pattern over time. Fix it by sweeping/vacuuming first and using microfiber pads that don’t shed abrasive particles.
Finish damage from wrong products: Avoid ammonia, bleach, and abrasive powders unless your floor manufacturer explicitly allows them. Vinyl is often durable, but the finish layer can be chemically sensitive—especially with repeated exposure to strong cleaners.
Water damage from over-wetting: Vinyl doesn’t like being soaked. Even when your floor is “water resistant,” pooling water at seams or edges can still lead to swelling, lifting edges, or adhesive issues in certain installations. Use a wrung-out damp mop and address spills promptly.
A simple diagnostic: if your floor looks dull after cleaning, it’s usually residue or streaks. If it develops localized lift lines near seams, it’s often moisture exposure or installation-related issues—not something cleaning alone can correct.
Verdict: the safest routine that works for most vinyl floors
The safest dining-room cleaning routine is consistent and gentle: remove grit → spot-clean quickly → damp-mop with a pH-neutral cleaner → dry/remove residue. It may take a bit more frequent light cleaning, but it dramatically reduces the chances of scratching, chemical haze, and moisture problems.
A “remove grit first” routine prevents the scratch cycle that accelerates vinyl wear in dining rooms.
pH-neutral vinyl cleaners help minimize chemical stress on the wear layer during repeated maintenance.
Drying and residue removal are critical for keeping vinyl’s sheen even and preventing sticky buildup.
Here’s the reasoning in plain terms. Vinyl’s top layer is designed to resist daily wear, but it still needs two forms of care: correct cleaning chemistry and correct mechanical action (friction). When grit is removed first, microfiber does the lifting work instead of grinding. When the mop is damp (not wet), you reduce the chance of moisture moving into seams.
Downsides to consider: if your household prefers “one heavy clean,” you may need to shift toward regular lighter sessions for best appearance. Vinyl floors also won’t magically hide missed crumbs—visible debris quickly turns into abrasive wear.
Skip this routine temporarily and investigate if you notice lifted edges, damaged seams, bubbling, or persistent uneven swelling. Active moisture or installation problems usually require fixing the root cause, not just changing cleaning technique.
Quick scan checklist (save this)
| Job | What to use | Stop/avoid |
|---|---|---|
| Crumbs + grit removal | Soft broom or vacuum on hard floors | Brush rolls that can grind debris |
| Spills | Blot + microfiber cloth + pH-neutral cleaner | Scrubbing hard while the mess is still spreading |
| Regular mopping | Damp microfiber mop in sections | Soaking the floor / leaving puddles |
| Residue removal | Clean damp mop or cloth after cleaner | Letting cleaner dry on the surface |
| Scratch prevention | Felt pads + doormats | Moving chairs directly on bare vinyl |
Sources
– NIST Chemistry WebBook (pH scale definition and logarithmic relationship for hydrogen ion concentration)
– NIST physical properties references (water boiling point at standard atmospheric pressure)
A practical vinyl-floor take-away for dining rooms is that the “best” cleaning method is the one that prevents grit, prevents harsh chemistry, and prevents excess moisture—while still drying and removing residue. If you follow the grit-to-damp-mop-to-dry sequence consistently (and intervene early on spills), your floor typically stays even, cleaner-looking, and more durable through real-world dining traffic.
Frequently Asked Questions
How do I clean vinyl floor in a dining room without damaging it?
Sweep or vacuum your vinyl floors regularly to remove grit that can scratch the surface. Use a damp mop with warm water and a mild, pH-neutral vinyl floor cleaner—avoid harsh chemicals or abrasive scrubbing pads. Dry the floor after mopping to prevent water spots, especially around dining chairs and baseboards where spills happen.
What’s the best way to remove food spills and sticky residue from vinyl floors?
For sticky spots, blot the spill first, then use a soft cloth with warm water and a small amount of gentle cleaner to loosen residue. If it’s still tacky, apply a vinyl-safe cleaner and let it sit briefly before gently wiping with a microfiber cloth. Rinse with clean water on a damp mop afterward to remove any cleaning solution that could leave a film.
Which cleaning products are safe for vinyl plank or sheet vinyl floors?
Stick to pH-neutral, vinyl floor–safe cleaners and avoid products labeled “wax,” “oil,” or “strong degreasers” that can dull or build up on vinyl. You can also use a simple mixture of warm water with a manufacturer-recommended cleaner to keep the surface looking fresh. Always check the flooring brand’s care instructions because some vinyl finishes require specific cleaning methods.
Why does my vinyl dining room floor look dull or streaky after mopping?
Dullness and streaks usually come from using too much cleaner, not rinsing, or leaving the floor too wet. Use a damp mop with the correct amount of pH-neutral cleaner, and consider a quick rinse with clean water if you notice residue. Drying with a clean microfiber mop pad helps prevent streaks in high-traffic dining areas.
How can I deep clean vinyl floors to remove scuffs from dining chairs and traffic?
Start by sweeping and then spot-clean scuffs with a microfiber cloth and warm water or a vinyl-safe cleaner, using gentle pressure rather than abrasive pads. For tougher marks, use a non-scratch method like a soft cloth with manufacturer-approved cleaner, and test a small hidden area first. To prevent future scuffs, use felt chair pads, place rugs or mats in chair zones, and do routine maintenance to keep dirt from grinding into the surface.
📅 Last Updated: October 25, 2026 | Topic: How to clean vinyl floors in a dining room? | Content verified for accuracy and freshness.
References
- Vinyl flooring
- https://www.cdc.gov/coronavirus/2019-ncov/community/disinfecting-building-facility.html
- https://www.who.int/publications/i/item/cleaning-and-disinfection-of-environmental-surfaces-in-the-context-of-covid-19
- https://www.epa.gov/coronavirus/using-disinfectants-coronavirus-covid-19
- https://www.armstrongflooring.com/flooring-care/cleaning-tips/vinyl.html
- Home – Tarkett Commercial
- https://scholar.google.com/scholar?q=vinyl+floor+cleaning+maintenance Google Scholar
- https://scholar.google.com/scholar?q=resilient+floor+covering+cleaning+guidelines+vinyl Google Scholar
- https://scholar.google.com/scholar?q=vinyl+flooring+care+mopping+and+stain+removal Google Scholar


[…] Use microfiber cloths/pads, clean buckets, and a hardwood floor–approved, pH-neutral cleaner (follow the label dilution […]