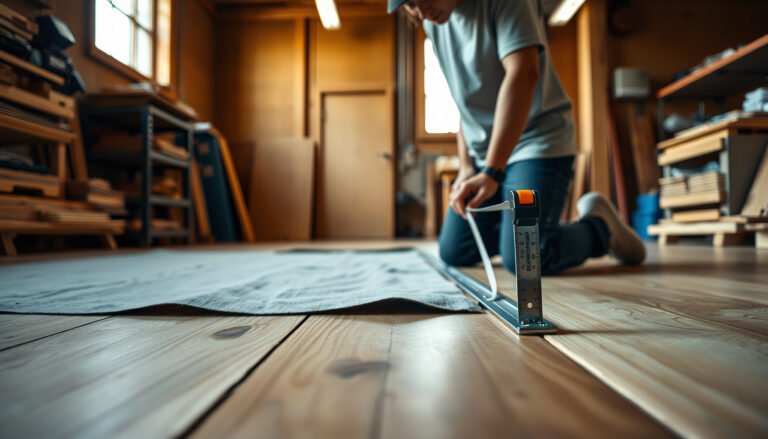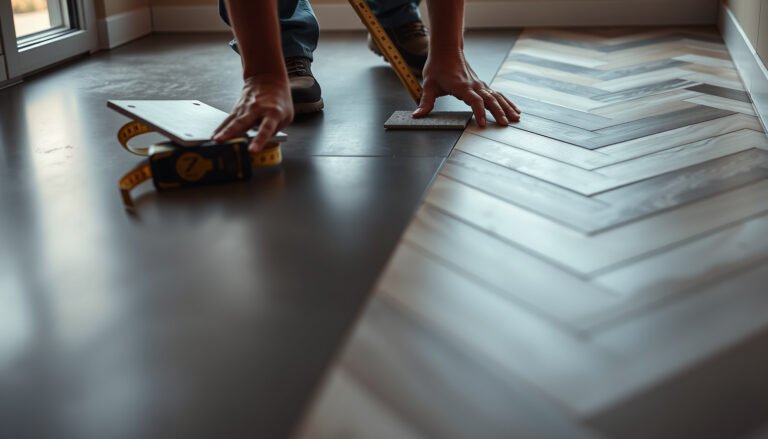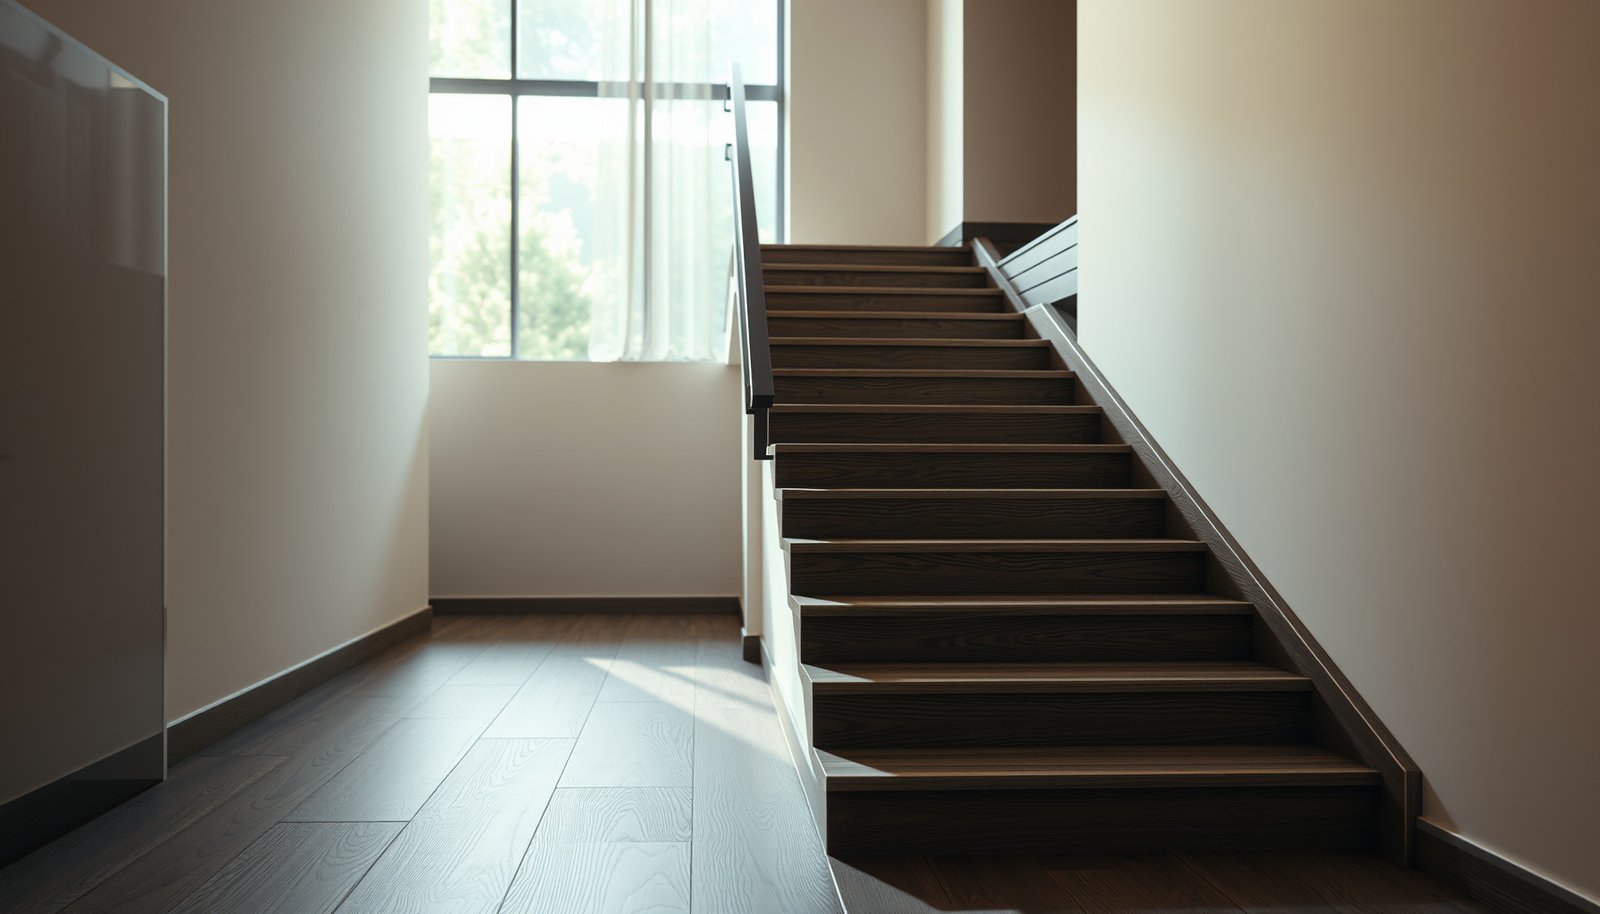

Choosing vinyl floors for a staircase comes down to one decision: pick a wear-layer and grip profile that can handle heavy foot traffic without slipping or tearing. If your priority is safety and longevity, choose a rigid core (LVP/LVT) vinyl with a high-density core, a thick protective wear layer, and a textured tread surface. Get these right and you’ll avoid flex, edge failure, and stairway scuffs—problems that ruin cheaper vinyl installations.




Vinyl flooring can work well on stairs, but you’ll only get a safe, long-lasting result if you choose the right product type (and the right stair-tread approach) for your staircase. Start by confirming your vinyl is specifically approved for stairs and that it has a slip-resistant surface, then plan for tread/nosing transitions before you buy.
If you’re deciding between click-lock planks (floating) and glue-down vinyl (LVP/LVT) for stair treads, this guide breaks down the key selection and installation factors contractors and homeowners actually run into. As of 2026, stair rescues and warranty denials still come down to a few predictable issues: product approval, edge/nosing detailing, and subfloor flatness.
Pick the right vinyl type for stair use
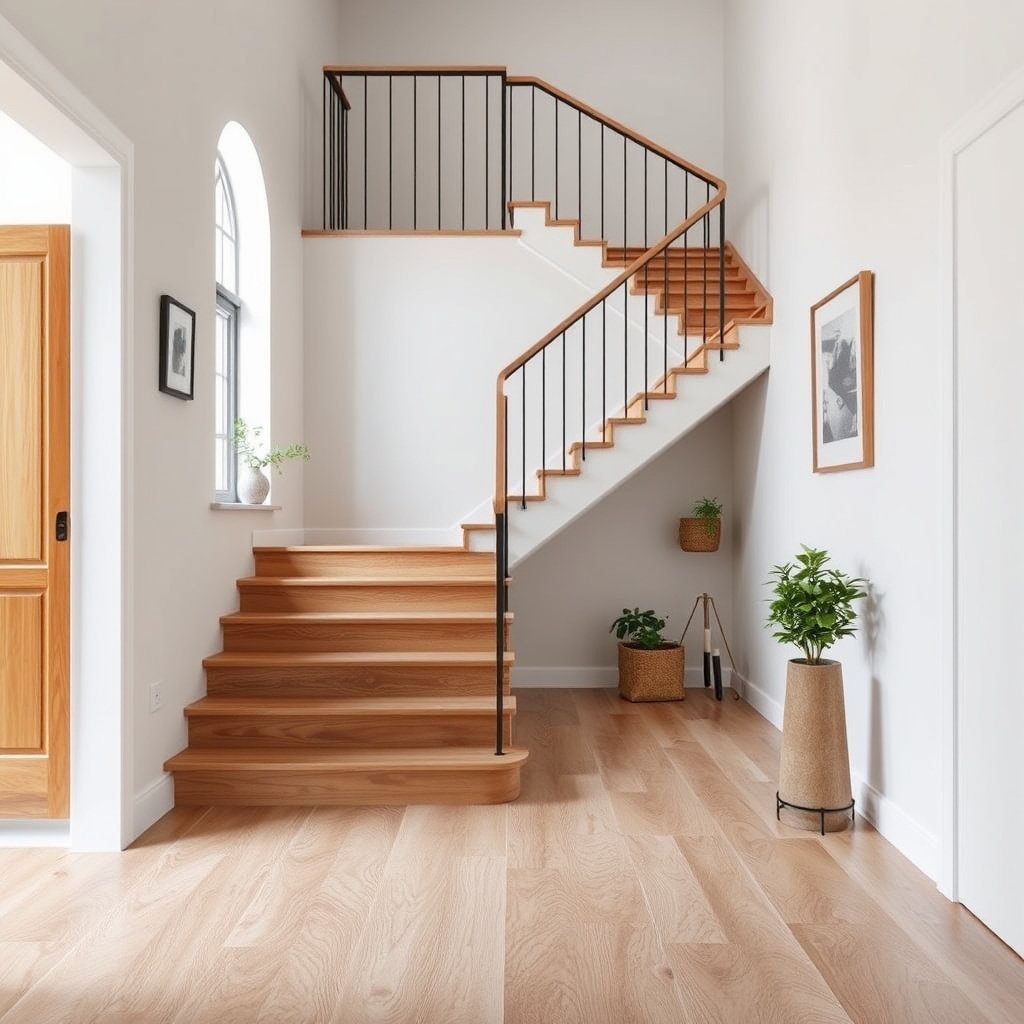
Click-lock and glue-down vinyl can both work on stairs, but they behave differently at the highest-stress locations—step edges, corners, and seams. Your first decision should be matching the vinyl system to the stair details you have (tight turns, exposed edges, and whether you can control nosing transitions).
“For resilient flooring, the manufacturer’s installation instructions control allowable locations; if the instructions only say ‘floor,’ stairs are not automatically approved.”
“ASTM F1700 establishes installation practices for resilient floor coverings; stair and edge conditions require the same level of substrate preparation and adherence to product requirements.”
“When you treat stair treads as ‘high-stress edges,’ you should expect more strict requirements than for a level hallway floor.”
Click-lock (floating) vs glue-down: what changes on stairs?
Click-lock (floating) vinyl relies on its locking system and—just as importantly—on the base being stable and properly prepared. On stairs, the tread is not a flat walking plane; it’s a repeated impact zone where the vinyl flexes over time. If the manufacturer limits click-lock installs to flat interior floors, your “floating” system can develop edge lift at nosings and corners.Glue-down vinyl typically holds edges more firmly because it bonds directly to the substrate, which can reduce movement at the step front. The tradeoff is that glue-down systems are less forgiving: the wrong adhesive, inadequate spread, or a subfloor that’s not within the manual’s flatness limits can still cause failures—just in a different way.
Decide how you’ll cover each tread and nosing
Before you buy, decide whether you’ll use full-tread plank coverage, a stair nosing trim, or pre-fabricated stair treads matched to your vinyl line. That choice affects:
– where plank seams land (and which seams are closest to the nosing),
– how cut edges are protected,
– how the front of each tread is finished.
For code context (because geometry affects vinyl cutting and seam placement), the International Residential Code (IRC) limits riser height and tread depth—for example: maximum riser height of 7-3/4 inches and minimum tread depth of 10 inches (measured from riser to leading edge). International Code Council, IRC (2021), R311.7
Choose durability and slip resistance (don’t guess)
Choose vinyl with stair-approved installation and a documented slip-resistant surface—visual “texture” alone is not the safety spec. For durability, match the wear layer and household traffic conditions to the product’s ratings, then follow the underlayment/adhesive rules precisely for your chosen system.
“Slip resistance claims should come from the manufacturer’s spec sheet (e.g., traction/wet-dry descriptors or a listed test-based slip rating), not from marketing photos.”
“If a click-lock product requires an approved underlayment, using a different underlayment can change stability and contribute to edge lift on stair treads.”
“Wear layer performance is tied to the product’s stated residential/commercial classifications and the specific surface construction—not just the plank thickness.”
Durability: prioritize wear-layer specs for your traffic pattern
On stairs, wear is concentrated and accelerated by:
– frequent foot strikes at the nosing,
– dirt tracking and abrasion where shoes touch hardest,
– uneven impact if the subfloor isn’t rigid.
Check the vinyl’s stated wear layer specs and intended use category (typically expressed in the manufacturer’s wear layer and classification information). If your household includes kids, pets, or frequent shoes-on traffic, you’ll usually want a higher wear-layer category than you’d choose for a bedroom floor.
Slip resistance: look for the exact safety term in the spec
“Slip-resistant” should not be vague. Find the exact term the manufacturer uses—often this appears as traction descriptors, wet/dry performance notes, or a test-based metric. Whatever the term is, verify it on the product’s technical data and installation documentation.
Also plan for cleaning. Stairs aren’t mopped like a hallway—you’ll tend to use spot cleaning and quick wipe-downs. If the care guide recommends a specific cleaner, follow it because certain additives can affect traction.
>
“According to the CDC, falls are a leading cause of injury among older adults, and every year about 1 in 4 adults aged 65+ falls.”
> U.S. Centers for Disease Control and Prevention (CDC), Falls facts
>
“According to the CDC, falls also carry a major economic burden in the U.S., with costs estimated at more than $50 billion per year.”
> U.S. Centers for Disease Control and Prevention (CDC), Falls facts
Underlayment expectations matter more on stairs than you think
For click-lock systems, underlayment isn’t just comfort—it can influence locking stability and how much the vinyl flexes at seams. For glue-down systems, underlayment often isn’t used, but adhesive selection is non-negotiable.
Use the manufacturer’s own matrix of “approved substrates + required prep + adhesive rules + underlayment requirements,” because stairs amplify any mismatch.
Plan stair layout for treads, nosing, and seams
Plan your vinyl layout as a stair-specific problem, not a “copy the hallway floor” task. The safest results come from placing seams away from the nosing stress zone and using an edge finish (trim/nosing/profile) that protects cut vinyl edges.
“Seams closest to the nosing are among the first places resilient flooring can experience stress and lifting because the tread edge absorbs repeated impact.”
“Stair geometry often forces custom cuts, which means seam planning and edge finishing must be addressed before purchasing vinyl.”
“Stair-specific profiles or nosing trim are designed to shield cut edges that would otherwise be exposed to peeling and abrasion.”
Map seam placement on every tread (not just the landing)
Before buying, mock up the tread plan and mark where each plank seam will land. The goal is simple:
– keep seam lines away from the front edge when possible,
– avoid creating seam “dead spots” where the vinyl flexes over a void or inconsistent support,
– protect the most exposed edges with a nosing trim or stair profile.
Treat stair geometry as the real decision
Tight turns, angled steps, and landings make layout direction and cutting patterns critical. Vinyl that looks great on flat floors can become complicated when you must:
– reverse plank direction,
– maintain a consistent look over angled geometry,
– deal with varying tread widths caused by stringer design.
As you plan, measure and confirm the true tread depth and riser height across the run. Even small inconsistencies can force you into different cutting and seam placements.
Choose edge finishing deliberately
A clean nosing detail helps protect cut edges and reduces the risk of fraying/peeling. Whether you use a manufactured stair nosing trim, a profile system, or a pre-fabricated tread solution, the detail should be consistent step-to-step so the vinyl surface doesn’t become the “failure hinge.”
Measure correctly and prep the subfloor (this is make-or-break)
Accurate measurement and subfloor prep are what determine whether your vinyl stays flat and locked/bonded through daily stair traffic. If the substrate is not flat, rigid, and properly fastened, even stair-approved vinyl can fail via seam separation and edge lift.
“Resilient flooring performance depends on substrate flatness; subfloor waviness can transfer into gaps and contribute to seam and edge failures.”
“For stair treads, inconsistent riser/tread dimensions can create visible profile mismatches unless each step is measured individually.”
“Follow the manufacturer’s acclimation temperature/time requirements; skipping acclimation can increase movement and joint stress.”
Verify flatness and rigidity across every tread surface
Vinyl on stairs needs a stable base. Confirm the subfloor is:
– flat (no ridges/valleys that create rocking),
– solid (no soft spots),
– firmly fastened (no bounce when you step near seams).
Any movement translates directly into vinyl locking stress (click-lock) or adhesive line stress (glue-down).
Measure risers and treads individually
Don’t assume stair geometry is consistent. Measure each tread and riser, then verify the finished profile:
– how the vinyl tread sits relative to the nosing,
– how transitions look where steps change direction,
– whether you can maintain the same visual “stair face” without awkward thin slivers.
Acclimation: use the exact requirement from your product
Allow the flooring to acclimate only if the manufacturer requires it. Use the exact acclimation guidance from your product’s installation instructions:
Installation approach: click-lock vs glue-down
Choose the installation approach that your vinyl line explicitly permits for stairs and that best matches the stair risk points. In practice, glue-down often provides more edge security, while click-lock can work well if your product and base conditions meet the manual’s stair restrictions.
“Click-lock resilient flooring stability is influenced by both the locking system and the substrate quality; manufacturers often restrict these products for high-stress edges.”
“Glue-down resilient flooring requires the exact adhesive type and spreading method specified in the manual for bond strength and edge performance.”
“Detailed cutting around nosings and corners increases installation complexity; time planning matters when installing vinyl on stairs.”
Click-lock: floating systems can be restricted on stairs
Click-lock performance depends on the locking system and base quality. On stairs, movement is likely due to repeated foot impact and frequent carrying/stepping patterns. If stair movement is likely in your home, confirm the product’s stair guidance because some click products are restricted to flat areas or limit tread/nosing edge scenarios.
Glue-down: edge security, adhesive discipline
Glue-down vinyl generally offers a more secure hold at edges, but only when you follow the adhesive spec precisely:
– correct adhesive type,
– correct adhesive spread/spread rate,
– correct open time,
– correct rolling/pressing steps (if instructed).
Follow the exact adhesive specification in the manual:
How to compare approaches (practical pros/cons)
- Click-lock on stairs (floating)
-
Pros: Faster install in compliant conditions; easier plank replacement if permitted by the product line.
Cons: More sensitive to base flatness and any movement; can be limited on stair treads/nosing details by the manufacturer. - Glue-down (LVP/LVT) on stairs
-
Pros: More predictable edge hold at the tread front; less reliance on locking performance under impact stress.
Cons: Adhesive selection and substrate prep mistakes can cause permanent failures; removal can be more labor-intensive.
DIY reality check: complexity is the real cost
If you’re considering DIY, plan for extra time. Cutting around nosings, corners, and angled treads takes longer than a flat-room install:
What can go wrong (and how to prevent it)
Vinyl stair failures usually come from a small set of root causes: wrong product approval, poor subfloor prep, or seam/edge placement that concentrates stress at the nosing. If you prevent those failure paths, the odds of lifting and gaps drop dramatically.
“Lifting at the stair nosing is commonly linked to stress concentration, inadequate substrate prep, or installing a product in a location the manufacturer didn’t approve.”
“Seam gaps often correlate with subfloor flatness issues or stress created by impact at tread edges.”
“Warranty coverage frequently depends on installing exactly as specified, including approved locations such as stairs and approved adhesive/underlayment systems.”
Vinyl lifting at the nosing
Root causes often include:
– seam placement too close to the front edge,
– not meeting substrate flatness/rigidity expectations,
– installing with a method the product doesn’t allow for stairs.
Prevention starts with correcting the base and using stair-allowed installation guidance.
Gaps and separation on seams
This is frequently triggered when:
– the substrate isn’t flat/rigid enough,
– the tread is too stressed relative to the product’s design,
– expansion/spacing rules (if applicable) aren’t followed.
Verify the manual’s spacing and stair-specific details.
Unreliable traction
Some vinyl looks grippy but doesn’t perform consistently under real conditions. Confirm slip resistance in the spec sheet, and align with cleaning methods so you don’t accidentally reduce traction.
Warranty issues (the quiet deal-breaker)
Many floor warranties depend on:
– using the approved installation method,
– using approved locations,
– following substrate and product restrictions.
If your vinyl line excludes stairs, you may be taking on risk out of pocket even if the install “looks fine” during the first weeks.
Verdict / tip: what to buy and who should skip it
If you want the safest, most predictable result, choose vinyl that the manufacturer explicitly allows for stair installation, then use an installation method that matches that permission (click-lock rules for click products; specified adhesive/substrate rules for glue-down). Vinyl can look excellent on stairs, but downsides are real: stair edges are high-stress, installation is more detail-heavy than flat floors, and some vinyl lines simply aren’t designed for tread/nosing exposure.
Skip vinyl for your staircase (or consult a flooring professional) if:
– Your stair configuration is highly complex and you can’t confidently follow the manufacturer’s stair details.
– Your chosen vinyl doesn’t explicitly approve stairs (including tread/nosing situations).
– You can’t get the subfloor flat and stable enough to meet the product’s requirements.
Stair Dimensions That Drive Vinyl Tread/Nosing Detailing (IRC 2021)
| # | Stair rule (vinyl impact) | IRC 2021 value | Where vinyl detail changes | Vinyl planning priority |
|---|---|---|---|---|
| 1 | Max riser height | 7.75 in | Tread cut height + nose transition | ★★★★★ |
| 2 | Min tread depth | 10.0 in | Plank orientation + seam placement | ★★★★★ |
| 3 | Uniformity tolerance (max riser deviation) | 0.1875 in | Step-to-step profile consistency | ★★★☆☆ |
| 4 | Nosing projection (min) | 0.375 in | Cut edge protection at the tread front | ★★★☆☆ |
| 5 | Nosing projection (max) | 0.75 in | How trim overlaps the vinyl edge | ★★★☆☆ |
| 6 | Handrail grasp height (range) | 34–38 in | Whether nosing trim conflicts with rail | ★★★★☆ |
| 7 | Minimum stair headroom | 80 in | Tread buildup limits on retrofit work | ★★★★☆ |
What can go wrong (and how to prevent it)
Vinyl stair failures usually come from a small set of root causes: wrong product approval, poor subfloor prep, or seam/edge placement that concentrates stress at the nosing. If you prevent those failure paths, the odds of lifting and gaps drop dramatically.
“Lifting at the stair nosing is usually linked to seam placement, surface prep issues, or a product not approved for stair/risers.”
“Gaps and separation on seams often follow from a non-flat/less-rigid base or stress concentrated at the tread edge.”
“Warranties commonly require the exact approved installation method and approved locations, including stairs as a special case.”
Common failure patterns (quick mapping)
– Vinyl lifting at the nosing: correct base prep + confirm stair-approved installation method.
– Gaps and separation on seams: verify flatness and follow any spacing/expansion rules listed by the manufacturer.
– Unreliable traction: confirm slip rating in the spec sheet and follow the care guide cleaning method.
– Warranty issues: ensure the manual allows stairs/treads and that your install matches adhesive/underlayment requirements.
Quick stair vinyl checklist (scan/save)
| Decision point | What to confirm before you buy |
|---|---|
| Stair approval | Manufacturer explicitly allows stair installation (treads and/or risers as needed) |
| Install system | Click-lock vs glue-down matches the product’s instructions for stairs |
| Slip resistance | Slip/traction information stated in the spec or data sheet |
| Wear expectations | Wear layer/surface rating appropriate for your household |
| Subfloor readiness | Flat, solid, properly fastened; prep meets the manual’s limits |
| Layout plan | Seam placement avoids stress at nosing edges |
| Edge protection | Plan nosing/trim to shield cut edges and reduce lift |
| Install details | Exact acclimation + adhesive/underlayment rules from the manual |
Sources
In summary, choosing vinyl for a staircase comes down to three non-negotiables: stair approval (and correct click-lock vs glue-down method), documented slip resistance and wear expectations, and disciplined layout/subfloor prep that protects the nosing and seam stress zones. If you can verify those details in the manufacturer’s documentation before you start, you’ll be far more likely to get a safe stair installation that stays secure and attractive as daily traffic hits every step.
Frequently Asked Questions
What vinyl flooring thickness and wear layer are best for stairs?
For staircase use, choose vinyl planks or tiles with a thicker core and a durable wear layer designed for heavy foot traffic. Look for a wear layer around 12 mil (or higher for commercial ratings) to resist scuffs and shoe abrasion. Also consider a locking system with good underlayment compatibility, since stairs can flex and expose weak joints.
How do you choose slip-resistant vinyl flooring for stair treads?
Stair safety is critical, so prioritize slip resistance when selecting vinyl stair flooring. Look for a product with an appropriate coefficient of friction (COF) rating and consider adding grip tape or tread covers if your vinyl is smooth. If the staircase is exposed to dust, pets, or spills, choose a textured surface or vinyl designed for wet-area traction.
Which vinyl type is better for staircases: LVP with click-lock or vinyl sheet?
Click-lock LVP (luxury vinyl plank) is often easier to install and replace individual treads or boards, which is helpful if a stair gets damaged. Vinyl sheet flooring can create more continuous surfaces with fewer seams, which may reduce visible transitions on steps. The best choice depends on your skill level, whether you need custom stair nosing, and how complicated your stair angles and landings are.
Why is stair nosing and edge detailing important when choosing vinyl floors?
Stair nosing protects the front edge of each tread, which takes the most impact from foot traffic. When choosing vinyl, plan for a compatible stair nosing system or edge trim that matches your thickness and design so the transition is smooth and secure. Proper detailing also helps prevent peeling, lifting, and trip hazards caused by worn or misaligned edges.
Best way to pick vinyl floor styles and colors that hide wear on staircases?
Stairs show dirt, scuffs, and directional wear, so select vinyl with realistic texture and variation—such as hand-scraped wood-look or subtle stone patterns—rather than ultra-flat, high-gloss finishes. Dark colors can show grit and dust more easily, while very light floors may highlight scuff marks; mid-tone neutrals often hide everyday wear better. Choose a finish that matches your home’s lighting and pair the tread color with riser and handrail tones for a cohesive look.
📅 Last Updated: October 26, 2026 | Topic: How to choose vinyl floors for a staircase? | Content verified for accuracy and freshness.
References
- Vinyl flooring
- Staircase
- https://en.wikipedia.org/wiki/Slip_resistance
- https://www.cdc.gov/niosh/topics/slips/index.html
- Redirecting…
- 1910.23 – Ladders. | Occupational Safety and Health Administration
- https://www.epa.gov/indoor-air-quality-iaq/volatile-organic-compounds-vocs-new-carpets-rugs-and-flooring
- https://scholar.google.com/scholar?q=vinyl+flooring+stairs+slip+resistance Google Scholar
- https://scholar.google.com/scholar?q=resilient+flooring+stair+installation+guidelines Google Scholar
- https://scholar.google.com/scholar?q=sheet+vinyl+stair+treads+durability+wear+guidelines Google Scholar