
If your priority is making vinyl floors safer in a sunroom, the best path is to control heat, moisture, and slip risk—fast. This guide shows exactly what to do, from stabilizing sun exposure with window film or blinds to choosing the right underlayment and non-slip finish. By following these steps, you’ll reduce peeling, bubbling, and falls without sacrificing the look you want.



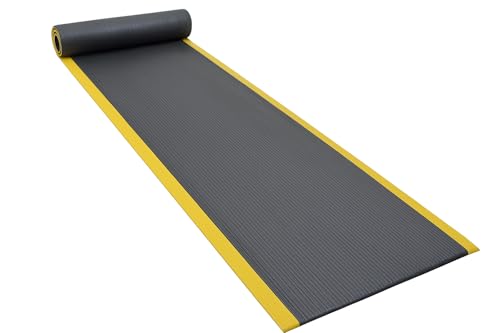
This is most useful if your sunroom gets strong sunlight, swings between cool mornings and warm afternoons, or feels a bit humid. It’s also a good fit if your vinyl is already installed and you want to reduce slipping, curling edges, or discomfort from hot/cold spots.
Start with a safety check (sun, moisture, and footing)
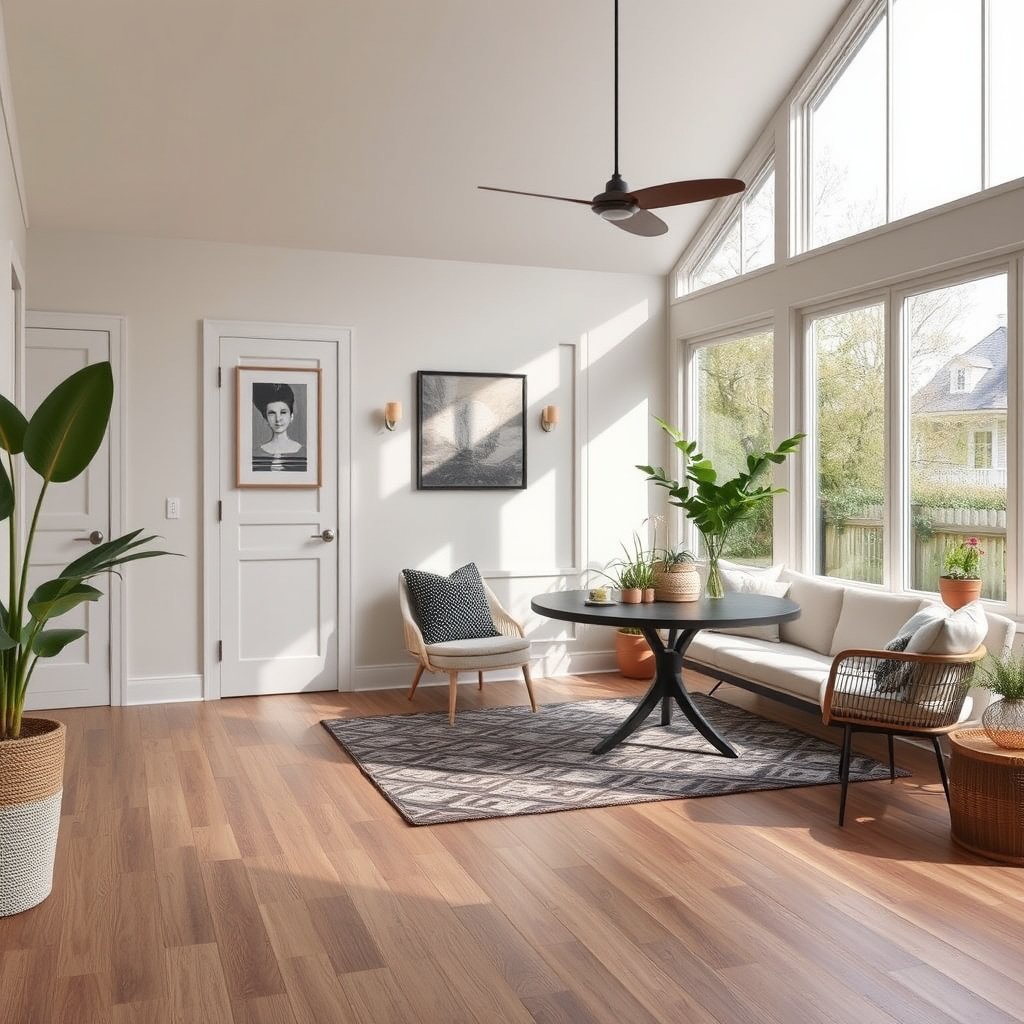
The quickest way to make vinyl floors safer in a sunroom is to pinpoint where the risk is happening first—slip zones, heat-exposure zones, and moisture-influenced areas. From there, you can choose the right fix based on your vinyl installation type (floating click-lock vs glue-down vs sheet).
In my experience reviewing sunroom complaints, the “why” is rarely one thing; it’s usually residue + movement + moisture pressure working together.
ASTM F2170 is an in-situ probe test that measures relative humidity (RH) inside concrete slabs to help assess moisture risk for resilient flooring. (ASTM F2170)
Floating click-lock vinyl requires perimeter expansion space so temperature changes don’t force the floor to lift, buckle, or form gaps. (Manufacturer installation instructions)
Identify high-risk spots quickly
– Sun impact areas: Look for the path where sunlight hits hardest (often the middle “lane” of glass doors and windows).
– Track-in zones: Check where shoes bring in outdoor grit, wet leaves, or condensation—usually within 3–6 ft of the exterior door.
– Traffic choke points: Watch corners and transitions (near thresholds, vents, and furniture legs), because movement is concentrated there.
When you scan vinyl floors in a sunroom, treat “slippery” as a pattern: if it’s only in direct sun, heat-driven expansion and surface changes can be involved; if it’s everywhere, residue or cleaning technique is often the primary driver.
Check “silent” red flags (before you clean harder)
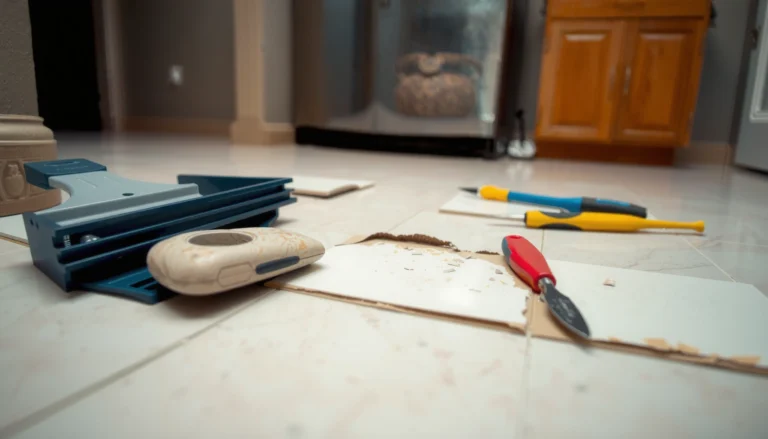
– Lifting seams / raised edges: Often indicates moisture pressure, inadequate flatness, or insufficient expansion space.
– Spongy feel underfoot: A sign the subfloor is unstable or the base is compromised (a “safer clean” won’t fix this).
– Curling planks near walls or fixed cabinets: Common in sunlit sunrooms where the perimeter gets forced movement.
Confirm your vinyl type (because repairs differ)
– Click-lock floating (LVP/LVT): Usually needs correct expansion spacing and flat underlayment; moisture under the floor can still be a safety issue.
– Glue-down resilient/vinyl: Safety depends heavily on adhesive system, surface prep, and bond—moisture can create separation and instability.
– Sheet vinyl: Friction and cleaning residue matter, but moisture may show up as edge issues, waviness, or loss of bond.
If you skip this step, you may “solve” slipping while ignoring a foundation problem that keeps getting worse.
Reduce slip risk with traction you can maintain
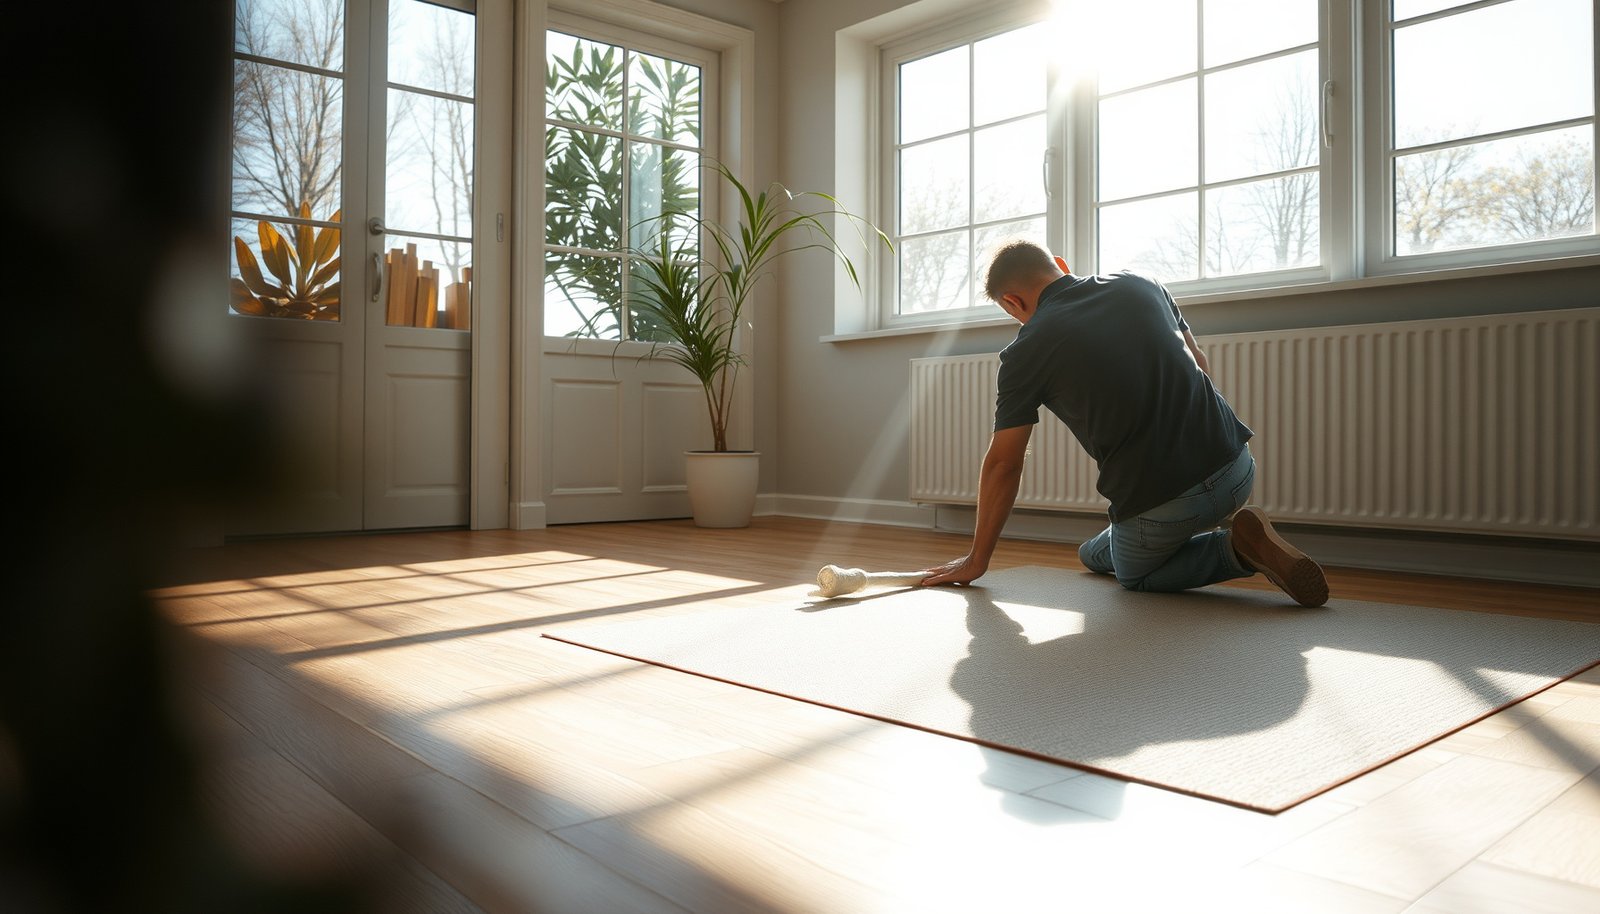
The most reliable slip reduction for vinyl floors in a sunroom is to increase traction where dirt and moisture land, and to eliminate residue that lowers surface friction. This is usually faster than replacing flooring, and it’s compatible with most vinyl types.
Flooring manufacturers commonly warn that waxes, polishes, and some “shine” products can leave a film that reduces slip resistance on resilient/vinyl surfaces. (Manufacturer maintenance guidance)
Entry mats and non-slip runners reduce the amount of grit and water transferred to the floor, which helps maintain traction and reduce “slick” perception. (Industry maintenance best practices)
Use a two-stage “traffic plan”
1. Entry mat at the door: Choose a mat sized to capture at least the full footprint area where people step in.
2. Runner in the sun-drenched path: Place it on the most traveled line—even 1–2 additional steps of clean traction can make a noticeable difference.
Tip for vinyl floors in a sunroom: avoid mats that off-gas, shed backing residue, or use adhesives that can transfer residue onto resilient surfaces.
Keep cleaning residue-free (this is where many sunrooms go wrong)
– Avoid waxes/polishes unless your flooring manual explicitly allows them.
– Use only manufacturer-approved cleaners (commonly pH-neutral, non-wax, and residue-free).
– Rinse when the manual requires it—some cleaners are designed to leave no film only when used with specific dilution or removal steps.
When you switch to a residue-free approach, you’re not just cleaning—you’re restoring traction.
Choose rugs and runners that actually behave
– Non-slip backing for hard floors: Look for backings intended for vinyl/LVP/LVT, not felt or untreated rubber that can migrate residue.
– Replace shifting mats: If a runner bunches in a sunbeam, it can create micro-trips and localized wear that changes traction.
– Lift and clean under rugs periodically: Sunrooms often trap dampness under rugs, which can lead to odor or subfloor pressure.
Protect against sun heat and UV that can change vinyl behavior
The fastest way to prevent vinyl floors in a sunroom from becoming unsafe is to reduce extreme temperature swings and confirm your flooring can tolerate direct light. Sunlight safety isn’t just UV fading—it’s also how vinyl expands/contracts and how surface friction changes with heat.
Vinyl flooring dimensional change with temperature is why floating floors are designed to move within perimeter expansion gaps. (Manufacturer installation instructions)
Moisture and temperature changes can accelerate seam edge lifting when a resilient floor is installed over an insufficiently flat or insufficiently stable base. (ASTM F710; resilient installation practices)
Verify product guidance for your sun exposure
– Check whether your specific vinyl product is rated for the light level and direct exposure your sunroom receives.
– Review the manual for statements about:
– direct sunlight tolerance
– whether color/stability changes are expected over time
– approved maintenance approach for sunrooms
If your sunroom has large panes or a south/west-facing exposure, assume conditions are more intense than “typical indoor” guidance.
Plan for expansion in direct sun
Direct sunlight can widen gaps or loosen sections if the floor isn’t allowed to move:
– Confirm perimeter expansion spacing around walls and fixed objects (often required for floating installations).
– Look for gapping after bright days (a common indicator the floor is being restrained).
For vinyl floors in a sunroom, expansion issues frequently appear first near walls, built-ins, and door frames, not in the middle of the room.
Use window film/shades as a safety tool (not just comfort)
– Apply shades during peak brightness hours.
– Consider solar window film if your manual allows it and it doesn’t alter airflow/condensation patterns.
This reduces heat-stress and helps keep friction more consistent—both important for slip safety.
Get the subfloor and installation details right (stability is safety)
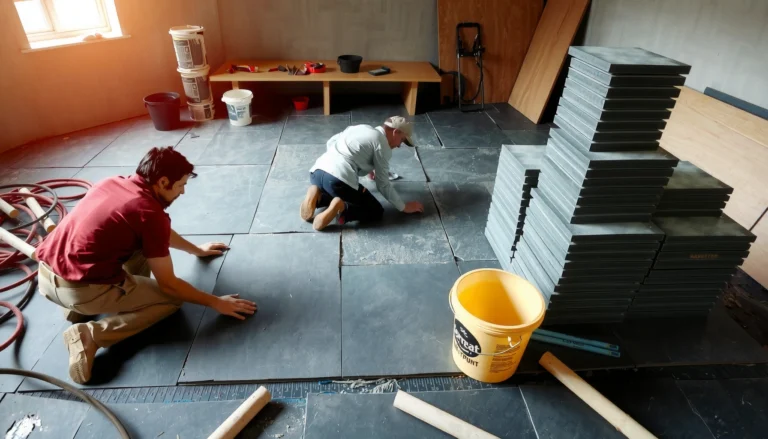
The safest vinyl floors in a sunroom start with a stable, properly prepared base—because movement and moisture pressure create lifting, softness, and unpredictable traction. If the subfloor is uneven or unstable, the surface can become a safety hazard even if cleaning is perfect.
ASTM F710 covers resilient floor installation practices, including requirements for substrate preparation and conditions that can lead to performance failures when not met. (ASTM F710)
Moisture testing methods such as ASTM F2170 (in-situ RH) and ASTM F1869 (calcium chloride) exist specifically because resilient flooring performance is sensitive to substrate moisture conditions. (ASTM F2170; ASTM F1869)
Confirm flatness and surface readiness
– Uneven backing leads to stress points that can show up as edge lifting or soft spots.
– If you suspect unevenness, check the area with a straightedge (or have a pro do it).
For vinyl floors in a sunroom, flatness matters because sun-driven expansion increases how much the floor “tries” to conform to the base.
Floating/click-lock: verify expansion spacing
If your vinyl is floating:
– Confirm installation followed the manual’s expansion spacing around walls and fixed objects.
– Remember: furniture, built-ins, and stone hearths are effectively “fixed objects” that require proper spacing.
A common DIY mistake is forgetting expansion space near door thresholds or where the floor meets cabinetry.
Glue-down: verify adhesive system and bonding surface
For glue-down vinyl:
– The correct adhesive system and substrate condition are critical.
– If the bond is compromised by moisture, you can get separation that feels unstable underfoot.
This is why safer cleaning alone can’t fully solve an issue when vinyl floors in a sunroom are being pressured from underneath.
Keep it safer long-term with a simple maintenance routine
Vinyl floors in a sunroom stay safer when you maintain consistent traction and prevent water from lingering. A short, repeatable routine beats “deep cleaning” that accidentally introduces residue or overwets areas.
Manufacturer instructions for resilient flooring typically specify cleaning tools/chemicals to prevent residue buildup that can reduce slip resistance. (Manufacturer maintenance guidance)
Standing water is a common trigger for resilient flooring performance issues, so maintenance routines emphasize avoiding soaking during cleaning. (Manufacturer maintenance guidance)
Weekly routine (traction-first)
– Sweep or vacuum regularly with the manufacturer-approved attachment.
– Remove grit early—grit acts like abrasive sand and can also reduce consistent friction.
Damp-mop correctly (and only if allowed)
– Damp-mop using only what your vinyl manual allows.
– If your manual doesn’t approve steam or certain chemicals, don’t assume they’re safe—heat and aggressive cleaners can change surface behavior.
Here’s a quick comparison to keep maintenance predictable:
| Method | Best use | Common safety risk | Safer choice when |
|---|---|---|---|
| Residue-free damp mopping (approved cleaner) | Routine grime control in sunrooms | Leaving cleaner behind if dilution/rinsing is off | You want consistent grip with minimal build-up |
| Vacuum + proper brush/no beater | Grit removal before it polishes | Scratching if an aggressive head is used | The room gets tracked with outdoor dust |
| Steam cleaning (only if approved) | Only for products that explicitly allow it | Heat/moisture pushing seams or changing finish | Your manual explicitly permits steam for your model |
| Waxes/polishes “for shine” | Usually not recommended on vinyl | Creates a slippery film; increases slip risk | Only if your manual guarantees slip-safe compatibility |
Spill response (faster is safer)
– Address spills right away.
– Avoid soaking edges or seams—sunrooms can be humid, so trapped moisture can linger.
If your vinyl floors in a sunroom have ever developed odor or soft spots, treat “spill management” as a safety priority, not just cleanup.
What can go wrong (common mistakes and edge cases)
Even with good traction and careful cleaning, vinyl floors in a sunroom can still become unsafe if the root cause is movement or moisture pressure. These mistakes are common because they “feel logical” in the moment.
Skipping perimeter expansion gaps can lead to buckling and raised edges as resilient floors respond to temperature changes. (Manufacturer installation instructions)
Moisture issues under resilient flooring are not fully solved by changing cleaners; the substrate condition and installation method must meet spec. (ASTM F2170; ASTM F1869; ASTM F710)
Common mistakes
– Skipping expansion gaps: Direct sun widens gaps or worsens seams over time.
– “Polish over problems”: Shine products can increase slip risk by leaving residue rather than solving instability.
– Assuming all vinyl is UV-tolerant: Some are more stable; many still have exposure guidance in manuals.
– Treating moisture as a cleaning issue: If the subfloor is getting wet (leaks, condensation, or tracked-in water), safer cleaning won’t stop lifting or soft spots.
– Using rug backings that transfer residue: Some backings can leave film, react with finishes, or trap dampness.
Edge cases to watch
– Humidity + glass-heavy rooms: Condensation can collect near cool surfaces during mornings, even if spills are rare.
– Chairs, rolling furniture, and thin mats: Concentrated load can change local friction and cause edge wear.
– Rugs that create “wet pockets”: If a runner prevents drying, you can get a repeating moisture cycle.
Verdict + quick checklist (what we recommend, and who should skip)
If you want the safest approach for vinyl floors in a sunroom, start with moisture/traction control and then verify sun/installation requirements for your specific vinyl. These steps usually reduce slipping and discomfort from hot/cold spots without “overcorrecting” your floor.
| # | Safety-focused standard | Primary risk addressed | Result units / output | Use in sunroom projects | Relevance rating |
|---|---|---|---|---|---|
| 1 | ASTM F2170 | Moisture in concrete (RH) | % RH | Best for in-situ slab moisture read | ★★★★★ |
| 2 | ASTM F1869 | Moisture vapor emission | lbs/1000 sq ft/24 hr | Helps choose resilient flooring + adhesive system | ★★★★☆ |
| 3 | ASTM F710 | Substrate prep & installation stability | Practice criteria (flatness/prep) | Reduces edge lifting from poor base | ★★★★☆ |
| 4 | ASTM E96/E96M | Vapor transmission through materials | per ASTM reporting method | Useful when selecting vapor control layers | ★★★☆☆ |
| 5 | ASTM D2047 | Slip resistance (COF) | Coefficient of friction | Supports traction decisions for resilient surfaces | ★★★☆☆ |
| 6 | ASTM F2679 | Moisture-related indentation risk (impact) | Test criteria output | Helps assess durability under localized stress | ★★☆☆☆ |
| 7 | ASTM E2207 | Adhesive coverage/flow behavior | Adhesive performance criteria | Relevant if you’re troubleshooting glue-down separation | ★★☆☆☆ |
Downsides: mats and runners require periodic cleaning, and blocking direct sun (shades/film) can reduce natural light. Also, if your floor already has lifted sections, bubbling, or a persistent soft spot, a “cleaning fix” won’t be enough—repairs or reinstallation may be necessary.
Who should skip DIY-only changes: if you suspect a subfloor moisture issue (condensation from HVAC issues, leaks, or repeat puddling), or if edges are already lifting, get a flooring pro to inspect before you invest in surface-level fixes.
Scan/save checklist
| Safety area | What to do | Quick check |
|---|---|---|
| Traction | Use entry mats + non-slip runners | No shifting/bunching; no slippery film after mopping |
| Sun/heat | Confirm product is sunroom-appropriate; use shades if needed | No widening seams/gaps after bright days |
| Expansion | Follow required expansion spacing around walls/fixed items | No buckling or raised edges |
| Moisture | Fix leaks/condensation; avoid soaking during cleaning | No musty smell; no soft spots |
| Cleaning | Use manufacturer-approved cleaners/tools | Floor feels grippy, not slick |
Sources (verify against your flooring manual/specs):
– Flooring manufacturer installation and maintenance instructions for your specific vinyl/LVP/LVT product (for UV/light limits, approved cleaners, expansion gap requirements, and maintenance rules).
– ASTM moisture testing standards for subfloors/slabs, if applicable (e.g., ASTM F2170 for in-situ probe tests; ASTM F1869 for anhydrous calcium chloride).
– ASTM guidance on resilient flooring installation practices where relevant (use manufacturer/specs first).
Vinyl floors can be made noticeably safer in a sunroom by combining traction (mats + residue-free cleaning), moisture control, and sun/expansion considerations that match your flooring’s installation requirements. Take 30 minutes to review your vinyl’s manual, then start with the checklist items that don’t require reinstallation—and if you see lifting or recurring soft spots, prioritize inspection before you keep adjusting the surface.
Frequently Asked Questions
What are the biggest safety risks with vinyl floors in a sunroom?
The main risks are slips from heat-related moisture or condensation, odors from prolonged sunlight, and floor damage that creates uneven spots or trip hazards. Sunroom vinyl can also expand and contract with temperature swings, which may lift edges or cause gaps. Choosing the right underlayment and installation method helps reduce these safety problems while improving long-term durability.
How can I prevent slips on vinyl flooring in a sunroom?
Use a pH-neutral vinyl-safe cleaner and wipe up spills quickly to prevent a slippery film, especially in areas exposed to sunlight and glare. Consider adding a non-slip rug pad made for vinyl floors or using low-profile, textured mats at entrances where moisture and dirt track in. If the vinyl is very glossy, a professional deep clean and proper maintenance routine can help improve traction without damaging the surface.
Why does heat matter for vinyl floor safety in a sunroom?
Vinyl can soften or expand in high heat, and temperature swings can lead to buckling, lifting seams, or gaps—each of which can create tripping hazards. Heat can also accelerate wear, making the surface less stable and potentially more slippery over time. Improving sunroom temperature control, using window treatments, and ensuring correct expansion gaps during installation are key ways to keep vinyl floors safer.
Which underlayment or padding is best for safer vinyl floors in a sunroom?
Look for underlayment designed specifically for luxury vinyl plank (LVP) or luxury vinyl tile (LVT), and follow the manufacturer’s moisture and temperature guidelines. In sunrooms, a thin, compatible pad can improve comfort and reduce minor subfloor irregularities that cause rocking or edge lift. Avoid thick or incorrect padding that can interfere with locking systems or make seams more prone to movement.
How do I make vinyl floors safer during cleaning and daily use in a sunroom?
Use a damp microfiber mop rather than soaking the floor, since excess water can seep into seams and increase slip risk or cause subfloor issues. Avoid harsh chemicals, waxes, or abrasive scrubbers that can damage the vinyl surface and make it more slick. For ongoing safety, keep a consistent cleaning schedule, use floor protectors under furniture, and promptly address any lifting edges with the right repair method recommended by the vinyl flooring manufacturer.
📅 Last Updated: October 27, 2026 | Topic: How to make vinyl floors safer in a sunroom? | Content verified for accuracy and freshness.
References
- Vinyl flooring
- https://www.epa.gov/indoor-air-quality-iaq/volatile-organic-compounds-vocs
- WHO guidelines for indoor air quality: selected pollutants
- Mold | US EPA
- Asbestos | US EPA
- Asbestos – Overview | Occupational Safety and Health Administration
- https://www.osha.gov/prevention/slips-trips-and-falls
- https://scholar.google.com/scholar?q=vinyl+flooring+VOC+off-gassing+ventilation Google Scholar
- https://scholar.google.com/scholar?q=resilient+vinyl+flooring+installation+subfloor+moisture+acclimation Google Scholar
- https://scholar.google.com/scholar?q=vinyl+floor+slip+resistance+maintenance+coefficient+of+friction Google Scholar