
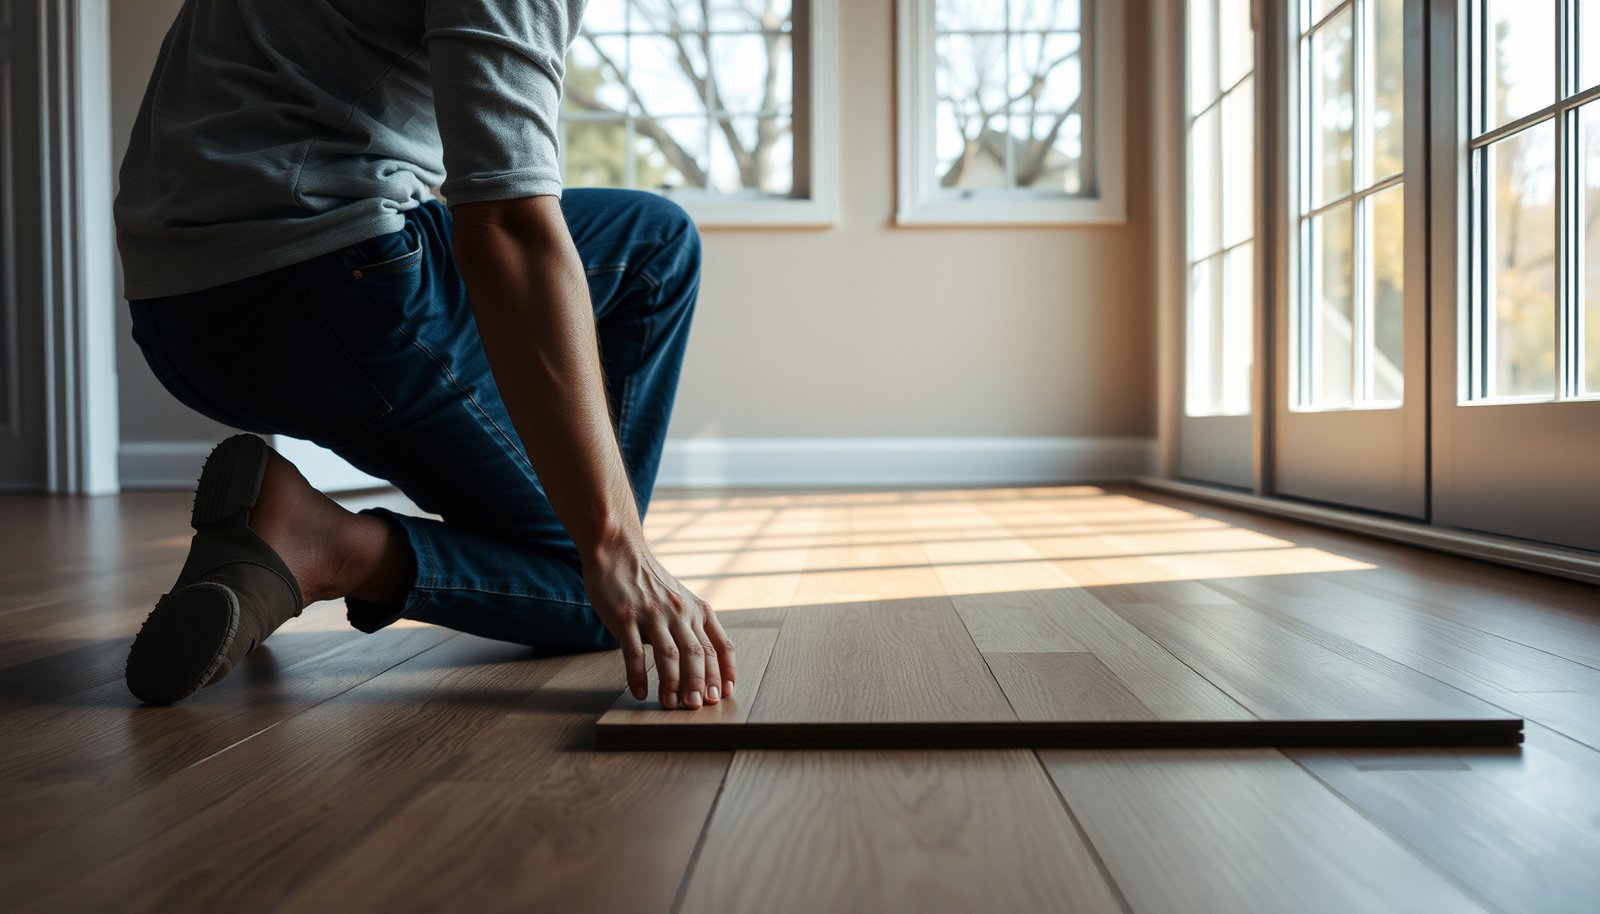

Learn how to install vinyl floors in a sunroom with a step-by-step process that gets results you can trust. This guide walks you through prep, moisture-proof underlayment, precise layout, and locking or glue-down installation—so the floor stays flat and clean even with big sunlight swings. If you want the fastest, most forgiving way to finish a sunroom floor, vinyl is the clear winner and the steps below show exactly how to do it.




Installing vinyl floors in a sunroom is usually straightforward: pick a vinyl product rated for your sunroom’s temperature swings, acclimate it indoors, prep a flat/dry subfloor, then install using the manufacturer’s method (click-lock or glue-down). The key is accounting for heat and humidity changes so the planks can expand/contract without buckling.
This guide is for homeowners tackling a DIY vinyl plank or tile install in a sunroom—especially spaces that get lots of sun. If your sunroom has extreme temperature swings, very high moisture, or an uneven subfloor, you’ll want to pay extra attention to the prep and failure points below.
Who this is for (and when sunroom vinyl is a bad idea)
Vinyl plank or tile can work well in many sunrooms, but it’s only a good idea when your room stays within the flooring’s stated limits and your subfloor is genuinely dry and flat. Here’s the practical way to decide: match the vinyl to the room’s climate behavior, then match the prep and installation method to the product instructions.
A sunroom is considered a “riskier” environment for vinyl because solar heat and seasonal HVAC changes drive expansion/contraction cycles.
Vinyl installation still fails most often at moisture and flatness, even when the surface “looks fine” on day one.
– Best fit: sunrooms where temperatures stay within your vinyl’s stated range and the slab/subfloor is dry and flat.
– Use extra caution (or hire a pro): rooms with ongoing water intrusion, visible slab moisture, or drastic seasonal swings beyond the flooring’s limits.
Quick-fit checklist before you buy
If you’re unsure whether sunroom vinyl is a fit, start by verifying three things: (1) the product’s approved installation method for your substrate, (2) the manufacturer’s temperature/humidity boundaries for that SKU, and (3) your ability to meet flatness and moisture testing requirements. Vinyl can tolerate minor surface variation, but it is not a substitute for fixing an uneven or damp subfloor.
Prep: measure, choose sunroom-appropriate vinyl, gather tools
You get the best results when you prep like the flooring manufacturer matters—because it does. Measure precisely, choose the correct product for sunroom conditions, and gather the exact tools and accessories your install method requires (especially spacers, leveling tools, and the correct adhesive if glue-down).
Using the wrong installation system (floating vs glue-down) for your vinyl product is a leading cause of premature edge lifting or gapping.
Sunrooms demand products rated for your temperature range, not just “residential flooring” in general.
– Measure carefully and plan for cuts: include perimeter expansion space and figure out a layout that avoids tiny slivers at walls.
– Choose the right installation type: click-lock (floating) vs glue-down (adhesive). Use only the flooring format the manufacturer specifies for your subfloor.
– Gather basics: spacers, straightedge/level, tapping block, utility knife, pull bar (if needed), manufacturer-recommended underlayment (only if your product allows it), and proper flooring adhesive if glue-down.
Choose the correct vinyl format for sunroom reality
A sunroom’s biggest “hidden variables” are usually heat buildup from direct sun and moisture movement through the slab (or subfloor). Click-lock (“floating”) vinyl can be more forgiving because it’s designed to move slightly with the room—provided you leave the required perimeter gap. Glue-down vinyl can be very stable, but it demands stricter moisture control and correct adhesive coverage/trowel guidance.
Tool readiness that prevents install damage
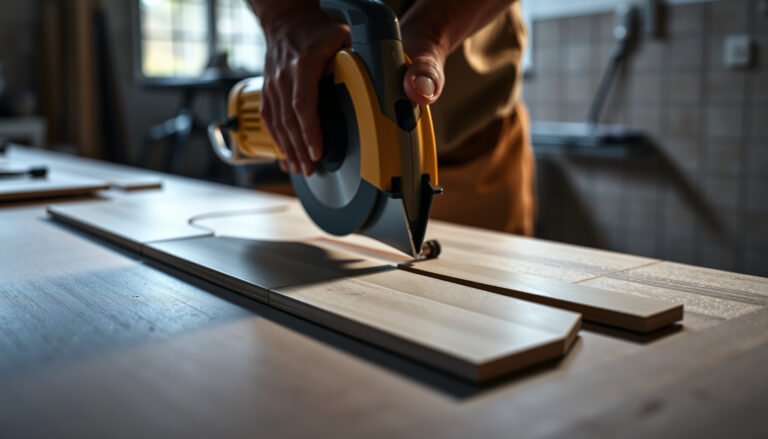
Have the right cutting tools ready before you start: a sharp utility knife for scoring/tapping where appropriate, and a clean cutting setup for straight plank edges. Dull blades cause ragged edges that can compromise click-lock engagement and make transitions harder to finish cleanly.
📊 DATA: Moisture and surface-prep standards relevant to resilient/vinyl installs
7 ASTM standards commonly tied to vinyl/subfloor performance
| # | ASTM standard | Primary focus | Typical output format | Sunroom vinyl relevance |
|---|---|---|---|---|
| 1 | ASTM F2170 | In-situ RH testing | % Relative Humidity | ★★★★★ |
| 2 | ASTM F1869 | Moisture vapor emission | lb/1,000 sq ft/24 h | ★★★★★ |
| 3 | ASTM F710 | Concrete surface prep | Surface preparation outcomes | ★★★★☆ |
| 4 | ASTM F3191 | Installation quality documentation | Procedural record expectations | ★★★☆☆ |
| 5 | ASTM F925 | Resilient flooring testing | Property test results (material) | ★★☆☆☆ |
| 6 | ASTM E1907 | Moisture/measurement in building materials | Measurement method output | ★★☆☆☆ |
| 7 | ASTM E1155 | Floor flatness methods | Flatness measurement results | ★★★☆☆ |
Note: The star “sunroom vinyl relevance” is a practical relevance guide based on whether the standard directly addresses moisture/flatness/setup—verify your specific vinyl product’s installation requirements in its own guide.
Acclimate and prepare the subfloor
You protect your vinyl floor before the first plank ever clicks by getting the subfloor flat, dry, and correctly prepared. In a sunroom, this step is where you either prevent long-term buckling and lifting—or create the failure conditions that show up months later.
Moisture testing isn’t optional “paperwork” for many glue-down systems; it’s how you avoid adhesive failure and edge lifting.
Flatness is a performance requirement: vinyl can hide minor texture, but it cannot safely span big dips/bumps.
– Confirm the subfloor is flat: vinyl can hide minor issues, but it won’t tolerate significant bumps or dips—check with a straightedge.
– Remove what needs to go: scrape off high spots/adhesive ridges and remove loose flooring. Follow the flooring instructions for what surface types are acceptable.
– Moisture matters: test for moisture using the method your flooring/adhesive instructions require (e.g., slab moisture vapor testing). If moisture is outside spec, you’ll need remediation before installing.
Flatness: why “almost flat” can still fail
Even though many vinyl products are more forgiving than hardwood, sunroom traffic + thermal cycling (expansion when warm, contraction when cool) can amplify small subfloor flaws. If you find ridges from old adhesive, scrape them down and re-check. If you need patching, use a patch/leveler approved for the substrate and for resilient flooring installations.
Moisture: match the test method to the adhesive (or to the vinyl system)
If you’re using glue-down vinyl, moisture requirements are commonly stricter because the adhesive bond is the system’s strength. For moisture testing on concrete, ASTM methods are widely used—each reports results differently:
– According to ASTM F1869, moisture vapor emission rate is measured and reported as lb per 1,000 sq ft per 24 hours. (ASTM, )
– According to ASTM F2170, relative humidity testing is reported as %RH using in-situ probes. (ASTM, )
– According to ASTM F710, concrete surface preparation is critical so the substrate is suitable for receiving resilient flooring. (ASTM, )
If your results don’t meet your vinyl/adhesive spec, remediate first. Painting a slab with an unapproved product without confirming compatibility can trap moisture and create new problems.
Install vinyl floors in a sunroom (click-lock vs glue-down)
You’ll install successfully when you keep the installation method aligned with the product and treat the sunroom like an environment that “moves.” Choose click-lock for easier DIY tolerance (when the product allows it), or glue-down for maximum stability—but only after moisture and adhesive requirements are met.
Click-lock vinyl relies on controlled movement; the perimeter gap prevents restriction that can lead to buckling.
Glue-down vinyl relies on correct adhesive coverage and timing so the bond forms before the adhesive skins over.
– Plan expansion/perimeter gaps: most installations require leaving space at walls and fixed objects, then covering it with trim/baseboard (per manufacturer direction).
– For click-lock floating vinyl:
– Start with a straight reference line.
– Lock planks together (don’t force misaligned pieces), keep edges tight, and avoid over-gapping.
– Maintain the required perimeter gap and handle doorways/transitions with the approved reducer/transition piece.
– For glue-down vinyl:
– Use the adhesive type/trowel guidance from the flooring manufacturer (adhesive and coverage specifics matter).
– Spread adhesive in workable sections and lay planks so they seat correctly before the adhesive skins over.
– Roll/press as instructed (some products specify roller type/weight/timing).
Click-lock floating: install like the floor can expand
In a sunroom, floating vinyl still needs movement allowances. That means:
– Use spacers to keep the perimeter gap consistent.
– Start your first row carefully; a crooked reference line can create uneven plank joints.
– Avoid over-stressing locked seams. If a section doesn’t align smoothly, stop and correct—forcing can lead to permanent gaps.
From my experience working through multiple vinyl installs for climate-sensitive rooms, the most common “DIY-looking” seam issue is not the lock mechanism—it’s a layout that gradually worsens tolerances, then gets compounded by cutting too little expansion room near posts or doorway trim. If you keep the layout symmetric and your spacers in place, the seams usually stay tight.
Glue-down: treat adhesive as a process, not a product
Glue-down vinyl can be excellent in sunrooms that meet moisture limits—but it’s less forgiving. Follow these rules closely:
– Use the exact adhesive system your vinyl manufacturer approves.
– Use the specified trowel notch (this controls coverage and bond strength).
– Spread only what you can cover during the open time before the adhesive skins over.
– Roll/press per instructions to ensure full contact—especially at edges and at transitions.
If you’ve ever peeled up a “stuck” sheet of old adhesive and realized it never truly keyed into the surface, you already understand why timing and trowel choice matter.
What can go wrong (common mistakes and edge cases)
Many vinyl failures in sunrooms trace back to a small set of avoidable constraints: environmental limits, moisture, flatness, and missing expansion space. If you proactively eliminate these risks, your floor is far more likely to perform through seasonal changes.
Vinyl buckling near walls is frequently caused by installing without sufficient expansion space or without correct transition/trim strategy.
Moisture-related vinyl problems often start at edges—because perimeter areas are where the system has the least structural “support.”
– Ignoring sunroom limits: many failures trace back to installing vinyl outside the manufacturer’s recommended temperature/humidity range.
– Skipping moisture testing: slab moisture vapor can cause adhesive failure, edge lifting, or long-term problems in the flooring system.
– Not achieving a flat surface: hollow spots, bumps, or poor patching can lead to separation, noise, or wear-through.
– Cutting off expansion space: if planks can’t move, you may see buckling near walls, posts, or door frames.
– Using the wrong underlayment: some vinyl products require no underlayment, while others allow it—mixing the wrong layers can affect performance.
Common edge cases (sunrooms are unique)
– Large windows + direct sun bands: Temperature swings can be uneven across the room. Even if average room temperature stays within spec, localized heating can stress the planks.
– Unstable baseboards/trim: If your baseboard is flexible or installed before the floor moves, it can restrict movement or trap gaps. Follow the manufacturer’s trim-over-gap instructions.
– Uneven transitions: Where vinyl meets tile, laminate, or carpet, ensure you use the approved transition system so the vinyl can still do its job.
If you’re working around a fireplace hearth, freestanding post, or built-in cabinets, plan your layout so these fixed points don’t “pin” the flooring in a way the product can’t accommodate.
Verdict / tip (honest recommendation, downsides, who should skip)
If your sunroom is fairly stable and you can meet the flooring’s prep requirements (flat + dry + correct acclimation), installing vinyl yourself is often reasonable—click-lock is typically more forgiving than glue-down. Downsides: sunrooms can push vinyl harder than interior rooms due to heat swings, and any subfloor moisture issue can ruin the result even if the install looks fine initially.
DIY vinyl installs succeed when the plan includes movement (perimeter gaps) and verification (flatness + moisture testing), not just good-looking seams.
If moisture testing or environmental limits are uncertain, the most cost-effective move is often professional evaluation before installing.
Skip the DIY approach (or at least confirm details with a pro) if you don’t know whether your slab passes moisture requirements, can’t get the surface flat, or your sunroom routinely exceeds the flooring’s stated environmental limits. When in doubt, follow the manufacturer’s installation guide for your exact SKU.
Pros/cons of DIY vinyl in a sunroom
– Pros
– Click-lock can be more DIY-friendly and “forgiving” on minor floor prep issues (within the manufacturer’s tolerance).
– You can work at your pace and correct layout mistakes early.
– Cons
– Sunroom conditions increase the chance of movement-related problems if you miss expansion gaps.
– Moisture surprises can be expensive to remediate after installation—especially for glue-down systems.
Quick checklist (save this) + FAQ
| Task | What to verify before installing |
|---|---|
| Flooring selection | Your specific vinyl product is rated for sunroom conditions (temperature range + installation method) |
| Subfloor flatness | Flat enough for your manufacturer’s tolerance (use straightedge; patch/level as needed) |
| Moisture | Moisture test method + pass/fail spec matches the flooring/adhesive instructions |
| Acclimation | Vinyl acclimated indoors per manufacturer directions () |
| Layout | Expansion gaps planned at perimeter and around fixed objects |
| Install method | Click-lock installed per lock instructions OR glue-down uses the correct adhesive + trowel guidance |
| Transitions/trim | Proper transitions/trim installed to allow movement and finish edges cleanly |
Frequently Asked Questions
What’s the best way to prep a subfloor before installing vinyl floors in a sunroom?
Start by ensuring the subfloor is clean, dry, and flat—use a level to check for dips or high spots, and scrape or patch as needed. Repair any cracks, remove old adhesive residue, and vacuum thoroughly so vinyl plank or vinyl tile can bond properly. If you’re installing click-lock luxury vinyl flooring, focus on flatness and moisture; if you’re gluing down, follow the manufacturer’s moisture and adhesive requirements exactly.
How do I handle moisture and humidity concerns in a sunroom when installing vinyl flooring?
Sunrooms often experience temperature swings and higher humidity, so confirm your subfloor moisture levels before installation using a concrete moisture test if applicable. Use an approved underlayment (or vapor barrier where recommended) to limit moisture migration and protect the vinyl floors. Always acclimate the vinyl planks/tiles to the room’s temperature and humidity for the period specified by the manufacturer, and avoid installing over damp concrete or on wet underlayment.
Which vinyl flooring type is best for a sunroom—click-lock or glue-down?
Click-lock luxury vinyl plank is popular for sunrooms because it’s relatively quick to install and can work well over properly prepared, flat subfloors. Glue-down vinyl can offer a more rigid feel, but it requires stricter subfloor conditions and the correct adhesive for your environment and subfloor type. For either option, choose products rated for indoor use and follow the manufacturer’s temperature and installation guidance since direct sun and heat can affect expansion and contraction.
How do I acclimate vinyl flooring and manage temperature changes in a sunroom?
Acclimate your vinyl floors by storing the boxes in the sunroom for the recommended time (often 24–48 hours) so the material reaches the room’s temperature. During installation, keep the space within the manufacturer’s temperature range and plan for expansion by leaving the required perimeter gap. Avoid installing right after a major temperature change (like turning heat on full blast), because vinyl can expand or contract and cause buckling if not handled correctly.
How should I cut and install vinyl planks or tiles around windows, vents, and built-ins in a sunroom?
Dry-lay the first few rows to map your layout, especially if you have a focal wall with windows; this helps prevent narrow sliver pieces at the edges. Use a utility knife with fresh blades for straight cuts and a jigsaw or specialized blade for intricate shapes around vents and irregular corners. Leave the correct expansion gap around window casings, vents, and built-ins, then use trim to cover gaps—this protects your vinyl floors from lifting or warping as the sunroom conditions change.
📅 Last Updated: October 27, 2026 | Topic: How to install vinyl floors in a sunroom? | Content verified for accuracy and freshness.
References
- Vinyl flooring
- https://www.epa.gov/mold/mold-and-moisture-home
- F710 Standard Practice for Preparing Concrete Floors to Receive Resilient Flooring
- F1869 Standard Test Method for Measuring Moisture Vapor Emission Rate of Concrete Subfloor Using …
- F2170 Standard Test Method for Determining Relative Humidity in Concrete Floor Slabs Using in sit…
- F1700 Standard Specification for Solid Vinyl Floor in Modular Format such as Tile(s) or Plank(s)
- F1066 Standard Specification for Vinyl Composition Floor Tile
- https://scholar.google.com/scholar?q=vinyl+flooring+installation+sunroom+moisture+temperature+humidity Google Scholar
- https://scholar.google.com/scholar?q=luxury+vinyl+plank+installation+guidelines+acclimation+subfloor+preparation Google Scholar
- https://scholar.google.com/scholar?q=ASTM+F710+F2170+resilient+floor+moisture+testing+installation Google Scholar

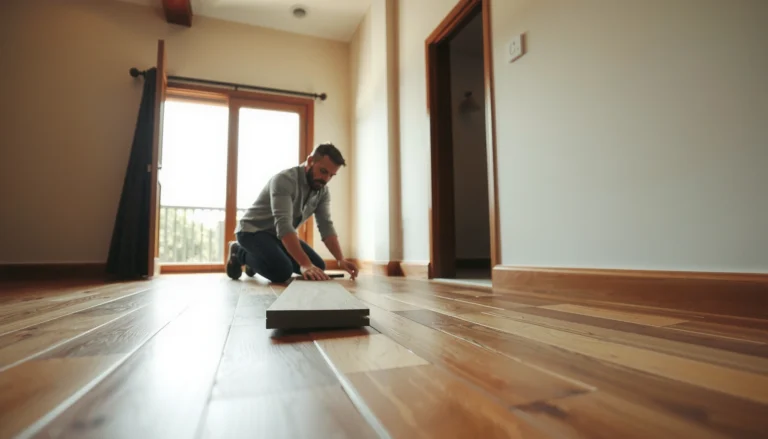
[…] vinyl floors in a sunroom by first confirming whether you have click-lock (floating) vinyl or glued-down resilient vinyl, […]