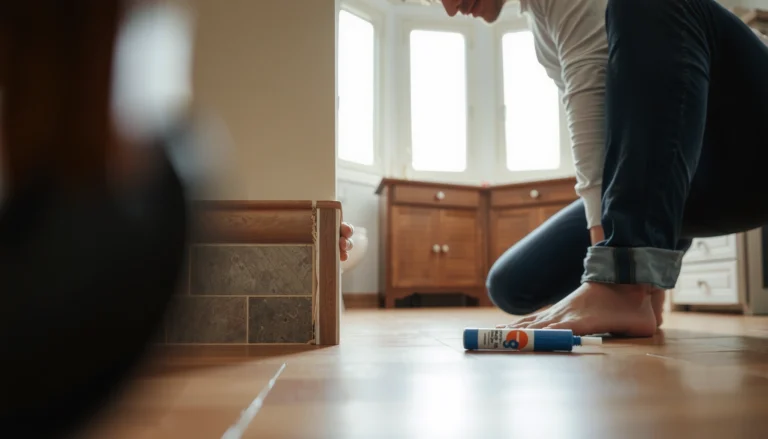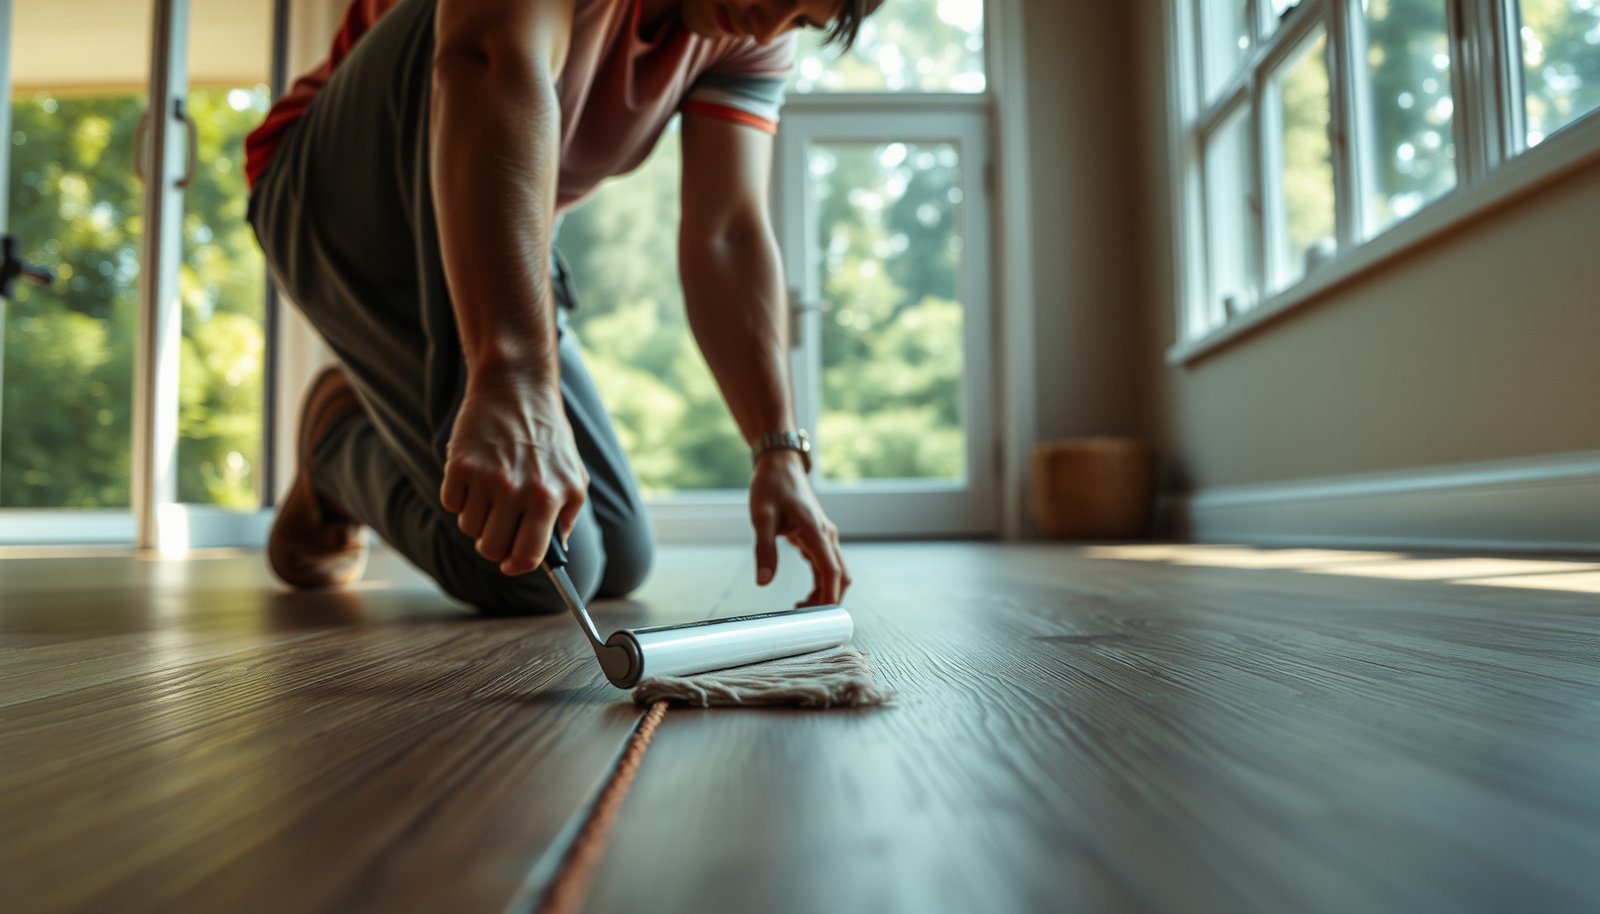

You can waterproof vinyl floors in a sunroom effectively if you follow the right prep-and-seal sequence that blocks moisture at every seam and edge. This step-by-step guide shows exactly how to seal the subfloor, apply waterproofing around transitions, and protect the vinyl so water can’t seep underneath. If your sunroom sees humidity swings or occasional spills, these methods deliver the most reliable protection.




To waterproof vinyl floors in a sunroom, you need a layered plan that controls moisture at the subfloor (vapor/moisture barrier) and seals every likely leak point—seams, edges, and transitions. In other words, don’t assume the vinyl surface alone is fully waterproof, especially where water can get underneath or into joints. In this guide, you’ll learn what to prepare, what layers to use, and how to seal the common failure points.
If your sunroom gets humidity swings, occasional condensation, tracked-in water, or spills near the perimeter, you’re exactly the kind of homeowner who needs a real moisture plan. This is especially important for vinyl plank/vinyl tile that uses click-lock joints or for installs where the subfloor is prone to moisture.
Prep the subfloor and check moisture first
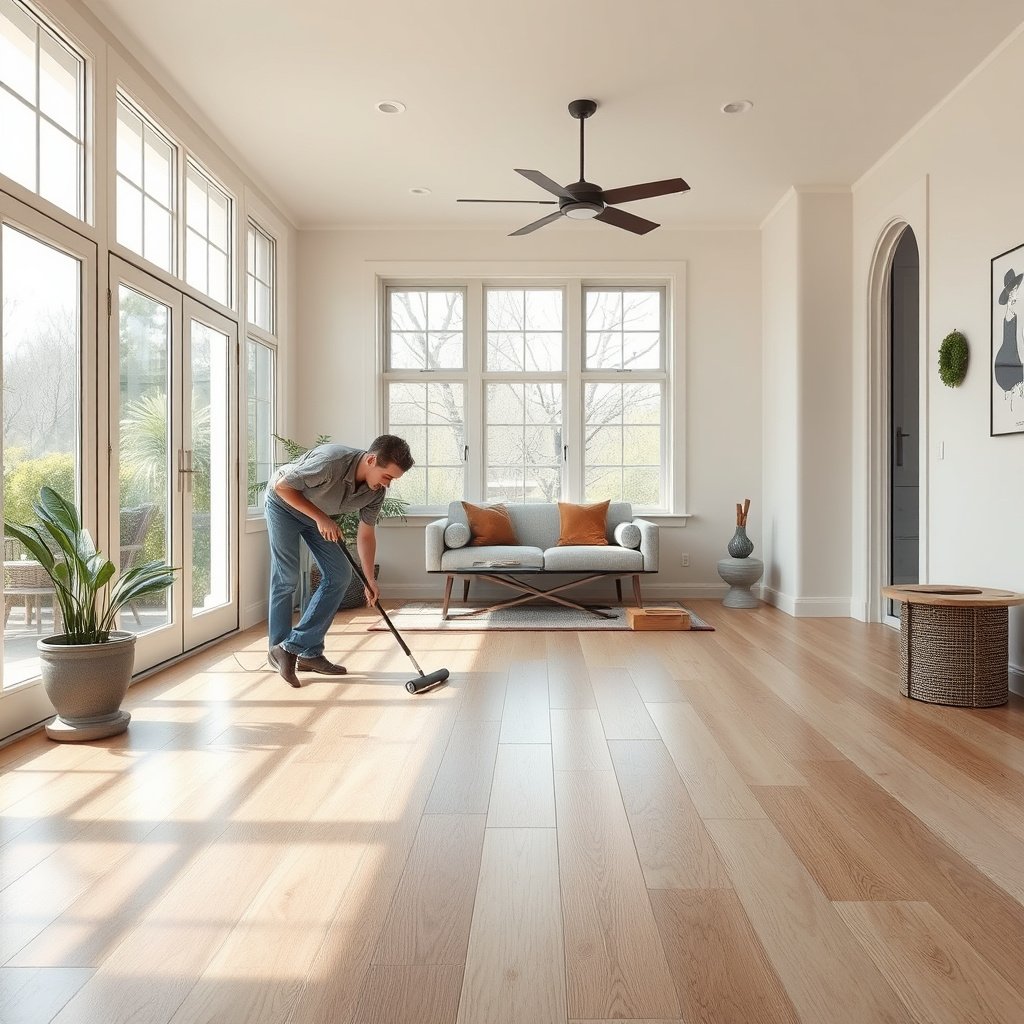
You waterproof the “system” by starting with a subfloor that is flat, clean, and dry enough to accept the vapor barrier you plan to install. If the substrate is already wet, adding a barrier can trap moisture rather than solve the problem.
Moisture moves by two main paths: (1) bulk water (spills, tracked rain, overflow) and (2) vapor/moisture vapor pressure (humidity swings that drive condensation under the floor). In a sunroom, both are common because temperature and relative humidity can change quickly—even in a space that “feels dry” on the surface.
From my experience reviewing sunroom flooring problems, the most frequent failures are at baseboards, cut edges, and seam lines after condensation cycles. That’s why prep and moisture testing come before underlayment and sealing: you want the barrier to do its job, not compensate for a compromised slab or weak substrate.
Moisture vapor emission rate testing for slabs is commonly reported in pounds per 1,000 square feet per 24 hours (MVER), which is the output format used by ASTM F1869.
Relative humidity in concrete is measured as a percentage (%RH) when using ASTM F2170, which helps determine whether concrete moisture levels are compatible with the flooring system.
What “prep” actually includes (and why it matters)
– Fix flatness issues and patch cracks/low spots so water can’t pool and work its way into edges. Vinyl can tolerate minor irregularities, but sharp dips and voids increase the odds that water finds channels to the perimeter.
– Clean thoroughly: remove dust, drywall residue, paint overspray, and construction debris. Most manufacturer systems require a specific surface condition; follow the vinyl flooring prep instructions exactly.
– Confirm your manufacturer’s underlayment requirements: some systems require a primer, while others require a specific approved underlayment/membrane for moisture control.
Do a moisture/vapor check if you can
You’ll get the most reliable results when moisture testing matches the substrate:
– For concrete slabs, ASTM testing methods are often used to quantify moisture conditions before installing resilient flooring.
– For wood subfloors, the “moisture plan” may rely more on measured wood moisture content and adequate ventilation rather than slab vapor testing—still follow manufacturer guidance.
According to ASTM F2170, you determine in-situ relative humidity (%RH) in concrete using RH probes. According to ASTM F1869, you quantify moisture vapor emission rate (MVER) using a calcium chloride test that outputs results in lb/1,000 ft²/24 hr. These standards are referenced for moisture testing concepts where applicable in resilient flooring specifications.
(Use this to plug in your specific installer-standard or the exact method your vinyl manufacturer calls for.)
Choose a waterproof system that matches your vinyl type
You choose the waterproofing approach based on whether your vinyl is click-lock floating or glue-down, because the “water path” and required sealing strategy differ. The fastest way to get this wrong is to treat all vinyl installs the same.
Sunrooms add a second twist: vapor pressure changes often come in cycles (day/night heating, sun exposure, and humidity spikes). As of 2026, manufacturers still emphasize that vinyl performance depends on the complete assembly: subfloor + underlayment/membrane + sealing details—not only the vinyl wear layer.
Vinyl flooring performance under moisture pressure depends on the approved underlayment/membrane and the manufacturer’s sealing details, not on topical surface coatings alone.
Floating click-lock vinyl still needs a perimeter moisture strategy because water can move to seams and expansion gaps if the subfloor barrier isn’t continuous and sealed.
Click-lock (floating) vs. glue-down: the practical difference
– Click-lock floating vinyl: you typically need a compatible vapor barrier under the floor, plus strong perimeter sealing that accounts for expansion gaps. If you “lock in” expansion by sealing everything rigidly, you can create buckling or seam separation during temperature swings.
– Glue-down vinyl: you typically still need moisture control at the subfloor, but your system will rely more on an approved adhesive/bonding method and moisture compatibility (because moisture can interfere with the adhesive layer and its bond).
Here’s the comparison I recommend using during planning:
Floating (click-lock)
– Pros: Faster install, easier replacement of sections
– Cons: More critical sealing at perimeter/edges; expansion gaps must remain functional
Glue-down
– Pros: Fewer mechanical seam pathways at the perimeter of the board
– Cons: Adhesives can fail if moisture compatibility isn’t met; prep tolerances matter
Use only what your vinyl manufacturer approves
Many underlayments marketed as “water resistant” are not the same as a true moisture/vapor barrier system intended to stop vapor migration through seams and joints. You want products the manufacturer explicitly allows under your specific vinyl construction.
Also make sure your plan covers:
– Bulk water risk (spills, splashes, meltwater, tracked rain)
– Vapor/moisture vapor pressure risk (humidity changes common in sunrooms)
Waterproof using compatible underlayment/vapor barrier layers
A compatible vapor barrier plus correct installation details is what reduces moisture movement under your vinyl. This step is where most “almost waterproof” installs fail—barrier seams not sealed, incorrect overlaps, or wet materials trapped under flooring.
Start by installing a moisture/vapor barrier or underlayment layer that your vinyl flooring manufacturer explicitly approves. Then install it cleanly:
– Overlap and seal barrier seams exactly per product instructions.
– Use seam tape (if required) and press/secure it to achieve a continuous barrier.
– Keep layers dry during installation—don’t sandwich a barrier that’s already damp or damaged.
Moisture barriers only work as “systems”; if barrier sheets overlap without taping or are cut incorrectly at transitions, vapor can migrate through the discontinuity.
For vinyl installs, underlayment and membranes are only considered compatible when they match the vinyl manufacturer’s approved assembly requirements, including overlap, tape, and thickness limits.
One quick way to sanity-check your barrier concept
The barrier’s job is to reduce vapor transmission enough that the vinyl assembly can perform as designed. If you’re unsure which class of barrier you need, look at the manufacturer’s installation guide and moisture limits. (Your exact requirement may vary based on the subfloor material and flooring construction.)
Common Vapor-Barrier Perm Class Targets for Flooring Moisture Control
| # | Vapor-Control Material Type (Typical Use) | Perm Class | Perm Range | Best for Sunroom Vinyl? | Moisture Blocking Strength |
|---|---|---|---|---|---|
| 1 | 10-mil polyethylene film (continuous sheet) | Class I | ≤ 0.1 perm | High control | ★★★★★ |
| 2 | 6-mil polyethylene film (continuous sheet) | Class I | ≤ 0.1 perm | Often approved | ★★★★★ |
| 3 | Composite membrane underlayment (poly film + facer) | Class I | ≤ 0.1 perm | Conditional approval | ★★★★☆ |
| 4 | Reinforced 4-mil polyethylene film | Class II | 0.1–1 perm | Use only if allowed | ★★★☆☆ |
| 5 | 2-mil polyethylene film (thin sheet) | Class III | 1–10 perms | Usually not enough | ★★☆☆☆ |
| 6 | Kraft-faced “building paper” underlays | Class III | 1–10 perms | Avoid for wet risk | ★☆☆☆☆ |
| 7 | Unsealed seams in any underlayment sheet | System Failure Risk | Barrier discontinuity | Breaks continuity | ☆☆☆☆☆ |
*How to use this:* treat it as a reminder that underlayment choice and installation continuity (taped seams, correct overlaps) both control whether you truly reduce vapor movement under vinyl. For the exact perm class required by your floor system, rely on your vinyl manufacturer’s installation documents.
Seal seams, edges, and transitions where water starts
You don’t get true waterproofing by stopping at underlayment—you must seal the “water entry points” where the floor assembly breaks continuity. That means perimeter sealing, seam/overlap sealing where appropriate, and careful treatment around transitions and penetrations.
In sunrooms, water often starts as condensation or small splash events and then migrates to where a floor meets something else: baseboards, thresholds, door jambs, columns, and pipe penetrations. Even when the subfloor is protected, these edges can still become pathways if gaps remain.
Perimeter sealing matters for floating vinyl because expansion gaps and baseboard interfaces can otherwise act as vapor or bulk-water pathways toward click-lock joints.
Penetrations (pipes, vents, posts) are high-risk leak points; you need a penetration-compatible sealing method that keeps gaps from becoming funnels.
Perimeter: baseboards, edges, and expansion gaps
– Seal the perimeter properly: water often enters at baseboards and exposed edges. Use the recommended waterproof caulk/sealant approach for your specific vinyl system.
– For floating floors, keep the manufacturer’s expansion rules intact. Don’t glue or rigidly seal areas that must move.
Transitions and “pattern-joint” areas
– If you have vinyl tile or grout-look lines, treat those visual joints and nearby trim/edge details as potential leak paths. Water movement isn’t guided by aesthetics—it follows where gaps and wicking edges exist.
– At door thresholds, use a waterproof sealing approach that matches the flooring system and local construction method.
Penetrations and irregularities
When you cut around pipes or vents, avoid leaving loose gaps. Your goal is a continuous seal compatible with:
– the underlayment/membrane you installed
– the vinyl installation type (floating vs glue-down)
– the substrate’s ability to support adhesion
What can go wrong (and how to avoid it)
You avoid most waterproofing failures by treating this like a system install and following the moisture compatibility logic from subfloor to finish. The common mistakes below are the reasons “water-resistant” setups turn into “water damage” setups in sunrooms.
Using an unapproved underlayment or membrane can create a moisture mismatch that voids warranty and increases the risk of vapor migration beneath vinyl.
Topical surface coatings typically don’t stop water from migrating through seams, edges, and transitions—so they can’t replace barrier + perimeter sealing.
– Using the wrong underlayment: non-approved products can void warranty or fail when humidity and temperature swing in a sunroom.
– Skipping moisture testing/repair: if the subfloor is already wet, waterproofing layers can trap moisture and cause problems instead of preventing them.
– Blocking expansion (floating click-lock floors): sealing everything “tight” without respecting expansion can lead to buckling or joint separation over time.
– Relying on surface coatings alone: topical sealers often don’t stop water from migrating through seams/edges. They can help with surface cleaning resistance, but they’re not a substitute for a correct moisture plan.
Verdict: do this if you want leak-proofing, not just water-resistance
If you want to reduce the chance of water getting under vinyl, the best approach is a layered system: correct underlayment/vapor barrier + proper seam/overlap sealing + waterproof sealing at edges/transitions. This is worth doing if your sunroom sees humidity swings or frequent spills/cleaning with standing water risk.
That said, skip DIY (or get professional help) if you can’t ensure subfloor dryness/flatness, you have major structural moisture issues (like active leaks), or your flooring type doesn’t clearly state an approved waterproofing method. A sunroom is one of the fastest places for “small moisture problems” to become visible floor damage because the assembly cycles through conditions.
Quick checklist (scan/save)
| Step | What to do | Done? |
|---|---|---|
| Subfloor prep | Flat, clean, patched; follow flooring requirements | ☐ |
| Moisture/vapor check | Test using a recognized method if possible | ☐ |
| Underlayment/barrier | Use **approved** moisture/vapor barrier/underlayment | ☐ |
| Barrier seams | Overlap/tape/seal per product instructions | ☐ |
| Perimeter/edges | Waterproof seal caulk at base/trim/exposed edges (per system rules) | ☐ |
| Transitions/penetrations | Waterproof seal around pipes/door thresholds and transitions | ☐ |
| Expansion rules | Don’t block expansion gaps for floating floors | ☐ |
FAQ
1) Is vinyl flooring in a sunroom waterproof by itself?
Usually, vinyl is water-resistant, not fully waterproof—water can still penetrate at seams and edges, especially in sunrooms with condensation or frequent moisture exposure.
2) Can I waterproof over an existing vinyl floor?
Sometimes, but only if your flooring system and manufacturer instructions allow it; otherwise, adding layers can create height/adhesion issues or trap moisture.
3) What sealant should I use around the perimeter?
Use a sealant/correct caulk that’s compatible with your vinyl flooring and installation method (floating vs glue-down). Check the flooring manufacturer’s installation guide first.
4) Do I need a vapor barrier under vinyl in a sunroom?
Often yes when moisture/vapor is a concern, but the correct requirement depends on your subfloor type and your vinyl manufacturer’s specs.
Sources:
– ASTM F2170 (Standard Test Method for Determining Relative Humidity in Concrete) – referenced for moisture testing concepts where applicable
– ASTM F1869 (Standard Test Method for Measuring Moisture Vapor Emission Rate of Concrete) – referenced for moisture testing concepts where applicable
Frequently Asked Questions
What’s the best way to waterproof vinyl flooring in a sunroom?
Start by sealing the subfloor and using a waterproof underlayment or vapor barrier that’s specifically rated for vinyl floors. Then seal all seams, transitions, and edges with a vinyl-appropriate silicone or manufacturer-recommended waterproofing tape. Finally, keep water out of the joints by ensuring the floor is properly installed and flat, since gaps can let moisture travel underneath.
How do I prevent water from getting under vinyl floors in a sunroom?
Focus on sealing the perimeter and any openings where moisture could infiltrate, including around baseboards, door thresholds, and HVAC vents. Use caulk designed for vinyl and damp locations to close tiny gaps, and apply seam tape where sheets or planks join (especially if using floating vinyl). Also, address water sources—like condensation—by controlling humidity and preventing roof or window leaks near the sunroom.
Why does vinyl flooring in a sunroom need extra waterproofing?
Sunrooms often experience temperature swings and higher humidity, which can cause moisture to condense and migrate through the subfloor. Even waterproof vinyl can be vulnerable at seams, edges, and underlayment if the installation isn’t sealed. Proper waterproofing helps protect against swelling, lifting, and mold growth in the subfloor area.
Which waterproofing products work best for vinyl floor installations in sunrooms?
Look for products labeled for “vinyl flooring,” “waterproof,” and/or “vapor barrier” compatibility, such as underlayments with an integrated moisture barrier or separate 6-mil+ plastic vapor barriers (installed correctly with overlap). For seams and joints, use manufacturer-recommended seam tape or waterproofing sealants that bond cleanly without damaging the vinyl. If your vinyl is a click-lock/floating style, prioritize an approved underlayment system and ensure any seam taping follows the flooring instructions.
How can I waterproof vinyl flooring after installation in a sunroom?
If the floor is already down, you can still waterproof the vulnerable areas by sealing around the perimeter, transitions, and any penetrations with a silicone caulk suitable for resilient flooring. For minor gaps at seams, apply a vinyl-safe seam sealant where recommended, but avoid flooding the joints with thick adhesives or liquids. For best results, identify and fix the water source first, then maintain steady humidity so the waterproofing stays effective.
📅 Last Updated: October 27, 2026 | Topic: How to waterproof a vinyl floors with sunroom? | Content verified for accuracy and freshness.
References
- Vinyl flooring
- Waterproofing
- Vapor barrier
- Underlayment
- Damp proofing
- Mold | US EPA
- Mold | Mold | CDC
- https://scholar.google.com/scholar?q=waterproofing+vinyl+floor+sunroom+moisture+vapor+barrier Google Scholar
- https://scholar.google.com/scholar?q=luxury+vinyl+plank+installation+moisture+vapor+barrier+underlayment Google Scholar
- https://scholar.google.com/scholar?q=vapor+barrier+resilient+flooring+moisture+testing+ASTM+F2170 Google Scholar