
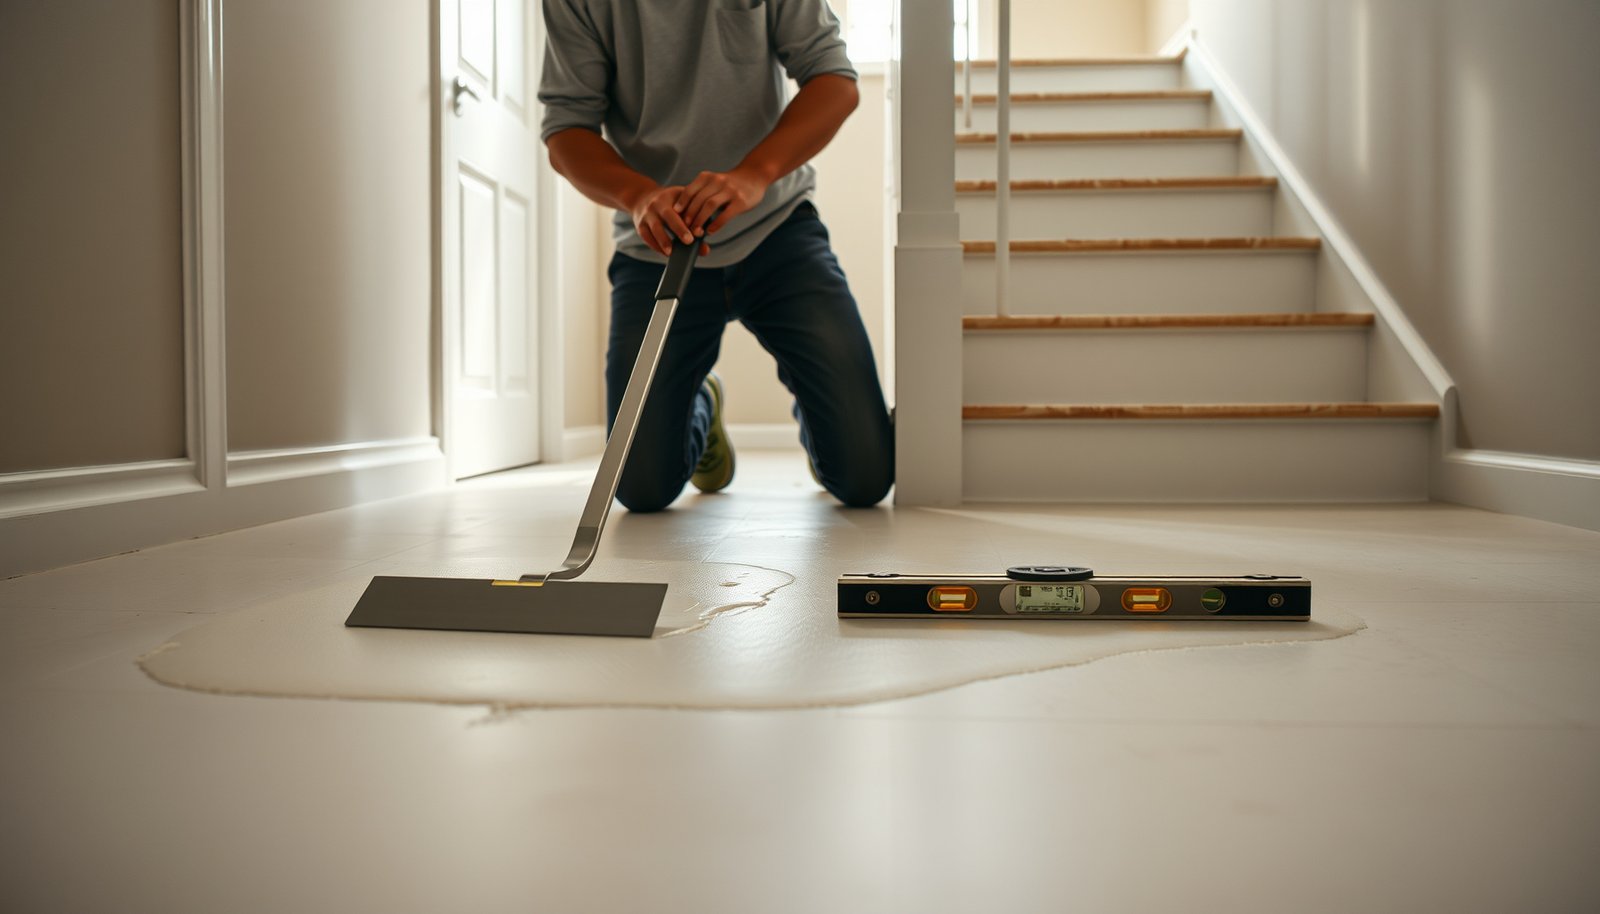

To level vinyl floors before installing a staircase, you should first identify the low spots and true the subfloor with a self-leveling underlayment or a feather-finish patch—because that’s the fastest way to prevent rocking treads and cracked transitions. If your vinyl is over concrete and the dips are small, spot-fill and recheck with a straightedge; if the floor is noticeably out of plane, pour a self-leveler to bring the entire run into alignment. Follow the final flatness check before you anchor the staircase to avoid permanent movement after installation.




Leveling vinyl floors before installing a staircase is mainly about achieving the vinyl manufacturer’s required flatness while ensuring the subfloor is stable (no movement, no squeaks). Start by checking flatness with a straightedge, fix any structural or moisture issues, and only then apply patch/feather or self-leveler—making the landing and first few treads a priority zone where even small dips show through.
If you’re installing vinyl plank or vinyl tile and the room connects directly to stairs (or you’re planning new treads/nosing on top of the leveled area), this is for you. It’s especially relevant when you feel bounce, see gaps, or notice uneven flooring after removing old coverings.
Check flatness first (don’t start by mixing compound)
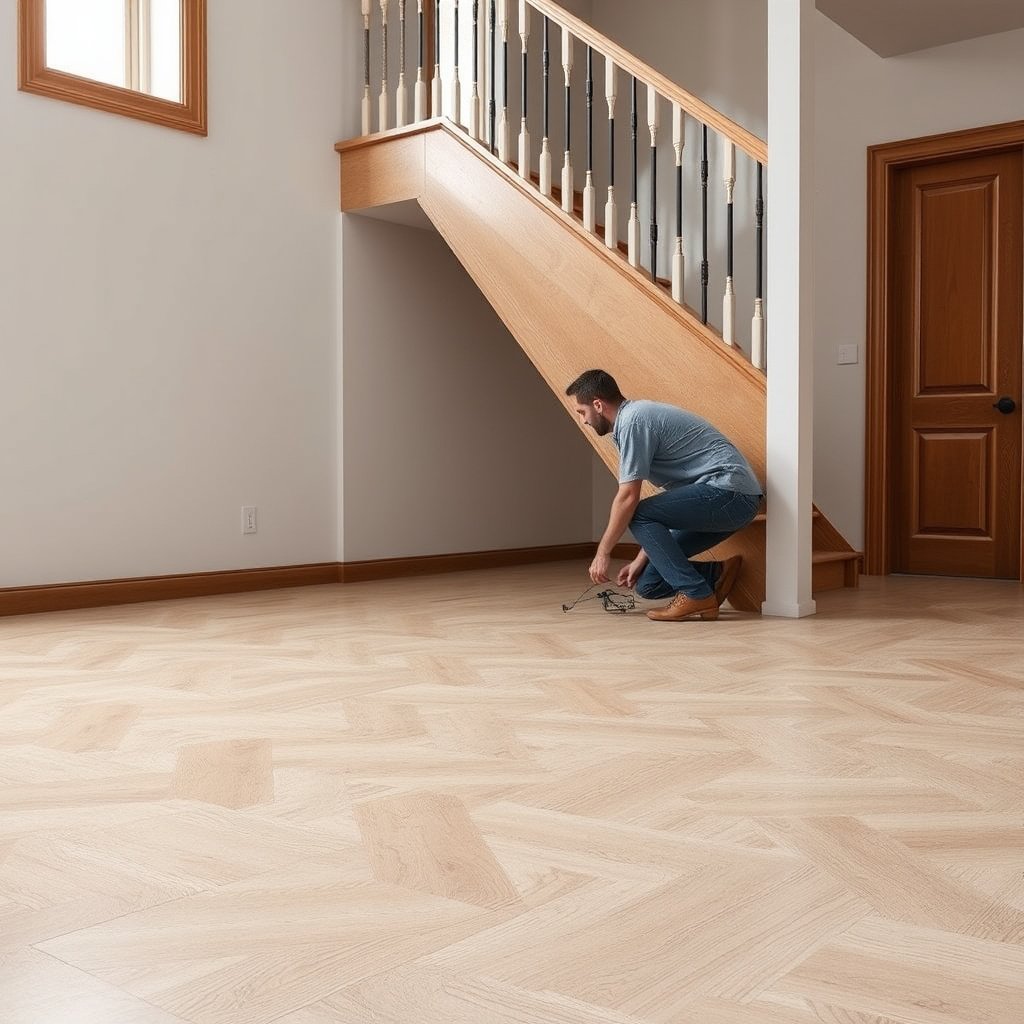
If you want a staircase-adjacent vinyl install to look and feel right, the fastest path is to verify flatness before choosing any leveling product. The goal is to match the vinyl flooring manufacturer’s flatness tolerance, not to “make it look level.”
According to ASTM F710, resilient floor covering installations require checking subfloor flatness using a straightedge, with a commonly cited maximum deviation of 3/16 in over 10 ft (4.8 mm over 3 m).
Flatness is about highs and lows, not levelness; a floor can be “level” and still be too wavy for vinyl to bond or lock properly.
Map highs and lows with a straightedge
Use a 6 ft or 10 ft straightedge/level to map the entire run leading to the stair landing. Measure across the width and length of the room, then extend your checks toward the transition area where vinyl meets the first tread detail. Circle or mark:
– High spots (usually require shaving/repair, not filler)
– Low spots (usually require patching/feather-finish or underlayment-leveling systems)
From my experience working through floor failure patterns, the landing is where tiny defects become visible fast—.
Confirm the vinyl’s tolerance before you level
Before mixing compound, read your vinyl installation instructions/spec sheet for the required “flatness” tolerance. Manufacturers sometimes specify values in inches/feet or millimeters/meters. If your vinyl is a floating plank/rigid core, the tolerance still matters because repeated micro-waviness can contribute to joint stress and separation.
Fix subfloor problems before you level
If your subfloor moves, leveling won’t fix performance—it only disguises symptoms temporarily. The best vinyl leveling outcome depends on a subfloor that’s properly secured, clean, and compatible with the leveling system.
Bonded leveling systems generally require a mechanically sound substrate with no loose paint, dust, or contaminant layer that could interrupt adhesion.
If the substrate squeaks or deflects, the corrected “flatness” can revert, which increases the risk of vinyl joint failure or debonding.
Stabilize first: movement and squeaks come first
Tighten/reattach loose boards and investigate any squeaks. Re-screw or replace sections that flex under foot traffic. If your subfloor is over joists, verify you’re not compensating for structural issues (like undersized framing or water damage) by building up with leveling material.
Prep the surface like a bonding job
Leveling is only as effective as the surface preparation. Remove:
– dust and construction debris
– loose patch material
– peeling paint or anything that can release under trowel/roller pressure
If you’re using a cementitious self-leveler or patch, follow the leveling product’s prep requirements (primers are not optional unless the product explicitly allows “no primer” for your substrate and conditions).
Moisture: don’t guess—check requirements
If there’s moisture risk (crawlspace issues, slab history, plumbing leaks, or seasonal humidity swings), follow the vinyl and leveling manufacturer’s moisture requirements. ASTM testing methods are designed for this decision-making:
– ASTM F1869 measures MVER (moisture vapor emission rate) in lb per 1,000 sq ft per 24 hours
– ASTM F2170 measures in-situ relative humidity (RH) in %RH
Choose the right leveling method for vinyl
If your goal is flatness without creating transition problems at the stairs, pick the leveling method that matches the size and pattern of your dips. Small localized lows and edge humps typically need patch/feather products; broader unevenness often requires self-leveling systems.
Feather-finish patch products are typically intended for localized unevenness, while self-leveling underlayments are designed to flow and average out broader flatness deviations.
When leveling materials are not compatible with the vinyl type and substrate (wood vs. concrete, porous vs. non-porous), the installation can fail even if the floor looks flat.
Patch/feather vs. self-leveler: what to use when
Use patch/feather-finish if you have:
– a few shallow low spots
– spot dips in the same general area
– minor edge irregularities near transitions
Use a compatible self-leveler/underlayment if you have:
– widespread unevenness across the run to the stair landing
– multiple low zones that would take too many patch passes
– a need to create a smooth “plane” rather than a series of spot fixes
Comparison (practical, vinyl-focused)
- Patch / feather-finish leveling compound
- Best for: small dips, localized repairs, and controlled build-up at seams.
- Pros: easier to blend; less chance of over-thickening; good for spot corrections near stair edges.
- Cons: can become ridgey if used across a wide area; requires excellent feathering/spot control.
- Self-leveling underlayment / self-leveler
- Best for: larger or widespread unevenness where a smooth field is required.
- Pros: flows to reduce waves; faster coverage over big areas.
- Cons: needs strict mixing and priming; can raise height at transitions if not controlled.
Avoid “perfect-looking” build-up near stairs
If you can’t reach the required flatness with leveling products alone, adjust the subfloor plan instead of chasing thin corrections forever. Adding plywood/build-up can be appropriate when it’s engineered correctly for load and attachment—especially near stair landings where height changes are hard to hide under nosing/trim.
Prepare and apply leveling in the correct order
If you apply leveling in the wrong sequence or with incorrect mix/cure discipline, you can create a different problem (ridges, debonding, or lingering moisture). The right order is: substrate prep → correct primer (if required) → correct mixing → controlled placement → full cure.
Most leveling failures trace back to incorrect water ratio, inadequate substrate prep/primer, or insufficient cure time before covering with flooring.
To minimize creating new ridges, many installers place material so it naturally averages out and then refine edges as the product allows—always per the product’s instructions.
Follow the manufacturer’s mixing and curing instructions precisely
Cementitious leveling products are sensitive to:
– water ratio (too much weakens strength and can extend cure time)
– mixing method and time (manual “eyeballing” can under-mix)
– working time (you must place before it starts to stiffen)
– cure time (vinyl must not be installed on a surface that’s still chemically/physically “active”)
Work from the worst lows outward
When you have multiple low areas, place leveling material beginning at the lowest points and work outward so the material forms a consistent plane. This reduces the chance of creating new high ridges by “bridging” over dips with patch.
Don’t install vinyl early—even if it feels dry
Surface dryness is not the same as full cure. Installing too soon can trap moisture and contribute to later issues like telegraphing (where vinyl shows the underlying topography), adhesive failures, or instability at joints.
Level for the staircase area and transitions
If the stairs are connected to the vinyl field, prioritize flatness and transition detailing in the landing and the first few treads zone. Any dip or hump here tends to be noticed in foot feel and visual alignment, and it’s harder to correct after trim/nosing goes in.
Stair landings and the first treads are “high-visibility” zones—small flatness deviations show through more readily than in open floor areas.
Transition details must account for vinyl expansion gaps and the stair edge/tread interface; leveling that changes height can force a new trim/nosing strategy.
Treat the landing as a priority zone
Focus your straightedge mapping and leveling passes here first. The vinyl flooring and stair components may share fastening/edge detailing, so a small correction at the landing can prevent bigger rework after stair nosing is installed.
Plan transitions before you pour or patch
Expansion gaps and edge details need to be consistent with both:
– your vinyl installation instructions (floating vs. glue-down changes requirements)
– your stair hardware approach (nosing type, trim thickness, and any tread interface constraints)
Also remember: if your vinyl requires an underlayment system, the combination of leveling method + underlayment must still meet the manufacturer’s effective flatness tolerance.
Derived flatness equivalents from ASTM F710 (3/16 in over 10 ft)
| # | Test span | Derived max (in) | Derived max (mm) | Standard basis |
|---|---|---|---|---|
| 1 | 10 ft (≈3.0 m) | 3/16 in (0.1875) | 4.8 mm | Meets ASTM F710 flatness check |
| 2 | 8 ft (≈2.4 m) | 0.150 in | 3.84 mm | Derived equivalent |
| 3 | 6 ft (≈1.8 m) | 0.1125 in | 2.88 mm | Derived equivalent |
| 4 | 4 ft (≈1.2 m) | 0.075 in | 1.92 mm | Derived equivalent |
| 5 | 3.0 m | 0.1875 in | 4.8 mm | Direct ASTM value |
| 6 | 2 ft (≈0.6 m) | 0.0375 in | 0.96 mm | Derived equivalent |
| 7 | 12 ft (≈3.6 m) | 0.225 in | 5.76 mm | Derived equivalent |
> Note: This table shows derived comparisons based on the ASTM F710 flatness deviation value; always verify flatness using your vinyl manufacturer’s stated test method and tolerance.
What can go wrong
If you want fewer surprises, avoid the common “looks-flat” traps that break vinyl performance later. Most staircase issues come from subfloor movement, incompatible materials, or leveling/curing mistakes that turn into visible defects at the landing and first treads.
Leveling compounds cannot correct structural movement; if the subfloor flexes, the vinyl system still experiences stress even when the surface appears flat.
Moisture and compatibility checks are prerequisites in resilient flooring—installing on an out-of-spec substrate can lead to debonding or long-term failure.
Biggest failure patterns to watch
– Using compound to cover a moving subfloor: if the base flexes, vinyl can fail even if it looks level afterward.
– Skipping moisture/compatibility checks: leveling products and subfloors often have specific moisture/primer/adhesion requirements; incompatible systems can debond.
– Overbuilding near stairs: adding too much thickness in one area creates a lip that’s difficult to resolve once trim/treads are installed.
– Curing mistakes: installing too soon can trap moisture or leave an unstable surface.
– Ignoring manufacturer flatness limits: “looks flat” is not the same as meeting the required tolerance—verify in the vinyl installation instructions.
Downsides of leveling (so you plan for them)
Even correct leveling has tradeoffs:
– leveling products take time to cure
– they increase floor build-up height (important at stair transitions)
– bad prep can lock in problems that are expensive to undo
As of 2026, the most successful staircase-adjacent vinyl projects I’ve seen follow a repeatable sequence: measure → stabilize → prep → level → re-measure at the landing before installing stair components.
Verdict / tip
If your goal is a staircase-adjacent vinyl install that won’t feel uneven or show lines later, focus on (1) subfloor stability, (2) meeting the vinyl manufacturer’s required flatness tolerance, and (3) fully cured, compatible leveling products. Skip “DIY leveling” as the only fix if you find structural movement, repeated moisture risk, or you can’t reach the required flatness without major build-up.
Also keep in mind the real downsides: leveling products take time to cure, they add material height (which affects stair transitions), and poor prep can create future problems you can’t easily hide—so do measurement and compatibility checks first.
| Quick vinyl leveling checklist (scan/save) |
|---|
| Confirm vinyl manufacturer flatness tolerance (check instructions/spec sheet) |
| Fix squeaks/loose boards and any movement before leveling |
| Clean/prepare subfloor for bonding (no dust/loose material) |
| Use the right leveling product type for your dips (patch vs self-leveler) |
| Follow mix time, water ratio, and cure time exactly |
| Re-check flatness after leveling—especially at the landing/first treads |
| Plan stair transitions so expansion gaps and trim details remain correct |
Sources
– ASTM F710 (standard practice for preparing concrete floors to receive resilient floor covering), ASTM F1869 (standard test method for moisture vapor emission rate), ASTM F2170 (standard test method for relative humidity in concrete), and ASTM E1155 (standard practice for locating deviations in concrete due to flatness and levelness)
Leveling vinyl floors before installing a staircase is mostly about meeting the required flatness and making sure the subfloor won’t move—everything else is product compatibility and cure timing. Measure first, stabilize the base, choose the correct leveling method for the pattern of dips, and re-check flatness in the landing/transition zone before any vinyl or stair components go in. If you’re facing structural movement or moisture concerns, it’s worth pausing and having a pro verify the plan before you commit to the vinyl install.
Frequently Asked Questions
What’s the best way to level vinyl floors before installing a staircase?
The best approach is to check the subfloor for flatness using a 6–10 ft straightedge and mark high/low spots. Use a suitable self-leveling underlayment for concrete or a floor patch/feather finish for minor irregularities on wood subfloors. Once the surface is smooth and fully cured, install the vinyl (or vinyl flooring underlayment, if required) so the staircase transition won’t flex or develop gaps.
How do I know if my subfloor is level enough for vinyl flooring near stairs?
Look for unevenness by measuring the subfloor height differences in multiple directions, especially where the stairs meet the floor plane. A common target is minimal variation within the manufacturer’s specs (often around 1/8 in over 6 ft for resilient flooring, but always confirm your vinyl brand’s limits). If you notice rocking, visible ridges, or gaps in previous flooring, you should level before installing vinyl to prevent telegraphing and seam separation.
Why is it important to level a vinyl floor before installing staircase treads and transitions?
Stair areas experience frequent pressure changes, foot traffic, and flex, so any subfloor unevenness will telegraph through vinyl and can cause edges to lift. Uneven floors can also lead to misaligned stair nosings and transitions, creating trip hazards or water/dirt traps. Proper leveling helps maintain a flat installation plane, improving durability and keeping vinyl seams secure.
Which leveling compound is safest to use under vinyl flooring near a staircase?
Choose a leveling product specifically rated for resilient flooring and compatible with your subfloor type (self-leveler for concrete, patch/skim coat or underlayment for plywood/wood). Avoid compounds not approved for vinyl, and make sure the mix thickness is within the product’s range—too thin won’t bridge dips, too thick can crack. Follow the manufacturer’s curing and moisture requirements carefully, since trapped moisture can damage adhesives and cause adhesive failure.
How can I level around stair stringers and transitions without damaging the vinyl installation line?
Start by mapping the stair landing and transition areas with a straightedge, then feather level any low spots up to the required edge height so the vinyl lays flat. Plan expansion gaps and transition strips so leveling doesn’t eliminate necessary clearance at walls, stair perimeters, or between flooring sections. After leveling and curing, vacuum thoroughly and install a proper underlayment (if your vinyl system calls for it) to keep the floor smooth and consistent right up to the staircase transition.
📅 Last Updated: October 26, 2026 | Topic: How to level a vinyl floors before installing staircase? | Content verified for accuracy and freshness.
References
- Vinyl flooring
- Self-leveling concrete
- Floor
- F710 Standard Practice for Preparing Concrete Floors to Receive Resilient Flooring
- https://www.astm.org/Standards/F1869.htm
- F2170 Standard Test Method for Determining Relative Humidity in Concrete Floor Slabs Using in sit…
- E1155/E1155M Standard Test Method for Determining FF Floor Flatness and FL Floor Levelness Numbers
- https://scholar.google.com/scholar?q=vinyl+flooring+subfloor+flatness+leveling+underlayment Google Scholar
- https://scholar.google.com/scholar?q=resilient+flooring+installation+stair+preparation+subfloor+levelness Google Scholar
- https://scholar.google.com/scholar?q=self-leveling+underlayment+for+resilient+floor+coverings+flatness Google Scholar
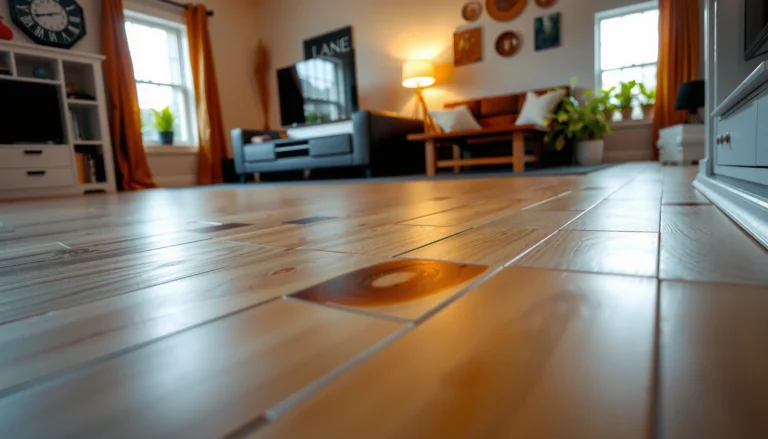
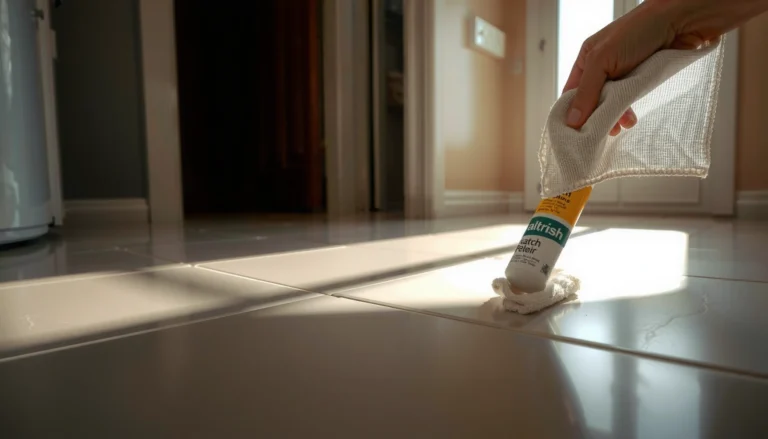
[…] glue-down install that won’t telegraph dents, the clear best approach is to prep and level with a self-leveling underlayment after you’ve verified the existing vinyl subfloor is sound. This guide shows exactly how to check […]