
Want to know how to level vinyl floors before installing apartment flooring? If you want a smooth, click-lock or glue-down install that won’t telegraph dents, the clear best approach is to prep and level with a self-leveling underlayment after you’ve verified the existing vinyl subfloor is sound. This guide shows exactly how to check flatness, fill low spots, and achieve the flat base your apartment floor needs before you lay new flooring.




Leveling vinyl floors is a two-step job: confirm your subfloor is flat enough and dry enough, then correct low/high areas using the method your vinyl manufacturer allows. Once you’ve smoothed or filled those “waves,” you must let the leveling material fully cure before installing LVP/LVT (click-lock or glue-down).
If you’re working in an apartment—where floors are often concrete slabs or plywood subfloors with mild dips, bumps, and occasional humps—this guide walks you through the practical process that prevents gaps, loose joints, and premature failures in resilient flooring.
Check flatness and moisture first
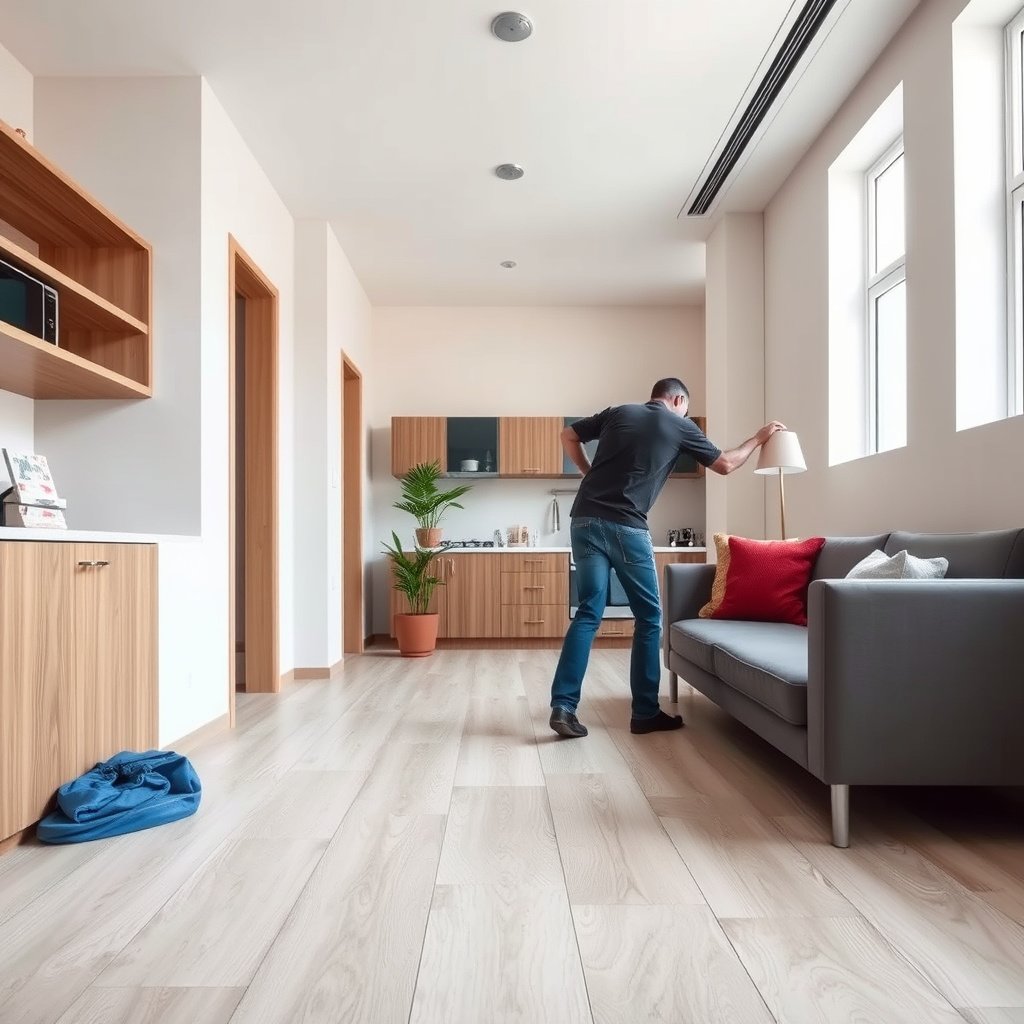
Before you buy or mix anything, verify two things: flatness (the surface is within your vinyl system’s tolerance) and moisture (the subfloor won’t compromise adhesive or dimensional stability). Skipping either check is the fastest path to visible telegraphing, joint stress, or adhesion problems later.
– Measure flatness with a long straightedge (for example, a 6‑ft straightedge) and mark high spots and low spots to compare against your vinyl’s installation-spec limits.
– Test moisture using the method your flooring guide calls for (or follow common ASTM approaches referenced by your system); never guess if the subfloor is damp.
– If the subfloor is loose, damaged, or missing sections, leveling won’t fix the underlying problem—repair it first.
Flatness measurement that actually maps to resilient flooring
Flatness is measured by how much the floor deviates under a straightedge. For apartments, a common workflow is to run a 6‑ft or longer straightedge across likely “wave” directions, then record the maximum deviation you see at marked points. Those numbers must be compared to the flatness tolerance stated in your vinyl flooring manufacturer’s installation instructions—because LVP/LVT systems vary.
A key detail: resilient flooring is not forgiving of point loads and ridge lines. Even small irregularities can create stress at seams (for click-lock) or prevent full adhesive contact (for glue-down).
ASTM E1155 is widely referenced for measuring floor flatness using controlled straightedge methods, which helps you quantify deviations before installing resilient flooring. ASTM E1155
Vinyl installers typically require meeting the manufacturer’s flatness tolerance; otherwise, resilient planks can telegraph ridges and stress joints—especially in click-lock floating floors.
Moisture testing: choose the method your system requires
Moisture testing should match what your vinyl system calls for. For concrete slabs, installation guides often reference either in-situ relative humidity testing (commonly via ASTM F2170) or calcium chloride / MVER testing (commonly via ASTM F1869). For plywood, moisture limits still matter—especially if the wood is wavy, recently exposed to humidity, or poorly acclimated.
Here are three anchor facts you should keep in mind when reading moisture spec sheets:
– According to ASTM F1869, the moisture vapor emission rate (MVER) test reports results in lbs per 1,000 sq ft per 24 hours (). ASTM F1869
– According to ASTM F2170, the in-situ RH method evaluates relative humidity at the slab depth using probes installed in drilled concrete (). ASTM F2170
– According to ASTM E1155, floor flatness measurement is performed by quantifying deviations using a straightedge approach, supporting consistent floor prep decisions (). ASTM E1155
If your installation instructions say “test per ASTM F2170” (or similar language), don’t substitute. Moisture limits for vinyl flooring are product-specific, and using a mismatched test can cause you to “pass” the wrong criteria.
If the subfloor is failing, stop leveling
Leveling compounds and underlayments can correct surface irregularities. They can’t correct structural instability. If boards are loose, concrete is crumbling, plywood is missing sections, or there’s a widespread deflection problem, the correct order is repair first, level second.
Practical signs you shouldn’t ignore:
– Plywood that flexes underfoot (squeaks tied to movement rather than fasteners)
– Hollow areas, delamination, or water staining that indicates ongoing moisture
– Concrete spalling, active cracking, or an uneven substrate due to deeper slab issues
Prep the apartment subfloor (remove + clean)
Before leveling, you need a surface that’s solid, clean, and bonded—otherwise the leveling layer can release, crack, or float. Prep is what makes the difference between “it looks level” and “it stays stable after installation.”
– Remove anything that prevents bonding/flatness: baseboards (if needed), tack strips/carpet glue, loose paint, drywall ridges, and any protrusions.
– Scrape, grind, and vacuum thoroughly so patch/leveling materials can bond properly; wipe off dust residue right before you start leveling.
– Secure squeaks and loose areas (nails/screws where appropriate) and ensure the surface doesn’t flex—vinyl will telegraph movement.
Remove obstructions that create ridges
In apartments, the “worst bumps” often come from leftovers: old adhesive beads, carpet tack strip nails, caulk ridges, drywall overspray, or paint ridges along transitions. Even if your straightedge shows the subfloor is “almost” flat, these protrusions can create point-high areas that telegraph through LVP/LVT.
If you’re working around existing baseboards, removing them is sometimes necessary to get proper expansion spacing and to allow leveling materials to blend without creating a feathered edge you can’t cover.
Leveling products adhere best when the surface is mechanically prepared—scraped or ground—and vacuumed free of dust right before application.
Clean like you mean it (dust destroys bond strength)
Dust is not “good enough” for leveling. Grinding and scraping create fine particles that can interfere with bond. The safe workflow is:
1. Mechanically abrade where needed (scrape/grind protrusions).
2. Vacuum thoroughly (including corners and along edges).
3. Wipe with a method approved for the leveling product (some allow damp wiping; many require dust-free surfaces only).
4. Level immediately so contamination doesn’t return.
If you delay, dust re-deposits quickly in typical apartment environments (especially with HVAC running).
Patch/feather compounds and self-leveling underlayments typically require the substrate to be clean and sound to achieve the bond needed for a durable, smooth floor.
Lock down movement before you smooth
Vinyl—particularly click-lock systems—will transmit movement you let remain in the subfloor. Before leveling:
– Re-seat loose fasteners (use screws where appropriate for plywood)
– Address squeaks caused by board movement
– Confirm the substrate doesn’t bounce under pressure
Pick the right leveling method (patch vs underlayment vs subfloor fixes)
The best leveling method depends on the shape of the problem. The goal isn’t “make it flat-looking”—it’s to correct the deviations using a system your vinyl manufacturer and your leveling product both approve.
– Small low areas: use a patch/feather-finish approach to build up only where needed (focus on blending edges to avoid ridges).
– Widespread dips: use a self-leveling underlayment (SLU) only when your vinyl system allows it and you can follow the primer + thickness rules.
– If the subfloor has structural issues (rotted wood, major height changes, missing support), consider plywood/sistering/shimming instead of relying on compound.
Patch vs SLU vs structural fixes—how to choose quickly
If your “waves” are localized, feather-finished patching is usually cleaner and easier to control. If the deviation is widespread across the room, a self-leveling underlayment (SLU) may be the better path—but only if your vinyl instructions allow it and you can meet primer, thickness, and cure requirements.
| Method | What it fixes best | Typical material behavior | Main risk if misused |
|---|---|---|---|
| Patch / feather-finish | Small dips and localized low spots | Builds up gradually; blends edges | Visible ridges if you don’t feather/cure between passes |
| Self-leveling underlayment (SLU) | Large-area waviness and broad unevenness | Flows to level, then sets | Pinholes/weakness without required primer; cracking if over-thick |
| Subfloor repair (plywood/sistering/shimming) | Structural movement, rot, missing support | Restores stiffness and height stability | “Leveling on a moving base” leading to telegraphing |
SLU only works as intended when the substrate prep and primer steps match the SLU technical sheet; missing primer can lead to poor surface strength and pinhole failures.
Comparison lens: what apartments usually need
In apartment settings, your most common scenario is a concrete slab with mild waves or plywood with minor dips from age and movement. That usually points toward:
– Feather-finish patching for spots and seams
– SLU for room-wide waviness (after moisture verification)
– Structural repair for any substrate that flexes or shows deterioration
How to level: patch vs self-leveling, step-by-step
Leveling is mostly process discipline: remove highs, build lows with the right thickness, and confirm results after curing. If you rush curing or skip the post-level flatness check, vinyl will often reveal every mistake.
– For patch/feather-finish: grind or remove high spots first, apply thin layers as directed, feather edges smoothly, and let each layer cure before checking flatness again.
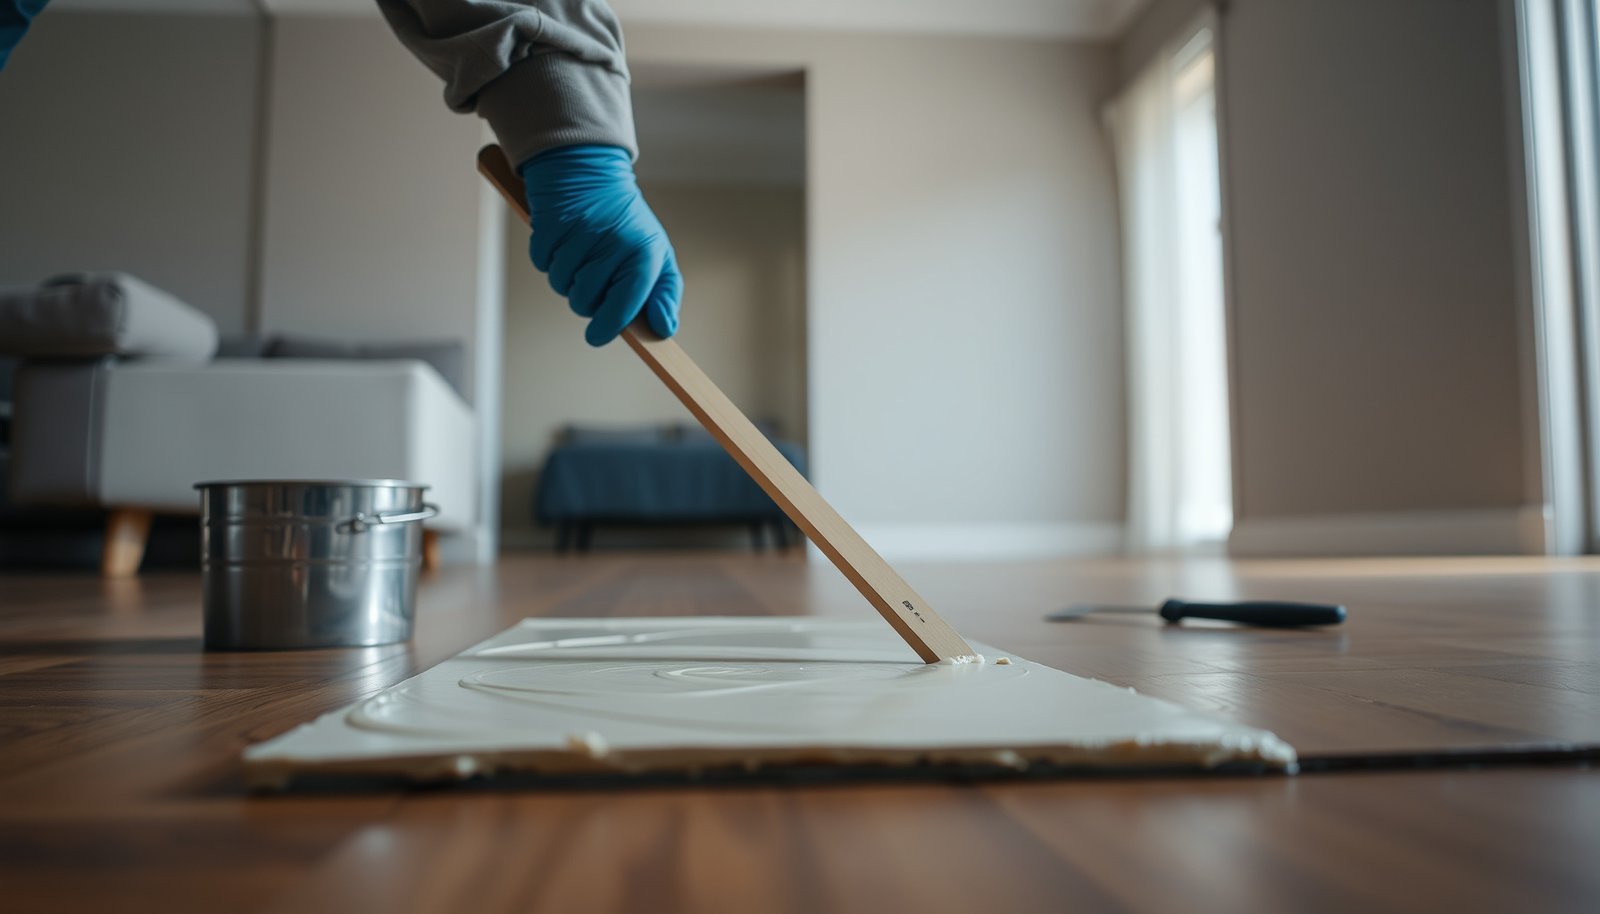
– For self-leveling underlayment (SLU): confirm the required primer (many systems require one), mix precisely per the SLU bag instructions, pour within the working time, and spread with the right tools.
– Before vinyl goes down: re-check flatness after curing, then follow the vinyl’s acclimation requirements and install only on a properly cured, cleaned surface (don’t trap uncured leveling compound under the planks).
Step-by-step: patch / feather-finish (best for mild, localized dips)
1. Grind high spots: Use an appropriate grinder/abrasive to remove ridges rather than “compensating” with more compound.
2. Blend edges: When you fill a low spot, feather the perimeter. The goal is no “cliff” edges that show under LVP.
3. Apply in thin layers: Follow the technical sheet. Thin passes reduce shrinkage and reduce the chance of a soft surface.
4. Let each layer cure: Re-check flatness after curing, not after partial set.
5. Vacuum dust between passes: Inter-layer adhesion matters.
Feather-finish leveling relies on cured, properly blended edges—otherwise the filled areas can create ridges that telegraph through LVP/LVT.
Step-by-step: self-leveling underlayment (SLU) for room-wide waves
1. Confirm allowance: Check that your vinyl installation instructions approve the use of an underlayment/SLU over that substrate type.
2. Prime if required: Many SLU products require primer for consistent set and adhesion; verify the primer type and spread rate in the SLU data sheet.
3. Mix precisely: Measure water carefully and mix to the specified consistency. Incorrect ratios change cure and surface quality.
4. Pour within working time: SLU begins to set according to time and temperature; plan helpers and tools before opening bags.
5. Spread and manage thickness: Use the recommended tools to spread, remove bubbles, and maintain the required depth profile.
6. Cure fully: Don’t install vinyl on “still-green” underlayment. Even if it looks dry, residual moisture or softness can compromise the finish.
SLU performance depends on following primer, mixing, and thickness limits from the product’s technical data sheet, because those controls directly affect strength and surface integrity.
Before vinyl goes down: re-check, then install
After the leveling compound/SLU cures, repeat your straightedge check. Then:
– Vacuum and remove dust
– Confirm the surface is ready for your vinyl system
– Follow acclimation requirements (time in the apartment climate) as described by your vinyl manufacturer
Avoid trapping uncured leveling material under planks, especially with glue-down systems where adhesion quality depends on the substrate surface being stable.
What can go wrong (common mistakes in apartments)
Most failures come from skipping a spec step: moisture validation, primer compliance, or full cure. In apartments, the other major issue is working around tight timing, management rules, and shared HVAC conditions.
– Ignoring flatness specs: even “small” bumps can cause joint separation, gaps, or clicking-lock stress.
– Skipping primer (if SLU requires it): pinholes, weak coverage, or uneven surface can show up later.
– Too-thick or uneven leveling: applying beyond the product’s max thickness/feather capability can crack or remain soft.
– Moisture surprises: installing over a damp slab/subfloor can lead to failures after the fact (warping, lifting, or adhesive breakdown in glue-down systems).
– Working too fast: walking on or installing over material that hasn’t cured fully can leave dents or a rough surface that transfers through vinyl.
The “looks fine” trap
A floor can look level to the eye and still be out of spec. Straightedge measurement matters because resilient flooring—especially locking systems—responds to localized high points through seam stress. If you see clicking at joints after install, it often traces back to subfloor deviations.
Small deviations can create seam stress in floating resilient floors, which is why manufacturers publish specific flatness tolerances for LVP/LVT installations.
Moisture-related failures are often delayed
Moisture problems can appear weeks or months later:
– Glue-down adhesives can lose bond where moisture conditions exceed limits
– Click-lock floors can show lifting at edges if the substrate cycle changes dimensions
That’s why moisture testing should happen before leveling, not after you’ve already installed costly planks.
ASTM F2170 and ASTM F1869 provide standardized approaches for assessing concrete moisture risk so resilient flooring installs can be evaluated against product-specific limits. ASTM F2170; ASTM F1869
Verdict / tip
If your apartment subfloor is only mildly uneven and you can meet the moisture + flatness requirements from your specific vinyl installation guide, leveling is usually worth it—because it prevents problems that are expensive to fix after vinyl is installed. The downside: SLU and patching can be messy, require careful mixing, and you’ll need patience for curing; if you can’t test moisture or the subfloor is structurally failing, skip the “leveling compound first” approach and prioritize subfloor repair.
Quick leveling checklist (save this)
| Step | What to do | Quick check |
|---|---|---|
| 1 | Measure flatness with a long straightedge | Mark highs + lows |
| 2 | Test moisture per flooring guidance | Confirm within limits |
| 3 | Remove debris/adhesive ridges | Surface is clean + solid |
| 4 | Choose patch vs SLU vs subfloor fix | Tool matches problem size |
| 5 | Apply leveling per manufacturer instructions | Within max thickness/feather rules |
| 6 | Let it cure fully, then re-check flatness | Ready for vinyl install |
Sources
– ASTM E1155 (floor flatness measurement; use the revision year that matches your documentation)
– ASTM F2170 (in-situ RH testing for concrete moisture; use the revision year that matches your documentation)
– ASTM F1869 (MVER moisture testing for concrete; use the revision year that matches your documentation)
– installation instructions (flatness tolerances, moisture limits, and approved leveling/underlayment methods)
– technical data sheet (primer requirements, max thickness, working time, and cure times)
– technical data sheet (substrate prep and application requirements)
Leveling vinyl floors in an apartment is achievable when you treat it like a spec-driven workflow: measure flatness, verify moisture with the correct test method, prep thoroughly, choose a compatible leveling method, and confirm results after full cure. If you share your subfloor type (concrete vs plywood) and your vinyl type (click-lock vs glue-down), I can help you map the safest leveling approach to the requirements in your specific installation guide.
Frequently Asked Questions
What’s the best way to level vinyl floors before installing in an apartment?
Start by cleaning the subfloor thoroughly and removing any old adhesive, paint, or debris so the leveling compound can bond correctly. Check for high and low spots with a straightedge and mark them before mixing a patching or self-leveling compound. Use a floor leveling system suited to your subfloor type (concrete, plywood, or existing flooring), and let it cure fully before installing vinyl plank or sheet flooring.
How do I check if my apartment subfloor needs leveling for vinyl?
Use a 6–10 ft straightedge (or laser level) to identify dips, humps, and uneven areas that can telegraph through vinyl. Measure the floor slope and variance—many vinyl manufacturers recommend keeping the subfloor within a small tolerance (often around 1/8 in. over 6 ft, but confirm your specific product). Also check for soft spots, squeaks, or moisture issues, since leveling won’t fix structural problems.
Why is leveling important when installing vinyl flooring in a rental apartment?
Vinyl is flexible, but it still needs a reasonably flat subfloor to prevent gaps, buckling, and premature wear. Uneven floors can cause clicking-lock vinyl to separate at seams or lead to cracks in rigid vinyl. Leveling also improves comfort and reduces noise, which matters in apartment living where floors are closely monitored.
Which leveling product should I use for vinyl flooring—self-leveler or floor patch?
Choose a self-leveling compound for larger, flatter areas with widespread low spots because it flows to create a uniform surface. Use a cement-based patch or feather-finish compound for smaller divots, edges, and localized uneven sections where precision smoothing is needed. If you’re working over wood subfloors, verify the product is rated for plywood and follow manufacturer guidance to avoid moisture damage or weak bonds.
How can I level an apartment floor without damaging the space or increasing height too much?
Plan around transitions and door clearances by measuring the floor flatness first, then only apply compound where needed rather than doing full-area pours. Feather-edge patching can help keep build-up minimal in tight areas like entries or under door jambs. Use moisture testing where applicable, apply in thin layers to meet curing requirements, and protect surrounding surfaces to prevent tracking debris during prep—important in an occupied apartment.
📅 Last Updated: October 26, 2026 | Topic: How to level a vinyl floors before installing apartment? | Content verified for accuracy and freshness.
References
- Floor
- Underlayment
- https://scholar.google.com/scholar?q=vinyl+floor+leveling+subfloor+flatness+underlayment Google Scholar
- https://scholar.google.com/scholar?q=ASTM+F710+floor+preparation+resilient+flooring+leveling Google Scholar
- https://scholar.google.com/scholar?q=ASTM+E1155+floor+flatness+levelness+numbers+self-leveling+compound+resilient+flooring Google Scholar