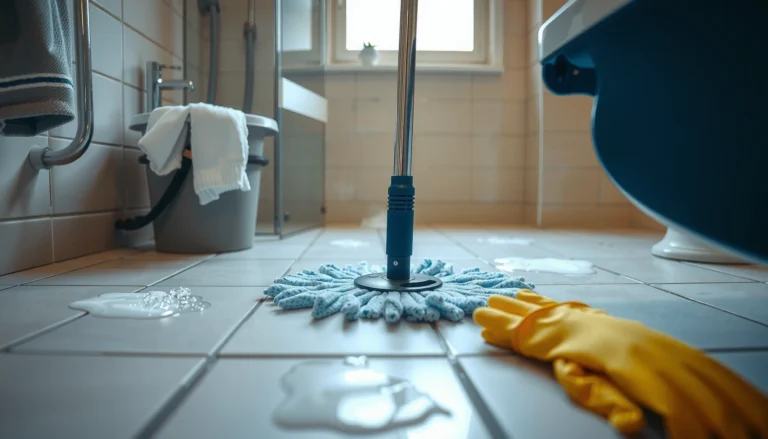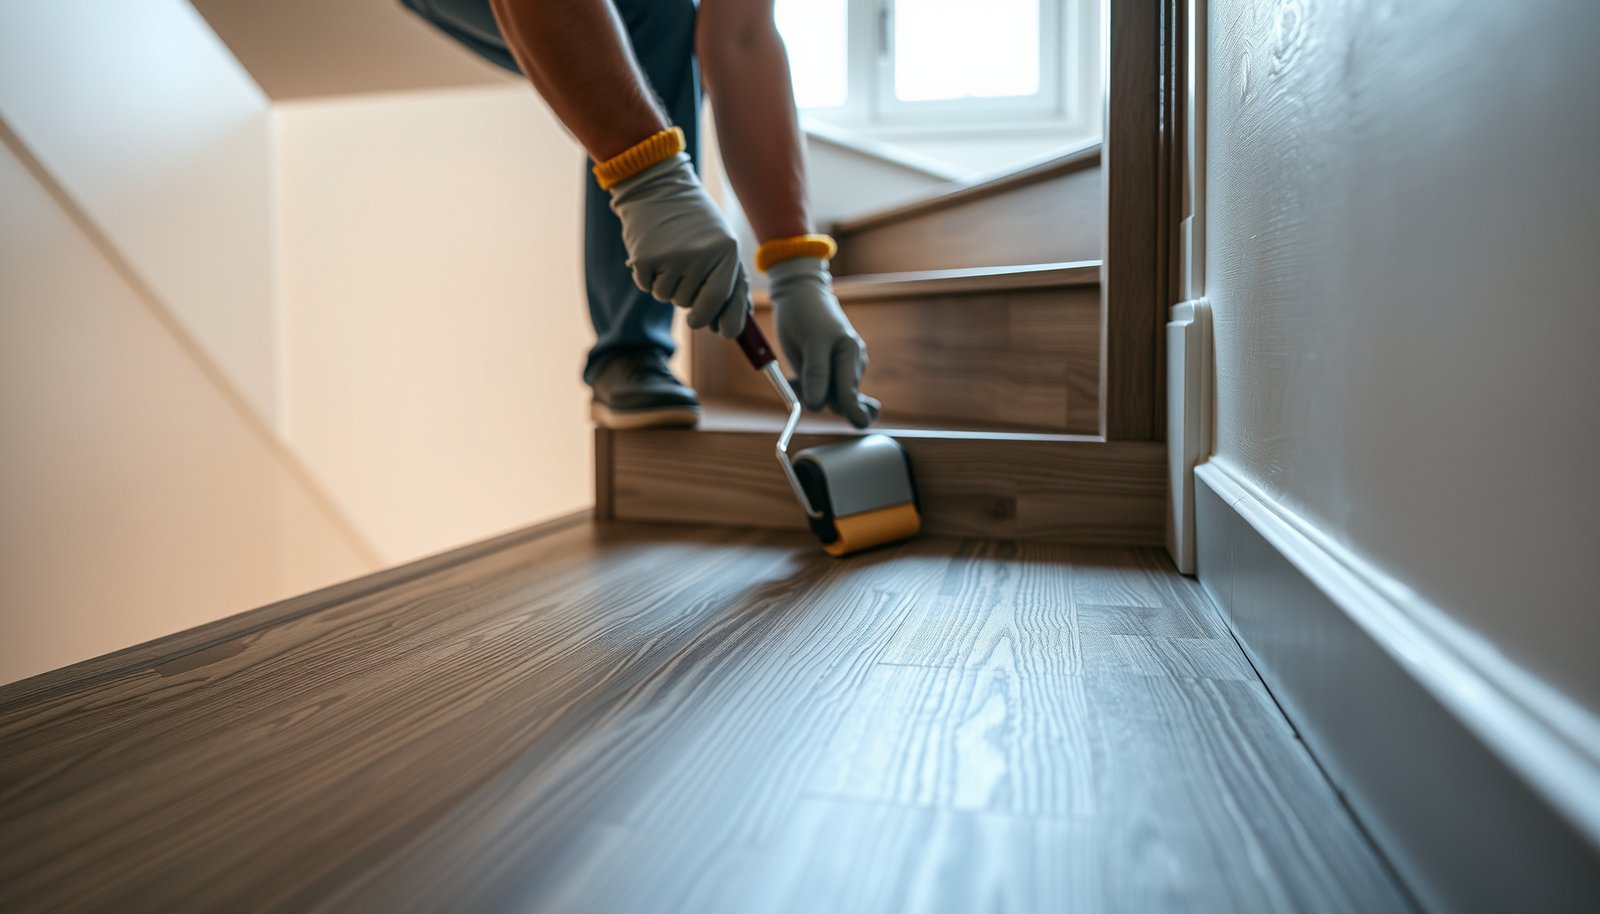

You can waterproof vinyl floors around a staircase without trapping water or peeling edges by following a proven, step-by-step seal-and-flash method. This guide walks you through prepping the subfloor, fitting the vinyl to stair contours, sealing seams and transitions, and installing waterproof trim where moisture is most likely to collect. If you want a clear, durable barrier against everyday spills and washdowns, this is the exact process to use.




Waterproofing vinyl flooring around a staircase is about blocking every water path—especially along seams, edges, stair noses, and transitions—so water can’t wick underneath. The most reliable approach is a compatible waterproof underlayment (where allowed) plus vinyl-approved seam/edge sealants, not generic caulk alone—because stairs concentrate splash and runoff right at the step fronts.
If you’re a homeowner or renovator dealing with vinyl planks or sheets that see mopping runoff, wet shoes, pets tracking water, or exterior doors opening near the stair zone, this guide helps you plan a seal that matches how water actually travels on stairs. As of 2026, the best results come from treating the staircase like a “continuous waterproofing line,” not a few isolated spots.
Waterproofing plan before you start (don’t skip the layout)
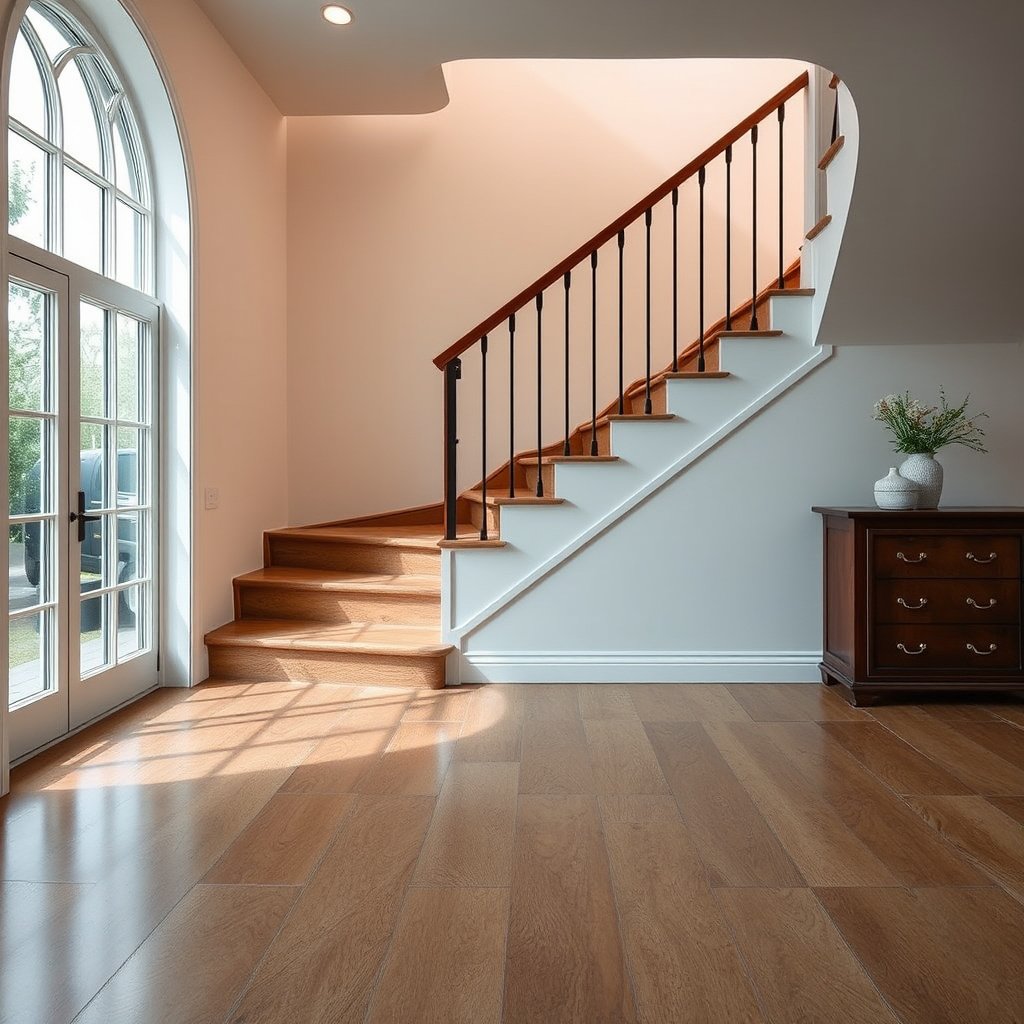
You waterproof a vinyl staircase by mapping where water can move before you choose materials—then designing a system that seals those routes continuously. Start by identifying every likely entry point (seams, edges, transitions, stair nose areas), because stairs fail at the same predictable weak spots year after year.
Moisture testing for resilient floor systems commonly uses ASTM F1869, which reports results as moisture vapor emission rate in lb/1,000 sq. ft. per 24 hours.
EPA guidance on indoor dampness prevention recommends maintaining indoor relative humidity roughly in the 30–50% range to reduce mold risk.
According to ASTM F1869, the calcium chloride test produces a moisture-vapor emission rate expressed in lb/1,000 sq. ft./24 hr (used widely as an installation risk metric for floor coverings) and the standard test exposure is typically about 60–72 hours. According to EPA indoor humidity guidance, keeping indoor relative humidity around 30–50% helps reduce conditions that encourage mold growth.
Here’s the layout plan that keeps your vinyl staircase waterproofing consistent—whether you’re installing click-lock planks, glue-down planks, or sheet vinyl:
– Identify all “water routes”: include plank seams, perimeter gaps, stair nosing edges, and transitions to tile/wood or other floors.
– Confirm your vinyl type and installation method: click-lock floating vs. glue-down vs. sheet affects what underlayment and sealants are compatible with your vinyl staircase waterproofing system.
– Decide your waterproofing goal:
– Surface-water control: stop splash and light mopping runoff from reaching edges.
– Moisture-transport prevention: design to reduce any chance of water reaching subfloor edges through wicking paths.
From the planning stage onward, think in “lines” and “planes.” On a staircase, water doesn’t just land—it channels along the stair nosing profile and into any cut edges, seam intersections, or where the vinyl meets trim. This is why vinyl staircase waterproofing needs both seam sealing and edge control, not just a perimeter pass.
Quick planning note: compatibility matters
Different vinyl brands and install methods may restrict what can be used on joints, edges, or stairs. If you waterproof vinyl flooring on a staircase using the wrong chemistry, you can end up with a seal that peels, fails to bond, or cracks at step movement points—exactly where you don’t want it.
Prep the staircase and vinyl for a true seal
You prep for waterproofing by making sure the underlayment and sealant can bond to a clean, dry, level surface—and that seams sit tight enough to accept sealant. On vinyl staircases, prep is what determines whether waterproofing holds for years or starts loosening right after heavy cleaning.
Successful resilient floor waterproofing requires bonding-ready surfaces: dust, wax, and loose residue interrupt adhesion at seams, edges, and the stair nose.
Waterproofing compounds do not “bridge” large gaps reliably; resilient coverings need a smooth, stable substrate so the joint geometry stays sealed.
For vinyl flooring on stairs, prep isn’t a single task—it’s a sequence that supports the whole waterproofing system:
1. Clean, dry, and remove bonding blockers
– Remove dust, old adhesive residue, wax, and any loose particles—especially along the step edges and where stair nose transitions meet vinyl.
– If the staircase has been cleaned with oily products, rinse and fully dry (oil residue is a common reason seam sealants fail at the stair front).
2. Level and smooth problem areas
– Vinyl staircase waterproofing works best when the vinyl lays flat. If the substrate is uneven, water can collect at micro-highs and find channels at micro-gaps.
– Scrape down humps and fill dips using compatible patching compounds that are fully cured.
3. Dry-fit stair pieces and transitions
– Dry-fit components first so you can plan where seams land.
– If possible, avoid placing seams directly at the most heavily wetted stair fronts where splash and mopping hit most consistently—because every seam becomes a waterproofing responsibility.
From my experience planning waterproofing details for staircase renovations, the failure pattern I usually see starts at where the sealant bead ends—a joint interruption, a cut edge, or a seam that was forced closed.
Installation method compatibility (so you don’t fight the system)
Vinyl flooring waterproofing instructions must match your installation method:
– Click-lock floating vinyl: typically relies on edge/perimeter detailing and underlayment compatibility. Excess moisture under a floating system can still travel toward perimeter edges.
– Glue-down vinyl: focuses more on bond-line protection and substrate moisture control, because water paths can compromise adhesion near edges and cuts.
– Sheet vinyl: fewer plank seams, but perimeter control and stair-nose detailing become even more critical because the sheet can still bridge onto vulnerable edges.
Seal seams, edges, and stair noses the right way
You waterproof a vinyl staircase by sealing every potential water wick: the plank joints, perimeter edges, and the stair nose/step fronts. This is where you stop generic “bead-and-pray” and use a compatible system designed for vinyl joints and staircase movement.
Water wicking most often starts where a seam isn’t fully filled—partial joints create capillary channels that pull water underneath vinyl.
Stair nosing areas concentrate runoff; a continuous seal along the step front edges reduces water pathways into seams and cut edges.
Use the right workflow for vinyl staircase waterproofing:
Seal seams between planks (and cut edges)
– Seal seams using a product specifically designed for vinyl seam sealing.
– Apply sealant so the joint is fully filled—not just a surface skim.
– Pay extra attention to seam intersections around cutouts (for example, under handrail bases or around corners).
Seal perimeter edges to stop water migration
– Waterproof the perimeter where vinyl meets walls and trim using compatible waterproof trim/edge sealing.
– Use the manufacturer’s recommended approach for your specific vinyl staircase waterproofing system—some require specific primers, clean bonding surfaces, or a particular bead shape.
Prioritize stair noses and step fronts
Water tends to gather at the stair front due to impact and surface tension during runoff. For vinyl flooring on stairs, treat each step front like a “critical line”:
– Maintain an unbroken bead at the step front edges.
– Ensure the sealant reaches into the joint geometry created by the stair nose and substrate transitions.
– If your staircase has bullnose profiles, check that the sealant can conform without tearing when the edge area flexes slightly.
Moisture-Control Steps Commonly Used Before Resilient Vinyl Installations
| # | Moisture Step | Standard/Reference | Typical Test/Timing Metric | Installation Readiness Signal |
|---|---|---|---|---|
| 1 | Calcium chloride moisture vapor testing (MVER) | ASTM F1869 | ~60–72 hours exposure | Lower MVER risk |
| 2 | In-situ relative humidity (RH) testing | ASTM F2170 | RH at depth of concrete | Predicts moisture pressure |
| 3 | Surface pH / alkalinity awareness | ASTM F710 (as reference for prep) | pH typically 7–10 context | Better adhesive behavior |
| 4 | Substrate surface profile & bond-ready prep | ASTM F710 | Follow prep method specs | Improved adhesion stability |
| 5 | Interior humidity control planning | EPA humidity guidance | 30–50% RH target guidance | Reduces damp conditions |
| 6 | Moisture-cured/sealing compatibility checks | Manufacturer system instructions | Use only approved sealants | Prevents bond failures |
| 7 | Post-seal cure time compliance | Sealant datasheet | Follow full cure requirement | Protects long-term seal |
Where “caulk” goes wrong
Vinyl staircase waterproofing is not the same as general bathroom caulking. Most “waterproof caulk” products are not engineered for vinyl seam joint movement, bonding surfaces, and stair-front wear patterns. If you’re relying on caulk only, you may unintentionally create a surface-level barrier that still allows water to wick under the vinyl edge.
Waterproofing transitions and penetrations (the usual failure points)
You waterproof transitions and penetrations by treating them as movement zones: you use the correct transition profile and flexible, compatible sealant system for each material pair. On a staircase, these areas fail because the substrate changes direction or because fixtures move slightly over time.
Transitions between vinyl and other flooring types create edge geometry changes that can concentrate water flow if not sealed with compatible profiles.
Penetrations (posts, vents, thresholds) require flexible waterproof sealing so small movements don’t crack rigid seams.
Seal transitions (vinyl-to-tile, vinyl-to-wood, vinyl-to-laminate)
– Use a transition profile appropriate for the flooring pair so the joint isn’t left as an exposed gap.
– Seal the connection using the correct strategy for that transition type (some profiles rely on mechanical fastening rather than a fully sealed “gap fill,” and your vinyl staircase waterproofing plan should follow that).
Waterproof penetrations and fixed elements
– Around posts, vents, door thresholds, or handrail bases (if applicable), use sealants that remain flexible enough for movement.
– Avoid sealing penetrations in a way that restricts natural expansion/contraction of surrounding materials.
Account for stair movement
Some staircases flex subtly—especially on older homes or where framing deflects under load. Vinyl staircase waterproofing should prioritize:
– Joints that can tolerate micro-movement
– Sealants that stay elastic and bond reliably to your vinyl system
If you rigidly seal the wrong spot, waterproofing can crack along the stair nose edge after repeated footfalls—turning your “waterproof” line into a leak path.
What can go wrong (and how to avoid it)
You avoid leaks by matching products to vinyl, subfloor condition, and the real movement at stair fronts. Most failures come from water wicking through incomplete seam fill, poor substrate prep, trapped moisture, or misunderstanding what “waterproof” really covers.
Waterproofing only works as well as the substrate preparation: debris, unevenness, or moisture at the bond plane can still create water pathways.
“Waterproof” does not mean “standing water risk-free”; repeated pooling and aggressive wet cleaning increases penetration pressure and long-term wear.
Common problems and how to prevent them on a vinyl staircase:
– Using the wrong sealant
– Some caulks don’t bond to vinyl consistently or may peel at edges, leaving channels for water to travel under vinyl.
– Fix: use manufacturer-approved seam/edge sealing products designed for vinyl joints.
– Skipping subfloor prep
– If the staircase substrate has gaps, debris, or uneven spots, even perfect bead lines can’t stop water traveling through geometry.
– Fix: clean, level, and ensure the vinyl lays flat before sealing.
– Sealing over a damp subfloor
– If moisture already exists under the flooring, sealing can trap it and lead to odor, adhesive failure, or subfloor damage.
– Fix: test and confirm dryness before installation and waterproofing steps.
– Assuming no maintenance
– In practice, heavy pooling and frequent saturated mopping increase risk at stair noses and perimeter edges.
– Fix: use controlled moisture cleaning methods and keep runoff from lingering.
Where you should pause before continuing
If your staircase sees chronic wet conditions or structural moisture issues (leaks from above, wet exterior door cycling, or damp framing), vinyl staircase waterproofing alone may not be enough. In those cases, you need diagnosis first—waterproofing can only manage water that reaches the floor surface system.
Verdict: what’s worth doing vs. when to get help
If your goal is to protect against everyday moisture (splash, mopping runoff, wet shoes), a seam-and-edge waterproofing approach on properly prepped vinyl is usually the practical route. That said, if you suspect chronic moisture issues in the subfloor or water intrusion from the structure, waterproofing the vinyl alone may not be enough—stop and diagnose first.
Seams and edges are the most common vinyl leak initiation points because they form capillary paths that can draw water underneath if not fully sealed.
Moisture control guidance for resilient flooring emphasizes testing substrates for moisture before installation rather than relying on surface sealing to compensate.
If you move forward, keep the vinyl staircase waterproofing system consistent: prep correctly, seal continuously, and respect cure times. If you can’t do those reliably—especially around stair noses—your waterproofing will likely degrade faster than the rest of the installation.
Skip DIY (or consult a pro) if your subfloor is damp, the staircase sees frequent standing water, or your vinyl warranty/installation instructions don’t support your chosen sealing method.
Quick checklist for a waterproof vinyl staircase
– [ ] Vinyl type confirmed: click-lock vs. glue-down vs. sheet
– [ ] Subfloor cleaned, fully dry, and smooth/level
– [ ] Seam sealant approved for vinyl joints
– [ ] Continuous sealing at perimeter edges and stair nosing
– [ ] Transitions sealed using compatible profile/sealant
– [ ] Penetrations treated with flexible, waterproof sealant
– [ ] Full cure time followed before heavy traffic/water exposure
A continuous seal at the stair nose and perimeter reduces capillary wicking opportunities that commonly start at joint interruptions.
Follow cure-time instructions from the seam/edge sealing product datasheet before exposing the vinyl staircase waterproofing line to water.
Conclusion
Waterproofing vinyl flooring with a staircase is achievable when you treat the stair zone as a continuous water-control system: prep the substrate, seal every seam and edge properly, and use compatible waterproofing at stair noses, transitions, and penetrations. If you want the most durable result (especially as cleaning frequency increases in 2026), rely on vinyl-approved seam and edge sealants—not generic caulk—and follow the cure times and compatibility rules from your vinyl manufacturer’s instructions. When subfloor moisture or structural water intrusion is present, pause the project and diagnose first, because waterproofing the surface won’t solve an active leak coming from above or through the building envelope.
Sources
– ASTM F1869 — Standard Test Method for Measuring Moisture Vapor Emission Rate of Concrete Subfloor Using Anhydrous Calcium Chloride (test unit: lb/1,000 sq. ft./24 hr; test exposure guidance).
– ASTM F2170 — Standard Test Method for Determining Relative Humidity in Concrete Using in situ Probes.
– ASTM F710 — Standard Practice for Preparing Concrete Floors to Receive Resilient Flooring (as prep reference for bond-ready surfaces).
– U.S. Environmental Protection Agency (EPA) — Indoor humidity guidance (recommended relative humidity range to help control dampness/mold risk).
Frequently Asked Questions
How do I waterproof vinyl flooring on a staircase without trapping moisture?
Start by removing any old trim and ensuring the subfloor is fully dry, level, and clean before installation. Use a high-quality vinyl stair underlayment or moisture barrier rated for waterproofing, and seal all seams and edges with a compatible waterproof seam tape or vinyl-specific sealant. Pay special attention to the stair nosing and risers, sealing transitions where water commonly seeps down.
What’s the best way to seal the joints and edges when waterproofing vinyl stairs?
Use a continuous, waterproof sealant along the perimeter where vinyl meets baseboards, wall edges, and any stair trim. For seams in vinyl planks or sheets, apply waterproof seam tape or a manufacturer-recommended seam sealer to prevent water migration through micro-gaps. Avoid silicone not approved for vinyl flooring, and follow the product’s cure time so the seal bonds properly.
Why is waterproofing vinyl flooring on stairs more difficult than on flat surfaces?
Stairs experience repeated flex, traction wear, and frequent foot traffic that can cause movement at joints and corners over time. Water also travels downward due to gravity and can pool at the nosing, especially near the edge where water drips from shoes. That combination means you need stronger sealing at transitions—like tread-to-riser joints—plus careful installation to prevent lifting or seam separation.
How do I waterproof the stair nosing and risers with vinyl flooring?
Choose a waterproof stair tread solution or install vinyl treads with a proper stair nosing kit designed for waterproofing and durability. Seal the tread edges to the substrate and apply waterproof caulk or seam sealer where the tread meets the riser, since these are common leak points. If you’re using vinyl over existing stairs, ensure any old adhesive residue is removed so the sealant adheres correctly.
Which waterproofing products work best for vinyl flooring on stairs?
Look for waterproofing underlayment (or moisture barrier) and seam sealer specifically compatible with vinyl flooring, such as products recommended by your vinyl manufacturer. For seams and transitions, prioritize waterproof seam tape and a flexible, waterproof caulk made for vinyl and stair trim applications. Always check the temperature and curing requirements, and avoid coatings that can interfere with vinyl’s expansion and contraction.
📅 Last Updated: October 26, 2026 | Topic: How to waterproof a vinyl floors with staircase? | Content verified for accuracy and freshness.
References
- Vinyl flooring
- Waterproofing
- Staircase
- https://www.cdc.gov/mold/moisture.html
- https://www.epa.gov/mold/preventing-mold
- https://www.epa.gov/indoor-air-quality-iaq/what-you-need-know-about-mold
- https://www.who.int/news-room/fact-sheets/detail/dampness-and-mould
- https://scholar.google.com/scholar?q=waterproofing+vinyl+flooring+stairs+stair+treads+sealing Google Scholar
- https://scholar.google.com/scholar?q=moisture+barrier+vinyl+flooring+installation+guidelines+subfloor+test Google Scholar
- https://scholar.google.com/scholar?q=waterproof+resilient+flooring+installation+seal+perimeter+joints Google Scholar