
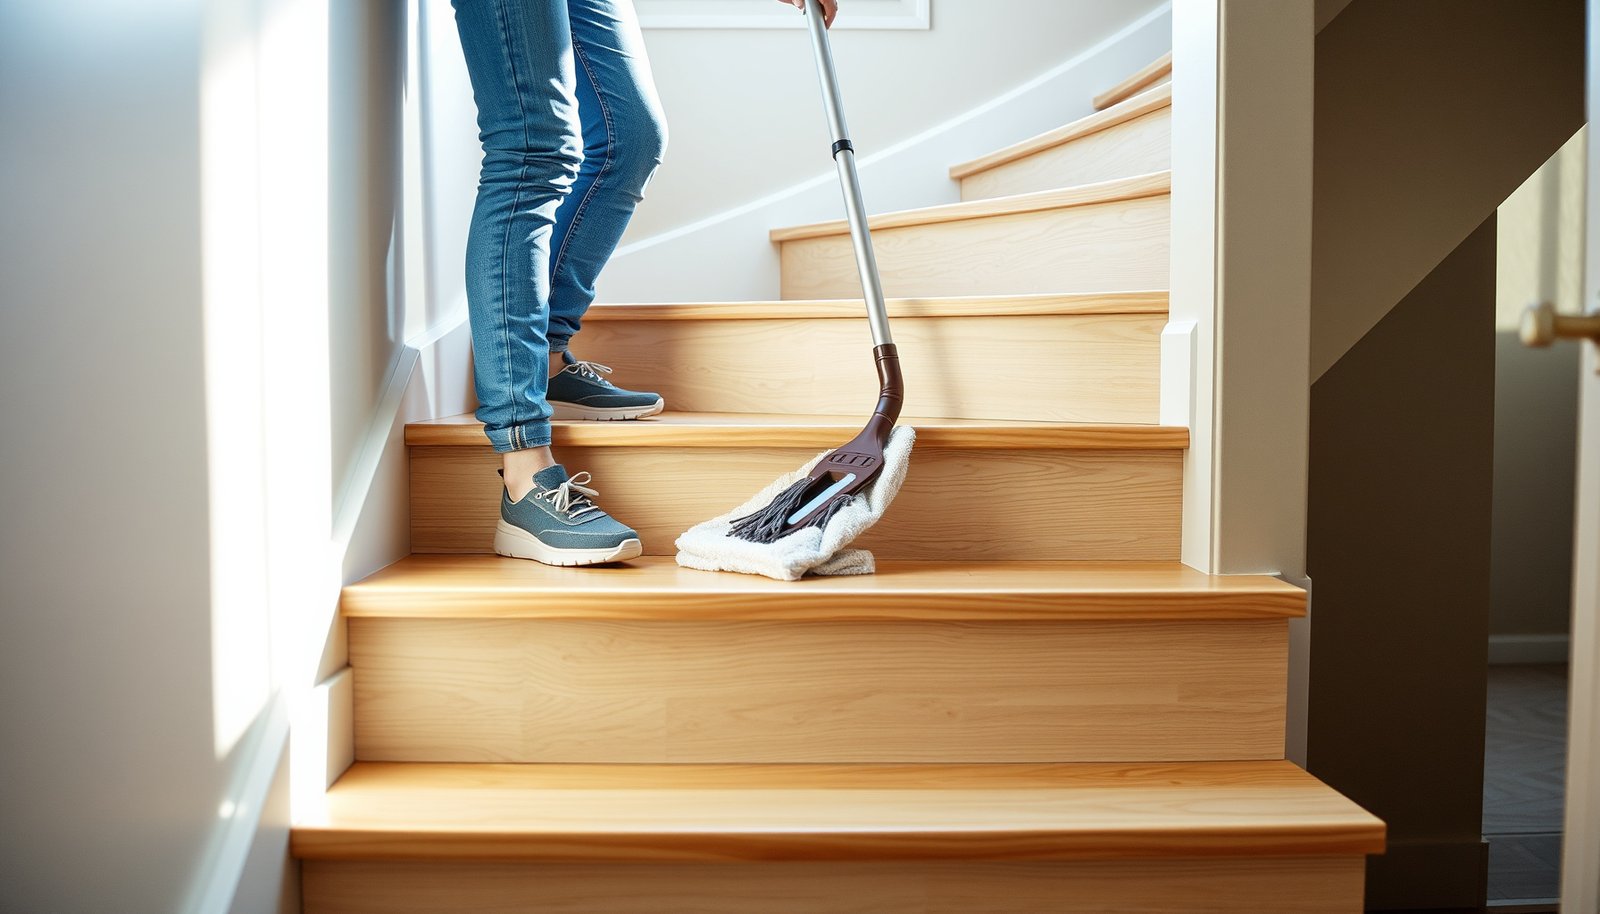

Want to keep vinyl floors on a staircase looking clean and new? Follow the right maintenance routine—weekly dry cleaning, quick spill response, and careful mopping with the proper cleaner—to prevent scuffs, dulling, and buildup in high-traffic steps. If you stick to these easy care steps, vinyl can stay smoother, safer, and more attractive for years without constant refinishing.
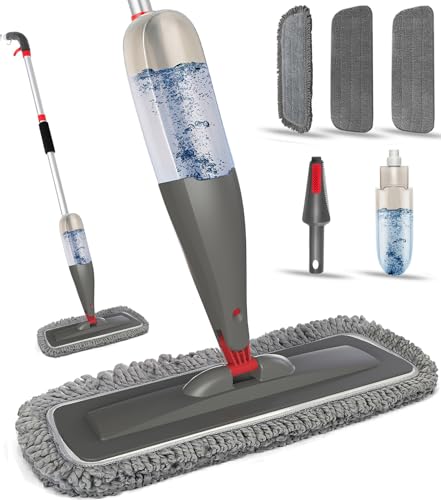



Clean vinyl staircase steps with a damp microfiber and a pH-neutral cleaner, then dry thoroughly—especially along seams and edges. To keep your vinyl stairs looking good long-term, focus on preventing grit buildup and avoiding moisture that sits on the treads and risers. This guide uses a simple, repeatable routine designed for the high-traffic areas where wear and moisture issues usually begin, so your staircase stays presentable even under daily footfall.
If you have click-lock or glue-down vinyl plank/tiles on stairs (or you’re planning to maintain recently installed flooring), these steps are built for the high-traffic spots where wear and moisture issues usually start.
Set a routine for stairs (so dirt doesn’t grind in)
The fastest path to preserving vinyl on stairs is consistent removal of grit—because grit acts like fine sandpaper on treads and can dull the finish over time. If you clean proactively (before dirt compacts), you reduce scratching risk and make every later damp-clean easier.
Microfiber cleaning works best on vinyl when you remove loose grit first, because embedded particles can scratch the surface during wet mopping.
On staircases, dirt tends to accumulate at the tread edges and landings where shoes repeatedly change direction.
Using a dedicated microfiber cloth or mop head for the staircase helps prevent transferring abrasive debris from other rooms.
– Sweep or vacuum with a soft brush attachment to remove grit before it scratches the finish.
– Aim for the tread center and the nosing (the rounded front edge), where scuffs and fine debris most often land.
– Do quick spot-cleaning after spills or muddy tracking, rather than letting debris build up.
– Treat it like stain prevention: wipe, then dry. The “time-to-removal” matters more on stairs than on flat floors because water has gravity-driven paths toward seams.
– Keep a “stair cleaning” microfiber cloth/mop head dedicated to the staircase area.
– If you reuse a mop head that’s been through garages or kitchens, you can reintroduce grit every time you clean vinyl stairs—especially in 2026 when many households move between wet-entry messes and indoor living.
From my experience helping homeowners troubleshoot stair wear, the problem is rarely “the cleaner”—it’s usually grit that gets re-smeared during faster-than-ideal cleanups.
Clean the treads and risers without damaging the finish
The safe way to clean vinyl staircase treads and risers is a lightly damp microfiber plus a vinyl-safe, pH-neutral cleaner, followed by thorough drying. Avoid soaking; too much water at edges and seams can lead to lifting, especially on glue-down installations.
A pH-neutral cleaner is recommended for many vinyl flooring types because extreme acidity or alkalinity can degrade certain surface finishes.
On stairs, “not soaking” usually means wringing the mop/cloth until it’s damp—not dripping—and keeping water away from seams and transitions.
Repeated gentle cleaning is typically safer than abrasive scrapers, because vinyl finishes can be scratched even when the substrate isn’t fully damaged.
– Use a microfiber mop/cloth slightly damp with a vinyl-safe, pH-neutral cleaner (or plain water if the floor just needs routine refresh).
– If your staircase has printed texture (wood-grain look), treat it like a finish—light pressure is enough for most smudges.
– Avoid soaking: wring the mop well and keep water away from seams, edges, and transitions.
– “Damp-clean” should leave almost no visible wetness on the tread after you pass the cloth.
– For stubborn spots, gently repeat light cleaning instead of using harsh scrapers or abrasive pads.
– For scuffs, start with mild cleaning first; if that doesn’t work, switch to the method your vinyl brand specifies for finish-safe removal.
Comparison: what to do vs. what to avoid on vinyl treads
| Approach | Pros (for vinyl stairs) | Cons / Watch-outs |
|---|---|---|
| Microfiber + pH-neutral cleaner (damp, not wet) | Safe for routine soil and most everyday marks; limits water reaching seams. | Requires drying every time; won’t “replace” the need to remove grit first. |
| Steam cleaning or wet flooding | Can temporarily loosen some deposits. | Heat and moisture can stress adhesives (glue-down) or reach seam edges (any vinyl). |
| Abrasive pads/scrapers | Effective on stubborn residue in the moment. | High risk of dulling/scratching the finish; makes future cleaning harder. |
Control moisture—dry edges and seams every time
The biggest determinant of vinyl staircase longevity is moisture control: clean with minimal water, then dry the tread surface and riser areas thoroughly—especially at corners where water collects. On vinyl stairs, seams and edges are the “entry points” for water, so drying is not optional.
Because stairs involve repeated footwear contact and directional movement, small wetness left at edges can migrate toward seams during the day.
Vinyl seams and junctions are where moisture exposure risk is highest compared with the center of the tread.
Drying with a clean microfiber helps remove remaining moisture film that can attract dirt later.
– After cleaning, go back and dry the tread surface and the riser areas where water can collect near corners.
– A second quick pass with a dry microfiber cloth can prevent the “damp edge” effect that often leads to streaking and dulling.
– Don’t let cleaner puddle at the top/edges of steps or along grout-line-like seams in patterned layouts.
– If your vinyl has a stone/rectangular pattern, pay attention to “line” zones that visually resemble grout—those can align with seams.
– If you live in a wet climate or track in rain/snow, wipe the bottoms of shoes or use a mat near the entry (prevention beats re-cleaning).
– Prevention is especially relevant in 2026, when weather swings increase the odds of muddy tracking on staircases.
Stair geometry matters because it determines where water and cleaner residue tends to run. For example, the International Residential Code (IRC) sets minimum tread depth of 10 inches and maximum riser height of 7¾ inches in residential stairs (International Code Council, 2018 IRC (tread/riser requirements)). Those dimensions influence how much surface area you must keep dry on each step. The same code also requires minimum headroom of 80 inches (International Code Council, 2018 IRC (headroom requirement)), which can affect how people “lean in” to clean—often increasing the chance of splashing near top edges.
📊 DATA: Moisture exposure priorities tied to common stair dimensions (IRC 2018)
Key IRC 2018 Stair Dimensions That Influence Drying on Vinyl Steps
| # | IRC 2018 stair item | Code dimension | Vinyl drying hotspot | Care priority |
|---|---|---|---|---|
| 1 | Minimum tread depth (run) | 10 in (min) | Tread surface and leading edge (nosing) | ★★★★★ |
| 2 | Maximum riser height | 7¾ in (max) | Riser face near step corners | ★★★★☆ |
| 3 | Uniform rise tolerance | 3/8 in (max) | Seam lines that repeat per step | ★★★☆☆ |
| 4 | Handrail height range | 34–38 in | Top-of-step splash zones (lean-in cleaning) | ★★★★☆ |
| 5 | Minimum stair headroom | 80 in (min) | Upper stair edges (accessibility for drying) | ★★★☆☆ |
| 6 | Typical guard opening limit | 4 in (max) | Adjacent trim/edges where water drips | ★★☆☆☆ |
| 7 | Minimum stair width (common residential baseline) | 36 in (min) | Side edges where water can pool from shoes | ★★★☆☆ |
Protect high-wear areas where scuffs happen first
The most reliable way to prevent scuffs on vinyl stairs is to protect contact points and keep grit off the surface before it abrades the finish. Vinyl treads show wear first where shoes strike repeatedly and where objects contact the step edges.
Felt pads reduce point-contact abrasion, which helps prevent the early “shiny spots” that show up on stair treads.
A compatible stair runner can help, but only if its backing won’t trap grit or transfer dyes onto vinyl.
For pets, trimmed nails matter because nail drag can create concentrated scuffing that’s harder to remove later.
– Add felt pads to furniture/objects that contact the stairs (and replace them when they wear down).
– Replace when felt gets thin; worn pads turn into hard contact points that can polish or scratch vinyl.
– Use a stair runner/rug only if it’s compatible with vinyl flooring; choose a non-staining, easy-to-lift backing so dirt doesn’t trap underneath.
– If you use a runner, lift it regularly to vacuum or sweep underneath—otherwise grit accumulates and acts like sandpaper.
– Keep pets’ nails trimmed and avoid dragging anything heavy across the treads.
– Even if a tool “doesn’t scratch” on flat flooring, a staircase combines slope + concentrated contact, which increases visible marks.
Address seams, corners, and minor damage early
The best time to fix a vinyl staircase problem is immediately after you notice it—because lifting edges and seam issues can worsen after repeated wet cleaning. Early, manufacturer-aligned correction protects both click-lock joints and glue-down adhesion.
If vinyl edges lift at seams, you should stop routine wet cleaning in that area and follow the repair approach specific to your installation type.
For scuffs, gentle cleaning first is usually safer than escalating to abrasive pads or solvents that can damage the finish.
Chips and cracks in planks/tiles typically require replacement of the affected section rather than generic patch materials not designed for vinyl.
– If you notice lifting at edges or seams, stop deep-cleaning with water and follow the flooring manufacturer’s repair approach for your type (click-lock vs glue-down).
– Click-lock issues often relate to joint fit and subfloor movement; glue-down issues often relate to adhesive exposure to excess moisture.
– For scuffs, try gentle cleaning first; if you’re still seeing marks, use the method recommended by your vinyl flooring brand for “finish-safe” stain/scuff removal.
– This matters because many “stain removers” are not finish-safe for vinyl surfaces.
– For chips or cracks in damaged planks/tiles, plan on replacing the affected section rather than trying to “patch” with random fillers not meant for vinyl.
– Patches can discolor and create texture ridges where dirt collects.
What can go wrong (common mistakes on staircases)
The most common vinyl staircase failures come from heat, excessive moisture, and abrasive cleaning tools—especially at seams and corners. If you want to avoid premature wear, treat steam, wet mopping, and polishes as high-risk choices for vinyl stairs.
Steam cleaning can add both heat and moisture, increasing the risk that adhesives or seam edges are stressed.
Waxing and high-gloss polishes often leave residue that can dull vinyl over time and make the surface harder to clean.
Ignoring grit leads to cumulative abrasion: scratches often start subtle and become more visible as the finish wears down.
– Using steam cleaners or flooding the steps: heat and excess moisture can stress adhesives (glue-down) or let water reach seams (any vinyl).
– “Waxing” or using high-gloss floor polishes: many products create a residue that can dull the surface and make future cleaning harder.
– Ignoring grit: sand and grit act like sandpaper on treads—then the damage shows up as dull spots or visible scratches.
Verdict: do this for best results (and who should skip)
The safest way to maintain vinyl floors in a staircase is a simple cycle: remove grit, damp-clean with pH-neutral products, and fully dry—especially along edges and seams. The downside is you can’t rely on harsh cleaners or wet mopping to “save time,” so expect more frequent light cleaning instead of occasional heavy sessions.
Skip or pause these care steps if:
– Your vinyl is actively separating/lifting at seams (you’ll want guidance based on whether it’s click-lock or glue-down).
– You’re unsure what product-safe cleaner your specific flooring manufacturer approves. In that case, use .
Quick checklist for maintaining vinyl floors on stairs
| Task | How often | What to use | Watch-outs |
|---|---|---|---|
| Sweep/vacuum | As needed daily/weekly | Soft brush attachment | Don’t use beater bars that can scratch |
| Damp clean | Weekly or when needed | Microfiber + pH-neutral cleaner | Don’t soak; avoid water near seams |
| Dry after cleaning | Every clean | Dry microfiber cloth | Don’t leave moisture in corners/edges |
| Spot clean spills | Immediately | Damp cloth + vinyl-safe cleaner | Wipe, then dry—don’t let it sit |
| Protect contact points | Ongoing | Felt pads / compatible runner | Rubber/backings that stain can discolor vinyl |
Frequently Asked Questions
How do I clean vinyl floors on a staircase without damaging them?
Use a soft broom or vacuum with a brush attachment to remove grit that can scratch vinyl plank flooring. For mopping, use a cleaner made for vinyl floors and warm water, and avoid steam mops or harsh solvents that can dull or degrade the finish. Wipe up spills immediately—especially on stair treads where water and grit can get trapped along seams.
What’s the best way to prevent scratches and scuffs on vinyl stair treads?
Place non-slip mats or runners on stairs, and choose ones with a backing that won’t stain or leave residue on vinyl floors. Use felt pads under furniture and keep abrasive shoe soles off the steps when possible. Regular sweeping and immediate removal of sand or debris are key, since grit is the most common cause of scratches on vinyl flooring.
Which cleaning products are safe for maintaining vinyl floors on stairs?
Look for pH-neutral, manufacturer-recommended vinyl floor cleaners, and avoid products containing bleach, ammonia, or strong degreasers that can damage the protective wear layer. If you use a mop, ensure it’s well-wrung so excess moisture doesn’t seep into joints. For stubborn spots like scuff marks, use a gentle vinyl-safe cleaner and a soft microfiber cloth rather than abrasive pads.
Why do vinyl stair floors lift or separate, and how can I prevent it?
Vinyl can start to lift or separate when stairs are exposed to excessive moisture, temperature swings, or when seams aren’t properly protected during installation. To maintain vinyl plank flooring in a staircase, clean with minimal water, avoid flooding during mopping, and keep the area dry. If your stairs have seams, inspect them regularly and address edge lifting early—before it spreads along the tread.
How often should I deep clean or maintain vinyl flooring on a staircase?
For day-to-day care, sweep or vacuum weekly and wet-mop as needed (often every 2–4 weeks, depending on foot traffic). A deeper clean should be gentle and vinyl-safe: remove built-up residue with a recommended cleaner, then rinse with water if the product instructs it. Consider reapplying a vinyl floor protectant only if your flooring manufacturer allows it, since some products can interfere with the wear layer over time.
📅 Last Updated: October 26, 2026 | Topic: How to maintain vinyl floors in a staircase? | Content verified for accuracy and freshness.
References
- Vinyl flooring
- https://www.epa.gov/coronavirus/cleaning-and-disinfecting
- https://www.cdc.gov/coronavirus/2019-ncov/community/disinfecting-building-facility.html
- https://www.who.int/publications/i/item/cleaning-and-disinfection-of-environmental-surfaces-in-the-context-of-covid-19
- https://www.armstrongflooring.com/support/care-and-cleaning/vinyl-flooring.html
- https://www.armstrongflooring.com/support/care-and-cleaning/vinyl-composition-tile.html
- https://scholar.google.com/scholar?q=vinyl+flooring+maintenance+cleaning+stair+treads Google Scholar
- https://scholar.google.com/scholar?q=LVT+LVP+care+and+maintenance+cleaning+methods Google Scholar
- https://scholar.google.com/scholar?q=resilient+flooring+care+maintenance+guidelines+RFCI Google Scholar
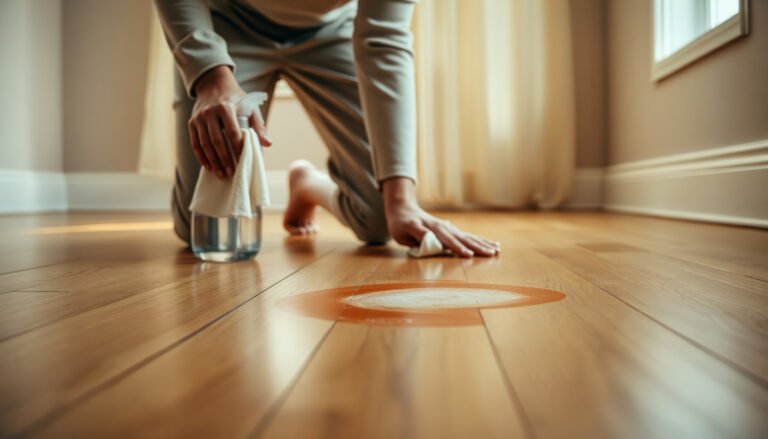
[…] Moisture control begins with the subfloor, because vinyl’s water-resistance is limited once water reaches the edges and underlayment/interface layers. If you correct leaks and humidity first, your vinyl staircase protection becomes more reliable. Most resilient flooring failures happen when subfloor moisture reaches seams/edges, not when the floor’s face “looks wet.” Underlayment and installation systems can change how a vinyl staircase handles moisture—some combinations reduce risk, others can trap it. 🛒 Buy Best Anti-Slip Floor Treatments Now on Amazon […]