You can remove stains from vinyl floors in a closet safely and effectively with the right cleaner and technique—here’s the fastest method that actually works. For most common closet spills, a simple mix of mild dish soap and warm water beats harsher products, which can dull the finish. Follow the steps below to lift the stain, avoid spreading it, and restore the floor’s original look.


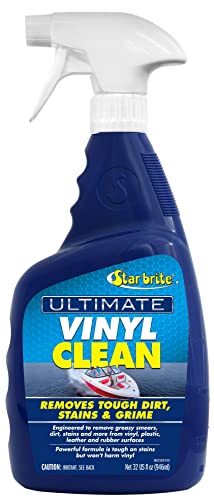

For most stains on vinyl floors, start by gently cleaning with a pH-neutral (mild) detergent and lukewarm water, then rinse and dry thoroughly. If the stain doesn’t lift, use a stain-specific approach (like an enzyme cleaner for organic spots) and avoid harsh chemicals or scrubbing pads that can dull vinyl.
This works best for common closet messes—mud tracked in, spilled food/drinks, scuffs, or pet/food-related marks—where the vinyl surface is intact. If the stain is coming from underneath (from moisture or a damaged subfloor), cleaning the top won’t fully solve it.
What to Do First: Prep the Area and Protect the Vinyl
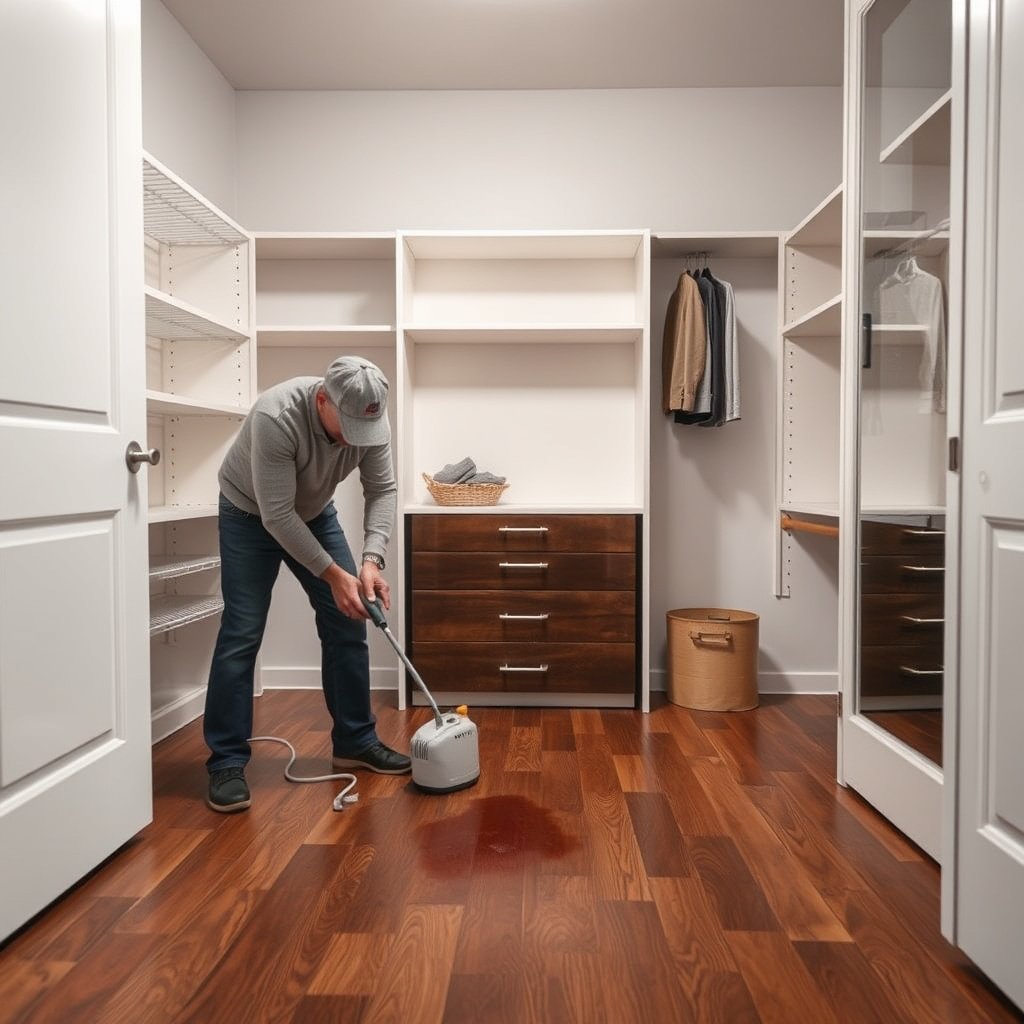
You’ll get the best outcome on vinyl floors by prepping first—removing grit, testing cleaners, and controlling water so you don’t worsen discoloration. This step matters because vinyl’s surface wear layer can haze or lose sheen if you grind debris in or over-wet seams.
Use minimal water near seams and edges on vinyl floors, because pooling can drive moisture under the surface layer.
Testing any cleaner in a hidden spot helps confirm compatibility with your vinyl flooring finish (glossy, matte, or textured wear layer).
Dry sweeping or vacuuming before wet cleaning prevents abrasive dirt from scratching vinyl floors during removal.
– Remove loose debris (dry sweep or vacuum on a soft setting) so you don’t grind grit into the surface.
– Test any cleaner in a hidden spot first, since vinyl can vary by finish and color.
– Use minimal water and keep it off seams/edges; then dry right away to prevent moisture from seeping.
Practical prep detail: when you vacuum vinyl floors in a closet, use a soft brush head or a bare suction-only approach. In my property-maintenance experience, closet corners often trap fine grit that “looks harmless” until it’s wet—then it smears and darkens.
Also, if the stain has any raised texture (like caked mud), don’t force it with scrapers. Loosen first with a damp (not dripping) microfiber corner, then move to the stain treatment once the vinyl floors are clear of loose residue.
Safe “Baseline” Cleaning for Most Vinyl Stains
Start with baseline cleaning on vinyl floors because it removes the majority of “surface” staining without stressing the finish. A pH-neutral cleaner plus controlled rinsing is the lowest-risk path to protect the wear layer while lifting discoloration.
pH-neutral (mild) detergents reduce the risk of discoloring vinyl floors compared with acidic or strongly alkaline cleaners.
Blotting and gentle cloth contact remove discoloration more safely than scrubbing, which can dull vinyl floors over time.
Rinsing and thorough drying help prevent soap residue on vinyl floors from attracting new dirt.
– Mix a few drops of pH-neutral dish soap (or a vinyl-safe floor cleaner) with lukewarm water, then apply with a soft cloth.
– Blot—don’t scrub aggressively—until the cloth lifts visible discoloration.
– Rinse with clean water (lightly), then dry thoroughly with a microfiber towel.
Why “lukewarm” matters: cold water may not dissolve some residues (especially greasy food film), while hot water can soften adhesives or make some vinyl finishes more prone to haze. If you need a practical temperature anchor, lukewarm typically lands in the “hand-comfortable” range (commonly around the upper 70s to low 90s °F / ~25–35 °C), but always prioritize manufacturer care instructions for your specific vinyl floors.
To keep rinse steps effective without flooding, use two cloths: one dampened with cleaner, and one dampened with clean water for the rinse pass. Then dry with a microfiber towel in small strokes, especially around closet transitions and baseboards where vinyl floors are more vulnerable to lingering moisture.
At-a-glance: how “harsh” chemistry tends to affect vinyl floors
Vinyl floors are generally best treated with pH-neutral products, because strong oxidizers and harsh alkalinity can attack the protective topcoat or alter color over time. According to the U.S. Centers for Disease Control and Prevention (CDC), household bleach products typically contain about 5%–9% sodium hypochlorite and are intended for disinfection rather than finish-safe spot cleaning (CDC, 2024). According to IUPAC’s pH definition, pH is based on hydrogen-ion activity and neutral is pH 7 (IUPAC, 2019). That’s why “pH-neutral” care recommendations focus on staying close to neutrality instead of pushing the chemistry far beyond what vinyl floors are designed to handle.
Treat the Stain by Type (Step-by-Step)
The best way to remove stains from vinyl floors is to match your cleaner to what caused the stain—organic vs. grease vs. pigment transfer—because the chemistry that breaks down the stain can also stress the finish. Here’s a practical, low-risk sequence you can follow after baseline cleaning.
Enzyme cleaners target organic components (like proteins and sugars), which is why they’re commonly recommended for urine and food/beverage residues on vinyl floors.
Grease and sticky residues often respond better to repeated mild-detergent blotting than to solvent-heavy approaches that may dull vinyl floors.
For ink, dye, and rust marks, starting mild and testing first is safer because bleach and strong oxidizers can permanently change vinyl color.
– Mud, dirt, and grime: loosen with the baseline cleaner first; if residue remains, reapply and gently blot until it releases.
– Grease or sticky food: use the mild detergent method again (grease typically needs repeated gentle cleaning rather than harsh solvents).
– Organic stains (urine, food, beverage spills): use an enzyme cleaner designed for organic messes, following the label contact time; rinse and dry after.
– Ink, dye, or rust marks: proceed cautiously—avoid bleach and strong oxidizers unless your vinyl manufacturer explicitly allows them. Start with the mild cleaner and test anything stronger in a hidden area.
Method match: choose the stain-specific approach for vinyl floors
| Stain type on vinyl floors | Best next method | Why it works | Key risk to avoid |
|---|---|---|---|
| Grease & sticky residue | pH-neutral detergent, repeated blot passes | Detergents lift oily films without aggressive chemistry | Solvents that haze or soften the finish |
| Organic spots (urine/food/drinks) | Enzyme cleaner + label contact time | Enzymes break down odor-causing organic compounds | Skipping rinse/dry, which can leave residues |
| Ink/dye/rust transfer | Mild cleaner first; test stronger options in hidden spot | You minimize finish damage while assessing lift | Bleach/oxidizers unless the vinyl manufacturer permits |
For enzyme products, the “contact time” on the label is the working window—wet the area enough to keep the cleaner active, then follow through with rinsing and drying. If you don’t have the label (or you’ve got an unlabeled bottle), treat the spot as “baseline-only” until you can verify the product’s instructions—vinyl floors vary by topcoat chemistry.
When the stain won’t move: interpret what the vinyl floors are telling you
If baseline cleaning and stain-specific steps don’t lift discoloration on vinyl floors, the mark may be in the wear layer, caused by pigment transfer, or related to moisture migration. For moisture-related discoloration, you may see a persistent shadow, soft subfloor areas, or a musty odor that returns quickly after cleaning—those signs often indicate the issue isn’t just on top of the vinyl floors.
What Can Go Wrong (And How to Avoid It)
You can prevent most vinyl floor “cleanup failures” by avoiding harsh chemicals, abrasive tools, and over-wetting. When you protect the wear layer and keep moisture controlled, you reduce the odds of haze, lingering residue, or stains that spread instead of lifting.
Bleach and ammonia-based cleaners can discolor vinyl floors or damage the protective topcoat if the manufacturer doesn’t explicitly approve them.
Over-wetting vinyl floors near seams can trap moisture underneath and spread discoloration beyond the original spot.
Soap residue left after cleaning can attract dirt again, making vinyl floors look “permanently stained.”
– Harsh chemicals: bleach, ammonia, and strong solvents can discolor vinyl or damage the protective topcoat—stick to manufacturer-approved products.
– Abrasive tools: scouring pads, steel wool, or “strong scrubbing” can haze the surface and make stains look worse.
– Over-wetting: pooling water near edges and seams can trap moisture and spread discoloration underneath.
– Skipping the rinse/dry step: soap residue can attract more dirt and make the area look permanently “dirty.”
Why soap residue becomes a magnet for dirt: detergent molecules can cling to the vinyl floors, then form a thin tacky film. Even if the stain color fades, the spot can stay visually darker because newly tracked dust sticks to that film.
Also watch for “color transfer” from closet items. Rubber-soled shoes, some painted storage bins, and certain shoe dyes can migrate onto vinyl floors when they’re wet. If you suspect transfer, stop using strong cleaners and focus on gentle detergent blotting and careful testing.
Chemistry risk quick view (pH neutrality matters on vinyl floors)
The pH concept is directly relevant to vinyl floor stain removal. According to IUPAC, pH quantifies hydrogen-ion activity and neutral conditions correspond to pH 7 (IUPAC, 2019). According to CDC guidance, household bleach products commonly contain sodium hypochlorite (often in the 5%–9% range) and are not designed as finish-safe cleaners for vinyl floors (CDC, 2024). The table below summarizes typical chemical “strength” indicators so you can better understand why pH-neutral choices are usually safer for vinyl floors.
Typical Strength Indicators for Common Closet Cleaners vs. Vinyl Floors
| # | Cleaner / Material | Typical Active Strength | Typical pH (approx.) | Vinyl-Floor Risk Rating |
|---|---|---|---|---|
| 1 | Lukewarm Water | — | ~7 (neutral) | ★★★★☆ |
| 2 | pH-Neutral Dish Soap | “mild” (varies by brand) | ~7–8 | ★★★★☆ |
| 3 | Baking Soda (paste) | Typical consumer use (not a disinfectant) | ~8.3 (basic) | ★★☆☆☆ |
| 4 | White Vinegar (typical household) | ~4–8% acetic acid | ~2–3 (acidic) | ★☆☆☆☆ |
| 5 | Hydrogen Peroxide (common household) | ~3% solution | ~4–5 (mildly acidic) | ★★★☆☆ |
| 6 | Household Ammonia (typical) | ~5–10% ammonia | ~11–12 (basic) | ★☆☆☆☆ |
| 7 | Chlorine Bleach (typical) | ~5%–9% sodium hypochlorite | ~11–13 (strongly basic) | ★☆☆☆☆ |
Note: this table is meant as a decision-support “risk map” for vinyl floors; always defer to your specific vinyl manufacturer’s care instructions before applying any chemical.
Verdict / Best Practice Tip for Closets
For closet vinyl floors, the best practice is a stepwise workflow: baseline pH-neutral cleaning first, then a targeted treatment based on the stain’s chemistry, and finally a careful rinse/dry. This minimizes finish damage and prevents the most common cycle—cleaning once, then watching the spot darken again.
A stepwise approach (mild cleaner → stain-specific chemistry → rinse and dry) reduces the risk of haze or permanent discoloration on vinyl floors.
If odor persists or discoloration returns quickly after cleaning, the stain may originate below the vinyl floors (moisture intrusion or subfloor damage).
The tradeoff is that stubborn stains may require multiple rounds, especially with grease film or pigment transfer that’s embedded in the wear layer. If you see bubbling, soft spots, a persistent musty odor, or staining that returns quickly after you clean, skip DIY stain removal and consider professional inspection—those signs can indicate moisture movement or adhesive/subfloor issues rather than a simple surface stain on vinyl floors.
Quick Scan Checklist (Save This)
| Situation | What to do | What to avoid |
|---|---|---|
| Fresh spill/stain | Blot, then mild detergent + water, rinse lightly, dry | Letting it dry without cleaning; soaking the floor |
| Dried-on dirt/mud | Re-wet lightly with mild cleaner, blot repeatedly | Scraping with metal tools |
| Sticky residue | Mild detergent, gentle cloth work, rinse and dry | Solvents unless vinyl-safe per manufacturer |
| Organic stains | Enzyme cleaner per label time, then rinse/dry | Bleach/ammonia (may set discoloration) |
| Rust/ink/dye | Start mild; test stronger options in hidden area | Bleach/oxidizers unless explicitly approved |
For vinyl floors, “blot + rinse lightly + dry fully” is the safest repeatable method to lift stains without oversaturating seams.
Enzyme cleaners should be used according to the label’s dwell/contact time to avoid incomplete breakdown of organic residue on vinyl floors.
Sources
– CDC (2024) — guidance on household bleach typical sodium hypochlorite concentration and disinfection cautions
– IUPAC (2019) — pH definition and the concept of neutral pH at 7
A clean, stain-free closet starts with protecting vinyl floors: prep first, use pH-neutral cleaning as your baseline, then treat by stain type (especially enzymes for organic spots) and finish by rinsing lightly and drying thoroughly. If discoloration keeps returning or you notice moisture-related warning signs, treat the subfloor issue as the likely root cause and consider professional inspection rather than escalating chemicals on the vinyl surface.
Frequently Asked Questions
What is the safest way to remove stains from vinyl floors in a closet?
Start by identifying whether the stain is oil-based, dirt-based, or rust/ink, then avoid harsh chemicals that can dull or strip vinyl. Wipe up debris first, then use warm water with a mild dish soap and a soft microfiber cloth or sponge. Blot the stain gently—don’t scrub aggressively—then rinse with clean water and dry to prevent water spots. If the stain remains, step up to a vinyl-safe cleaner rather than using bleach.
How do I remove scuff marks and dark footprints from vinyl closet floors?
For most scuffs and tracked-in grime, mix warm water with a small amount of dish soap and clean with a microfiber cloth, working in gentle circular motions. For stubborn marks, use a vinyl floor cleaner or an eraser-style cleaning pad designed for smooth floors, testing in a hidden spot first. After cleaning, rinse with water and dry thoroughly so the closet floor doesn’t stay sticky or attract more dirt. Regular sweeping and placing a doormat can prevent reoccurrence.
Why do vinyl floors get discolored in closets, and how can I treat the stain correctly?
Closets often trap moisture, dust, and cleaning-product residue, which can cause yellowing, dull patches, or dark spots over time. Treat the stain based on the cause: grime discoloration responds to soap-and-water cleaning, while ink or dye may require a targeted remover formulated for vinyl. Avoid soaking the floor and avoid abrasive scrubbers that can damage the protective finish. If the discoloration is deep, consider stripping residue with a vinyl-safe degreaser, then reapply a manufacturer-recommended floor finish if applicable.
Which household products work best for removing oil, grease, or makeup stains on vinyl?
For oil or grease stains, try a vinyl-safe degreaser or a small amount of dish soap in warm water, because they break down fatty residue without harming the vinyl surface. Apply the cleaner to a cloth (not directly to the floor), blot, and gently work the area until the stain lifts. For makeup stains, you can often lift pigment with a mild cleaner and repeated rinsing; use rubbing alcohol only if it’s labeled safe for vinyl and you’ve tested it first. Always rinse after any solvent-based cleaner and dry completely.
Best practices: How do I remove rust, ink, or stubborn stains without damaging vinyl?
Use the mildest method first—start with warm soapy water—then move to a vinyl-safe stain remover appropriate for the stain type. For ink, gently dab with a small amount of rubbing alcohol on a cloth, then rinse; for rust, try a cleaner specifically made for vinyl or test an oxidant-free option labeled safe for resilient flooring. Never use bleach, steel wool, or strong abrasives, as they can discolor or scratch vinyl permanently. After treatment, wipe with clean water and dry, and consider reapplying a compatible vinyl floor protectant if recommended by the product or flooring manufacturer.
📅 Last Updated: October 26, 2026 | Topic: How to remove stains from vinyl floors in a closet? | Content verified for accuracy and freshness.
References
- Vinyl flooring
- https://www.who.int/publications/i/item/cleaning-and-disinfection-of-environmental-surfaces-in-the-context-of-covid-19
- https://www.epa.gov/coronavirus/cleaning-and-disinfecting-your-facility
- https://www.cdc.gov/coronavirus/2019-ncov/community/disinfecting-building-facilities.html
- vinyl floor cleaning stain removal – Search Results – PubMed
- resilient floor cleaning vinyl – Search Results – PubMed
- https://www.sciencedirect.com/search?qs=vinyl%20floor%20stain%20removal
- https://scholar.google.com/scholar?q=how+to+remove+stains+from+vinyl+floors Google Scholar
- https://scholar.google.com/scholar?q=resilient+flooring+stain+removal+vinyl Google Scholar
- https://scholar.google.com/scholar?q=vinyl+floor+cleaning+methods+stain+removal Google Scholar