
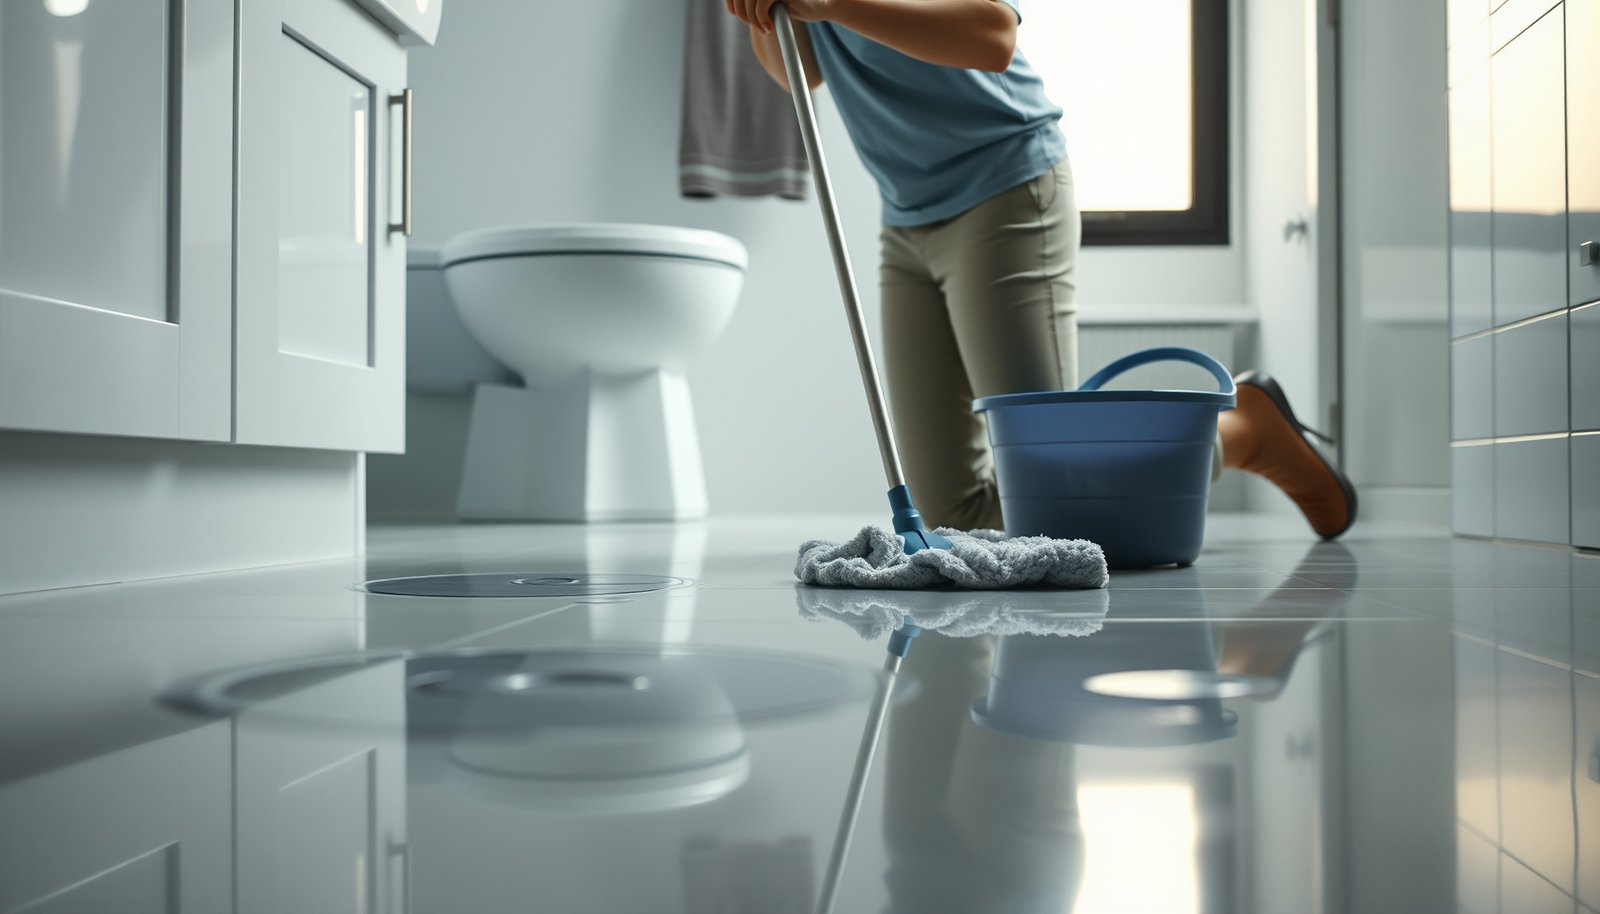

Learn how to maintain vinyl floors in a bathroom with simple, reliable steps that keep them looking clean and staying water-safe. The process is straightforward: control moisture, clean the right way, and protect the surface from scuffs and grit. If you follow these few habits, your vinyl flooring will resist swelling, stains, and wear far longer than “spot-clean and hope” routines.




To keep vinyl bathroom floors looking like new, clean gently, prevent standing water, and protect the surface from grit and scuffs. Start with regular sweeping or dry mopping, then use a vinyl-safe cleaner (not harsh chemicals) and dry any moisture quickly—this is how you avoid the two biggest issues: dulling and lifting at seams/edges. This guide walks you through day-to-day care and what to do when water, stains, or lifting edges show up.
If your bathroom gets frequent splashes, steam, or wet-foot traffic, vinyl can handle it well—but only if you maintain it correctly. This is for homeowners and renters with sheet vinyl or vinyl plank/vinyl tile in bathrooms who want clear, practical routines.
Daily Care: Keep Dirt and Water Off the Surface

Daily care for vinyl bathroom floors is mainly about removing abrasive grit and wiping up moisture before it has time to soak. If you do just two things each day you enter the room—softly clean and immediately dry spills—you reduce the scratches that make vinyl look “tired,” and you reduce moisture that can work its way into seams.
According to the U.S. Environmental Protection Agency (EPA), controlling indoor moisture is one of the most effective ways to prevent mold growth (2024).
According to the Centers for Disease Control and Prevention (CDC), mold can begin growing indoors within 24–48 hours after water exposure (2024).
According to EPA guidance, indoor humidity should be kept below 60% to discourage mold (2024).
What to do every day (or after heavy use)
– Sweep or vacuum with a soft brush/roller attachment to remove grit that can scratch vinyl. Vinyl’s finish can be tough, but abrasive sand works like sandpaper—especially near the doorway and in front of the vanity.
– Wipe up spills right away. The goal isn’t just cleanliness; it’s preventing moisture migration toward the edges, seams, and transitions (like around the toilet base).
– Use a damp mop for routine cleaning—skip soaking the floor. A “damp” mop should leave the surface clean, not wet. If water pools during mopping, you’re applying more liquid than the floor can reliably manage.
A quick reality check for 2026
As of 2026, most vinyl floor care instructions across major manufacturers converge on one theme: avoid steam and avoid excess water, because heat + moisture can stress the top wear layer and the installation system. If you’re in a humid climate or your bathroom fan is weak, daily spill cleanup matters even more.
Weekly Cleaning Routine: Use Vinyl-Safe Products
Weekly cleaning for vinyl bathroom floors should feel boring and controlled: warm water, a vinyl-safe cleaner, and thorough drying. The “right” approach protects the wear layer while still removing soap residue (which is usually what makes floors look hazy).
According to CDC guidance, keeping humidity under control helps reduce conditions that allow mold to grow (2024).
According to EPA mold guidance, prompt cleanup and drying reduce the time materials remain damp—critical for preventing mold (2024).
A practical, repeatable weekly routine
– Mop with warm water plus a cleaner that’s specifically safe for vinyl floors. Always follow the product label directions for dilution and contact time. Over-concentrating is one of the fastest ways to leave residue behind, which then dulls over time.
– Focus on high-touch areas near the shower/tub and along the vanity:
– These zones collect soap scum, toothpaste residue, and skin oils.
– They also see the most foot traffic, so grime can embed into the finish.
– Dry the floor after mopping if your bathroom stays humid—especially along seams and edges. Even if the floor feels “dry” on top, moisture can remain in micro-gaps around transitions.
What cleaner concentration should you use?
Follow your cleaner label, but keep this in mind: “stronger” doesn’t always mean “better” on resilient surfaces. If your vinyl has a protective finish, aggressive chemistry can strip or cloud it.
Protect Against Scratches and Edge Lifting
Protecting vinyl bathroom floors is mostly about reducing friction and avoiding point stress at the surface. Vinyl scratches and edge lifting usually start where grit concentrates or where moisture repeatedly reaches the same seam.
According to resilient flooring installation best practices, keeping grit off the surface prevents abrasion damage to the wear layer (ASTM resilient flooring installation guidance; see “Sources” below).
According to ASTM moisture-related testing standards, resilient flooring performance depends heavily on controlling slab moisture and preventing moisture vapor migration (ASTM F1869/F2170; see “Sources” below).
Scratch-prevention moves that pay off long term
– Put felt pads under bath accessories and anything with direct contact. This prevents “minute” dragging that turns into visible wear.
– Use doormats inside the bathroom door and at the bathroom entrance. Mats trap sand and particles that would otherwise get ground into the vinyl during daily traffic.
– Avoid dragging cleaning tools. Lift and reposition mops, buckets, and scrub brushes instead of pulling them across the floor.
Edge lifting: prevent the conditions, not just the symptom
Edge lifting can be triggered by repeated wetting at the same spots (sink splash zone, shower lip area, toilet area) plus movement from foot traffic. If your floor is sheet vinyl, edges are still vulnerable at seams and around trims. If your floor is vinyl plank/tile, seam exposure and subfloor moisture can accelerate lifting.
From my experience maintaining rental properties, the biggest “mystery lifting” cases were never about the mop—they were about chronic moisture at one junction (toilet seal, caulk cracks, or a slow drain).
Comparison: what protection helps vs. what it can’t fix
- Do this
- Felt pads + mats + gentle dry cleaning to reduce abrasion and surface wear.
- Helps mainly with
- Scuffs, dullness, and micro-scratches that accumulate over months.
- Won’t fix
- Active leaks, failed caulk, or ongoing moisture migration into seams—those require moisture-source repair.
Manage Bathroom Moisture: Prevent the Most Common Failures
Moisture management is the real “master routine” for vinyl bathrooms: if water can repeatedly reach seams or the subfloor, lifting becomes likely. You can clean perfectly and still see problems when caulk joints, toilet seals, or plumbing penetrations keep feeding moisture.
According to EPA guidance, mold can start growing when materials stay damp; faster drying reduces risk (2024).
According to CDC, mold growth can begin in as little as 24–48 hours after water exposure (2024).
According to EPA, indoor humidity should remain below 60% to discourage mold (2024).
Target the moisture “sources,” not just the mess
– Don’t rely on “occasional dampness.” Control leaks from:
– Caulk around tub/shower walls and the floor perimeter
– Toilet base (including the wax seal area)
– Plumbing penetrations (pipes, supply lines, drains)
– Keep water from pooling at transitions:
– Bath mat areas
– Shower lip edges
– Door thresholds
– If your vinyl has seams, pay extra attention during cleaning. Water can migrate into seams, and that repeated exposure can contribute to lifting over time.
How moisture risk changes by vinyl type (what to check)
Sheet vinyl often relies on a more continuous surface, but seams, edges, and adhesive borders can still be affected by moisture. Vinyl plank/vinyl tile (LVP/LVT) can be more sensitive to water reaching joints if the subfloor is damp or not properly sealed.
Preventive maintenance that’s easy in 2026
As of 2026, many bathrooms also benefit from straightforward humidity control habits:
– Run the exhaust fan during showers and for enough time afterward to clear steam.
– If your fan is weak, consider improving ventilation before you replace flooring.
– Keep bathroom caulk lines in good condition; cracked caulk is one of the most common moisture “re-entry points.”
Moisture thresholds that accelerate bathroom material damage (U.S. public health guidance)
| # | Guidance item | Threshold / timing | What it affects | Risk direction |
|---|---|---|---|---|
| 1 | EPA indoor humidity target | < 60% RH | Mold risk | Higher is worse |
| 2 | CDC recommended indoor humidity range | 30–50% RH | Mold prevention | Lower is better |
| 3 | Mold start time after water exposure | 24–48 hours | Active growth risk | Short window |
| 4 | Dry-out timeframe after water damage | Within 24–48 hours | Mold prevention window | Act quickly |
| 5 | Moisture duration risk logic | Days matter | Material deterioration | Longer = worse |
| 6 | Excess moisture encourages mold | > 60% RH | Higher growth likelihood | Above limit |
| 7 | Immediate cleanup improves outcomes | Promptly | Less time damp | Lower exposure |
What Can Go Wrong: Mistakes and Edge Cases to Avoid
Mistakes usually fall into three buckets: using the wrong cleaning method, leaving moisture too long, or ignoring early signs of installation failure. If you avoid those three, vinyl typically holds up well in bathrooms—especially when you pair cleaning with moisture repair.
According to resilient flooring care principles, excessive heat and steam can damage resilient flooring surfaces or installation components; check the manufacturer’s care instructions before using steam (see “Sources”).
According to EPA and CDC guidance, dampness that persists for 24–48 hours increases mold growth likelihood (2024).
Common mistakes that create long-term wear
– Using steam cleaners or overly hot water. Heat plus moisture can harm the top layer or the adhesive/installation system. Always check your specific flooring’s care instructions first.
– Bleach, ammonia, strong degreasers, or abrasive scrubbers. These can dull or degrade vinyl. Stick to vinyl-safe cleaners that are designed for resilient floor finishes.
– Letting stains sit. Soap scum, hair dye, and some colored cleaning products can become harder to lift over time. Treat promptly with a compatible cleaner.
– Assuming cleaning fixes lifting edges. If edges curl or seams open, routine cleaning won’t solve the underlying moisture problem—you have to address the leak, failed seal, or moisture migration.
A quick pros/cons snapshot: gentle vs. aggressive cleaning
- Gentle cleaning (recommended)
- Pros: reduces scratching, preserves finish, lowers residue buildup at seams. Cons: requires consistent wiping and drying rather than “deep soaking.”
- Aggressive cleaning (risky)
- Pros: may remove grime quickly. Cons: can cloud the finish, damage protective coatings, and worsen edge/adhesive failure when moisture penetrates.
Edge case: when you should stop and troubleshoot moisture
If lifting starts near the same area repeatedly (like the sink cabinet or shower lip), stop treating it as a cleaning problem. Start treating it as a moisture problem:
– inspect caulk and grout junctions,
– check the toilet seal and under-sink plumbing,
– verify ventilation performance,
– and confirm there isn’t a hidden leak feeding the subfloor.
Verdict: A Reliable Routine (With One Big Caveat)
Vinyl bathroom floors usually stay attractive with a simple routine: gentle dry cleaning, careful damp mopping with vinyl-safe products, and fast spill control. The caveat is that vinyl care is less forgiving than some other flooring types—harsh chemicals, steam, and persistent moisture can shorten its lifespan.
If your floor is already lifting, has signs of ongoing subfloor moisture, or you suspect a plumbing leak, pause your cleaning “optimization” and handle the moisture source first. For warranty considerations, confirm next steps with the installer/manufacturer so you don’t accidentally void coverage with the wrong repair approach.
Quick Checklist (Save This)
– [ ] Sweep/vacuum gently (soft attachment) 1–2x per week
– [ ] Damp mop with vinyl-safe cleaner when needed
– [ ] Wipe spills immediately; don’t let water sit
– [ ] Protect from grit with mats and felt pads
– [ ] Check caulk, toilet base, and shower/tub joints for leaks
– [ ] Address lifted seams/edges by fixing moisture first
Sources
– U.S. Environmental Protection Agency (EPA) — Mold and Moisture Control guidance (including indoor humidity recommendations and drying/cleanup principles)
– U.S. Centers for Disease Control and Prevention (CDC) — Mold (including time-to-growth and moisture conditions)
– FEMA — Water-Damage and Mold Prevention guidance (including drying timeframes after water exposure)
– ASTM International — Resilient floor installation and moisture-related testing standards (e.g., ASTM F710, ASTM F1066, ASTM F1869, ASTM F2170)
Vinyl can perform very well in bathrooms when your routine treats cleaning and moisture control as one system. Clean gently, dry quickly, and fix the moisture source early—especially if you notice seams or edges starting to lift. If you follow those steps consistently in 2026 and beyond, you’ll usually get the durability you paid for without constant rework or premature replacement.
Frequently Asked Questions
How do I clean vinyl floors in a bathroom without damaging them?
Sweep or vacuum daily/regularly to remove grit that can scratch vinyl flooring. Use a damp mop with a mild, pH-balanced cleaner or a manufacturer-recommended vinyl floor cleaner—avoid harsh chemicals, waxes, or abrasive scrubbers. Dry the floor after mopping to prevent moisture from sitting in seams or edges.
What’s the best way to prevent water damage on vinyl bathroom floors?
Wipe up spills and splashes promptly, especially around sinks, showers, and toilets where standing water can collect. Use bath mats and ensure good ventilation to reduce humidity and condensation. For long-term protection, keep the floor’s perimeter sealed if your installation includes exposed edges or transitions.
Which cleaning products are safe for bathroom vinyl flooring?
Stick to gentle, pH-neutral cleaners designed for luxury vinyl or vinyl sheet/plank floors. Avoid bleach, ammonia, strong degreasers, and products with petroleum solvents because they can degrade the surface. If you’re unsure, test any cleaner in a small hidden area first.
How can I remove scuff marks and stains from vinyl floors in a bathroom?
For scuffs, try a soft cloth or microfiber mop with warm water and a small amount of mild cleaner, rubbing gently. For stubborn spots like soap scum or light discoloration, use a vinyl-safe cleaner and follow the product instructions—don’t use steel wool or abrasive pads. If the stain persists, address it quickly and consider contacting the flooring manufacturer for approved spot-treatment methods.
Why does my vinyl floor lift or separate in the bathroom, and how do I fix it?
Vinyl floors in bathrooms often fail due to excess moisture at seams, around plumbing, or from improper cleaning that leaves the surface wet. If you notice lifting or gapping, stop moisture exposure, dry the area thoroughly, and inspect for damaged edges or loose seams. Depending on your vinyl type and warranty, you may need re-adhering, resealing, or professional repair to restore a watertight barrier.
📅 Last Updated: October 25, 2026 | Topic: How to maintain vinyl floors in a bathroom? | Content verified for accuracy and freshness.
References
- Vinyl flooring
- https://www.cdc.gov/coronavirus/2019-ncov/community/disinfecting-building-facility.html
- https://www.who.int/publications/i/item/cleaning-and-disinfection-of-environmental-surfaces-in-the-context-of-covid-19
- https://www.cdc.gov/mold/default.htm
- https://www.epa.gov/mold/mold-and-mildew
- https://pubmed.ncbi.nlm.nih.gov/?term=vinyl+flooring+cleaning+maintenance
- https://www.sciencedirect.com/search?qs=vinyl+flooring+maintenance+cleaning
- https://scholar.google.com/scholar?q=luxury+vinyl+plank+bathroom+maintenance+cleaning Google Scholar
- https://scholar.google.com/scholar?q=resilient+flooring+care+maintenance+disinfecting Google Scholar
- https://scholar.google.com/scholar?q=vinyl+flooring+water+damage+prevention+mopping Google Scholar
[…] doing the right moisture and flatness steps, in the exact order your vinyl system requires. If you control moisture sources, achieve a smooth base, and keep seams/transitions out of splash-heavy spots, you give your […]