
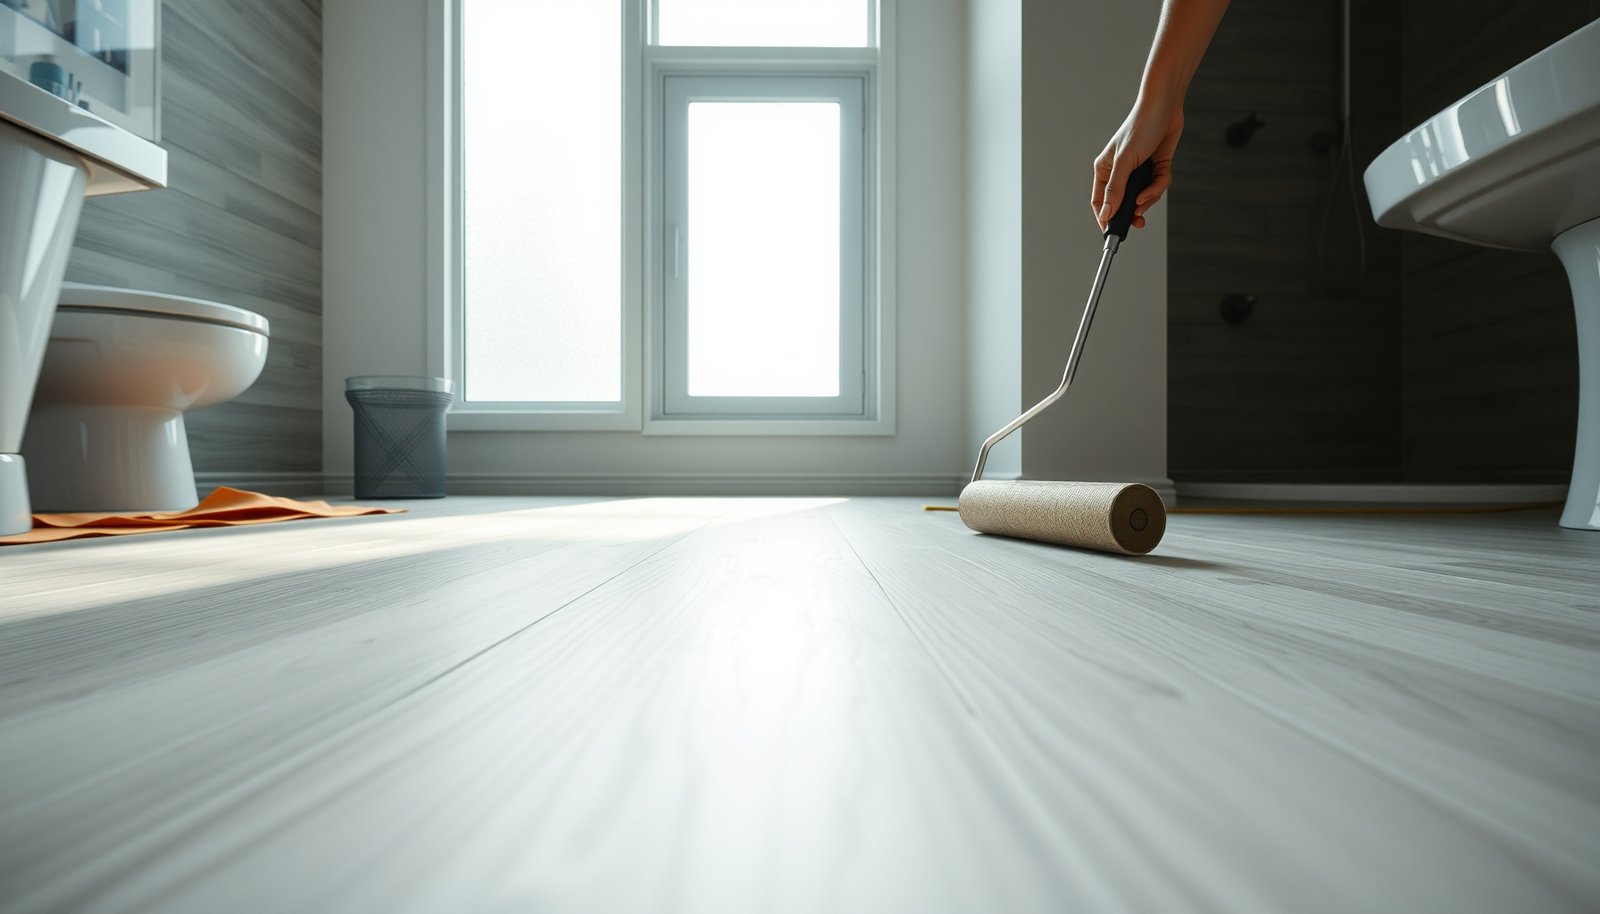

Preparing vinyl floors for a bathroom is simple and reliable when you follow one rule: start with a perfectly clean, flat, and moisture-protected subfloor before you install. This guide answers exactly how to prep vinyl flooring for wet-room conditions—what to clean, how to handle uneven spots, and how to seal and protect the base so water doesn’t creep under. If you want a bathroom vinyl floor that stays tight, smooth, and gap-free, you need these preparation steps first.

- TRANSFORMS HOME FLOORS: Creates a beautiful, ultra high gloss pearl finish on a variety of surfaces including ceramic and porcelain tile, hardwood, concrete, laminate, granite and other interior surfaces
- EASY 2-STEP APPLICATION: Simply clean, apply the Base Coat and Designer Coat system for a brand new look to bathrooms, kitchens, basements and other home spaces
- EXCELLENT DURABILITY & ADHESION: Provides maximum resistance to stains, wear and abrasions

Before you install vinyl in a bathroom, you need a flat, clean, dry subfloor and a moisture-safe plan for seams and transitions. Start by removing old flooring, checking flatness, and sealing or repairing anything that can create dips, bumps, or water paths. Then choose an appropriate underlayment (if required by your vinyl type) and use the manufacturer’s recommended adhesive/locking method at wet-area details.
If you’re switching to vinyl floors in bathrooms—especially from tile or laminate—prep is where most long-term performance is won or lost. Bathrooms add extra variables (steam, splashes, temperature swings), so “close enough” subfloor conditions can turn into joint separation, edge lifting, or buckling later.
Vinyl floors for bathrooms are best for homeowners and DIYers who are careful about moisture control and want a resilient, easier-to-maintain surface than tile. It also applies if your layout includes wet zones (shower splash area, sink backsplash line, toilet area) where seams and transitions are most likely to fail.
Assess moisture and subfloor condition first
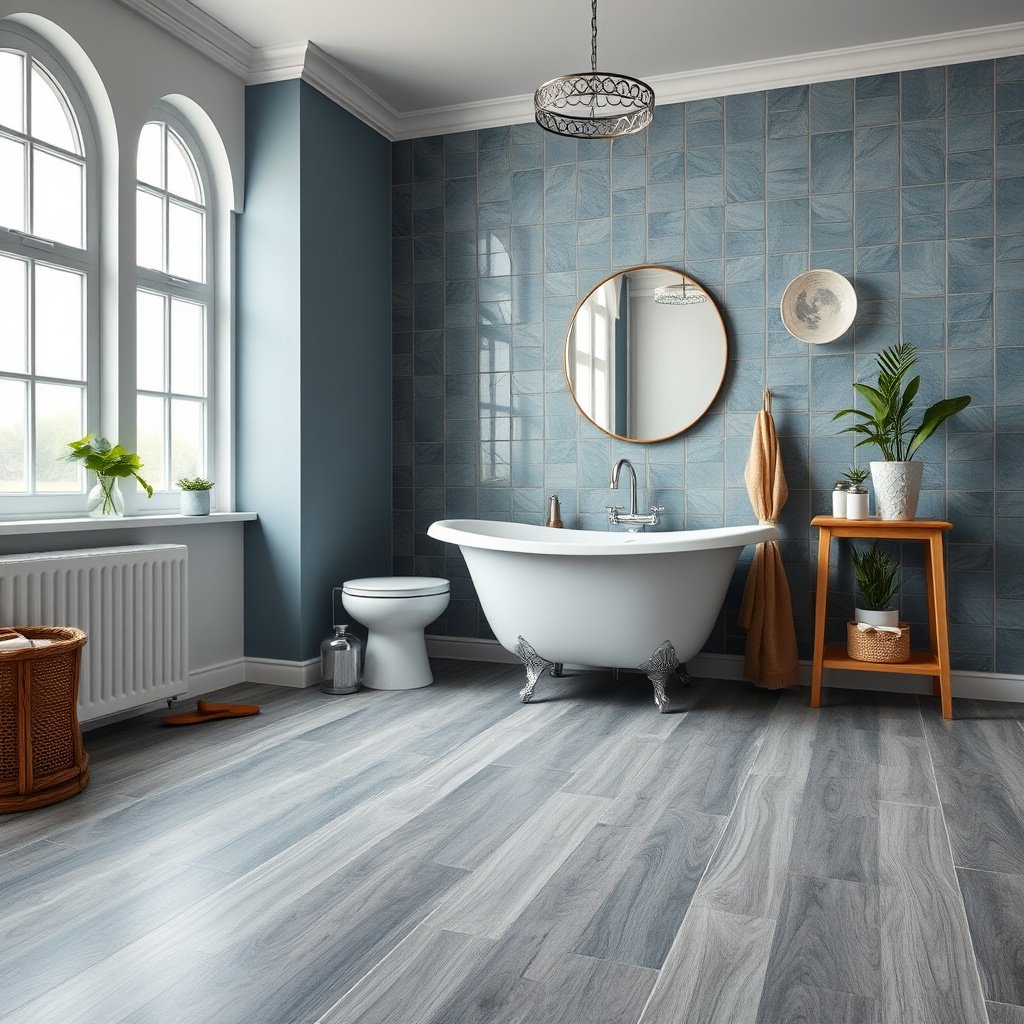
The fastest way to avoid bathroom vinyl failure is to confirm the subfloor is truly dry and stable before you lay a single plank. If moisture is coming from leaks, plumbing, or ongoing humidity, no underlayment choice will fully compensate.
According to the Resilient Floor Covering Institute (RFCI) work-practice guidance, subfloors must be dry and properly prepared so moisture doesn’t interfere with adhesives and floor covering bonds.
According to the U.S. Centers for Disease Control and Prevention (CDC), indoor environments with sustained high moisture support mold growth, which is a warning sign for moisture-related floor problems.
According to EPA guidance on mold prevention, maintaining indoor humidity in a moderate range helps reduce conditions that promote microbial growth.
– Check that the subfloor is completely dry before installation; fix wetness sources (leaks, poor ventilation) first. In bathrooms, the “moisture source” is often not the floor—it’s a plumbing connection, a wax ring failure, a cracked supply line, or ventilation that doesn’t remove steam fast enough. Address these before prep, or you’ll repeatedly chase symptoms with patches and sealants.
– Remove old adhesive residue, paint overspray, and any loose/peeling material so the surface is solid and uniform. Even “small” leftovers can telegraph through vinyl floors in bathrooms as ridges, preventing click-lock joints from seating and creating stress points for seams.
– Verify the subfloor is structurally sound (no bounce) and repair cracks, spalling, or damaged spots. Movement matters in resilient floors: a bouncy plywood subfloor can loosen transitions, separate seams, and exaggerate any flatness defects.
Clean thoroughly and level for a flat finish
Vinyl floors for bathrooms need a smooth, debris-free plane more than they need expensive tools. If the subfloor isn’t flat, the vinyl’s joints and edges become the “low spot detectors”—and they’ll fail first.
According to RFCI recommended work practices for resilient flooring, flatness deviations should be limited to prevent joint strain and premature separation.
According to ASTM test methods commonly used in flooring preparation, surface contaminants and unevenness can affect adhesion performance and floor flatness outcomes.
– Vacuum and scrape so there’s no grit under the vinyl—small debris can telegraph through and weaken joints. Use a stiff scraper for residue and then vacuum thoroughly; dust and micro-debris can create point-loads that show up as peaking or joint gaps.
– Level dips and fill low spots using a patch/leveling compound compatible with your subfloor type (plywood, concrete, etc.). Follow the compound’s instructions for thickness limits, cure time, and bonding conditions. For bathroom floors, curing time is critical because humidity slows some drying processes.
– Re-check flatness; vinyl generally needs a smooth plane to prevent gaps at seams and around toilet/wall lines. As a practical rule, concentrate on the areas that carry stress: under the toilet outline, along cabinet toe-kick edges, and across any seam line you plan to place.
Bathroom Vinyl Prep Decisions That Most Affect Long-Term Performance
| # | Prep Decision (Vinyl Floors for Bathrooms) | If Skipped | Primary Failure Mode | Impact Rating |
|---|---|---|---|---|
| 1 | Fix leaks before installation | Ongoing moisture intrusion | Lifting and seam failure | ★★★★☆ |
| 2 | Remove loose residue and peel-up | Weak bond or uneven support | Peaking and joint stress | ★★★☆☆ |
| 3 | Achieve a smooth flatness plane | High/low spots remain | Gaps, rocking, and separation | ★★★★☆ |
| 4 | Use the required underlayment/barrier | Moisture management is mismatched | Curling or lock-line issues | ★★★☆☆ |
| 5 | Plan seam placement away from splash zones | Water hits joints directly | Edge swelling and separation | ★★★★☆ |
| 6 | Use correct adhesive/locking method | Wrong bond performance | Lifting at seams or perimeter | ★★★★☆ |
| 7 | Seal expansion gaps or ignore expansion space | Floor can’t move properly | Buckling, tenting, or joint stress | ★☆☆☆☆ |
Handle transitions, edges, and wet-area details
The best bathroom vinyl results come from treating transitions as “water control points,” not just finishing details. If seams and edges are vulnerable where water lands, you’re essentially designing a leak pathway for failure.
According to RFCI installation guidance for resilient floor coverings, transitions and perimeters must be detailed so movement and moisture exposure are managed appropriately.
According to typical vinyl floor installation practices, expansion spacing must remain open where required so the floor can respond to humidity and temperature changes.
– Plan the layout so seams don’t land right where water pools (shower splash zone, sink splash line, toilet area). This is a layout decision, not just a cutting decision. Move seams so the densest foot-traffic and wet-overspray areas don’t sit directly on a joint line.
– Use the manufacturer’s recommended trim/transition pieces at doorways and changes in flooring height. In bathrooms with threshold transitions, the wrong reducer or an ill-fitting transition can concentrate stress and encourage edge lifting, especially when the floor “works” with humidity.
– Seal at the right places only (e.g., around perimeter transitions if the product calls for it), without blocking expansion gaps. Many installation issues come from over-sealing: when expansion space is filled with caulk, the floor has nowhere to go during seasonal humidity swings.
Choose the right installation method for your vinyl
The correct prep is determined by whether your vinyl floors in bathrooms are click-lock (floating) or glue-down. The subfloor prep can look similar at first, but underlayment and adhesive requirements change the failure modes and the fix strategies.
According to ASTM and industry installation practices, resilient floor performance depends on using the manufacturer-specified installation method and related materials (adhesives/underlayments).
According to the Resilient Floor Covering Institute (RFCI), adhesive selection, application rate, and surface readiness are critical for glue-down resilient floors.
– Confirm whether your bathroom vinyl is click-lock (floating) or glue-down, because prep steps for underlayment and adhesive differ. Click-lock systems typically rely on a compatible base and correct underlayment thickness to keep the locking mechanism fully engaged.
– If the vinyl manufacturer requires it, use the specified underlayment/barrier system to manage moisture and reduce minor subfloor irregularities. Adding an “extra” layer can sometimes defeat locking tolerances or create movement that stresses joints.
– Follow the exact adhesive and trowel/coverage guidance for glue-down products; too little adhesive can lead to edge lifting. If the adhesive isn’t applied at the correct coverage, the floor can appear flat initially and then fail at edges after moisture cycles.
Click-lock vs glue-down: which prep approach fits your bathroom vinyl?
| Feature | Click-lock / Floating Vinyl | Glue-down Vinyl |
|---|---|---|
| Primary bond mechanism | Interlocking edges | Adhesive bond to subfloor |
| Moisture strategy | Barrier/underlayment per spec | Moisture-safe subfloor + approved adhesive |
| Flatness sensitivity | High (locks can stress) | High (bond gaps fail) |
| Underlayment role | Critical if required by product | Typically not used unless approved |
| Perimeter sealing | Often limited to product instructions | Follow adhesive + trim specs |
| Failure pattern if wrong | Joint separation, edge lift | Debonding, bubbling, lifting edges |
| Tooling emphasis | Cutting + fit/lock consistency | Adhesive trowel + correct coverage |
| Tolerance to minor base changes | Can move if base supports it | Depends on adhesive bond continuity |
| Bathroom seam planning | Keep locks out of splash joints | Transitions still need wet-area detail |
| Install complexity | Moderate | Higher due to adhesive workflow |
| Best For | DIYers seeking straightforward fit | Projects where specs for adhesives/moisture are clear |
Acclimate and lay out to avoid buckling or gaps
The reliable way to prevent buckling in vinyl floors for bathrooms is to acclimate correctly and respect expansion space at walls and fixed vertical surfaces. Humidity swings aren’t rare in bathrooms—your floor needs room to respond.
According to installation instruction patterns used for resilient/vinyl flooring, acclimation aligns the product with the room’s temperature and humidity so it doesn’t over-expand or contract during install.
According to industry installation practices, expansion gaps must remain open where required so the floor can move without compressing into walls or cabinetry.
– Acclimate the vinyl according to the product instructions so it reaches the room conditions and installs without excessive expansion/contraction. Follow the stated duration and environmental conditions; bathrooms often run warmer and more humid than adjacent rooms.
– Dry-fit rows and account for obstacles (toilet flange clearance, cabinet legs, vent pipes) before cutting and fastening/adhesive. A tight cut at the flange is where “almost right” becomes “joint stress,” especially as the floor cycles with moisture.
– Maintain required expansion space at walls and fixed vertical surfaces—especially important in bathrooms with humidity swings. When expansion gaps are eliminated, vinyl floors for bathrooms can tent, buckle, or separate at seams even if the subfloor prep is otherwise good.
What can go wrong (and how to prevent it)
Most bathroom vinyl failures come from moisture exposure, poor flatness, or incorrect method details—not from the vinyl itself. The prevention approach is to identify the failure mode and trace it back to subfloor readiness and installation-spec adherence.
According to resilient flooring guidance, peaking commonly results from debris, insufficient leveling, or moisture-related loss of support under the covering.
According to industry installation principles, edge lifting and seam separation frequently trace back to improper adhesive coverage, skipped priming, or seams placed in heavy-wet-exposure areas.
– Bubbles/peaking: usually caused by debris, insufficient leveling, or trapping moisture under the flooring. Fix the surface and confirm the subfloor is dry. In bathroom vinyl floors, trapped moisture can arrive from the slab or from an unapproved barrier approach.
– Edges lifting or seams separating: often from using the wrong adhesive, skipping required priming, or placing seams in high-splash areas. If you’re glue-down, verify the adhesive type matches the flooring and substrate; if click-lock, verify the underlayment and flatness meet the product’s limits.
– Toilet and plumbing failures: problems start when water paths aren’t addressed and perimeter sealing/trim isn’t done per the vinyl instructions. Keep seam lines away from toilet and plan caulk/trim only where the manufacturer allows it.
– Wrong underlayment/barrier: some click-lock systems need specific underlayment; adding the wrong layer can affect locking or cause failure. Even “helpful” foam can change joint seating and increase joint stress in vinyl floors for bathrooms.
DIY vs professional prep: which route reduces risk in a bathroom?
| Criteria | DIY Preparation | Professional Preparation |
|---|---|---|
| Moisture source identification | Good if leaks/ventilation are obvious | Often more systematic for hidden plumbing issues |
| Flatness correction accuracy | Depends on tools and patch technique | More consistent leveling workflow |
| Method/spec compliance | Requires careful reading of instructions | Typically better alignment with manufacturer requirements |
| Moisture testing execution (if needed) | May skip if unclear or equipment isn’t available | More likely to use approved test methods |
| Transition/wet-area detailing | Can be accurate with careful planning | Often stronger at tricky edges and trims |
| Tooling for adhesive workflow | More variable for glue-down | More consistent adhesive trowel/coverage habits |
| Schedule risk | Cure times and drying can delay timelines | More reliable sequencing and drying management |
| Cost control | Lower upfront cost if specs are followed | Higher upfront cost, but fewer costly failures |
| Repair capability after errors | May require partial tear-out | More practiced at correction/mitigation strategies |
| Best when your subfloor is… | Known-stable, dry, and already flat | Uncertain moisture/flatness or complex wet details |
| Verdict | Choose DIY only if you can verify dryness + flatness to spec | Choose pro when moisture or detailing risk is hard to control |
Verdict: what we recommend before installing
Prepping vinyl floors for a bathroom is mostly about moisture control, a flat/dry base, and following the exact installation method your vinyl uses. If your subfloor is uneven, you suspect ongoing moisture, or the manufacturer requires a specific moisture barrier you’re not prepared to use, pause and address that first—skipping prep is the main reason bathrooms see vinyl failure.
This approach fits DIY projects where you can measure flatness, clean thoroughly, and follow the installation instructions line-by-line for your specific vinyl floors in bathrooms. If you can’t confirm dryness or flatness (or you have a history of leaks/condensation), a professional subfloor and moisture assessment can be the cheapest “insurance” you’ll buy.
Quick checklist (save this)
– [ ] Identify vinyl type: click-lock vs glue-down (check manufacturer instructions)
– [ ] Fix leaks and confirm subfloor is dry
– [ ] Remove old flooring/adhesive; scrape and vacuum thoroughly
– [ ] Level low spots and repair cracks/rough areas
– [ ] Confirm flatness meets the vinyl spec (use manufacturer guidance)
– [ ] Plan layout to keep seams out of wet-splash zones
– [ ] Acclimate vinyl if required
– [ ] Install per method: correct underlayment/barrier and adhesive/locking steps
– [ ] Leave required expansion gaps; use recommended trim transitions
Sources
– RFCI (Resilient Floor Covering Institute), recommended work practices/technical guidance for resilient floor covering installation and preparation.
– ASTM standards commonly used for flooring moisture evaluation and subfloor preparation testing (e.g., ASTM F1869 and ASTM F2170, as applicable).
– U.S. Centers for Disease Control and Prevention (CDC) and U.S. Environmental Protection Agency (EPA) guidance on moisture/humidity and mold risk in indoor environments.
Prepping vinyl floors for bathrooms is less about “doing more” and more about doing the right moisture and flatness steps, in the exact order your vinyl system requires. If you control moisture sources, achieve a smooth base, and keep seams/transitions out of splash-heavy spots, you give your vinyl floors the best chance to stay flat, tight, and problem-free through years of real bathroom use.
Frequently Asked Questions
What should I do to prepare vinyl floors before installing in a bathroom?
Start by removing the existing flooring and thoroughly cleaning the subfloor so it’s free of dust, grease, and adhesive residue. Check for moisture issues, especially around the toilet, vanity, and shower area, because vinyl flooring preparation depends on a dry, sound base. Repair any damaged spots, then ensure the surface is smooth and level before laying bathroom vinyl plank or sheet vinyl.
How do I level and repair my bathroom subfloor for vinyl flooring installation?
Use a straightedge to find dips, high spots, and uneven areas, then sand high spots and fill low areas with a floor patch compound rated for your subfloor type. Let patching materials fully cure according to the manufacturer’s directions, since premature installation can cause vinyl to buckle or separate. Finally, recheck flatness across the room so your vinyl flooring has even support, which is critical in bathrooms that experience temperature and humidity changes.
Why is moisture preparation important when installing vinyl floors in bathrooms?
Bathrooms have higher humidity and are prone to leaks, so moisture preparation helps prevent lifting, mold growth, and adhesive failure. Before installing, verify the subfloor is dry and consider using an appropriate moisture barrier if your product and subfloor require it. Pay extra attention to transitions near the toilet flange, around the vanity base, and any areas exposed to splashes.
Which underlayment and vapor barrier should I use under vinyl flooring in a bathroom?
The best choice depends on whether your vinyl is click-lock (floating) or glue-down and what the manufacturer specifies for underlayment. Many vinyl flooring products already include attached backing, meaning you may not need an additional foam underlayment; however, a vapor barrier may still be recommended for moisture-prone bathrooms. Always follow the vinyl flooring installation instructions to avoid voiding warranties and to ensure proper bathroom vinyl performance.
Best practices: How do I acclimate vinyl flooring and plan cuts for a bathroom?
Acclimate your vinyl flooring in the bathroom area for the recommended time so it adjusts to local temperature and humidity, reducing the risk of gaps or buckling after installation. Plan layouts to minimize short seams and to keep joints away from heavy-splash zones like directly in front of the shower or bath edge. When cutting, allow for expansion gaps where required by the product guidelines, and seal transitions around fixtures if your installation method calls for it.
📅 Last Updated: October 25, 2026 | Topic: How to prepare a vinyl floors for bathroom? | Content verified for accuracy and freshness.
References
- Vinyl flooring
- https://www.cdc.gov/mold/default.htm
- https://www.epa.gov/mold/preventing-mold
- https://scholar.google.com/scholar?q=prepare+vinyl+floor+for+bathroom+subfloor+moisture Google Scholar
- https://scholar.google.com/scholar?q=resilient+vinyl+flooring+installation+subfloor+preparation+moisture+testing Google Scholar
- https://scholar.google.com/scholar?q=bathroom+vinyl+plank+flooring+installation+guidelines+subfloor+levelness Google Scholar
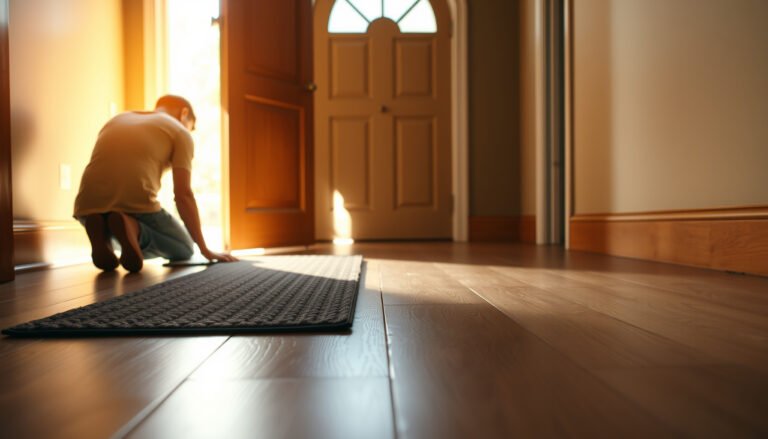
[…] sealer or waterproof caulk to prevent gaps where moisture can seep. For luxury vinyl plank with click-lock joints, ensure the installation is tight and consider using seam sealant designed for LVP in wet […]