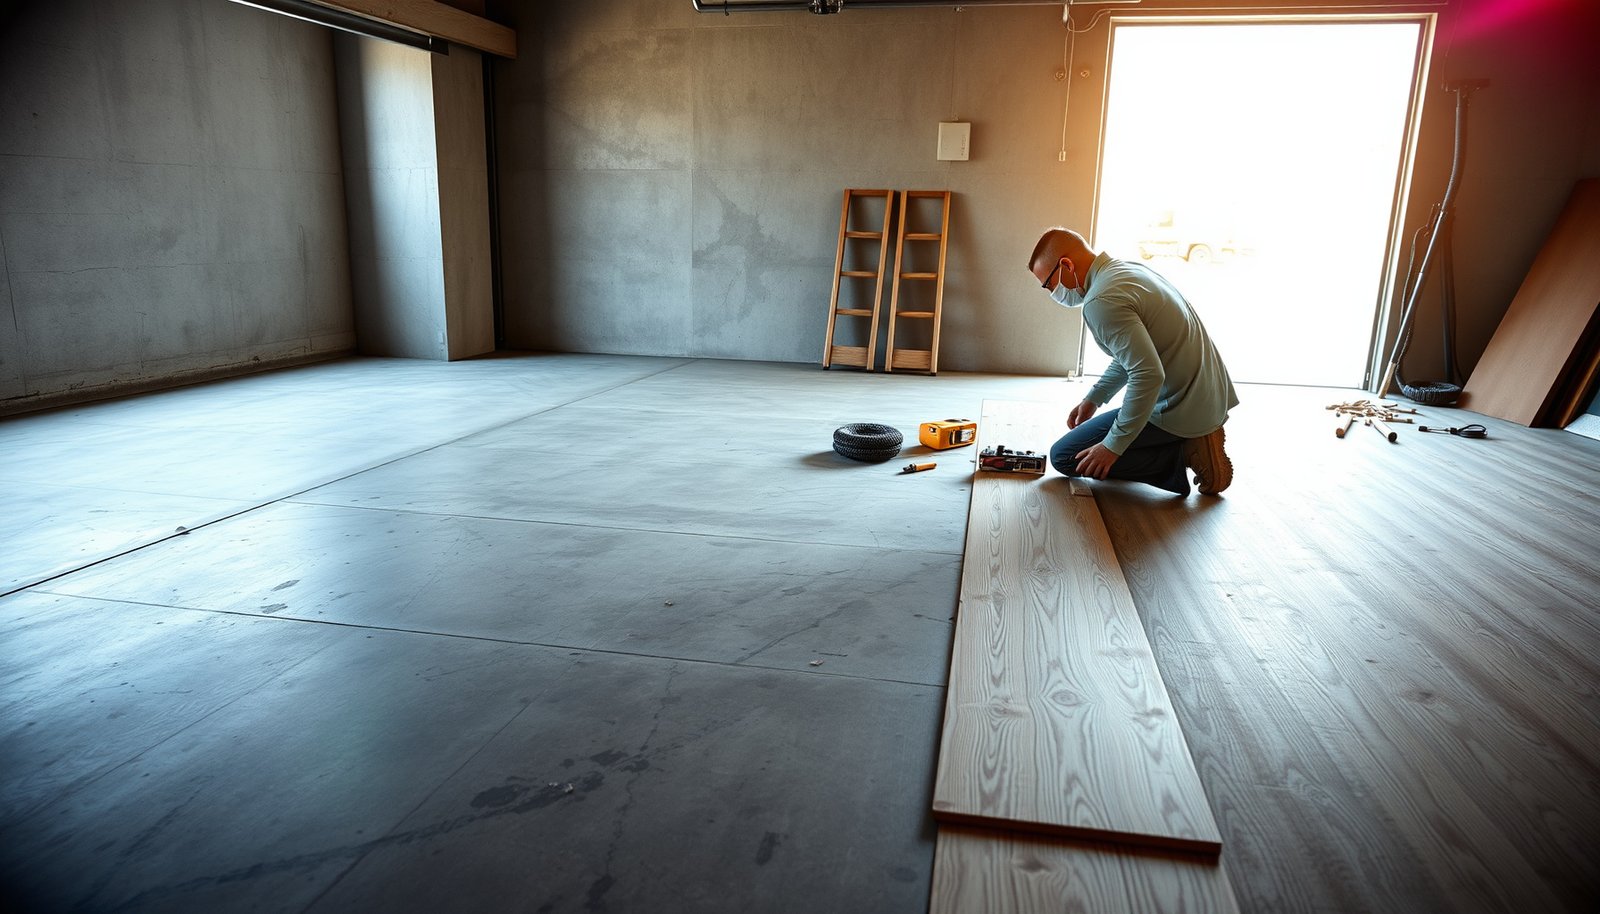

Replacing engineered wood floors in a garage is worth doing only when you plan for garage-grade moisture, subfloor prep, and a flooring system that can handle temperature swings. This guide tells you exactly how to remove the old boards, verify the slab/subfloor is flat and dry, and install new engineered wood with the right underlayment and expansion gaps. Follow these steps and you’ll avoid the buckling, squeaks, and failure points that show up when garage conditions aren’t handled upfront.




Replacing engineered wood garage floors is mostly about controlling moisture and removing the existing boards the right way. If you prep the subfloor properly and choose the correct underlayment/glue or fastening method for your plank type, the new floor will lay flatter and last longer in a space with temperature swings and occasional dampness. In this guide, you’ll learn the step-by-step process from tear-out to final installs, plus the mistakes that most often cause lifting or gaps.
If your garage floor has worn, damaged, or badly warped engineered wood, this is for you—especially if you’re planning to reuse the space for parking, storage, or workshops. It’s also helpful if you’re unsure whether you should float, glue, or nail your replacement planks based on the product you currently have.
Plan the replacement: identify your engineered wood system

The fastest way to avoid gaps and lifting is to correctly identify your current (and replacement) engineered wood installation system, then plan the same method unless the manufacturer says otherwise. In a garage, your plan should also include moisture control details (not just aesthetics) because engineered wood movement is driven by humidity and temperature change.
Engineered wood performance in garages depends on matching the install method (click-lock floating, glue-down, or nail/anchored) to the specific product instructions.
Concrete moisture testing and slab preparation guidance is typically standardized through ASTM methods such as ASTM F1869 and ASTM F2170.
Check what you have now (then mirror it)
– Click-lock “floating” (planks connect to each other and float over an underlayment).
– Glue-down (planks are bonded directly to the substrate with an adhesive specified for that engineered wood system).
– Nailed/anchored (planks fastened to the substrate; engineered wood is dimensionally stable, but fastener patterns still matter).
If your replacement is a different plank construction than the existing floor, don’t assume “engineered wood = same rules.” Start from the new product’s spec sheet, then confirm whether your existing floor method is truly compatible.
Measure the garage accurately—and plan around real obstacles
A garage is rarely a clean rectangle. Measure:
– Door thresholds and any expansion joints in the slab.
– Support posts, base cabinets/bench areas, and HVAC/water lines.
– The direction of traffic (rolling carts, parking access) so you can stagger joints away from the heaviest stress zones.
Plan for transitions early. Common transition locations include door openings, between garage and house, and around posts. If the manufacturer calls for specific trim/transition pieces to manage movement, it’s worth sourcing those before tear-out.
Identify moisture risk sources before you remove anything
Before you lift a single plank, locate likely moisture pathways:
– Unsealed or chemically treated concrete that allows vapor to pass.
– Roof/pipe leaks above the garage that show up as localized dampness.
– Condensation along exterior walls (especially in climates with big overnight temperature swings).
– Missing gutters/downspouts near slab edges.
This is where a simple root-cause analysis (RCA) approach helps: eliminate the water path first, then install the correct flooring system second.
Remove the existing engineered wood safely
Removing the old floor without damaging the concrete/subfloor is the difference between a “flat, stable install” and recurring squeaks, open joints, and adhesive issues. The key is to remove the engineered boards in a way that respects the original fastening method and keeps the slab surface ready for the next moisture barrier and/or adhesive.
Tear-out should be guided by the original fastening system so you remove planks without leaving a thick adhesive ridge or damaging the slab surface profile.
After removal, engineered wood installs require a clean, sound substrate because residual adhesive, staples, or high spots can telegraph through the new floor.
Clear the space and contain debris
Start with practical safety and cleanliness steps:
– Ventilate and wear eye/hand protection when prying or cutting.
– Mask door tracks and cover nearby finishes to prevent dust damage.
– Bag debris immediately (garage tear-out creates fine particulates that settle everywhere).
Remove planks based on the fastening method
Use the approach that matches what you have:
– Click-lock: lift and separate carefully along the joint lines to minimize concrete damage.
– Glue-down: expect adhesive. Use controlled scraping to avoid gouging concrete.
– Nail/anchored: remove fasteners or pry around them without shattering plank edges or pulling chunks from the substrate.
If you find a mix (common in renovations), stop and determine which section uses which method before proceeding.
Inspect, then clean the slab so the new system can bond
After tear-out:
– Scrape or grind off adhesive high spots.
– Pull remaining nails/staples (or remove protrusions flush).
– Vacuum thoroughly so moisture barriers and adhesives can perform as specified.
– Check flatness by visual ruler/straightedge (and correct high ridges before installing).
Prepare the subfloor for garage conditions
Subfloor preparation is where garages are won or lost: engineered wood will follow the slab’s flatness and will react to moisture that moves through concrete. Before installation, make the slab clean, stable, and within the tolerances stated by the flooring manufacturer—then install the correct moisture system for a garage environment.
Concrete moisture tests like ASTM F1869 quantify moisture vapor emission rate in lb/1000 sq. ft. per 24 hours, which can affect adhesive performance.
In-situ relative humidity testing (ASTM F2170) measures RH percent using probes, providing slab-specific moisture conditions under real conditions.
Verify stability and flatness
Engineered wood (even when installed correctly) will telegraph unevenness:
– High spots can push planks up, stressing joints.
– Low spots can concentrate rolling-load deflection (tire/caster traffic) and contribute to squeaks or joint separation.
Use a straightedge and measure against the flatness tolerances in your manufacturer’s installation instructions.
Address moisture first—then move to leveling/repairs
Moisture control is not optional in many garages because concrete is a vapor source. If the manufacturer requires a moisture barrier, follow it exactly rather than “substituting something similar.”
For moisture testing and documentation:
– ASTM F1869 is a common method for moisture vapor emission rate; ASTM F2170 is another widely used approach for slab RH.ASTM F1869 (Moisture Vapor Emission Rate testing; output in lb/1000 sq. ft./24h) ASTM F2170 (In-situ RH probe testing; output in %RH)
– Surface prep guidance is typically covered by ASTM F710, including cleaning and preparation practices before floor coverings.ASTM F710 (Standard Practice for Preparing Concrete for Installation of Floor Coverings)
If your slab tests above the flooring system’s limits, you need to correct the moisture problem (seal/coating compatible with the flooring system) before installing.
Fix defects before installation
Concrete/subfloor defects that should be handled before planks go down:
– Cracks/holes (patch per spec).
– High ridges (grind to shape).
– Loose material or weak concrete.
– Dust contamination (vacuum again after surface prep).
Then install only the underlayment/moisture barrier that the engineered wood manufacturer specifies for garage use.
7 Standards Commonly Used to Manage Slab Moisture & Prep for Flooring
| # | Standard | What It Measures / Outputs | Typical Use in a Garage Install | Moisture-Control Fit |
|---|---|---|---|---|
| 1 | ASTM F2170 | In-situ %RH (relative humidity) from probe readings | Deciding if the slab is dry enough for adhesive or underlayment | ★★★★★ |
| 2 | ASTM F1869 | Moisture vapor emission rate in lb/1000 sq. ft./24h | Verifying vapor drive before glue-down installations | ★★★★☆ |
| 3 | ASTM F710 | Preparation practices for concrete before floor coverings | Ensuring cleaning/repair steps allow correct bonding & coverage | ★★★★☆ |
| 4 | ASTM E96/E96M | Water vapor transmission rate/permeance of materials | Comparing vapor barrier/underlayment specs against garage moisture risk | ★★★☆☆ |
| 5 | ASTM D4263 | Pass/fail surface dryness using a plastic sheet test | Quick screening before deeper slab testing and prep | ★★☆☆☆ |
| 6 | ASTM C1583 | Concrete surface tensile/bond strength via pull-off testing | Assessing whether patches/coatings and prep will support adhesion | ★★★☆☆ |
| 7 | ASTM D4442 | Wood moisture content as % by mass | Confirming wood is at an acceptable moisture state before/after acclimation | ★★★★☆ |
Install the replacement engineered wood (the right method matters)
The right install method is what keeps engineered wood joints tight through seasonal movement and garage temperature swings. Follow the product’s instructions for underlayment/moisture barrier, fastening/adhesive approach, and expansion gaps—because “close enough” is exactly how floors buckle, cup, or separate.
Floating click-lock floors rely on proper underlayment and edge spacing so the system can expand/contract without peaking against walls.
Glue-down systems require the adhesive specified by the manufacturer and consistent trowel/spread practices to prevent bond failure in high-moisture environments.
For click-lock (“floating”) systems
– Use the correct underlayment (some are vapor barriers; others are for sound only—garage conditions usually require a vapor-appropriate product).
– Maintain expansion gaps at walls, posts, and fixed objects exactly as specified.
– Stagger end joints and avoid “H-joint” patterns that create weak lines.
– Don’t trap the floor with tight-fitting trim that blocks movement.
For glue-down systems
– Use adhesive specified for your plank type and substrate.
– Follow trowel/notch guidance and respect adhesive open time.
– Maintain consistent spread coverage and avoid over-rolling or disturbing planks after set begins.
– Seal or patch substrate problems before adhesives go down; thin spots create bond voids.
For nailed/anchored systems (if applicable)
Some engineered floors are designed for fastening to a wood subfloor or using engineered anchoring systems:
– Confirm nailing schedule/angles and fastener placement rules.
– Keep fasteners consistent to prevent localized flex and joint separation.
– Don’t fasten through areas not approved by the manufacturer (staple/nail locations are often specified).
Transitions and finishing details still must allow movement
Thresholds and door jamb areas are common failure points. Your goal is:
– A neat transition that doesn’t pin the planks.
– Proper spacing behind trim when required.
– Molding/transition pieces installed in a way that doesn’t restrict the floor’s expansion direction.
Quick method comparison (pros/cons)
- Click-lock floating
- Pros: Typically faster, easier to replace small areas later; fewer adhesive variables. Cons: Needs correct expansion gaps and flatness to avoid joint separation or “hollow” spots.
- Glue-down
- Pros: Often very stable under rolling loads when correctly bonded. Cons: Sensitive to moisture/vapor drive and adhesive technique; bonding mistakes can show up later as lifting.
- Nail/anchored
- Pros: Can be stable when installed to the correct substrate type. Cons: Fastener schedule and substrate prep are critical; wrong fastener strategy can lead to loose planks.
What can go wrong (and how to avoid it)
Most garage problems come from moisture mismatch, incorrect flatness prep, or install details that prevent normal seasonal movement. If you treat this like a moisture + flatness project first, the visible installation usually follows with fewer surprises.
Moisture-barrier underlayment must match the manufacturer’s garage requirements; otherwise, cupping, gapping, or adhesive failure becomes more likely.
When expansion gaps are missing, engineered wood has nowhere to expand, increasing the risk of buckling or peaking near walls and posts.
Common failure causes
– Moisture mismatch: Using an underlayment/vapor barrier that isn’t approved for your garage moisture conditions can lead to cupping, gapping, or adhesive breakdown. Don’t guess—use the manufacturer’s documentation.
– Poor flatness: Skipping leveling/flattening causes raised joints, squeaks, and accelerated wear, especially with rolling loads (tires, carts, tool racks).
– Ignoring expansion gaps: Temperature swings in garages (especially unconditioned spaces) can move wood faster than you expect. Without spacing, floors will push against walls.
– Wrong install method: Floating rules don’t transfer to glue-down systems. If you install planks “as if” they’re floating when they’re engineered to be glued, you can create movement patterns the warranty won’t cover.
– Edge/transition failures: Thresholds, wall edges, and around fixed posts are frequent failure points when spacing or transition-piece instructions are ignored.
Where I’ve seen the biggest surprises
In my experience advising on recurring floor issues, the installer usually understands planks but underestimates “subfloor reality”: leftover adhesive ridges, dust-clogged patches, and vapor barriers installed with gaps or missing seams. These aren’t glamorous problems, but they directly affect bonding and movement.
Verdict: what we recommend (and who should skip DIY)
If you can measure accurately, prep a flat, clean substrate to the manufacturer’s standard, and follow the install instructions exactly, replacing engineered wood in a garage is a manageable DIY project. The “best results” path is straightforward: prevent moisture problems, achieve flatness, then execute the correct install method with correct spacing.
When garage slab moisture or flatness is outside the engineered wood’s stated limits, DIY installs are more likely to develop gapping, cupping, or lifting.
As of 2026, many manufacturers still require proof of substrate conditions through their moisture testing and preparation instructions before performance can be expected.
That said, skip DIY (or involve a flooring professional) if:
– The slab is significantly out of level/flatness and requires extensive leveling beyond your tools.
– You suspect ongoing moisture intrusion (roof/pipe issues, persistent damp concrete, visible efflorescence).
– You can’t confidently identify whether your replacement must be glued, fastened, or floated (and your product instructions don’t clearly match your existing floor approach).
A practical tip: treat this as a “moisture + flatness” job first, and a “plank install” job second—the floor’s long-term behavior usually reflects prep more than the visible finish.
Quick checklist for replacing engineered wood in a garage
– [ ] Confirm your engineered wood type: click-lock / glue-down / nail-down
– [ ] Measure garage area + plan transitions/obstacles
– [ ] Remove old boards and clean off remaining adhesive/nails
– [ ] Check flatness/levelness and patch or grind as needed
– [ ] Use the correct moisture barrier/underlayment per manufacturer specs
– [ ] Install with required expansion gaps and correct fastening/adhesive
– [ ] Finish edges and transitions (thresholds, posts, vents) neatly
Sources
– ASTM moisture testing and prep references used for moisture testing concepts (as cited above): ASTM F1869, ASTM F2170, ASTM F710
Replacing engineered wood garage floors successfully comes down to disciplined preparation: remove the old material correctly, control moisture with the right testing and vapor barrier approach, and install your replacement using the correct method with required movement gaps. If you prioritize those steps, you’ll typically get a flatter floor, tighter joints, and longer service life even with the temperature swings garages are known for.
Frequently Asked Questions
What tools and materials do I need to replace engineered wood floors in a garage?
You’ll typically need a pry bar, oscillating multi-tool or circular saw with a fine-tooth blade, measuring tape, spacers, a tapping block, and a level. For engineered wood flooring, gather the right underlayment (if required), replacement planks, transition strips, moisture barrier materials, and the correct adhesive or click-lock installation supplies. If your garage is prone to moisture, also plan for a proper vapor barrier and edging/sealing supplies to prevent swelling and gaps.
How do I remove existing engineered wood flooring from a concrete garage slab?
Start by removing baseboards, trim, and transitions, then carefully lift planks or cut through adhesive lines if they’re glued down. Use a scraper and vacuum to remove remaining thinset/adhesive and grind high spots so your new engineered wood floors sit flat. After demolition, check the slab for moisture and clean dust thoroughly—most garage floor failures come from poor prep and uneven substrates.
Why is moisture control important when replacing engineered wood floors in garages?
Garages often experience seasonal humidity swings, temperature changes, and moisture vapor coming up from concrete, which can cause engineered wood to buckle, cup, or separate at seams. Before installing, verify slab dryness and use the correct moisture barrier or underlayment designed for concrete. Leaving appropriate expansion gaps and sealing transitions helps reduce moisture intrusion and keeps your engineered wood floor warranty-compliant.
How do I choose the best installation method for engineered wood floors in a garage?
The best method depends on your engineered wood type and your garage conditions: click-lock floating floors are faster to install but still require correct underlayment and moisture protection. Glue-down engineered wood can improve stability over concrete, but it requires proper adhesive selection and slab flatness. If you’re dealing with a previously uneven slab or high moisture risk, prioritize moisture-rated underlayment/vapor barrier and follow manufacturer-approved installation guidelines.
Which underlayment and vapor barrier should I use under engineered wood floors in a garage?
For garage installations over concrete, many homeowners need an underlayment system that includes a vapor barrier to limit moisture transmission. Choose an underlayment specifically rated for engineered wood flooring and garage basements/concrete slabs, and ensure seams are overlapped and taped for continuity. If your planks require a specific underlayment thickness or type, match the manufacturer’s specs to avoid joint movement, squeaks, or premature wear.
📅 Last Updated: October 19, 2026 | Topic: How to replace engineered wood floors in a garage? | Content verified for accuracy and freshness.
References
- F2170 Standard Test Method for Determining Relative Humidity in Concrete Floor Slabs Using in sit…
- F1869 Standard Test Method for Measuring Moisture Vapor Emission Rate of Concrete Subfloor Using …
- F710 Standard Practice for Preparing Concrete Floors to Receive Resilient Flooring
- https://www.epa.gov/mold/moisture-and-mold
- Engineered wood
- Wood flooring
- https://scholar.google.com/scholar?q=engineered+wood+floor+installation+concrete+slab+moisture+vapor+barrier Google Scholar
- https://scholar.google.com/scholar?q=garage+wood+flooring+humidity+subfloor+preparation Google Scholar
- https://scholar.google.com/scholar?q=ASTM+F2170+in-situ+relative+humidity+test+flooring+installation Google Scholar