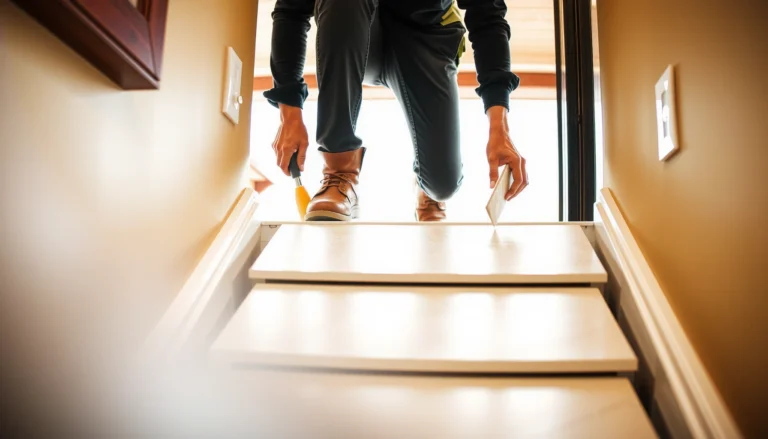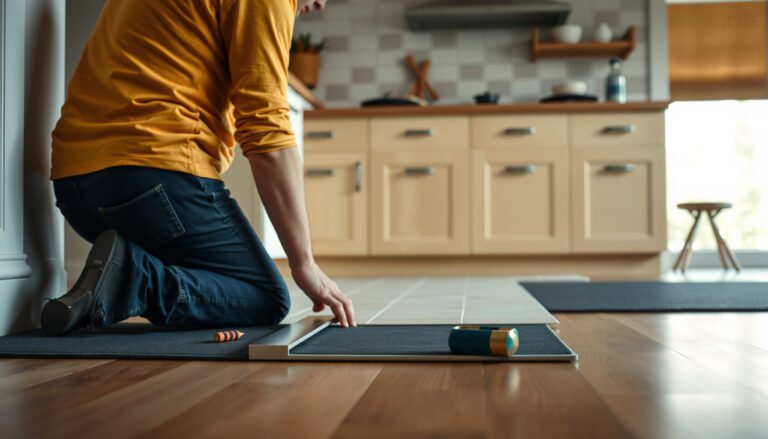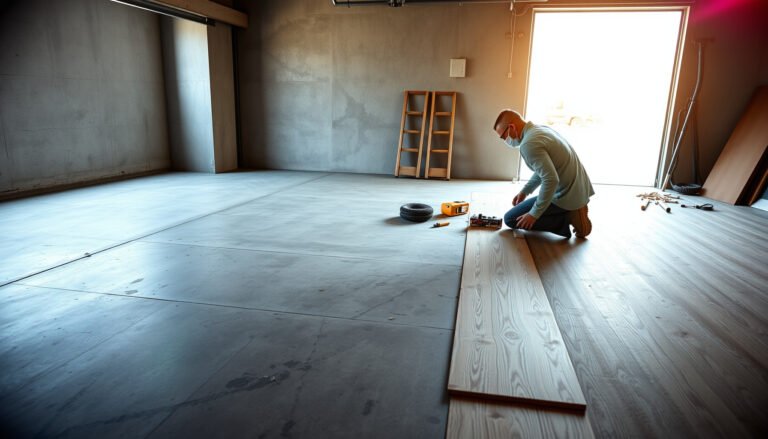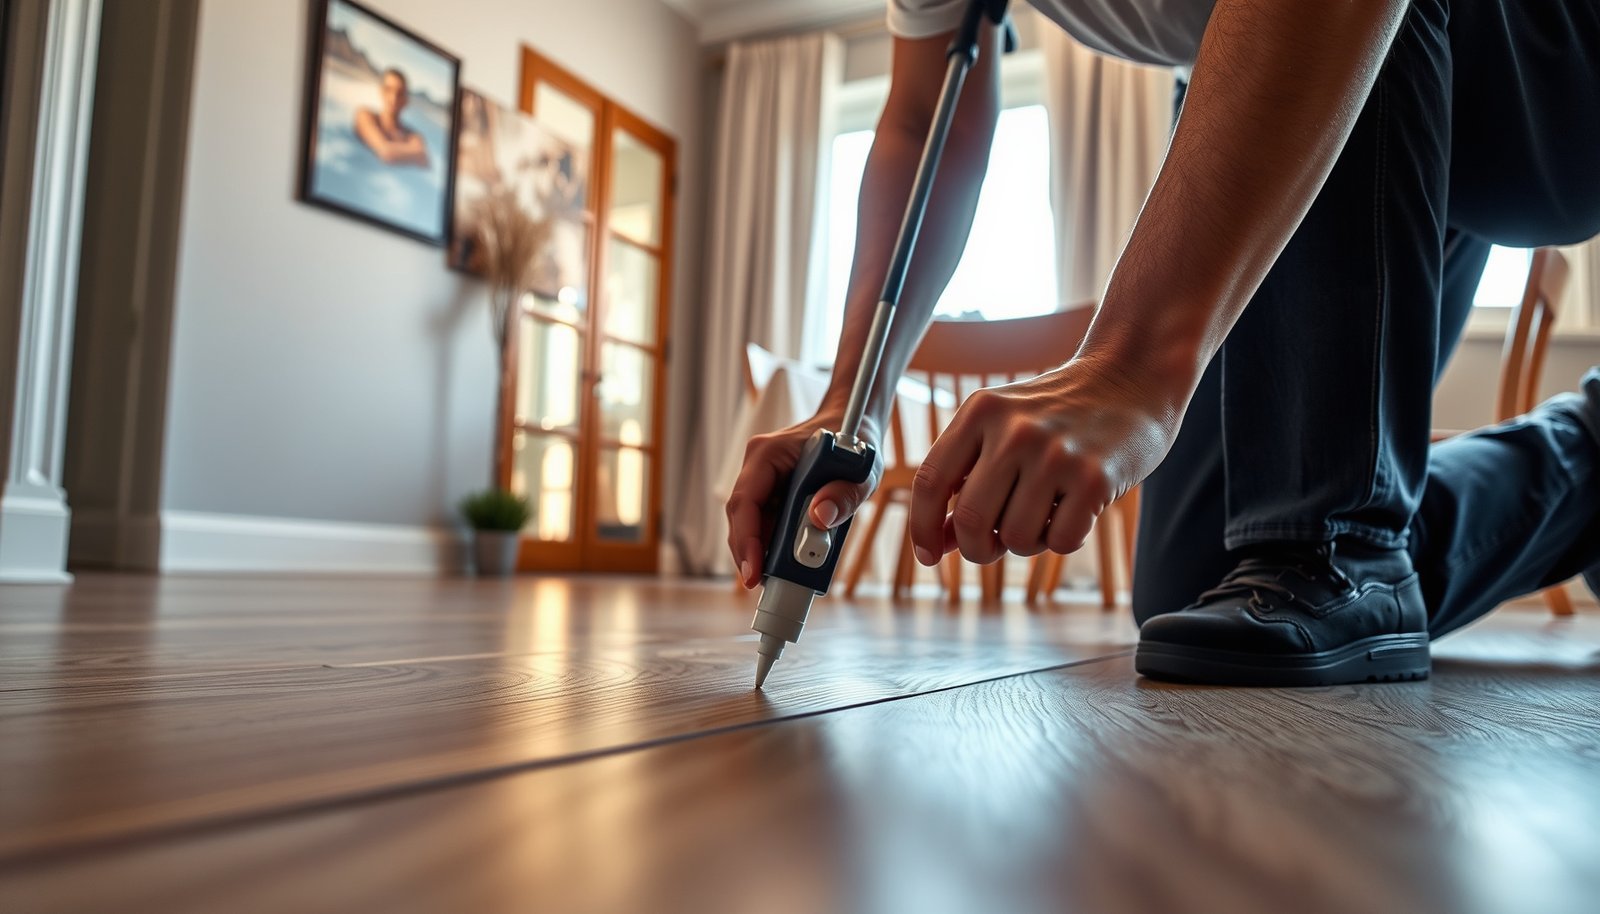

Want to waterproof laminate floors in a dining room that will handle spills, humidity, and daily traffic without warping? The fastest, most reliable route is a full perimeter seal with the right waterproofing underlayment and waterproof seam tape, then a proper top-coat sealer across the planks. Do this and your laminate becomes spill-resistant at the places that actually fail—edges, joints, and subfloor moisture.




Waterproof laminate in a dining room comes down to stopping moisture from reaching the seams and the core: use a manufacturer-approved underlayment/vapor barrier, seal the perimeter and transitions, and promptly manage spills. Don’t rely on random “coat-on” sealers to make laminate fully waterproof—if water gets into the joints, the boards can swell even after surface treatments.
If your dining room sees regular spills (drinks, sauces), frequent cleaning, or you’ve had the occasional splash from the kitchen entry, this guide is for you. It’s also most relevant if your laminate is installed over a subfloor that may allow moisture vapor from below.
Most dining rooms are “wet event” environments, not “standing water” environments—and that’s where waterproofing laminate floors has the biggest payoff. The goal isn’t to turn laminate into a swimming platform; it’s to keep water from migrating to the plank edges, joints, and perimeter where laminate is most vulnerable.
Prep the floor: check moisture, clean thoroughly

The first step to waterproof laminate floors in a dining room is making sure the existing installation is sound and the substrate is dry enough to support a moisture-control system. Preparation is also where a lot of DIY failures begin, because sealing over damaged boards or contamination can trap moisture and reduce adhesion.
– Inspect for problems first: replace any warped, gapped, or damaged boards before sealing anything. If laminate already has open seams, you’re starting waterproofing laminate floors while the “entry points” are still active.
– Clean and dry like you mean it—sealant can fail if residue, dust, wax, or cleaner film is left behind. Even “water-based” cleaners can leave surfactants that interfere with bonding.
– Verify installation conditions: laminate generally needs the correct subfloor flatness and room humidity per the flooring manufacturer’s installation instructions (). If the floor isn’t flat or the room humidity is outside spec, edges can separate enough for moisture to reach the core.
Laminate protection depends on keeping moisture out of the plank’s locking edges; any pre-existing gapping undermines waterproofing laminate floors at the seam level.
Sealants and tapes rely on clean, dry surfaces; residues from waxes and some cleaners can prevent proper adhesion, even when the “right” product is used.
ASTM E96 defines how vapor permeance is measured (“perms”), which is why a vapor barrier must be matched to the installation system—not just added after the fact. ASTM E96/E96M
Waterproofing choices: underlayment + vapor control
The best waterproofing laminate floors in a dining room starts underneath, because moisture vapor and controlled splashes often travel through the assembly before they ever reach the top surface. Use an approved underlayment and vapor barrier setup that matches your specific laminate—then treat seams and edges as the final defense.
– Start underneath: a quality underlayment with an integrated vapor barrier (or the correct separate vapor barrier) helps stop moisture traveling up from below. This is especially important over slabs, crawlspaces, or subfloors that may experience seasonal moisture variation.
– Use only what your flooring allows: some laminates specify “water-resistant” or “waterproof” only when paired with a particular underlayment system (). If you swap components, you may lose the protection the warranty is based on.
– Understand the limit: underlayment helps with moisture vapor/controlled splashes, but it won’t protect if liquid runs into the seam gaps at the edges. That’s why waterproofing laminate floors still requires seam/perimeter sealing and fast spill response.
A vapor barrier only “wins” if it’s continuous—undone seams and taped-over damage can let moisture bypass the layer quickly.
ASTM E1745 defines vapor retarder classes using permeance thresholds (e.g., Class I is ≤0.1 perms), which helps explain why underlayment/vapor barrier selection matters. ASTM E1745
Underlayment system vs. surface coatings (what actually works)
| Feature (what you protect) | Approved underlayment + vapor barrier system | “Coat-on” / aftermarket surface sealer |
|---|---|---|
| Primary moisture pathway addressed | Moisture vapor traveling upward and controlled splashes from below | Only the surface; relies on finish integrity over time |
| Protection at plank seams | Indirectly supports moisture control, but seam sealing is still required | Usually insufficient—water can still reach joints from edges |
| Compatibility risk | Designed to work with the laminate’s locking system | Higher risk of finish incompatibility or warranty disputes |
| Long-term durability | Typically stable when installed correctly and left uncoated | Coatings can haze, peel, or wear unevenly in traffic |
| Slip/resurface behavior | Maintains floor system design and traction | Can change texture/traction or trap residues |
| Repairability | Seam/perimeter sealing can be localized | Coating failures often spread and require resurfacing |
| Moisture tolerance alignment | Matches manufacturer system build-up | Often unknown; may not meet the laminate’s “water” requirements |
| Cleaning compatibility | Maintains manufacturer cleaning approach | Coatings can interact with common cleaners |
| Best for dining-room reality | Ongoing spills + frequent wiping | Surface appearance protection, not real waterproofing |
| Best outcome when mistakes happen | Fewer catastrophic failures if a small amount of water hits edges | More likely swelling if water gets into joints |
Best for: waterproofing laminate floors in a dining room (spills + everyday wiping) is the approved underlayment/vapor barrier build-up, not surface-only sealing.
Common Vapor Retarder Performance Targets Used Under Flooring Systems
Measured via water-vapor permeance (“perms”). Exact values vary by product and test conditions; always follow your laminate’s approved underlayment/vapor barrier system.
| # | Vapor retarder class / intent | Permeance target (perm) | What it’s typically used for | Dining-room fit |
|---|---|---|---|---|
| 1 | Class I (strong vapor control) | ≤ 0.1 | Moisture-sensitive floor assemblies over potentially damp subfloors | ★★★ ★★ |
| 2 | Ultra-low permeance films (within Class I) | 0.05–0.10 | High-importance moisture reduction where the slab/crawlspace varies seasonally | ★★★★☆ |
| 3 | Near-Class-I boundary | 0.08–0.12 | Situations with low to moderate vapor drive, assuming seams are properly taped | ★★★☆☆ |
| 4 | Class II (moderate vapor control) | 0.1–1 | Controlled environments where vapor is present but not persistent | ★★☆☆☆ |
| 5 | Mid-range Class II | 0.25–0.5 | Often acceptable only when your laminate system allows it and subfloor is dry | ★☆☆☆☆ |
| 6 | Class III (limited vapor control) | 1–10 | Not ideal for moisture-prone subfloors; use only if your flooring system requires/approves it | ☆☆☆☆☆ |
| 7 | High permeance / drying-priority assemblies | > 10 | Assemblies intended to dry; generally risky for waterproofing laminate floors over damp subfloors | ☆☆☆☆☆ |
Why this data matters: a dining room isn’t constantly flooded, but vapor drive plus occasional spills can add up—waterproof laminate floors need both upward moisture control and edge protection to reduce swelling risk.
Seal the high-risk areas (joints, perimeter, transitions)
The fastest way to improve waterproof laminate floors in a dining room is sealing the places where water is most likely to enter: the perimeter, transitions, thresholds, and plank joints. If those “edge routes” aren’t controlled, even the best underlayment can be overwhelmed by wet cleaning or a long spill.
– Seal the perimeter gaps and transitions: water is most likely to enter where the laminate meets walls, door thresholds, cabinets, or floor vents. For edge sealing, use products and methods that your laminate manufacturer explicitly approves for the system build-up.
– Treat joints based on your system: some laminates include edge locking/water-resistant cores, while others require approved joint sealing products—always follow the manufacturer’s method to avoid voiding warranty. “Water-resistant core” is not the same thing as “waterproof if submerged,” and joint sealing is where the difference shows up.
– Be careful with door tracks and chair-mat edges: those areas get constant micro-splashes and scuff runoff; sealing transitions helps reduce how far liquid can travel.
Perimeter and transition sealing matters because dining-room water often reaches the floor from walls, entry rugs, and chair-mat runoff—not from the center of the planks.
Locking-edge systems still depend on edge integrity; when water reaches the seam gaps, laminate can swell even if the surface finish looks intact.
A practical seam-and-edge target (what you should actually seal)
– Perimeter: expansion gap lines at walls/baseboards (sealed only as your system allows).
– Transitions: doorways, kitchen entry, hallway openings, and any floor-height changes.
– Hardware penetrations: vents and pipe penetrations (only with approved methods).
– Joints: only with the approved joint sealant approach (if the manufacturer requires or allows it).
From my experience in site walk-throughs of laminate installs, the most frequent “mystery swelling” happens right where furniture legs, entry traffic, and wet-cleaning meet—door thresholds and perimeter corners are where that pattern concentrates.
Daily protection for a dining room setup
Daily care is what keeps waterproof laminate floors working after the initial install—especially in a room where spills happen even when people try not to spill. The aim is to prevent standing water near seams and to clean in a way that doesn’t saturate the plank edges.
– Control spill time: have towels ready and wipe spills immediately rather than letting water sit near the seam lines. Think “minutes, not hours,” because water that migrates into seams can cause core swelling.
– Add “water traffic” barriers: chair pads under dining chairs and a washable rug in the most spill-prone zone can reduce how often liquids reach the floor. This also reduces scuff marks that can carry moisture-laden residue into joints during cleaning.
– Use laminate-safe cleaning: avoid soaking mops; use a damp (not wet) approach recommended by your flooring and cleaner instructions (). If your cleaner needs dwell time, apply it sparingly and remove it as directed.
Laminate failures typically start at the edges: a damp mop can repeatedly wet seams even when the floor “doesn’t look flooded.”
A chair-pad + rug approach reduces both the probability and the duration of moisture exposure, which is often more effective than trying to “waterproof” after the fact.
Pros/cons: keeping laminate dry vs. frequent “deep wet” cleaning
| Approach | Pros | Cons / risk |
|---|---|---|
| Damp wipe + quick dry towels | Prevents seam saturation; aligns with most laminate care instructions | Requires good habits (consistent immediate cleanup) |
| Soaked mop / flooded bucket cleaning | Can remove sticky residues quickly | Repeated edge wetting can trigger swelling and joint stress |
What can go wrong (and when to stop)
Even when waterproof laminate floors are built correctly, a few common mistakes can undo your work. The most important “stop” signals are ongoing subfloor moisture, existing swelling/gapping, and incompatible products.
– Over-sealing the surface: many laminate topcoats are not designed for heavy coating. If a coating traps moisture or conflicts with the finish, you can end up with hazing, peeling, or warranty issues.
– Assuming “waterproof” = fully sealed: even good sealing can’t stop standing water from getting into seams if it penetrates the edges.
– Ignoring subfloor moisture: if the subfloor is continuously wet (or has a persistent moisture problem), sealing the laminate won’t solve the root cause.
– Using the wrong sealant/underlayment: incompatible products can fail (poor adhesion, swelling, or cracking). Stop and match products to the laminate manufacturer’s approved system.
Vapor control is only one layer: standing liquid that reaches plank edges can still drive swelling, regardless of how good the top surface looks.
If the subfloor has a persistent moisture source, waterproof laminate floors may delay damage—but they won’t eliminate it without correcting the moisture drive.
If you notice cupping, persistent gapping, or joint lines that look “wetter” than the rest of the floor, stop DIY waterproofing laminate floors and investigate the subfloor moisture and installation conditions first.
Verdict / tip: do this the “approved system” way (scan checklist)
The best way to waterproof laminate floors in a dining room is to follow the manufacturer-approved system end-to-end: approved underlayment/vapor barrier, correct seam/perimeter sealing method, and fast spill response. This approach reduces the chance that water reaches the joints and core—where most laminate swelling actually starts.
Laminate warranties usually depend on installing an approved build-up; the safest “waterproofing” is the system your manufacturer explicitly documents.
The most reliable strategy is moisture control from below plus edge defense at seams and transitions—not surface coating alone.
Approved system vs. DIY surface sealing (the real decision)
What actually prevents laminate swelling in dining rooms
| Criteria | Approved system approach | DIY surface coating |
|---|---|---|
| Targets moisture entry points (edges) | Yes—includes perimeter/transition and seam/joint method | No—top coating can’t stop water reaching joints from edges |
| Matches manufacturer build-up | Yes—reduces warranty conflicts | Often unknown—may void coverage |
| Handles moisture vapor from below | Yes—vapor barrier/underlayment included | No—surface coating doesn’t stop upward vapor |
| Resistance to repeated dining-room wet wiping | Higher—designed for routine cleaning methods | Lower—coatings can wear and trap moisture |
| Repair strategy | Localized sealing possible (perimeter/transition/joints) | Coating failures can require resurfacing larger areas |
| Typical interaction with cleaning chemicals | Underlayment + laminate finish compatible with approved cleaners | Chemical interactions can cause hazing/peeling |
| Risk from standing liquid | Reduced—still requires fast spill response | Higher—standing water can enter seam gaps |
| Installation correctness dependency | Moderate—requires continuity of vapor barrier and correct sealing | Low in theory, but often fails in practice at edges |
| Dining-room “mess profile” fit | High—spills + traffic handled through edge defense + wipe discipline | Medium—may protect look, not structure |
| Best long-term outcome | Most reliable moisture control when built as approved | More likely to fail at seams over time |
| Verdict | Choose the approved system way | Avoid surface-coating shortcuts as “waterproofing” |
If your laminate warranty depends on specific components or methods, the “best” approach is the one that matches their documentation—even if it’s more steps than a DIY shortcut.
Downsides / who should skip DIY waterproofing:
Skip DIY waterproofing and get help if you suspect ongoing subfloor moisture, you already see swelling/gapping, or your laminate installation is already beyond tolerance. Also be cautious if you plan to use aftermarket floor coatings—this can conflict with the product’s finish and void coverage.
Quick scan checklist (save this)
| Task | Done? | Notes |
|---|---|---|
| Replace any damaged/warped boards first | Confirm the floor is flat and joints aren’t already open. | |
| Verify manufacturer-approved underlayment/vapor barrier | ||
| Confirm subfloor is dry and meets flatness requirements | ||
| Clean/dry before sealing (no residue) | Remove dust, wax, and cleaner film. | |
| Seal perimeter gaps and all transitions/thresholds | Use only approved sealing method/products. | |
| Use laminate-safe damp cleaning only | ||
| Quick wipe for spills; chair pads/rug in high-risk areas | Minimize time water contacts seams. |
Sources
– ASTM E96/E96M — Standard Test Methods for Water Vapor Transmission of Materials
– ASTM E1745 — Standard Classification of Vapour Retarders
Waterproofing laminate floors in a dining room is achievable, but the “win condition” is keeping moisture from reaching the seams and core—so build from the underlayment up, seal only what your flooring system allows, and manage spills immediately. If you’re unsure about your laminate’s approved components, start by checking the installation/cleaning documentation first, then work down your checklist; if you see existing swelling or suspect subfloor moisture, address that root issue before spending time sealing the surface.
Frequently Asked Questions
How can I waterproof laminate flooring in a dining room without damaging it?
Start by using laminate floor underlayment that’s specifically labeled as waterproof or water-resistant, since the underlayment helps block moisture from seeping upward. Seal the entire perimeter with a quality silicone caulk where the floor meets baseboards and trim to prevent spills from getting under the laminate. Also consider using a laminate floor sealant on the joints (for systems that allow it) to reduce water intrusion from mopping or dinner spills.
What’s the best way to prevent standing water from ruining laminate floors during parties?
Use a “spill plan”: wipe liquids immediately with a dry microfiber cloth and avoid leaving damp towels or wet mops on the floor. For extra protection in high-traffic dining areas, place washable rugs or mats under the table and at common spill zones, especially where chairs slide. When cleaning, use a damp (not wet) mop and a cleaner approved for laminate so you don’t soak the seams.
Why do laminate floors swell, and how do I stop it in a dining room?
Laminate can swell when water penetrates the edges and locking seams, reaching the core layer. In a dining room, the most common culprits are wet mopping, steam from cleaners, and repeated small spills around the table. To stop swelling, seal the seams if your product recommends it, ensure the subfloor is level and dry, and maintain consistent indoor humidity to prevent expansion and contraction.
Which seam-sealing method works best for waterproofing laminate planks in wet-prone areas?
The best method depends on your laminate’s installation system: some floors allow joint sealers or wax-like sealants, while others should not be sealed beyond manufacturer guidance. Look for an approved seam sealant designed for laminate locks and apply it sparingly to avoid messy buildup in dining room traffic areas. If your laminate uses click-lock joints, a careful, even application along the edges can significantly reduce water penetration from spills and damp cleaning.
What’s the correct way to clean and dry laminate floors to keep them waterproof in the dining room?
Clean with a laminate-safe, pH-balanced cleaner applied to a slightly damp mop or cloth, then dry the surface promptly to prevent moisture from lingering at the joints. Avoid steam cleaning and soaking, because heat and excess water can drive moisture into the locking system. If a spill happens, remove it immediately and check around chair legs and baseboards—small pooled water often spreads into seams before it’s noticed.
📅 Last Updated: October 20, 2026 | Topic: How to waterproof a laminate floors with dining room? | Content verified for accuracy and freshness.
References
- Laminate flooring
- Waterproofing
- Vapor barrier
- Underlayment
- Flooring
- Mold
- https://www.epa.gov/mold/moisture-control-home
- https://scholar.google.com/scholar?q=waterproofing+laminate+flooring+moisture+barrier+underlayment Google Scholar
- https://scholar.google.com/scholar?q=laminate+flooring+water+damage+prevention+installation+guidelines Google Scholar
- https://scholar.google.com/scholar?q=how+to+seal+laminate+flooring+seams+and+gaps+water+infiltration Google Scholar