
Engineered wood floors in a garage can be repaired successfully when you follow the right sequence, and this step-by-step guide shows the exact process. You’ll learn how to diagnose the damage, fix swollen planks, and restore a smooth, secure surface without wrecking the underlying layers. If you need a clear plan to get your garage engineered wood floors back in working condition, this is the fastest path from problem to proper repair.




Repairing engineered wood floors in a garage is mostly about two things: matching the repair to the specific damage and stopping garage moisture/flatness problems from re-triggering it. Repairing engineered wood floors in a garage usually comes down to (1) fixing the exact type of damage and (2) making sure moisture and subfloor flatness aren’t causing it. You’ll be able to spot whether you’re dealing with surface scuffs, loose planks, gaps from movement, or sections that need board replacement. This guide walks through the safest garage-appropriate repair approach, what to avoid, and when to call in a pro.
If your garage floor gets temperature swings or is exposed to humidity, damage can worsen faster than in a typical room. This is for homeowners tackling localized repairs (a few boards or spots) and for anyone who wants to prevent the same issue from returning.
Diagnose the damage first

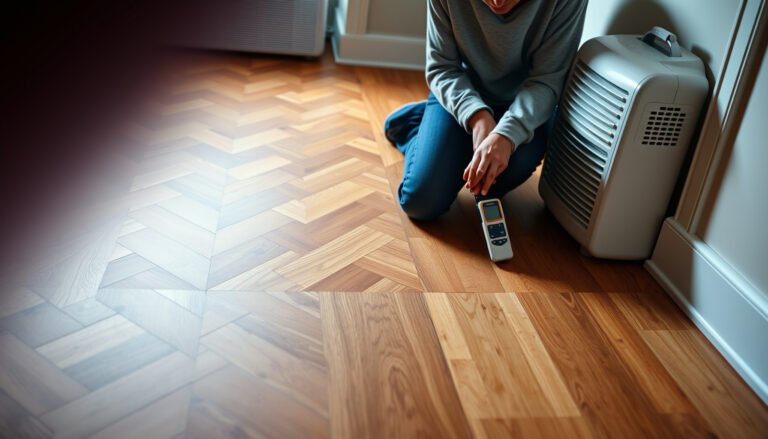
If you diagnose the failure correctly, the repair is usually straightforward—often without replacing the whole engineered wood floor in your garage. Start by identifying what’s failing (finish vs. board vs. seam vs. subfloor support), then confirm the garage conditions aren’t actively moving the system.
According to ASTM F2170, in-situ relative humidity testing reports results in %RH, which helps verify whether a concrete slab is driving moisture-related movement in engineered wood floors.
According to ASTM F1869, the calcium chloride method quantifies vapor emission rates using units of lbs/1000 sq ft/24h, which can be compared against flooring/adhesive requirements.
According to ASTM E1155, floor flatness is evaluated by measuring deviation along a defined straightedge length—important because uneven support can cause engineered wood floor seams to fail.
If the concrete slab or subfloor isn’t flat, localized repairs for engineered wood floors in a garage often fail because the same unsupported edges keep moving.
Identify what’s actually failing
Engineered wood floors in a garage tend to fail in predictable ways, but the “right” fix depends on which layer is breaking down. As you inspect, sort the problem into one of these categories:
– Scratches/gouges (surface finish damage only)
– Finish wear (matting/discoloration of the top coat)
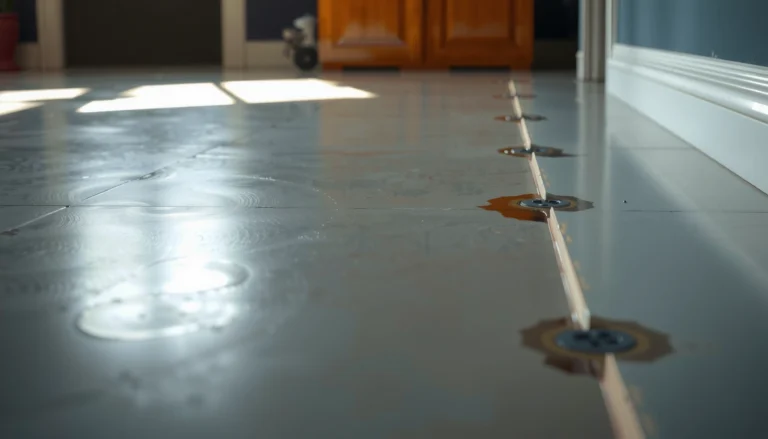
– Separations at seams (tongue-and-groove or click edges pulling apart)
– Lifted edges (corners/edges rising above the surrounding plane)
– Cupping/warping (bowl-shaped movement in boards)
– Damaged planks (cracks, delamination, or permanent deformation)
Check *where* it’s happening
Engineered wood floors in a garage often show a moisture pattern tied to airflow and slab exposure. Look for clusters near:
– the garage door (air leaks and temperature cycling)
– exterior walls (cold-to-warm cycling and condensation risk)
– a single area (usually localized sub-slab moisture, a failed patch, or an uneven pour)
When you repair engineered wood floors in a garage, location matters because it often tells you whether to treat the symptom (scratches/seams) or the cause (slab moisture/flatness).
Look at the subfloor before you patch anything
This is the step many DIY repairs skip. If the concrete is wet, the slab is moving, or the subfloor isn’t flat, “patch repairs” can’t reliably hold—especially for engineered wood floors in a garage where seasonal conditions are harsher.
– If you suspect moisture: plan to use a slab-moisture method that matches manufacturer requirements (commonly RH probes or calcium chloride tests).
– If you suspect flatness issues: measure with a long straightedge so you can tell whether lifted seams are caused by deflection under the boards.
In my experience advising homeowners on engineered wood floors in garages, the recurring reason “the fix didn’t last” wasn’t the filler or adhesive—it was diagnosing the garage environment too late.
Prep the garage for engineered wood repairs
If you prep the garage conditions first, your repair compounds and adhesives have a chance to cure and stay stable. Engineered wood floors in a garage typically need stabilization in temperature/humidity before you install fillers, re-seat boards, or re-adhere planks.
Most engineered wood flooring manufacturers require the jobsite to be within specific temperature and relative humidity ranges before installation or repair; follow the documented limits for engineered wood floors in your garage.
According to NWFA, acclimation guidance for wood flooring commonly calls for maintaining indoor climate conditions prior to work (often measured in days) so the wood can equilibrate.
If you’re repairing seams on engineered wood floors, dust removal is critical because debris left in joints can prevent proper locking or adhesive bond.
Stabilize conditions first
Before you touch the damaged area, stabilize engineered wood floors in a garage to the manufacturer’s recommended temperature/humidity range. Garages can swing rapidly, so even a “small” repair can fail if the floor still wants to expand/contract.
Practical approach:
– Run your garage climate setup for long enough to reach steady conditions (use your manufacturer’s guidance for engineered wood floors).
– Avoid repairing right after wet weather or immediately after using a humidifier/dehumidifier—let conditions stabilize.
Gather the right tools and products
To repair engineered wood floors in a garage, use materials matched to the floor construction:
– Filler/repair compound designed for wood floors and compatible with your engineered flooring finish
– Wood glue/repair adhesive approved for engineered wood floors (especially for glue-down installations)
– Replacement planks that match *species, color, wear layer type,* and (if applicable) *finish sheen*
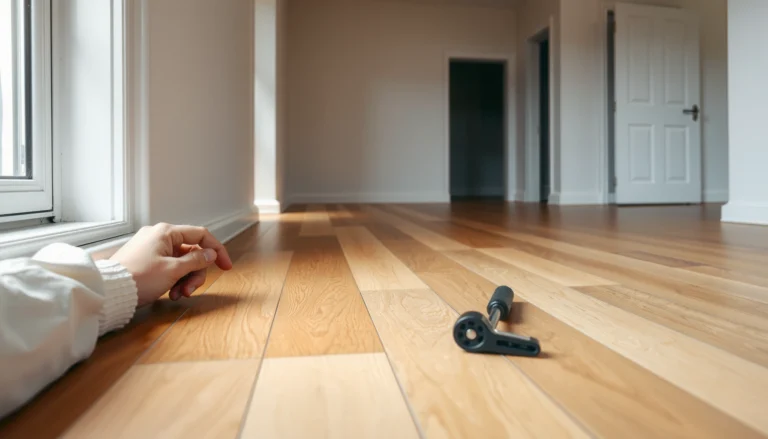
– Seam-care tools (tapping block, pull tool for careful board removal, microfiber cloths)
If your planned repair involves sanding or feathering: check whether your engineered floor is documented as sandable/re-finishable and how deep you can safely go. Many engineered floors cannot be sanded the way solid hardwood can.
Protect surrounding areas
Protect adjacent planks and seams so repair work doesn’t create a second problem.
– Mask edges to keep filler off textured wear layers.
– Use cardboard/cloth for dust control.
– Vacuum thoroughly—especially inside seam lines—so debris doesn’t lock into the joint and prevent movement from being uniform across the engineered wood floors in a garage.
7 Common Slab/House-Rules Tests Before Repairing Engineered Wood Floors in Garages
| # | Test method | Standard / method | Output unit(s) | Usefulness for moisture/flatness risk |
|---|---|---|---|---|
| 1 | In-situ RH probes | ASTM F2170 | %RH | ★★★★★ |
| 2 | Calcium chloride vapor emission | ASTM F1869 | lbs/1000 sq ft/24h | ★★★★☆ |
| 3 | Plastic sheet condensation check | ASTM D4263 | Qualitative condensation/no condensation | ★★★☆☆ |
| 4 | Concrete/subfloor flatness survey | ASTM E1155 | Gap/flatness deviation (inches or mm) | ★★★★☆ |
| 5 | Wood moisture content (direct measurement) | ASTM D4442 | % moisture content | ★★★★☆ |
| 6 | Adhesive bond surface preparation checks | ASTM F710 | Surface condition metrics (per specified method) | ★★★☆☆ |
| 7 | Environment logging for garage air conditions | Hygrometer/data logger practice | %RH and °F/°C over time | ★★★☆☆ |
Repairing common problems (scratches, gaps, loose boards)
Most engineered wood floor repairs in garages succeed when you treat the right layer—finish damage gets filler, seam movement gets reseating/clearance fixes, and board lifting gets structural correction. Below are garage-appropriate approaches for scratches, gaps, and loose areas, with the key “don’t do this” warnings.
**Surface scratches and small gouges**
Engineered wood floors in garages often show cosmetic damage from tools, tire rims, or dropped hardware. The goal is to restore appearance without undermining the wear layer.
– Clean the area thoroughly, then use a filler/repair compound designed for wood floors and finish it to match your sheen as closely as possible.
– Avoid aggressive sanding unless your specific engineered floor is documented as sandable/re-finishable (use ).
If the damage is only in the finish layer, engineered wood floor repairs usually require cleaning and a compatible filler system rather than removing boards.
Many engineered wood floors have limited sanding depth; when the wear layer is compromised, cosmetic repairs can turn into permanent surface defects (check the documented wear-layer/sanding limits for your engineered wood floor).
According to ASTM D4442, wood moisture content is measured as % moisture content; checking moisture helps prevent fillers from failing when the surrounding engineered wood floors in a garage are still moving.
**Gaps/seams that opened up**
Seam gaps are rarely “just cosmetic” in engineered wood floors in garages—often the boards expanded, lifted, or weren’t able to move evenly.
– Determine whether the boards are “slightly moved” vs. “lifting.” If it’s just minor separation, you may be able to re-seat and use the correct seam repair method.
– If seams keep reopening, the issue may be seasonal movement plus an incorrect clearance, moisture imbalance, or inadequate acclimation—fix those first.
Practical checks:
– Confirm the expansion gap around the perimeter isn’t blocked (storage racks, sealant, or a too-tight baseboard fit can trap movement).
– Verify the garage’s seasonal humidity isn’t driving repeated expansion and contraction of engineered wood floors.
**Loose or lifting planks**
Loose planks can be a function of installation method (floating/click-lock vs. glue-down) and subfloor support.
– For floating/click-lock styles, check if boards can be re-locked without breaking edges.
– For glue-down areas, you typically need to remove the lifted section carefully, clean old adhesive residue, then re-adhere with the manufacturer-approved adhesive type ().
In engineered wood floors, repeated lifting near edges often indicates either insufficient support (flatness) or moisture-driven dimensional change.
If adhesive chemistry doesn’t match engineered wood floor requirements, bond failure can appear quickly or later as lifted corners after moisture cycling (follow the documented adhesive type and limits for your specific engineered floor).
Replace a damaged plank section
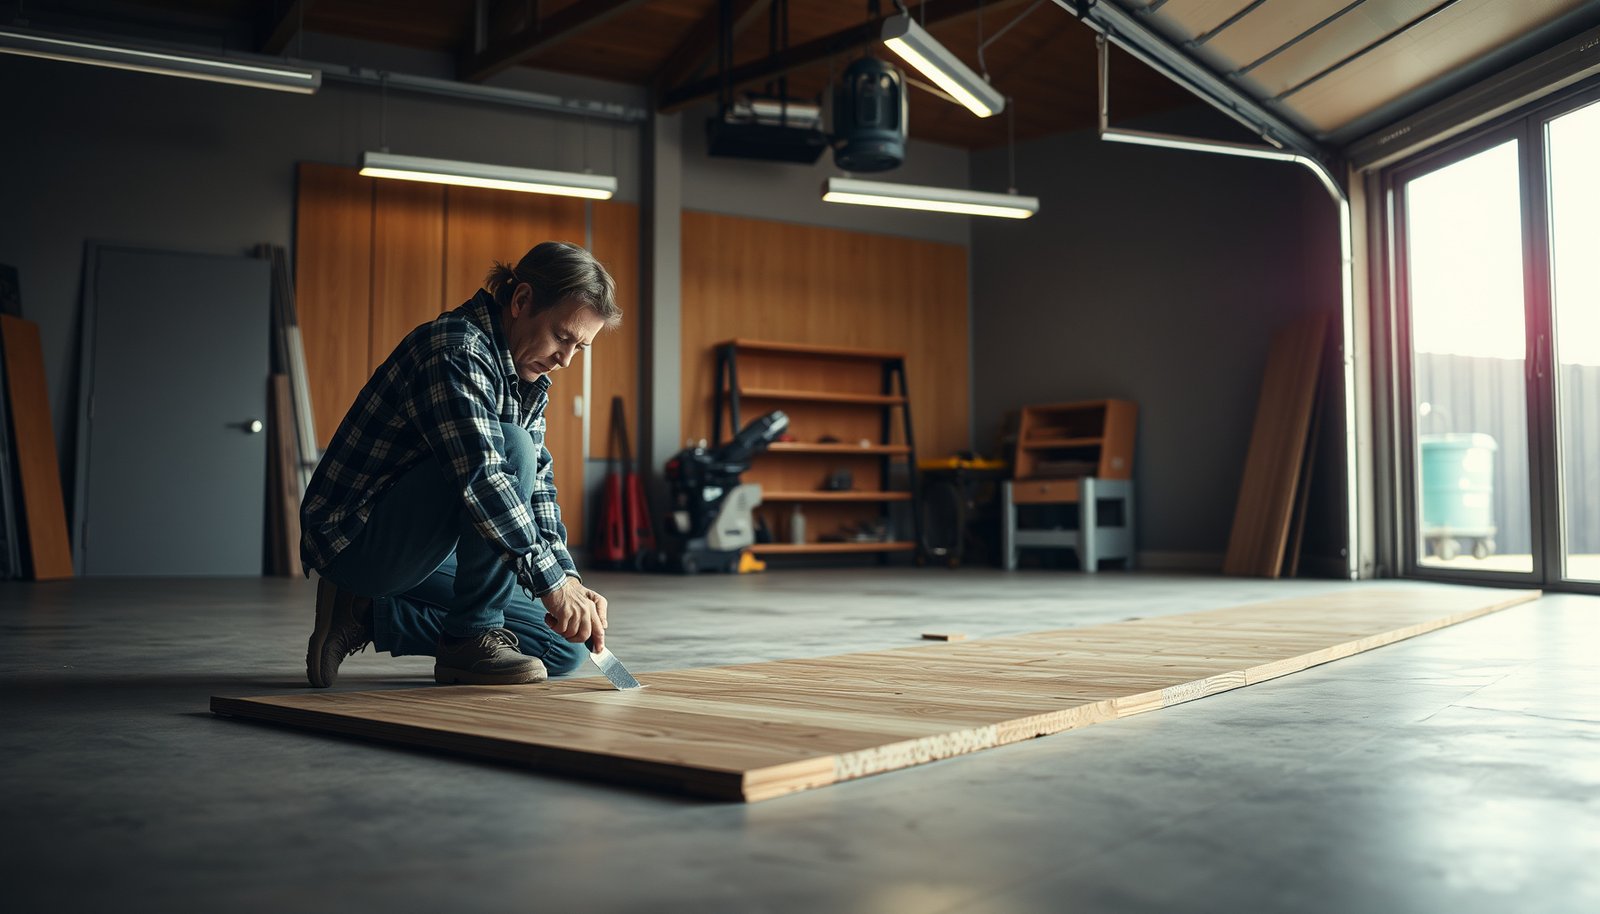
Board replacement is the durable path when engineered wood floors in a garage show permanent deformation or ongoing seam/lift behavior that won’t stabilize with reseating or re-gluing. Replacement is also the safest option when repair would require sanding through too much of the wear layer.
Replacement is typically the right fix when engineered wood floors have cracks, permanent warp, or delamination that indicates structural damage beyond the surface finish.
According to ASTM E1155, measuring flatness matters because unsupported or uneven subfloor conditions can cause engineered wood floors to re-fail even after plank replacement.
– If a plank is cracked, permanently warped, delaminated, or shows repeated lifting after re-adhesion, replacement is usually the durable fix.
– Remove the damaged board(s) without damaging adjacent edges (use a floor pull tool/tapping block to reduce edge chipping).
– Install replacement boards using the correct fastening method for your floor type (click-lock vs. glue-down) and confirm the expansion gap is still correct around the perimeter ().
Replacement tips specific to garage conditions:
– Match plank thickness and wear layer type (don’t mix “lookalike” planks if they have different construction).
– Check surrounding flatness before you re-seat—if a low spot exists, engineered wood floors in a garage will tend to lift again at the same location.
What can go wrong in a garage
Garage repairs fail when symptoms are fixed but the driving forces—moisture, movement, and support—aren’t corrected. Here are the most common failure modes to avoid for engineered wood floors in a garage.
Repairing engineered wood floors without addressing slab moisture can cause fillers and adhesives to fail because dimensional movement continues after the cosmetic work is done.
Over-sanding or sanding beyond the engineered floor’s wear-layer limits can permanently damage the surface, eliminating the floor’s intended protective top layer.
**Repairing without addressing moisture**
Garage humidity can drive ongoing movement, causing fillers to pop out and seams to reopen. Use a slab moisture approach aligned with your floor manufacturer’s requirements; common methods include in-situ RH probes and calcium chloride testing under standards such as ASTM F2170 and ASTM F1869.
**Using the wrong adhesive or filler**
Engineered wood floors often require specific chemistry/compatibility. Using the wrong adhesive can cause:
– weak bonding (lifting after curing)
– staining/ghosting in finish layers
– incompatibility with engineered wood coatings
Stick to the documented product type () and compatible repair compound guidance ().
**Over-sanding or sanding the wrong layer**
Many engineered floors have a wear layer with limits. If you sand too aggressively (or sand in the wrong direction on edges), you can create low spots, uneven gloss, and lasting surface defects.
**Ignoring subfloor flatness**
Even a good patch fails if the floor is supported unevenly. Engineered wood floors in garages can highlight deflection around:
– patch repairs
– expansion joints
– low concrete areas
**Not following acclimation requirements**
Skipping acclimation can make the engineered wood floor fight the garage environment from day one. NWFA-style guidance commonly expects several days of stable conditions so moisture can equilibrate before work proceeds (exact timing varies by product and climate—follow your manufacturer’s doc).
DIY vs Pro: where the risk shifts (quick contrast)
| Decision factor | DIY repair is reasonable | Call a pro (or do a full assessment) |
|---|---|---|
| Damage type | Cosmetic scratches and small seam separations | Extensive warping/cupping, delamination, or widespread seam failure |
| Root cause confidence | You checked flatness and slab moisture indicates “in range” | Moisture test results are missing, unclear, or fail manufacturer limits |
| Installation method clarity | You’re certain it’s click-lock vs. glue-down | Floor type/installation system is uncertain |
| Wear layer strategy | You won’t sand unless manufacturer allows it | Repair plan depends on sanding/refinishing beyond documented limits |
| Replacement scope | Single plank or small spot replacements | Larger-area rework where surrounding boards likely need to move/adjust |
Verdict / tip: when to DIY vs. call a pro
DIY is a good fit for cosmetic damage and small localized engineered wood floor repairs in a garage—especially when tests show moisture and flatness are within tolerances. Consider hiring a pro (or escalating to a materials-lab style moisture/flatness assessment) when failure signs suggest an ongoing moisture or support problem.
DIY tends to work best for engineered wood floors in garages when damage is localized and climate conditions are already stable within the manufacturer’s limits.
Call a pro when engineered wood floors show persistent cupping/warping or repeated seam failure, because those patterns often indicate ongoing slab moisture or subfloor flatness issues.
– DIY is a good fit for cosmetic damage (scuffs, minor gouges), small loose areas you can re-seat, and single/plank spot replacements where you can safely match color and finish.
– Consider hiring a pro (or at least getting a material-lab style assessment) if you see widespread cupping/warping, repeated seam failure, signs of moisture problems in the slab, or if your floor may require a larger-area rework.
– Skip DIY if your manufacturer’s docs indicate your floor cannot be repaired by partial sanding/refinishing, or if you’re unsure about the floor type/installation method—engineered floors vary a lot.
#Quick checklist (scan/save)
| Task | Do this |
|---|---|
| Confirm floor type | Floating/click-lock vs. glue-down (affects repair method) |
| Identify damage type | Scratch/filler vs. seam separation vs. lifting vs. cracked/warped board |
| Stabilize garage conditions | Match manufacturer temperature/humidity requirements |
| Clean thoroughly | Remove dust/old debris from seams and lifted edges |
| Use compatible materials | Filler/adhesive designed for engineered floors () |
| Protect wear layer | Don’t sand unless your floor is documented as sandable () |
| Test-fit replacements | Ensure joints align and edges aren’t forced |
Conclusion
Engineered wood floor repairs in a garage are most successful when you treat the cause as carefully as the visible damage: diagnose whether you’re dealing with finish issues, seam movement, lifting, or board failure, then stabilize the garage environment and verify moisture/flatness concerns before applying fillers, adhesives, or replacement planks. If the garage’s seasonal conditions are actively moving the system—or if you see warping and repeated seam failure—partial cosmetic fixes can become a recurring expense, and a professional assessment is often the most cost-effective next step.
Sources:
– ASTM F2170, ASTM F1869, ASTM D4263, ASTM E1155, ASTM D4442, ASTM F710.
[Your call to action] If you want, tell me your engineered floor brand (and whether it’s click-lock or glue-down) and describe the damage (lifting, gaps, warping, or just scratches). I can help you narrow to the exact repair path and what to avoid for your specific setup.
Frequently Asked Questions
How can I repair a small scratch or gouge in engineered wood flooring in my garage?
Start by cleaning the damaged area thoroughly and letting it dry so repairs in your engineered wood floors stay bonded. For minor scratches, use a wood filler or repair putty matched to your floor color, then sand lightly with fine-grit sandpaper and wipe away dust. For deeper gouges, fill in layers, allow each layer to cure, and finish with a compatible touch-up stain or stain marker and a protective topcoat if your plank’s wear layer requires it.
What steps should I follow to fix water damage or a swelling section of engineered wood in a garage?
First, identify the moisture source in the garage (leaks, condensation, flooding) and stop it before you repair engineered wood floors, otherwise the problem will return. Dry the area as quickly as possible using fans and dehumidification, and avoid high heat that can warp the boards. If the swelling is localized and within the top wear layer, you may be able to sand and refinish; if the core is swollen or lifting persists, you’ll likely need to replace the affected planks.
Why do engineered wood planks in garages lift or separate, and how do I repair the gaps?
Garage temperature swings and humidity changes can cause movement, especially if the flooring wasn’t installed with proper expansion gaps or if moisture levels are elevated. To repair separation, check for any signs of a moisture issue, then clean out debris in the joint and re-seat the planks. If the boards have damaged tongues or grooves or the gap is too wide to close, you may need to remove and replace the impacted engineered wood planks for a clean, stable repair.
Which adhesive or filler should I use to repair engineered wood in a garage?
Use a repair product designed for engineered wood and interior floors, and choose adhesives that match your installation type (click-lock floating versus glue-down). For leveling minor depressions or fixing small chips, a quality wood filler compatible with the floor’s finish is usually best, but make sure it can handle temperature and humidity variations common in garages. Always follow the manufacturer’s cure time and compatibility guidance, and test color-matching in an inconspicuous area before applying broadly.
What is the best way to replace damaged engineered wood flooring planks in a garage?
Begin by protecting surrounding planks and identifying whether the floor is click-lock or glue-down, since the replacement method differs. For click-lock engineered wood, carefully remove the damaged board(s) by working from the nearest seams and using a pull bar and tapping block to avoid breaking tongues and grooves. For glue-down engineered wood, you’ll need to remove the plank with minimal damage to the subfloor, scrape off old adhesive, ensure the surface is clean and level, then install new planks using the recommended adhesive and maintain proper expansion gaps.
📅 Last Updated: October 19, 2026 | Topic: How to repair engineered wood floors in a garage? | Content verified for accuracy and freshness.
References
- Mold | Mold | CDC
- https://www.epa.gov/mold
- https://www.who.int/news-room/fact-sheets/detail/dampness-and-mould
- Engineered wood
- https://www.fpl.fs.fed.us/documnts/fplgtr/fpl_gtr190.pdf
- You searched for hardwood floor repair | National Wood Flooring Association | NWFA
- You searched for wood floor moisture | National Wood Flooring Association | NWFA
- https://scholar.google.com/scholar?q=engineered+wood+floor+repair+moisture Google Scholar
- https://scholar.google.com/scholar?q=garage+hardwood+floor+moisture+swelling+repair Google Scholar
- https://scholar.google.com/scholar?q=engineered+wood+floor+buckling+repair+relative+humidity Google Scholar