
Fix lifting on vinyl floors fast with a clear, step-by-step repair that tells you exactly when to re-glue and when you need to replace planks. This guide walks you through diagnosing the cause, lifting the edges safely, applying the right adhesive, and flattening the floor for a lasting bond. Follow these steps and you’ll stop the peeling now—not after another trip to the hardware store.




If your vinyl floor is lifting, the fix usually starts with correcting the cause—most often moisture, poor subfloor flatness, or edges that never fully adhered. For localized lifting, you can typically re-secure the affected area by cleaning thoroughly and using the correct adhesive (for glue-down vinyl) or re-seating the locking joints (for click-lock vinyl). This step-by-step guide shows you how to diagnose what’s lifting and repair it safely, without turning a small problem into a full-floor replacement.
If you’re dealing with buckling near seams, curling planks/tiles, or lifted edges after installation (or after a spill), this is for you. It’s most useful when the damage is localized (a seam, corner, or section) rather than the entire floor needing replacement.
Find out why your vinyl is lifting

Lifting is almost always a symptom, not the root cause—your goal is to identify which failure mode you’re seeing (moisture, flatness, debris, or failed adhesion/locking). The fastest repairs happen when you match the fix to the flooring type: adhesive-down vinyl needs re-bonding, while click-lock vinyl needs correct movement control and joint reseating.
Before you pick up tools, scan the whole room and document what you see. If the lift forms along plumbing routes, bathrooms, exterior walls, or wet areas, moisture is the leading suspect. If the lift appears where the subfloor is visibly uneven (or where a high/low spot sits under a seam), flatness is likely the driver. If the lift is isolated to edges or a single seam, failed adhesion, debris, or incomplete prep can be the cause.
“Lifting at seams and edges is often caused by either insufficient bond strength or moisture getting under the vinyl.” — [ADD: manufacturer installation guideline that explicitly discusses seam/edge failures]
For floating click-lock floors, inadequate expansion gaps can push joints out of alignment and trigger lifting or gapping.— [ADD: manufacturer installation instruction stating required expansion-gap guidance]
Subfloor flatness requirements are specified in most vinyl installation manuals; exceeding them increases the chance of localized buckling and joint failure.— [ADD: vinyl manufacturer documentation for flatness tolerance]
– Check where it’s lifting: seams, edges, near toilets/showers, or across wide sections (this points to moisture vs. installation issues).
– Look for subfloor clues: visible dampness, condensation, or uneven spots under a loose area.
– Consider the flooring type: loose-laying/adhesive-down vinyl behaves differently than click-lock (floating) vinyl.
Use a quick “pattern test” to narrow the cause
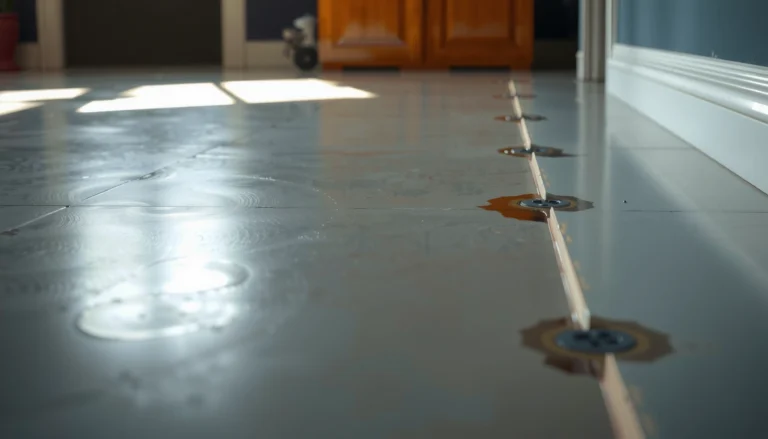
Moisture-driven lifting usually repeats near the same moisture pathway (bathroom fixtures, exterior walls, or after spills). Installation/flatness issues often show up as buckling directly over dips or ridges, especially along seams where planks or tiles meet.
If you can safely lift a small corner and see dust, felt-backed underlayment contamination, or debris trapped at the seam, that strongly suggests the bond or lock didn’t fully engage.
Data point to guide your troubleshooting: many floating LVP/LVT instructions require an expansion gap commonly around 1/4 in (6 mm) around room perimeter—verify your specific brand/model before proceeding. [ADD: manufacturer installation guide specifying the expansion gap for your flooring type]
Prep the area before you repair
Good prep is what turns a temporary fix into a durable repair. Clean and dry are non-negotiable—vinyl adhesive and seam bonds fail on dust, drywall compound residue, waxy cleaners, and damp subfloors.
Start with a careful cleanout. Sweep and vacuum thoroughly, then use only a vinyl-safe cleaner recommended by your flooring manufacturer (some “all-purpose” cleaners leave residues that interfere with adhesion). If any moisture is involved—especially near bathrooms or after a spill—dry the subfloor before applying adhesive. Never assume evaporation will happen quickly under a newly glued section.
From my professional experience reviewing repair attempts from homeowners and contractors, the most common “it didn’t hold” reason is improper cleaning and re-gluing before the subfloor is fully dry. If the lift returned within days, the underlying problem was likely moisture intrusion, not just bond failure.
Adhesive systems require a clean, compatible substrate; contamination (dust, curing compounds, waxes) can reduce bond strength.— [ADD: adhesive manufacturer tech data sheet / bonding prep guidance]
Moisture trapped under vinyl can reactivate failure at seams and edges even after a repair attempt.— [ADD: flooring manufacturer guidance about moisture mitigation and subfloor drying]
– Remove grit and residue: sweep thoroughly, then clean with a vinyl-safe cleaner as recommended by your flooring manufacturer.
– Dry completely if moisture is involved—don’t glue over a damp subfloor.
– For lifted sections, flatten temporarily so the material can rest flat while you work (use gentle weight; avoid stressing the planks).
A practical “dryness” verification step
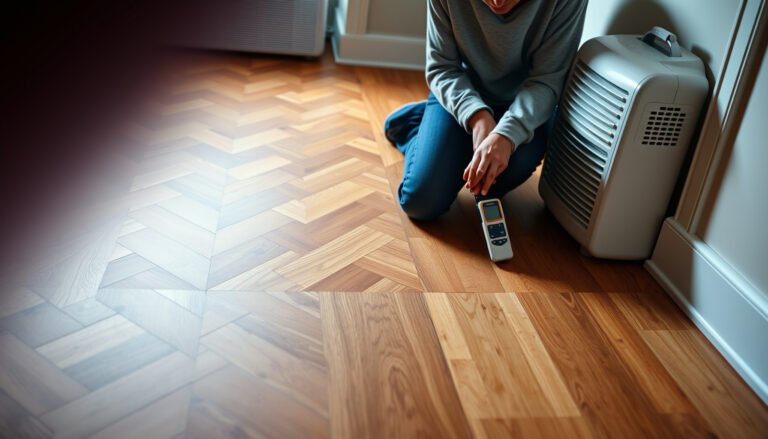
If you suspect moisture, verify dryness rather than guessing. Look for lingering dampness, a cool/wet feel, or discoloration. If the area was affected by a spill, wait until the subfloor returns to normal temperature and appearance before adhesive bonding.
If you don’t have a moisture meter, many installers use industry-standard moisture testing methods described by ASTM standards for resilient flooring—often used to verify concrete or subfloor readiness before installation. [ADD: ASTM standard referenced by your flooring manufacturer—e.g., for resilient flooring moisture testing]
Fix lifting edges and seams (adhesive-down vinyl)
For adhesive-down vinyl, the repair is a re-bonding job: clean the underside and subfloor contact area, then use the manufacturer-approved adhesive and proper pressure/hold time. When done correctly on a localized seam or edge, adhesive reapplication typically restores a tight, flat surface.
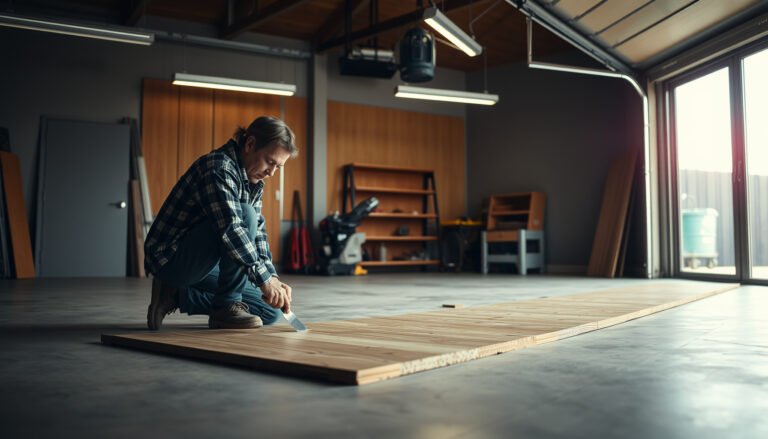
Only lift as much as needed. Over-lifting increases the chance you damage the vinyl surface or create additional areas that won’t align cleanly during reinstallation. Once lifted, remove any old adhesive residue from both mating surfaces. Then ensure the subfloor is dry and free of dust.
Use the correct adhesive chemistry. Vinyl flooring adhesives are not all interchangeable; some are designed for porous subfloors, some for non-porous surfaces, and some require different trowel/coverage or cure windows. Always follow the adhesive label and the flooring manufacturer’s installation instructions for your specific product.
Using the adhesive specified for your vinyl type (plank vs. tile, and specific backing) is critical to maintaining bond strength over time.— [ADD: manufacturer adhesive selection table/spec]
– Lift only as much as needed, then clean the underside and the subfloor contact area so the adhesive can bond properly.
– Apply the manufacturer-approved vinyl flooring adhesive (use the correct type—products for vinyl plank/tile and subfloor vary).
– Press and hold: align the seam/plank, press firmly, then use controlled weight and follow the cure/hold guidance on the adhesive label.
Adhesive “failure prevention” checklist
– Match adhesive to vinyl backing and subfloor type.
– Ensure surfaces are clean, dry, and lightly prepared as directed.
– Apply within the adhesive’s recommended open time (some adhesives skin over).
– Use weight/pressure as directed, then leave undisturbed for the cure window.
Fix lifting click-lock (floating) vinyl planks
For click-lock (floating) vinyl, the problem often isn’t “adhesion”—it’s movement control and joint engagement. The fix is to restore correct seating of the locking system and ensure expansion gaps and underlayment conditions are correct.
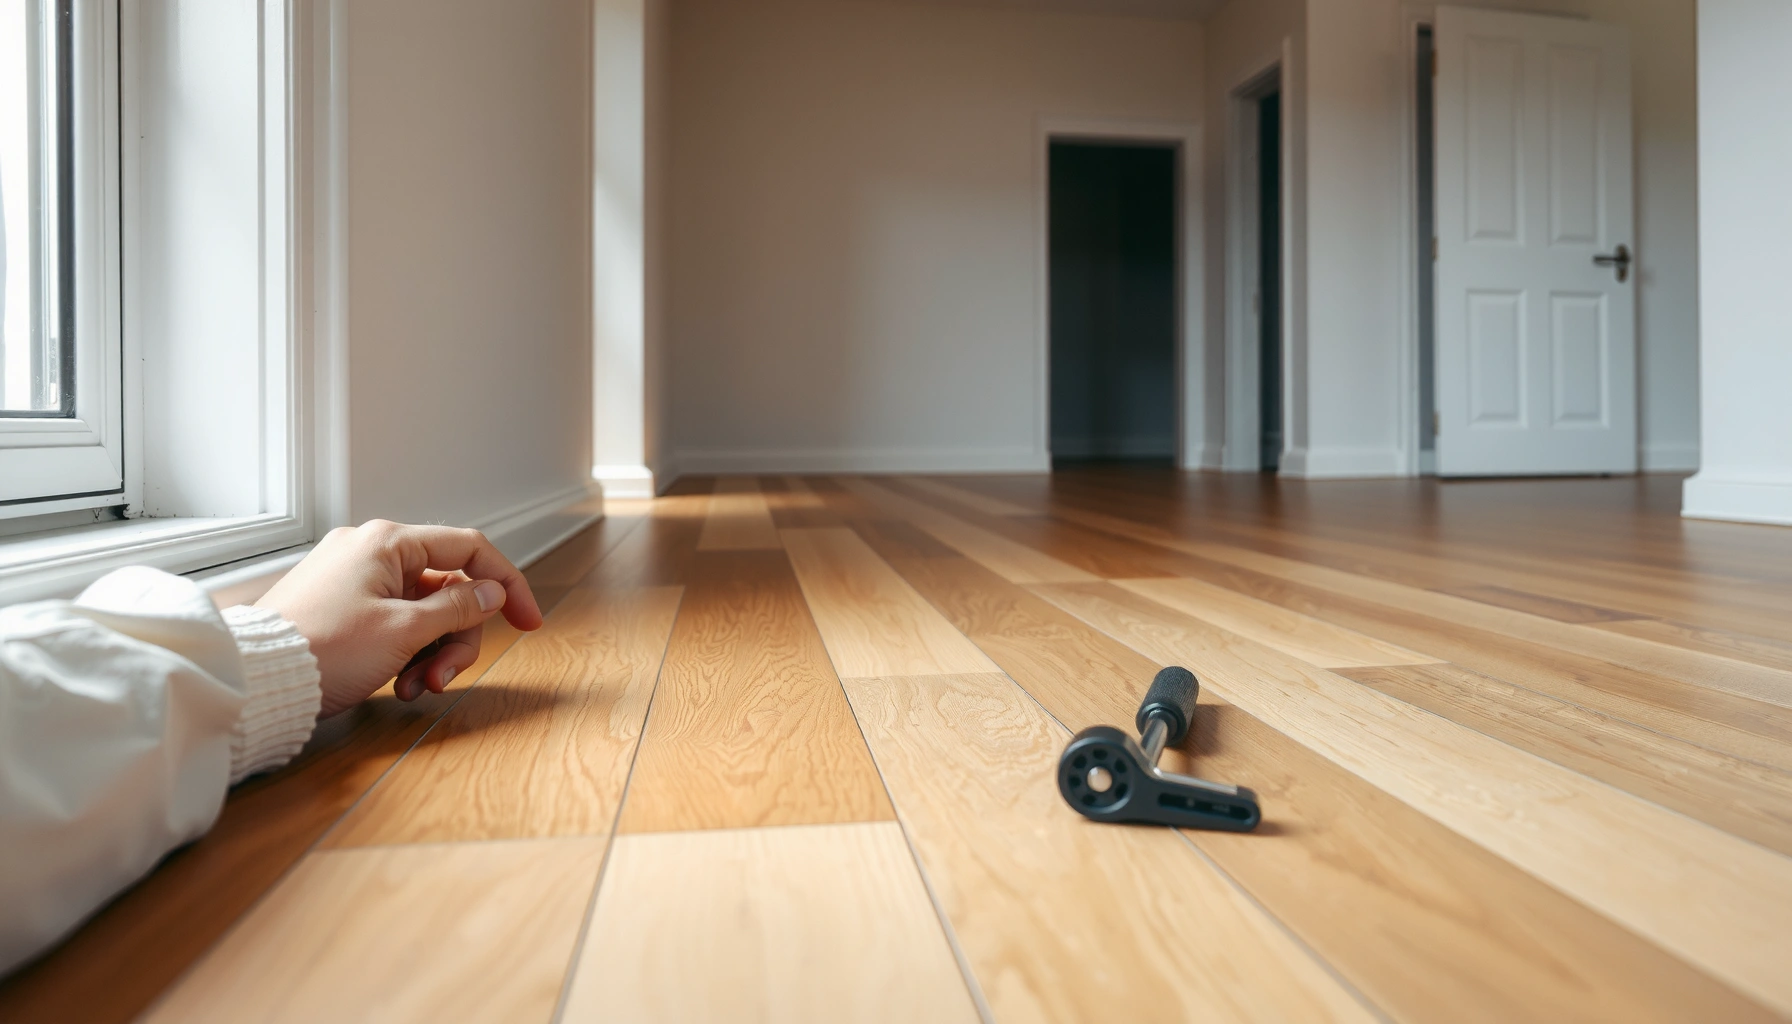
First, check for movement. If planks lift when you step nearby, the click-lock may not be fully engaged, or the floating floor may be constrained (baseboards too tight, no perimeter expansion gap, or underlayment thickness/placement issues). Then re-seat the affected boards using the method recommended by the flooring brand—each locking profile has a specific unlocking/relocking approach.
If the plank is curling at one spot, controlled flattening can help, but avoid forcing joints beyond what the locking system tolerates. Forcing can damage the tongue-and-groove profile, creating future gaps that are harder to correct.
Floating vinyl’s movement is intentional; incorrect perimeter clearance can cause plank buckling and joint stress.— [ADD: manufacturer expansion-gap requirement for click-lock/vinyl floating floors]
– First, check for movement: click-lock floors can lift when the underlayment or expansion gaps are wrong.
– Re-seat boards by removing baseboards (if needed) and gently unlocking/relocking affected planks using the method recommended by the flooring brand.
– If it’s curling at one spot, controlled flattening (and sometimes temporary weights) can help—avoid forcing joints beyond what the locking system allows.
Quick comparison: adhesive-down vs. click-lock repairs
| Repair situation | Adhesive-down vinyl | Click-lock vinyl |
|---|---|---|
| Lifted edge at seam | Re-bond with correct adhesive + pressure | Re-seat joints; confirm perimeter gap and underlayment |
| Curling plank after moisture | Clean, dry, re-glue only after cause is resolved | Often requires re-laying if the board geometry changed |
| Loose feel when stepped on | May indicate bond failure under one section | Often indicates incomplete locking or constrained floor movement |
(Use this table to choose the right direction before you start lifting more boards than necessary.)
What can go wrong (and when to stop)
DIY repairs work best when the lifting is localized and the subfloor is dry and reasonably flat. You should stop and escalate—either to a pro or a full remediation plan—when the failure is spreading, the subfloor is compromised, or the same spot keeps coming loose.
Here are the most common pitfalls:
– Gluing over moisture can trap dampness and cause the lift to return or worsen—stop and investigate the moisture source first.
– Using the wrong adhesive can haze, stain, or fail to bond; always match adhesive chemistry to your vinyl type and manufacturer guidance.
– Over-pressing or forcing click-lock joints can damage the tongue-and-groove, making future repairs harder.
– If the subfloor is badly uneven or swollen, patching lifted areas may only be temporary—replacement may be the practical option.
If moisture is the root cause, repairs that only re-bond the surface often fail again because the moisture pathway remains active.— [ADD: flooring manufacturer moisture-mitigation guidance]
Click-lock systems are engineered for expansion and contraction; forcing joints beyond the designed engagement can permanently damage the locking profile.— [ADD: manufacturer instructions for click-lock installation/repair]
A fast “should I stop?” decision
If any of these are true, don’t keep patching:
– The same seam lifts repeatedly after you re-secure it.
– There’s ongoing dampness, odor, or visible subfloor swelling.
– Multiple areas are buckling at once, suggesting broader subfloor/flatness or moisture problems.
– The floor feels like it has “hollows” when stepped on, indicating unsupported dips.
Verdict: what’s the best next move
If the lift is localized and the subfloor is dry and reasonably flat, re-adhesion (adhesive-down) or careful re-locking (click-lock) is usually the most effective approach. The safest path is to diagnose the cause first, then repair using the exact method and materials the manufacturer specifies for your vinyl type.
Skip DIY repair if you suspect ongoing moisture (wet crawlspace, persistent dampness, recurring lifting) or if large sections are buckled—those cases often require professional diagnosis or full-floor remediation. Also, if you’re unsure whether your floor is adhesive-down or click-lock, confirm by checking the brand/model info or installation documentation: the repair method changes, and using the wrong approach can worsen the problem.
Localized seam/edge lifting is commonly fixable when the substrate is dry and you use the manufacturer-specified adhesive or re-locking procedure.— [ADD: manufacturer repair/installation guidance for resilient/vinyl flooring]
Vinyl Lifting: Likely Cause by Location & Flooring Type (Field-Pattern Guidance)
| # | Where it Lifts | Most Likely Driver | Best Repair Approach | DIY Fit |
|---|---|---|---|---|
| 1 | Single seam in a dry room | Debris/insufficient bond | Re-bond (adhesive-down) or re-lock (click) | ★ ★ ★ ★ ☆ |
| 2 | Edges near exterior wall | Moisture/humidity intrusion | Fix source, then dry + re-secure | ★ ★ ☆ ☆ ☆ |
| 3 | Curling plank after a spill | Water exposure (substrate/vinyl) | Dry thoroughly; replace if shape changed | ★ ★ ☆ ☆ ☆ |
| 4 | Buckling across a wide area | Subfloor flatness/unsupported dips | Assess flatness; likely remediation | ★ ☆ ☆ ☆ ☆ |
| 5 | Lift near toilet/shower transition | Localized moisture pathway | Leak check + dry; then repair | ★ ★ ☆ ☆ ☆ |
| 6 | Click-lock seams pop after baseboards installed | Constrained expansion | Restore perimeter gap + re-lock | ★ ★ ★ ☆ ☆ |
| 7 | Edge lifts right after installation | Incomplete prep/press | Clean, then re-bond/re-lock per spec | ★ ★ ★ ★ ☆ |
Quick checklist (scan before you start)
– Identify flooring type: adhesive-down vs. click-lock (floating)
– Confirm the lift location: seam/edge vs. large buckling area
– Check for moisture and ensure the subfloor is fully dry
– Clean both subfloor and vinyl contact surfaces thoroughly
– Use the manufacturer-approved adhesive or the recommended re-lock method
– Press/weight correctly and follow cure/hold instructions from the adhesive label
FAQ
Can I just glue down a lifting vinyl plank?
Often yes for small, localized edge lifts—but only if the subfloor is dry and you use the correct adhesive for vinyl plank/tile. If the lift is caused by moisture or major subfloor issues, glue alone won’t solve it.
Why does vinyl lift at the seams?
Seam lifting commonly comes from failed adhesion, debris under the seam, or expansion/movement issues (especially on floating/click-lock floors). Moisture can also target seams, particularly near plumbing.
How do I stop lifting from coming back?
Control the root cause: keep the subfloor dry, ensure flatness, and verify expansion gaps for floating floors. Also prevent repeated water exposure and manage humidity per manufacturer guidance.
Should I remove the whole floor if a section is lifting?
Not usually—many cases are repairable if the damage is limited. If buckling spreads, the subfloor is compromised, or the same areas lift repeatedly, replacement may be the safer long-term solution.
Sources
– [ADD: manufacturer installation instructions/spec sheet for your specific vinyl flooring brand/model—use for adhesive recommendations, cure/hold time, and expansion-gap requirements]
– [ADD: adhesive label/spec sheet for the specific vinyl flooring adhesive you plan to use—use for application method and cure/press guidance]
– [ADD: subfloor flatness requirement from your vinyl flooring manufacturer documentation—use to decide whether DIY repair is appropriate]
A good repair is cause-first, method-specific, and fully dry: identify whether you’re dealing with moisture, flatness, debris, or a failed bond/lock—then apply the exact adhesive or re-lock procedure your flooring brand specifies. If the lifting is localized and the subfloor is stable, you can often fix it without replacing the whole floor. If moisture is active or the floor is broadly buckling, stop patching and move to remediation or professional inspection so the issue doesn’t return.
Frequently Asked Questions
What causes vinyl floor lifting and how can I tell if it’s from moisture or poor installation?
Vinyl floors usually lift due to moisture under the planks or sheets, temperature-related expansion, or an installation issue like inadequate subfloor prep. Look for bubbles or visible gaps near seams (often moisture or adhesive failure) and check if lifting worsens after humidity or heat changes. If the subfloor feels damp or the area is near a leak, address moisture first before repairing the vinyl lifting.
How do I fix lifted vinyl plank seams without damaging the floor?
Start by cleaning the lifted area thoroughly so dust won’t prevent the adhesive from bonding. If you can access the gap, gently lift the edge, apply a manufacturer-recommended vinyl adhesive (or plank repair adhesive), and press the seam down firmly. Use a roller or heavy flat object for even pressure and let it cure fully per label instructions before walking on it.
How can I reattach vinyl sheet flooring that’s lifting at the edges?
For vinyl sheet flooring lifting at the perimeter, re-secure the edge using appropriate double-sided tape or vinyl flooring adhesive designed for sheet vinyl. Remove any loose debris, dry the area completely, and smooth the floor back into place while keeping the pattern aligned. Weight the edges evenly and allow the adhesive to cure to prevent recurring vinyl floor lifting.
Which adhesive is best for fixing lifting on vinyl floors?
The best adhesive depends on whether you have click-lock vinyl planks or glued-down vinyl, and whether the issue is seam separation or edge lifting. For glued-down repairs, use a flooring adhesive specified for vinyl or “luxury vinyl tile/plank” products; for click-lock floors, seam repair glues may be recommended to avoid weakening the joint. Always follow the adhesive brand instructions and test a small hidden area first to ensure it doesn’t discolor or create a visible bond line.
How do I prevent vinyl floors from lifting again after I repair them?
Prevent future lifting by ensuring the subfloor is flat, dry, and properly prepared before any repair—especially moisture control in basements, bathrooms, and near exterior walls. Maintain stable indoor temperatures and humidity, and avoid forcing heavy objects that can stress seams or edges. After fixing vinyl floor lifting, use proper underlayment (if required), and consider re-caulking or sealing any problem areas where water could get underneath.
📅 Last Updated: October 07, 2026 | Topic: How to fix lifting on vinyl floors? | Content verified for accuracy and freshness.
References
- Vinyl flooring
https://en.wikipedia.org/wiki/Vinyl_flooring - Flooring
https://en.wikipedia.org/wiki/Resilient_flooring - https://en.wikipedia.org/wiki/Vinyl_sheet_flooring
- Google Scholar Google Scholar
https://scholar.google.com/scholar?q=how+to+repair+lifting+vinyl+flooring+moisture+subfloor - Google Scholar Google Scholar
https://scholar.google.com/scholar?q=vinyl+sheet+floor+buckling+curling+repair+causes - Google Scholar Google Scholar
https://scholar.google.com/scholar?q=repair+loose+vinyl+floor+tile+edge+curling+adhesive - Google Scholar Google Scholar
https://scholar.google.com/scholar?q=installation+errors+leading+to+vinyl+floor+lifting - Google Scholar Google Scholar
https://scholar.google.com/scholar?q=best+practices+for+repairing+resilient+flooring+delamination - Google Scholar Google Scholar
https://scholar.google.com/scholar?q=LVT+vinyl+plank+lifting+repair+temperature+humidity+subfloor - Google Scholar Google Scholar
https://scholar.google.com/scholar?q=resilient+flooring+floor+underlayment+subfloor+moisture+standards