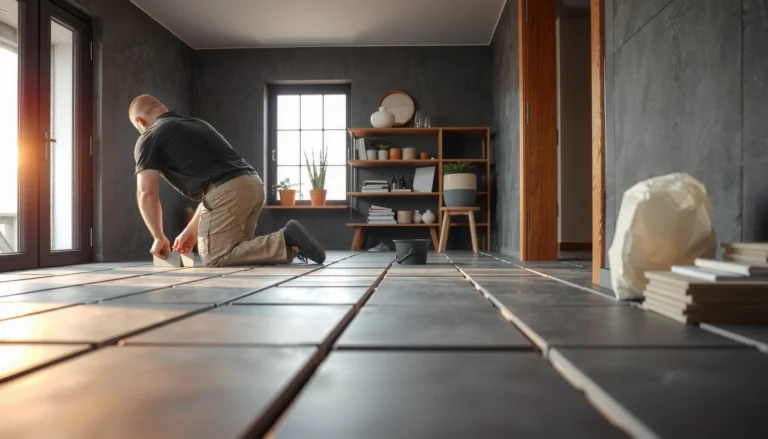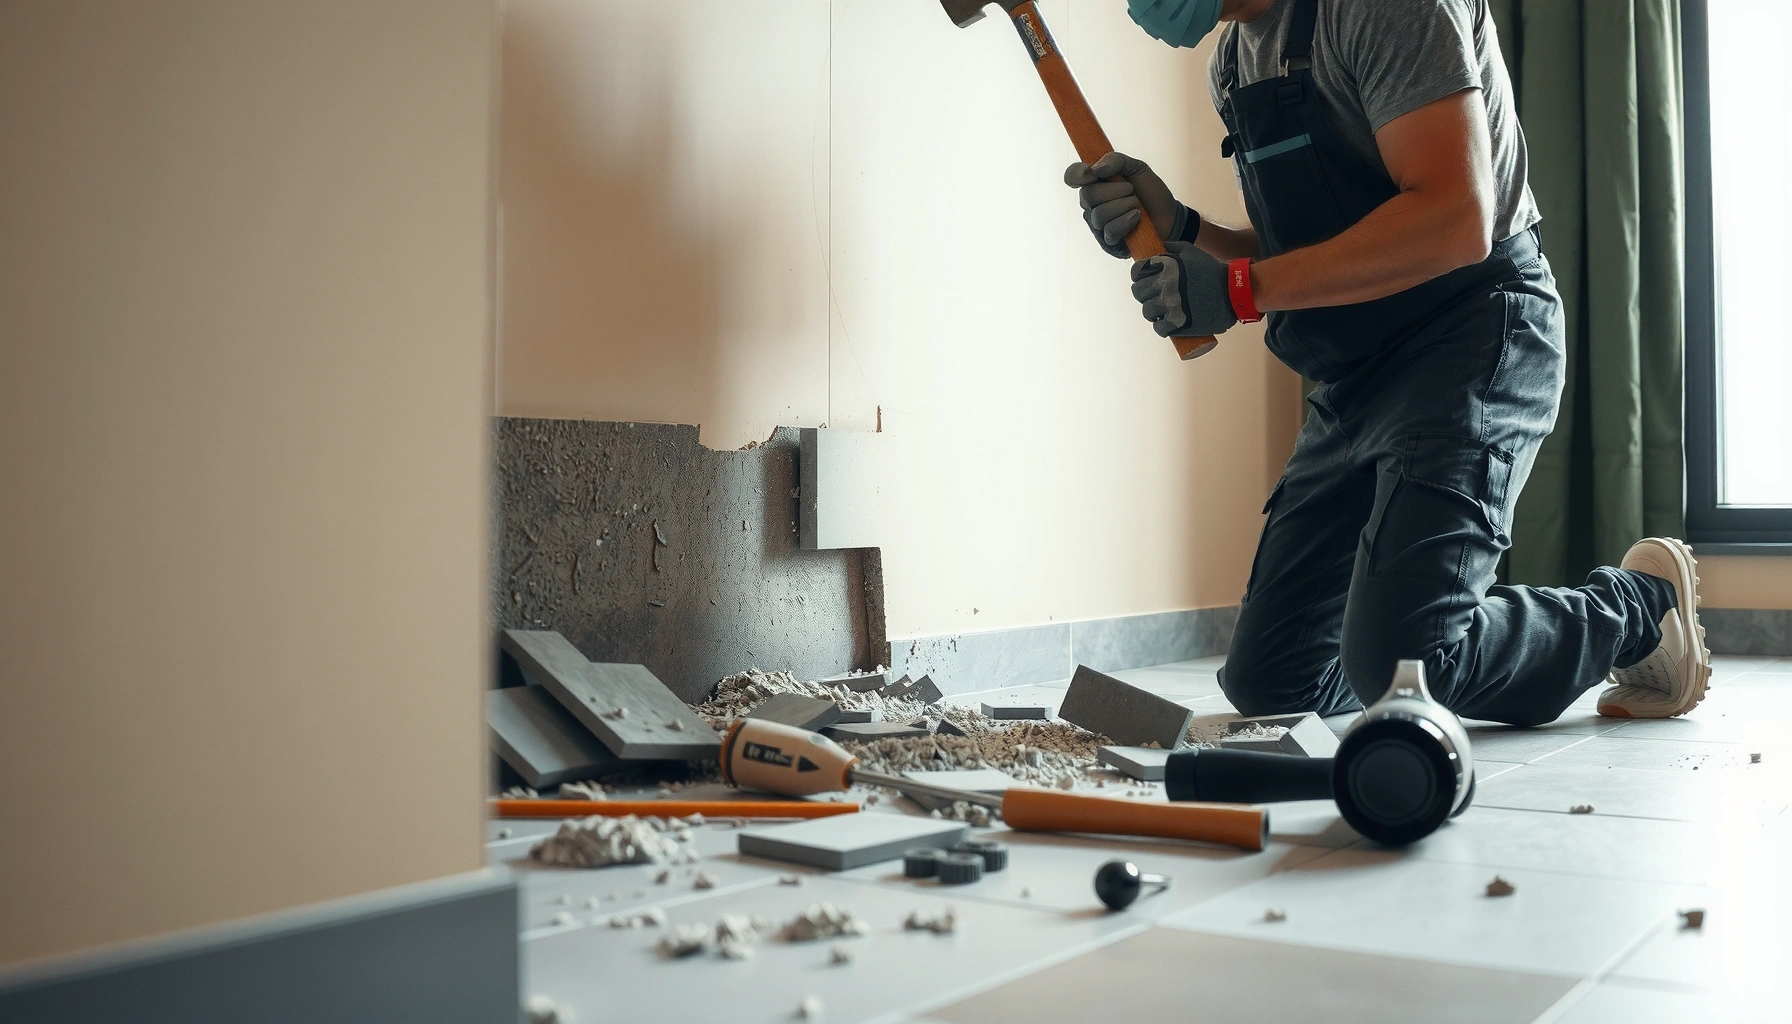

Want to remove tile floors without wrecking the subfloor? This step-by-step removal guide shows the fastest, cleanest way to lift and haul tile—from scoring grout and breaking tiles to removing thinset or mortar residue. Follow these proven methods and you’ll know exactly what to do next at every stage.




Removing tile floors safely usually means breaking the tile in controlled sections and then removing the thinset/adhesive without gouging the subfloor. Start by protecting the room (especially for dust) and confirming what’s underneath (wood subfloor vs. concrete slab) so you use the right pry/break approach from the first minute.
This guide is for homeowners and DIYers who need to lift tile without turning the project into a bigger subfloor repair job. It’s especially helpful if you’re planning to replace tile with new flooring or preparing the subfloor for refinishing.
What you’ll need before you start

You can remove tile floors efficiently when you match the right tools to the tile-and-mortar system you’re dealing with. Before you strike the first tile, set up dust control and confirm whether you’re working over plywood/OSB or concrete, because that dictates how aggressive your chisel/pry work should be.
Respirable crystalline silica from cutting or breaking tile is regulated in many workplaces; OSHA’s respirable crystalline silica action levels and PEL are commonly cited at 50 µg/m³ over 8 hours. OSHA (Respirable Crystalline Silica, 29 CFR 1926.1153)
HEPA filtration is designed to capture at least 99.97% of particles with a Most Penetrating Particle Size (MPPS) around 0.3 microns. U.S. EPA guidance on HEPA filtration
Tile removal work is typically “break then scrape”: lifting the tile doesn’t eliminate thinset; mortar residue usually requires systematic scraping or controlled chipping. [ADD: manufacturer/spec source for common thinset removal expectations, if known]
Whether you can pry with minimal damage depends largely on substrate type; wood subfloors tolerate less aggressive chisel contact than concrete slabs.
– Safety gear and containment: eye protection, hearing protection, gloves, and a dust-control plan (plastic sheeting, vacuum with HEPA, or similar).
– Core removal tools: a hammer drill or heavy-duty chisel (for tile), pry tools, a scraper, and a floor scraper for leftover adhesive.
– Power and surface basics: confirm what’s underneath (wood subfloor vs. concrete slab) so you choose the right pry/break approach.
Quick tool expectations by substrate
If the tile is on wood subfloor, your goal is to minimize gouges; think “lift and peel.” If the tile is on concrete, you can usually chip more directly, but you still need control so you don’t create high spots or depressions that new flooring will telegraph.
Tile Removal Approaches vs. Subfloor-Friendliness (DIY Suitability, 2026)
| # | Removal approach | Best for | Typical dust-control needs | Subfloor-friendly rating |
|---|---|---|---|---|
| 1 | Manual cold chisel + pry | Well-bonded tiles on wood | Moderate | ★★★★★ |
| 2 | Rotary hammer (low settings) + wide chisel | Tiles on concrete | High (HEPA required) | ★★★★☆ |
| 3 | Oscillating multi-tool + grout/adhesive cutting | Smaller rooms, perimeter work | Moderate to High | ★★★★☆ |
| 4 | Floor scraper (razor edge) for thinset residue | Final clean-up on wood or concrete | Moderate | ★★★★☆ |
| 5 | Heavy-duty demolition hammer (not recommended on wood) | Thinset-on-concrete assemblies | Very High | ★★★☆☆ |
| 6 | Heat + scrape (where approved by mortar type) | Some adhesive residues | Low to Moderate | ★★★★☆ |
| 7 | Professional dust-controlled removal setup (containment + vacuum tools) | Higher-risk work (large areas) | Low (controlled) | ★★★★★ |
Prep the room and protect surfaces
You get fewer surprises when you prep the room like a controlled demolition zone, even for small DIY removals. Dust control and hazard shutoff are not “extras”—they reduce cleanup time and prevent damage when tile fragments fly.
Fine tile dust can include respirable crystalline silica when grout or mortar is disturbed during breaking or scraping. CDC/NIOSH (crystalline silica work practices)
OSHA’s silica standard emphasizes controlling exposure through engineering controls (e.g., ventilation and vacuums) and appropriate respiratory protection where needed. OSHA (29 CFR 1926.1153)
Sealing doorways and vents before starting helps keep dust from spreading into other rooms during tile removal and scraping.
– Clear the area completely and remove baseboards/shoe molding if they’ll interfere with the lift.
– Control dust and debris: seal doorways and vents, and plan where broken tile will be staged.
– Turn off electrical hazards (shut off power to relevant circuits if tile may be near outlets) and confirm no plumbing lines run where you’ll pry.
Protect subfloor transitions and adjacent finishes
Perimeter work is where you most often damage baseboard returns, door thresholds, and undercut flooring edges. If the tile meets carpet, laminate, or hardwood, remove transition pieces carefully and keep them labeled so you can reinstall (or replace) without guessing.
Power and plumbing check (the “no-drill” mindset)
Before you chisel near outlets or in-wall borders, map what’s behind the wall. Even if you’re working on the floor, wiring runs and plumbing lines can be closer than expected in kitchens and bathrooms. Shut off power to the likely affected circuits and verify with a tester.
Remove tile without wrecking the subfloor
You can reduce subfloor damage by starting at an edge and using controlled strikes that lift tile sections, not random impacts that spread stress. After the tile comes up, switching from breaking to methodical scraping is the key to avoiding gouges.
A common best practice for brittle floor finishes is to start from edges or cracks where stress concentrates, which often improves section lift and reduces back-and-forth prying.
Once tiles lift, thinset/adhesive residue remains bonded; completing the job requires scraping/chipping until the surface meets the flatness needed for the next flooring.
On wood subfloors, repeated chisel contact can create ridges and dips that new underlayment or tile installation will telegraph.
– Start at the easiest edge or a weak spot: a corner, an existing crack, or an area where grout has failed.
– Break tile strategically: use controlled strikes to lift tile sections rather than pounding randomly.
– Transition from tile to adhesive removal: after tiles come up, you’ll likely need systematic scraping/chipping to clear thinset/adhesive.
Step-by-step removal sequence (what to do in order)
1. Score or loosen grout lines first (optional but often helpful): If grout is intact, breaking along grout joints can help separate tiles with less force.
2. Pry at the perimeter: Use a flat pry bar to create the first “gap,” then switch to lifting tile in manageable sections.
3. Work in rows, not islands: Remove continuous strips so you don’t trap thinset and force the tool to lever harder.
4. Keep a dust vacuum running: A HEPA-capable vacuum reduces airborne particles during both breaking and scraping.
Pros/cons: breaking-first vs. cutting-first (so you pick the least risky method)
If your main goal is “no subfloor repair,” cutting can be slower but gentler in some assemblies.
| Method | Pros | Cons | Best scenario |
|---|---|---|---|
| Break-and-pry (chisel/hammer drill) | Fast section removal; good for concrete | Higher risk of substrate gouging on wood; more impact dust | Concrete slabs or tile already loose |
| Cut grout/adhesive lines (oscillating tool) | More controlled separation; often less substrate damage | Slower; may still create dust | Small rooms, edges/fixtures, wood subfloors |
| Hybrid (cut perimeter + break center) | Balances control and speed | Requires switching tools and patience | Mixed conditions across the floor |
Deal with thinset/adhesive and leftover mortar
You typically win or lose tile removal at the thinset stage. The goal is a clean, flat surface—not a “perfectly bare substrate,” because many new flooring systems require a specific preparation profile.
Power scraping helps speed up thinset removal, but aggressive settings can gouge plywood and create high-low conditions that affect floor flatness.
Hand scraping is slower, yet it’s often the safest first pass on wood subfloors because it reduces accidental material removal.
On concrete slabs, controlled chisel or rotary methods are more suitable than pry-heavy approaches that can chip the slab edge.
– Use the least aggressive method first: hand scraping can reduce damage risk; power tools are helpful but can gouge wood subfloors.
– Match the tool to the substrate: chisel/rotary approaches are commonly more suitable on concrete than on wood.
– Plan for repairs: expect some patching, sanding, or leveling depending on how much mortar remains and what your new flooring requires.
How to judge “enough” mortar removal
New flooring is the real compliance target. Before you install anything, check manufacturer requirements for:
– flatness tolerances
– allowed residue thickness (if any)
– approved preparation methods
If you’re switching to laminate/vinyl, subfloor flatness is especially sensitive. If you’re re-tiling, you still need a suitable surface so the new thinset bed bonds evenly.
A practical workflow that minimizes rework
– Start with a scraper across the grain of wood (if applicable) or in shallow angles on concrete.
– Remove high ridges first, because they prevent new underlayment or tile from sitting flat.
– Vacuum often—thinset dust “smears” when you repeatedly step through it, which makes it harder to see remaining ridges.
What can go wrong (and how to avoid it)
Tile removal goes wrong most often because of dust exposure, subfloor damage, or skipping the flatness check before the next flooring install. If you prevent those three issues, DIY usually stays manageable.
Respirable silica exposure can occur during tile breaking and thinset removal; OSHA emphasizes exposure control methods like engineering controls and proper PPE where required. OSHA (29 CFR 1926.1153)
Undersurface damage often shows up later as squeaks, soft spots, or uneven install results—so inspection right after removal matters.
Leftover mortar high points can cause new flooring to rock or fail to bond uniformly, especially with stiff finishes like tile and engineered stone.
– Damage to subfloor: prying or chipping too aggressively can crack plywood, loosen boards, or create uneven dips.
– Dust exposure: tile removal can create heavy fine dust; skipping containment and a proper vacuum increases cleanup time and health risk.
– Uneven surface after removal: leftover mortar high spots can prevent new flooring from laying flat—verify flatness before installing anything new.
Edge cases worth pausing for
– Pre-1970 homes: Consider testing for asbestos-containing materials before demolition. Tile and backing, old mastic, or related layers may include asbestos depending on location and build practices.
– Water intrusion: If the subfloor feels soft or shows staining, fix moisture sources before removing more layers.
– Cracked tile that stays bonded: If tiles aren’t lifting in sections, forcing pry can shred the subfloor—switch strategies (cutting-first or gentler chiseling) and reassess.
Verdict: DIY is doable, but know the limits
If your subfloor is concrete and the tile is already loose in places, DIY tile removal is often realistic. If you’re on wood, working around sensitive transitions, or you see signs the tile is well-bonded throughout, proceed carefully—this is where many DIYers end up needing subfloor repairs.
DIY outcomes are strongly tied to tool control and dust containment; the same technique can be “fine” on concrete but damaging on plywood if you use the wrong leverage points.
Stopping early to verify substrate condition (flatness, soundness, and moisture) usually prevents the most expensive second-round repairs.
If you suspect asbestos-containing materials or can’t control dust exposure, involving a qualified professional is the safer—and often faster—path.
Skip DIY (or at least pause and consult a pro) if you suspect asbestos-containing materials, major water damage, or you can’t safely manage dust and debris.
Quick checklist (scan before you start)
– [ ] Safety gear on: eye + hearing protection, gloves
– [ ] Dust control in place (plastic sheeting + HEPA vacuum or equivalent)
– [ ] Power hazards addressed near outlets (turn off relevant circuits if needed)
– [ ] Start at an edge/corner/weak spot
– [ ] Remove tile, then clear thinset/adhesive enough for new flooring
– [ ] Inspect subfloor flatness and plan for patch/leveling
FAQ
Can I remove tile without damaging the subfloor?
It’s possible, but it depends on what’s underneath and how well the tile is bonded. Using controlled prying and the right scraper/chisel approach reduces gouging risk, especially on wood.
What’s the hardest part—breaking tile or removing thinset?
For many projects, thinset/adhesive removal is the slower, messier part. Even after tiles lift, mortar can remain bonded and needs scraping/chipping until the surface is suitable for new flooring.
Do I need to remove baseboards too?
Usually, yes—baseboards can interfere with prying tile and may get damaged during removal. If you plan to reuse them, remove carefully and keep track of fasteners.
How do I clean up after removing tile floors?
Expect lots of debris and fine dust. Use a HEPA-capable vacuum, then damp-wipe hard surfaces (when appropriate) and scrape remaining residue before assessing the subfloor.
Sources
– OSHA (29 CFR 1926.1153) – Respirable Crystalline Silica standard
– U.S. CDC/NIOSH – Crystalline silica exposure guidance and control recommendations
– U.S. Environmental Protection Agency (EPA) – HEPA filtration description and performance characteristics
– [ADD: manufacturer/spec source for the specific thinset/adhesive system you’re removing, if known]
– [ADD: local code or safety guidance source for demolition/dust control practices in your area]
Removing tile floors successfully is about sequence and control: protect the room, lift tile in sections, then remove thinset/adhesive systematically while preserving subfloor flatness. If you confirm the substrate type, use dust containment throughout, and stop to inspect as you go, you’ll dramatically reduce the chances of turning a simple tile swap into an unexpected subfloor rebuild.
Frequently Asked Questions
What is the safest way to remove tile floors without damaging the subfloor?
Start by protecting walls, vents, and nearby surfaces with painter’s tape and plastic sheeting, then assess whether the tile is set over concrete, plywood, or another underlayment. Use the gentlest method that matches the situation: score grout lines first, then remove tiles carefully with a floor scraper and a hammer drill only where needed. If the tile is mortar-set, expect some thinset or backer board to remain—plan to remove remaining adhesive using a floor grinder or scraping tool to avoid uneven surfaces.
How do I remove ceramic or porcelain tile floors step-by-step?
Begin by clearing the room, shutting off power where needed, and removing baseboards or molding to expose the tile edges. Next, chip out grout between tiles using an oscillating tool or grout saw, then break individual tiles using a hammer and cold chisel or a tile removal chisel. Once the tile is removed, scrape off remaining thinset/mortar thoroughly and check the subfloor for damage, then clean and vacuum before installing new flooring.
Which tools do I need to remove tile flooring efficiently?
At minimum, you’ll want a grout removal tool (oscillating multi-tool with a grout blade or a manual grout saw), a heavy floor scraper, and a chisel or tile removal attachment for a hammer drill. For larger areas, a floor scraper with a long handle speeds up thinset cleanup, while a HEPA shop vacuum helps control dust. If you’re dealing with stubborn mortar or leveling compound, consider a carbide floor scraper or rented floor grinder to achieve a flat, clean base.
Why is it important to remove thinset or mortar completely after tile removal?
New tile, LVP, laminate, or engineered flooring can fail if thinset or mortar ridges prevent a flat, stable surface. Partial removal can create high spots that telegraph through underlayment, leading to cracked grout lines, loose tiles, or gaps at seams. After scraping, check flatness with a straightedge and re-scrape high areas, then vacuum thoroughly to remove dust that can interfere with thinset bonding.
What is the best method to remove tile floors installed over concrete vs. plywood?
Over concrete, tile is often set in thinset or mortar, so the best approach is to remove grout first, then break tiles systematically and chip thinset using a chisel and hammer drill as needed, finishing with scraping or grinding. Over plywood, you must be more careful to avoid damaging the subfloor; remove tiles gently, and if the plywood or backer board is compromised, you may need to replace underlayment before installing new flooring. In both cases, test for stability, control dust, and plan for patching and leveling after tile removal.
📅 Last Updated: October 08, 2026 | Topic: How to remove tile floors? | Content verified for accuracy and freshness.
References
- Google Scholar Google Scholar
https://scholar.google.com/scholar?q=how+to+remove+tile+floor+instructions - Google Scholar Google Scholar
https://scholar.google.com/scholar?q=asbestos+floor+tile+removal+guidance - Google Scholar Google Scholar
https://scholar.google.com/scholar?q=ceramic+tile+removal+substrate+damage+study - Asbestos | US EPA
https://www.epa.gov/asbestos - https://www.epa.gov/asbestos/identifying-asbestos-containing-materials
- Asbestos – Overview | Occupational Safety and Health Administration
https://www.osha.gov/asbestos - https://www.cdc.gov/asbestos/
- https://www.cdc.gov/niosh/topics/asbestos/
- Asbestos
https://en.wikipedia.org/wiki/Asbestos - https://pubmed.ncbi.nlm.nih.gov/?term=asbestos+floor+tile+removal