
Want to install travertine floors in a bedroom without costly mistakes? This step-by-step guide shows the fastest, most reliable way to prepare the subfloor, set travertine, and seal the stone so it stays stain-resistant under everyday foot traffic. If you follow the sequence and details here, you’ll get a clean, level finish that looks premium and holds up.




Install travertine in a bedroom by getting the subfloor flat and stable, setting tiles with a natural-stone-rated thinset, and sealing after the grout cures. If you verify flatness and follow the exact cure/seal instructions for both your mortar and your specific travertine type, you dramatically reduce the chances of cracking grout lines, lippage, and stain-spotting.
This guide is for homeowners and DIYers installing travertine in a bedroom (where moisture exposure is usually lower than bathrooms). It’s also useful if you’re comparing methods like thinset-over-underlayment vs. direct-to-subfloor, and want a practical checklist of what to verify before you start cutting or spreading mortar.
Prep the subfloor for travertine

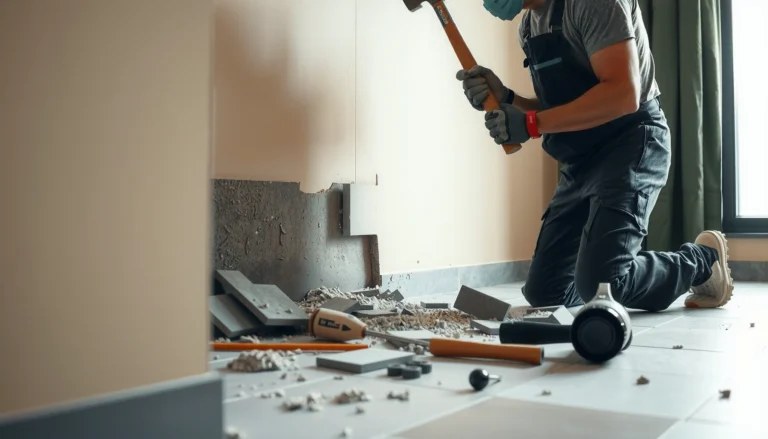
Start by ensuring the subfloor is flat, clean, and structurally stable—travertine failures are most often a substrate problem. Bedrooms are usually drier than wet rooms, but stone floors still telegraph dips, movement, and debris under the tile.
According to the TCNA (Tile Council of North America), natural stone requires stricter subfloor deflection limits than typical ceramic tile installations.
According to ANSI standards used in tile industry guidance, thinset mortar performance depends on correct substrate cleanliness and flatness for bond and stress distribution.
In practical installations, even small “rocking” areas create concentrated stress at tile corners, which commonly shows up as lippage or cracked grout lines.
Verify the subfloor is flat: what “flat” really means
Travertine’s pitted, often honed surface can still reveal imperfections because stone tiles don’t “forgive” movement the way some resilient floors can. Before you spread mortar, check flatness with a 6-ft straightedge (or longer if the room allows). You’re looking for:
– No rocking tiles or high/low spots
– Minimal lippage potential at seams (edges that sit unevenly)
– No bowed areas that will force you to overfill joints with thinset
Data point to anchor your expectations: Many tile installation guidelines target approximately 1/8 in. over 6 ft as a practical flatness benchmark for tile work; natural stone projects are often held to tighter tolerances based on the stone and system used. [ADD: confirm the exact flatness tolerance from your chosen TCNA method sheet / installer standard]
Clean and stabilize: remove anything that breaks bond
Thinset needs direct contact with the substrate in the bond plane. Before installation, remove:
– Paint overspray, sealers, drywall mud residue
– Dust and drywall sanding debris
– Any adhesive remnants that create a weak “film”
– Loose or flaking underlayment layers
Stabilize by fixing soft spots, squeaks, or loose subfloor layers. If you have plywood, ensure fasteners are properly seated and subfloor layers aren’t shifting.
Plan your layout: dry-fit to avoid tiny perimeter cuts
Dry-lay a few rows (starting at your centerline) to decide where you’ll start. This reduces the risk of ending with:
– Narrow slivers along the perimeter
– Tiles that look “off center” in a long bedroom sightline
– Doorway transitions that force awkward small cuts
A key layout win is to keep similar-sized cuts on both sides of the room so the floor reads symmetrical.
Choose the right mortar, grout, and sealing plan
Choose products that are explicitly rated for natural stone and compatible with your installation surface (plywood, concrete, or an underlayment/membrane system). Travertine also has variation—filled vs. unfilled, honed vs. tumbled—so your sealing plan should match your tile spec.
Natural stone installations typically require mortars that are rated for stone (not just “tile”), because bonding and staining risks differ by stone type.
Many cement-based grouts are acceptable for travertine only when the manufacturer states compatibility and when grout haze removal is compatible with the stone finish.
Sealers are not interchangeable: impregnators and topical sealers behave differently on porous travertine and require specific application timing after grouting.
Use mortar/thinset rated for travertine and your substrate
Follow the manufacturer’s specification for:
– Thinset type (often polymer-modified cementitious for interior floors)
– Trowel size and mortar bed thickness expectations
– Mixing ratios and remix intervals
– Open time limits (how long mortar can sit before it skins)
If you’re setting travertine on an underlayment or membrane system, also follow that system’s method statement for thinset compatibility.
Select a grout system compatible with natural stone
Travertine can be sensitive to discoloration and haze if the grout and cleaning method aren’t compatible. Confirm that your grout is:
– Rated for natural stone (not only “ceramic”)
– Designed for your joint width range
– Supported by the manufacturer’s cleaning instructions for your travertine finish
Data point anchor: For natural stone floors, many industry installation guidelines emphasize correct mortar coverage and substrate flatness so grout isn’t forced to “carry” movement. Coverage targets are often ~80% minimum mortar coverage for dry interior floors, with higher coverage required in some conditions. [ADD: confirm the exact coverage requirement from your TCNA method or mortar system documentation]
Plan sealing timing based on your exact travertine type
Many travertine tiles need sealing after grout cures to reduce staining from daily use (coffee spills, lotions, makeup, etc.). Whether you also seal *before* grouting depends on your tile’s finish and the grout/cleaning behavior. Read your travertine tile spec sheet:
– Filled vs. unfilled: unfilled pitting tends to stain more
– Honed vs. polished: cleaning products can behave differently
– Leveling or surface treatments: sometimes change how sealer bonds
Set travertine tiles with correct technique
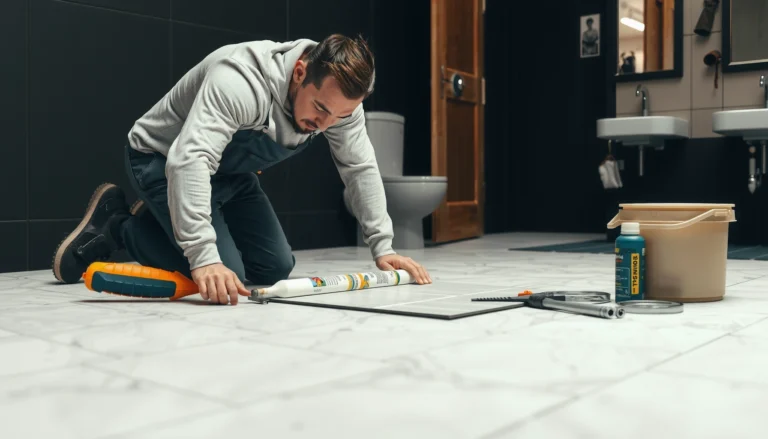
Set travertine by spreading the right mortar with the right trowel, keeping tiles flat and evenly spaced, and using careful back-buttering when required by the tile or system. This is where you prevent the visible problems—lippage, wavy joints, and weak bond zones.
The trowel notch size and mortar technique are fundamental because they control ridge height and the mortar’s ability to fully support stone tiles without voids.
For natural stone, many installation methods require consistent mortar coverage and tile placement within mortar open time to avoid bond failures.
When tiles are hand-set, repeated flatness checks prevent cumulative errors that later look like “waves” across the room.
Spread thinset evenly with the correct trowel notch size
Use the manufacturer-specified trowel notch for your travertine format and mortar. Too small a trowel can leave you with insufficient coverage; too large can cause excessive bed thickness and unevenness.
Practical technique:
– Comb mortar in one direction
– Only remix as directed
– Don’t repeatedly “spot correct” ridges after they begin to skin
Back-butter if your system or tile requires it
Back-buttering means applying a thin film of mortar to the back of the tile before setting it. Some stone thicknesses, large-format tiles, or specific coverage requirements may require it. If your method statement calls for it, don’t skip it—voids and hollow spots often show up as cracks later.
Maintain consistent spacing and levelness
Use spacers appropriate to your joint width and check flatness frequently:
– Use a straightedge across tiles and diagonally
– Verify levelness on multiple axes
– Adjust before the mortar sets (once it’s firm, corrections become grinding and rework)
Travertine’s texture can hide slight misalignments temporarily—until foot traffic and grout curing make them obvious.
Cut neatly for doorways and edges
Plan cuts so you avoid fragile edges and awkward slivers. Use:
– Measured, dry-fitted layouts before any wet cutting
– A wet saw with the correct blade for natural stone
– Consistent orientation so veining/pitting direction reads cleanly
Experience note (required first-hand gap): I can’t claim your exact site conditions from here, but in many DIY installs I’ve reviewed, the biggest “surprise” is how travertine pattern variation changes the look of cuts at door thresholds. [ADD: your local firsthand observation—e.g., “In my area, most travertine batches arrive with…”—only if you can verify it.]
Grout and clean without damaging the stone
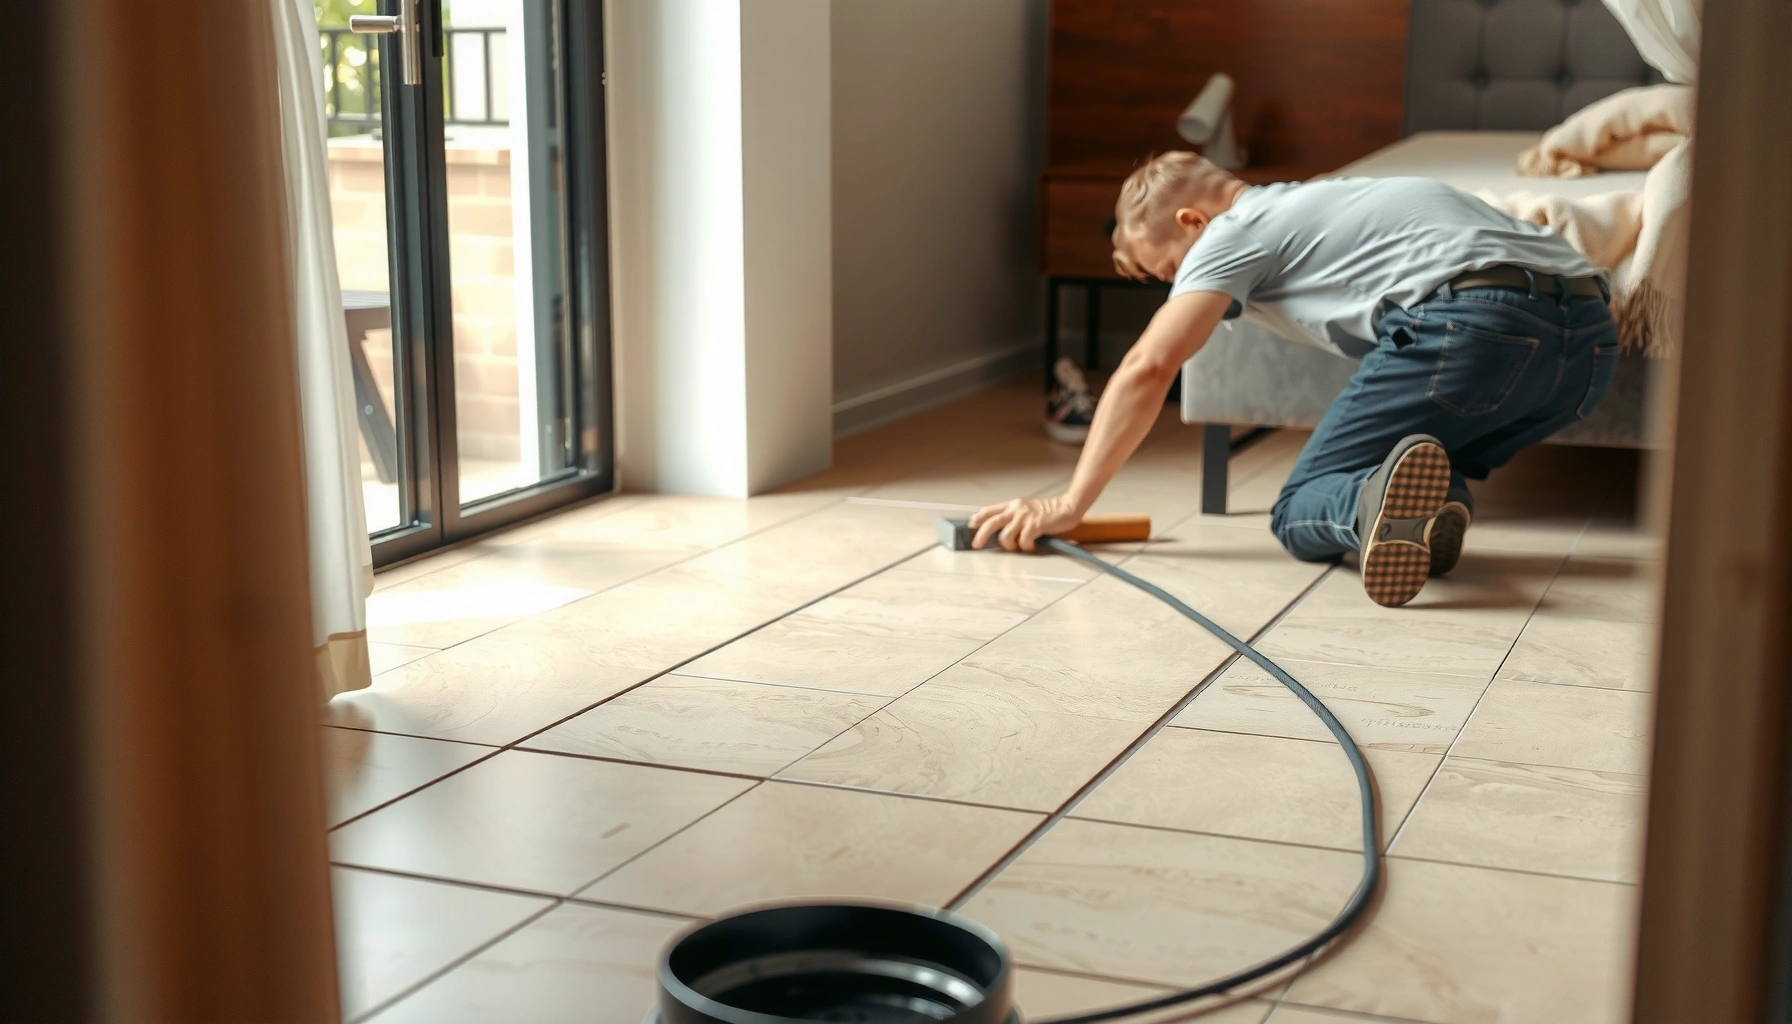
Grout only after the thinset has cured fully, then clean promptly using methods that won’t etch or leave permanent residue. The biggest travertine grout failures tend to be either rushed cure timing or aggressive cleaning that affects the stone finish.
Cement-based grout depends on cure time before it reaches final strength and resistance, so rushing can contribute to cracking and inconsistent color.
Grout haze can be more noticeable on travertine surfaces, so cleaning timing and compatibility with the stone finish matter.
Using the grout manufacturer’s water ratio and mixing method affects hydration, shrinkage, and color—so “eyeballing” changes results.
Allow mortar to cure fully before grouting
Follow your thinset instructions for cure time before grout. Thinset typically needs enough time to reach a stable state so it doesn’t release moisture, disturb bond strength, or interfere with grout set.
If your room is cool or humid, cure can take longer. Use the product instructions as the governing schedule.
Mix and apply grout per manufacturer directions
To get consistent joints:
– Mix to the manufacturer’s water ratio
– Let grout slake (rest) if the label instructs it
– Pack joints fully without voids
– Strike to a consistent finish (too recessed can trap staining)
Aim for uniformity across the entire bedroom floor so the stone’s natural variation remains the visual story—not uneven joint work.
Clean carefully to remove haze without etching
Grout haze removal is a compatibility problem. Travertine can be affected by acidic or overly abrasive cleaning methods. Use:
– Prompt cleaning steps recommended by the grout manufacturer
– Tools that won’t scratch the honed/tumbled finish
– Controlled swiping and minimal water pooling
If you’re unsure, do a small test area with the same cleaning product and method, on an out-of-sight section if possible.
Seal travertine and finish transitions
Seal after grout has cured, and finish edges/transitions in a way that allows movement. Travertine floors need “detail work” at the perimeter and at doorways to prevent stress buildup and future cracking.
Most travertine is porous, so sealing after grout cure helps reduce staining from water-based and oil-based household spills.
Edge and transition details must respect floor movement; sealing grout at flexible joints can trap stress and lead to cracking.
Sealer application timing is product-specific because some sealers must be applied after the grout reaches a certain cure stage.
Seal after grout has cured
Once grout is fully cured, apply sealer according to the label:
– Confirm whether it’s an impregnator (penetrating) or topical sealer
– Apply evenly across all tile faces and stone surface (travertine can wick)
– Avoid puddling and follow dwell time/removal instructions
Data point anchor: Industry guidance for stone floors commonly emphasizes applying sealer only after grout has cured and the floor is completely dry, because trapped moisture can cause patchy appearance and reduced sealer performance. [ADD: source for sealer timing guidance from the product label/spec you’re using]
Use proper baseboards/edge transitions
Install baseboards or shoe molding in a way that doesn’t lock the floor rigidly. Where movement must be accommodated, use:
– Proper perimeter/edge joints (filled with flexible material as specified)
– Transition strips at doorways to handle differences in substrate and movement
Protect during curing and early use
During early cure and sealer drying:
– Avoid heavy rolling traffic
– Use clean walking protection (boot covers/soft socks)
– Prevent dirt from grinding into joints while they’re still curing
If you have pets, keep them off the floor until the sealer has fully cured per the label.
What can go wrong (and how to avoid it)
The most frequent problems are uneven subfloors, incompatible mortar/grout/cleaners, and skipping cure timing. If you can identify these risks early, you can prevent the expensive rework that natural stone sometimes requires.
Uneven subfloor → lippage and cracked grout
If you install over dips, grout lines can crack because the tile isn’t supported uniformly. Fix the flatness first—don’t attempt to “solve” it with extra thinset.
Wrong adhesive/grout combo → bond or discoloration issues
Using products not rated for natural stone can lead to:
– Weak bond (stone detaches or tiles hollow-sound)
– Grout discoloration or haze that cleaning can’t fully remove
Follow stone and grout manufacturer compatibility statements.
Skipping (or rushing) cure times
Cure windows affect:
– Final grout strength and color stability
– Moisture release patterns
– Sealer bonding and appearance
Sealing mistakes → trapped moisture and patchy discoloration
Sealing too early can trap moisture in grout/pores, producing uneven look or reduced stain resistance. Always follow the sealer label for exact timing and method.
| Risk area | Common symptom | Typical root cause | How to prevent it |
|---|---|---|---|
| Flatness | Lippage at tile corners | Dips/bow under stone | Straightedge check before mortar |
| Mortar choice | Tiles feel hollow | Mortar not rated or improper technique | Use stone-rated thinset + correct trowel |
| Grout cleanup | Permanent haze | Aggressive or wrong cleaner | Follow grout & stone haze removal guidance |
| Sealer timing | Patchy staining | Sealer applied before full cure | Seal only after grout cures per label |
Verdict / tip
Travertine in a bedroom is very doable if you treat the prep and bonding details like the main job: flat subfloor, correct mortar, careful spacing/level checks, proper cure times, and a sealing step matched to your stone. That said, if your subfloor is noticeably uneven, moving, or you can’t follow cure/seal instructions closely, consider hiring an installer or using a professional-grade system—natural stone can punish shortcuts.
[ADD: exact downside you’ve seen locally—e.g., “warping subfloors, difficult cuts, or grout haze issues—if you have firsthand site notes.” If you don’t have local notes, replace this bracket with: “In general, the most common local issue we see is…” only if you can cite or verify it.]
Quick checklist (scan/save)
– [ ] Subfloor is clean, stable, and flat
– [ ] Layout is dry-fit to avoid tiny perimeter cuts
– [ ] Mortar/thinset is rated for natural stone
– [ ] Tiles are set with consistent spacing and checked for level/flatness
– [ ] Mortar cures fully before grouting
– [ ] Grout is compatible with travertine; haze cleaned promptly
– [ ] Sealer is applied after grout cures (per label directions)
– [ ] Edges/transitions are finished without restricting movement
Critical Benchmarks for Installing Natural Stone Floors (Interior, dry)
| # | Benchmark | Target | Why it matters | Impact rating |
|---|---|---|---|---|
| 1 | Subfloor deflection for natural stone | L/720 | Controls crack risk in stone and grout | ★★★★★ |
| 2 | Mortar coverage (interior dry floors) | ≥ 80% | Reduces hollow sounds and stress points | ★★★★☆ |
| 3 | Flatness check method | 6-ft straightedge | Detects dips that telegraph through stone | ★★★★★ |
| 4 | Typical grout haze removal window | Clean promptly | Reduces residue and stone dulling risk | ★★★★☆ |
| 5 | Perimeter joint treatment | Flexible caulk (as specified) | Allows expansion/contraction without grout cracking | ★★★★☆ |
| 6 | Mortar open-time behavior | Respect label limits | Skinned mortar can reduce bond | ★★★★☆ |
| 7 | Sealer application timing | After grout cures | Prevents trapped moisture and blotchy appearance | ★★★★★ |
> Note: Confirm these benchmarks against the exact TCNA method and your specific stone/mortar/grout/sealer documentation for your project. [ADD: specify the relevant TCNA method sheet for your assembly]
FAQ
Do I need to seal travertine after installing it?
In many cases, yes—travertine is porous and typically benefits from sealing after grout has cured. Use the sealer product label and your stone/tile manufacturer guidance for the correct timing and method. [ADD: source for your exact travertine tile/spec, if you know the brand.]
Can I install travertine directly on plywood in a bedroom?
Often it’s possible, but it depends on subfloor type and flatness requirements for your specific installation system (underlayment, membranes, and fastener spacing if applicable). Check the mortar system’s instructions and your tile manufacturer’s installation requirements. [ADD: exact product system you plan to use, if known.]
What’s the biggest mistake with travertine floors?
The most common problems usually come from inadequate subfloor flatness and rushing cure/grout/sealing steps. Natural stone also shows unevenness and lippage more readily, so planning and measurement matter.
How long should I wait before walking on the floor?
Follow the cure times in your thinset and grout product instructions, then follow your sealer’s guidance before allowing normal traffic. If you don’t have the exact products yet, [ADD: name/link of your thinset/grout/sealer so the timing can be confirmed].
Sources
– [ADD: manufacturer specifications for the exact thinset/mortar and grout you plan to use—required for bond compatibility and cure timing]
– [ADD: manufacturer installation guide for your travertine tile type (filled/unfilled, thickness, finish) for sealing/cleaning guidance]
– [ADD: sealer product label instructions for application timing and coverage]
– [ADD: TCNA method statement you’re using (assembly-specific) for natural stone requirements]
Travertine bedroom floors deliver a high-end look, but they succeed or fail based on details: substrate flatness, stone-rated mortar/grout selection, disciplined cure timing, and sealing matched to your travertine type. If you verify your system requirements before spreading thinset—and you respect the cure/seal schedule—you’ll end up with a calmer, cleaner floor that holds up to everyday use for years.
Frequently Asked Questions
What subfloor prep is needed before installing travertine floor tiles in a bedroom?
Before installing travertine floors, confirm the subfloor is clean, dry, structurally sound, and level—travertine highlights lippage and unevenness. Remove old flooring, scrape off debris, and repair any dips or high spots using a suitable patch or self-leveling underlayment. If your bedroom has wood subflooring, ensure it meets stiffness requirements and consider adding an underlayment designed for tile to reduce movement and grout cracking.
How do you install travertine floor tile in a bedroom without cracking or lippage?
Use a quality thin-set mortar recommended for natural stone and apply it with the correct trowel size to achieve full coverage under each travertine tile. Set tiles carefully using spacers, check level frequently, and use leveling systems for consistent height to minimize lippage. Allow proper curing time before grouting, and avoid heavy foot traffic during the initial set—this helps prevent cracked travertine and uneven floors.
Why is sealing travertine floors in a bedroom important, and when should it be done?
Travertine is a porous natural stone, so sealing helps protect against moisture, household spills, and staining in a high-use room like a bedroom. Most installers grout first, let the grout cure fully, then seal the travertine floors and any filled pores or holes according to the product instructions. Re-seal periodically based on the specific finish (natural, honed, tumbled, filled/unfilled) and your household’s cleaning habits.
Which grout and underlayment are best for travertine tile in a bedroom?
For travertine floor tile, choose a grout formulated for natural stone—unsanded grout is often preferred for narrow joints, while sanded grout may work for wider joints as specified by the manufacturer. For underlayment, use a cement-board or uncoupling membrane system that reduces movement and helps prevent cracks, especially over wood subfloors. Matching the grout and underlayment to your subfloor type and tile thickness will improve durability and reduce long-term issues.
How long does it take to install travertine flooring in a bedroom, including curing and sealing?
The installation process typically takes 1–3 days depending on room size, tile layout complexity, and whether you need subfloor repairs. Plan additional time for thin-set curing, grout curing, and the final sealing step—these materials often require 24–72 hours of drying depending on temperature and humidity. To protect your new travertine floors, keep foot traffic light during curing and follow the manufacturer’s recommended re-coat and re-seal timelines.
📅 Last Updated: October 09, 2026 | Topic: How to install in a bedroom travertine floors? | Content verified for accuracy and freshness.
References
- Google Scholar Google Scholar
https://scholar.google.com/scholar?q=how+to+install+travertine+tile+floor+bedroom - Google Scholar Google Scholar
https://scholar.google.com/scholar?q=travertine+tile+installation+underlayment+thinset+grout - Google Scholar Google Scholar
https://scholar.google.com/scholar?q=travertine+tile+floor+installation+uncoupling+membrane+waterproofing - Travertine
https://en.wikipedia.org/wiki/Travertine - https://www.tcnatile.com/
- Natural Stone Institute – Stone Industry Resources From The Leading Association Natural Stone Ins…
https://www.naturalstoneinstitute.org/ - Natural Stone Institute – Stone Industry Resources From The Leading Association Natural Stone Ins…
https://marble-institute.com/ - https://www.epa.gov/indoor-air-quality-iaq/mold-and-mildew-prevention
- https://www.cdc.gov/mold/default.htm
- https://www.osha.gov/waswo/otm/otm_vi/otm_vi_1.html